By Hitesh Jethva, Alibaba Cloud Community Blog author.
PandoraFMS can be installed in almost any operating systems like, Linux, Windows etc. Pandora FMS comes with built-in web console that allows you to operate and manage the monitoring system. Pandora FMS can be used with Docker Swarm, Nutanix, XEN, RHEV, HyperV and AWS/EC2.
In this tutorial, we will learn how to install and configure PandoraFMS on CentOS-7 server with an Alibaba Cloud Elastic Compute Service (ECS) instance.
Create a new ECS instance, choosing CentOS 7 as the operating system with at least 4GB RAM, and connect to your instance as the root user.
Once you are logged into your CentOS 7 instance, run the following command to update your base system with the latest available packages.
yum update -yFirst, you will need to configure hostname and hostname resolution on both instances. So, each instance can communicate with each other by hostname.
On the server instance, setup hostname with the following command:
hostnamectl set-hostname node1.pandora.comNext, configure hostname resolution by editing /etc/hosts file:
nano /etc/hostsAdd the following line:
172.20.10.11 node1.pandora.com
172.20.10.12 client.pandora.com
Save and close the file, when you are finished.
On the client instance, setup hostname with the following command:
hostnamectl set-hostname client.pandora.comConfigure hostname resolution by editing /etc/hosts file:
nano /etc/hostsAdd the following line:
172.20.10.11 node1.pandora.com
172.20.10.12 client.pandora.com
Save and close the file, when you are finished.
Next, you will need to disable Selinux on both instance. You can do this by editing /etc/selinux/config file:
nano /etc/selinux/configMake the following changes:
SELINUX=disabledSave and close the file. Then, restart both instances to apply the changes:
You will need to install MariaDB server to your server instance. You can install it by running the following command:
yum install mariadb-server -yOnce MariaDB is installed, start MariaDB service and enable it to start on boot time with the following command:
systemctl start mariadb
systemctl enable mariadb
Next, you will need to secure MariaDB installation. You can secure it by running the following script:
mysql_secure_installationAnswer all the questions as shown below:
    Enter current password for root (enter for none):
    Set root password? [Y/n]: N
    Remove anonymous users? [Y/n]: Y
    Disallow root login remotely? [Y/n]: Y
    Remove test database and access to it? [Y/n]:  Y
Reload privilege tables now? [Y/n]: YPandora console allows you to manage your monitoring system. By default, Pandora console package is not available in the CentOS 7 default repository. So, you will need to add Pandora FMS repository to your server instance.
You can add the repository by creating the following file on server instance:
nano /etc/yum.repos.d/pandorafms.repoAdd the following lines:
[artica_pandorafms]
name=CentOS6 - PandoraFMS official repo
baseurl=http://firefly.artica.es/centos7
gpgcheck=0
enabled=1
Save and close the file. Then, install Pandora console with the following command:
yum install pandorafms_console -yPandora FMS works with HTTP server. So, you will also need to start HTTP server with the following command:
systemctl start httpdPandora Console is now installed, it's time to access Pandora web installation wizard.
Open your web browser and type the URL http://node1.pandora.com/pandora_console. You will be redirected to the Pandora welcome page:
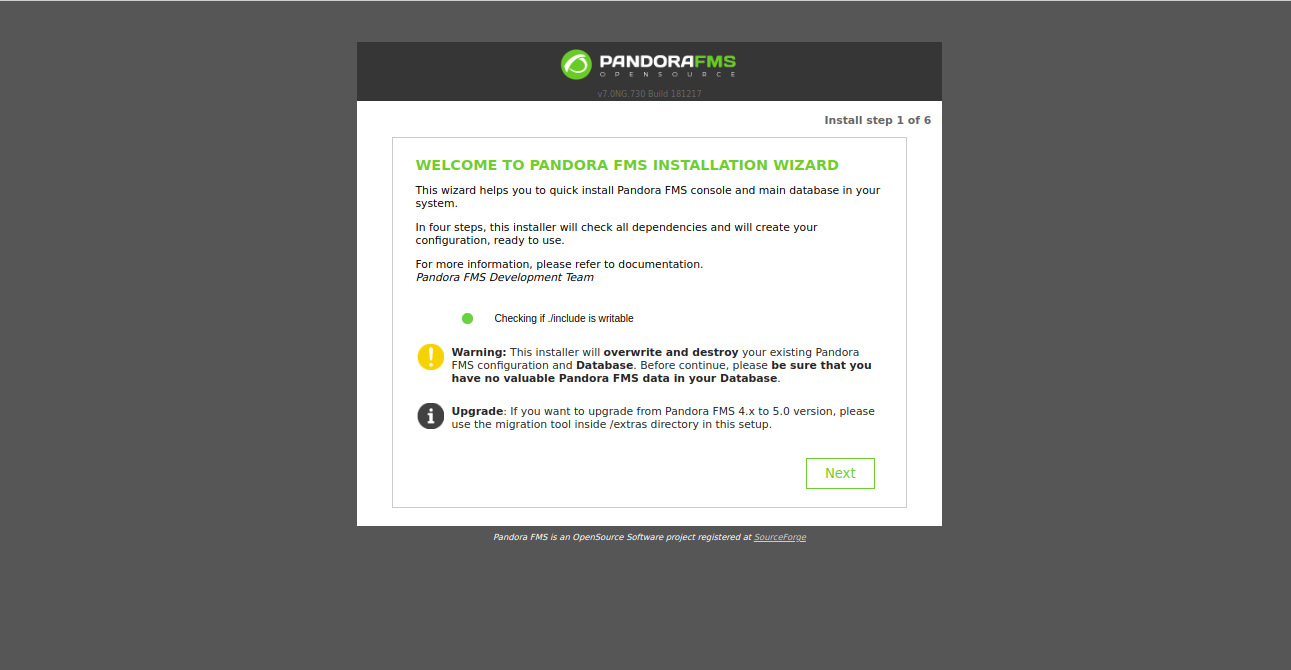
Click the Next button. You should see the License agreement page:
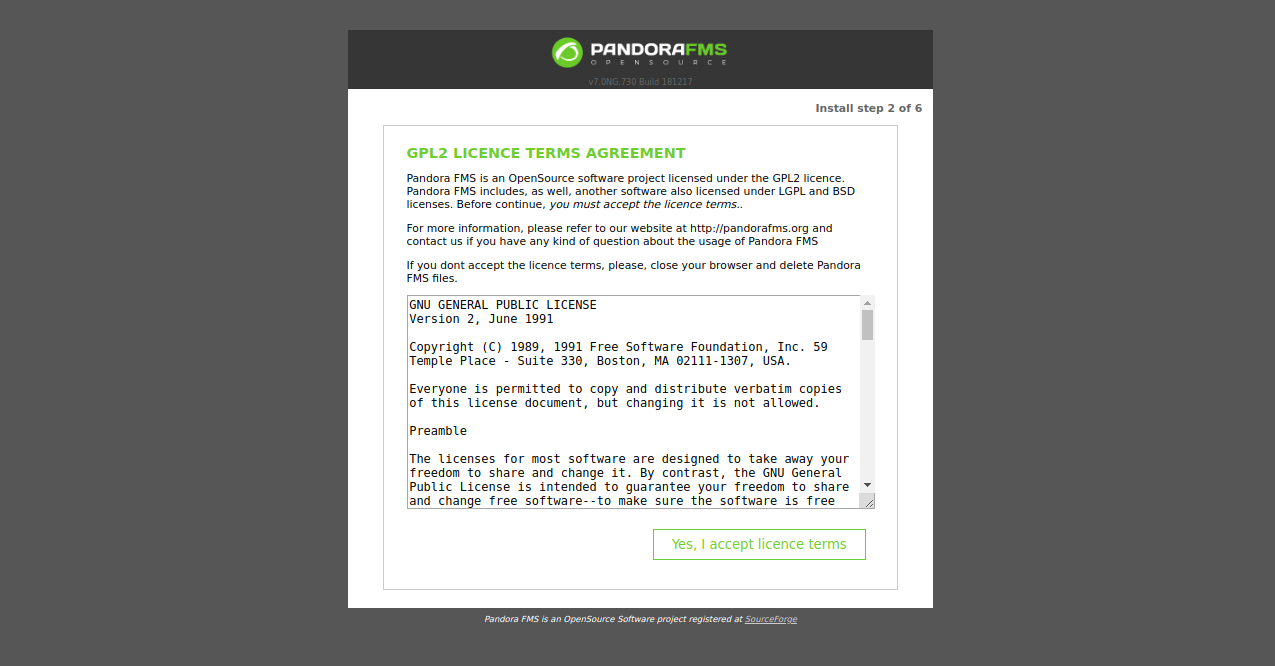
Accept the License agreement. You should see the following page:
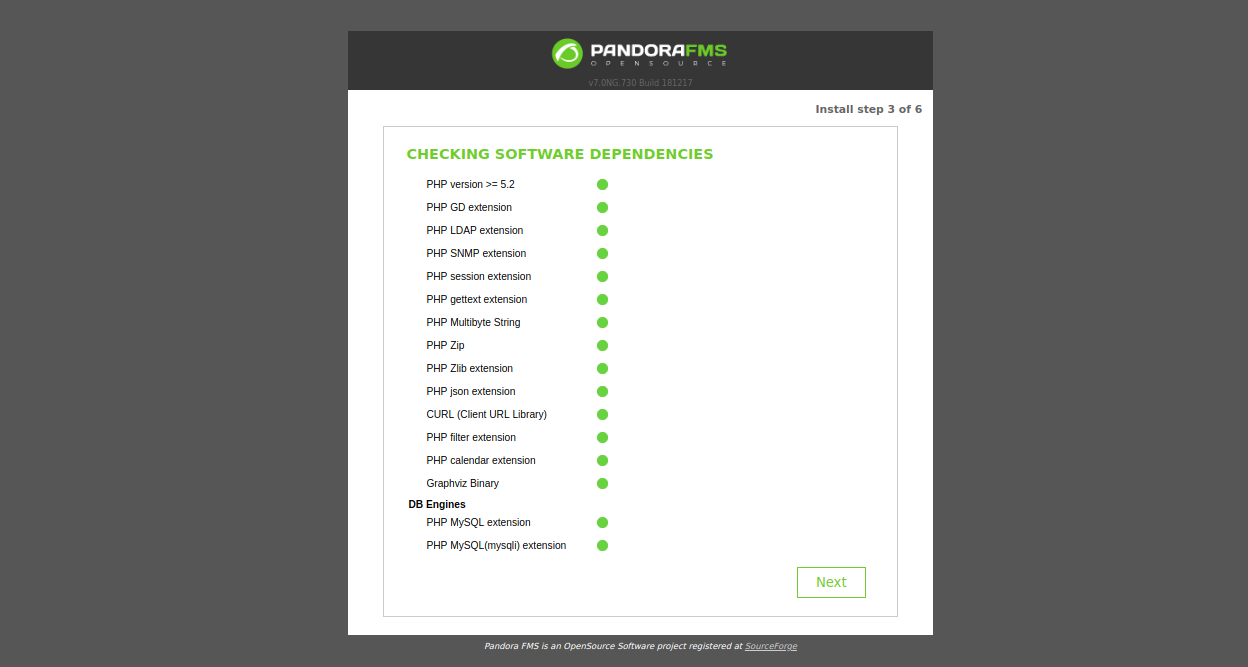
Make sure all the required dependencies are installed. Then, click on the Next button. You should see the following page:
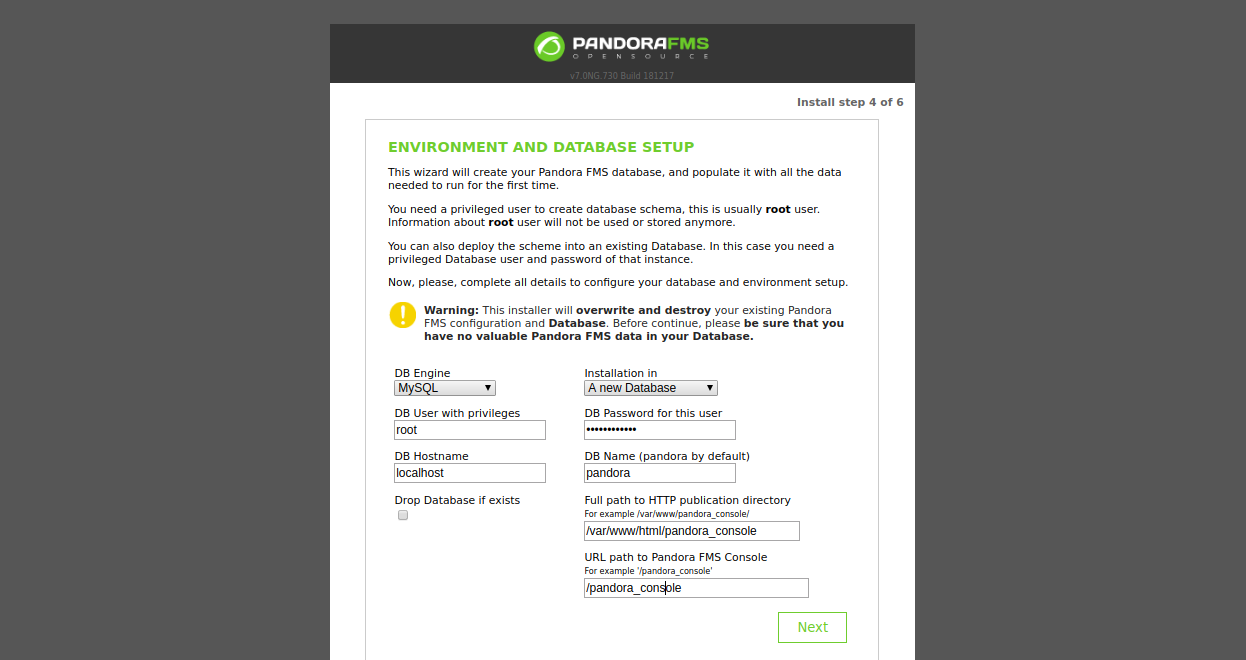
Provide all the details like root username and password, new database name and installation path. Then, click on the Next button to start the installation. Once the installation has been completed, you should see the following page:
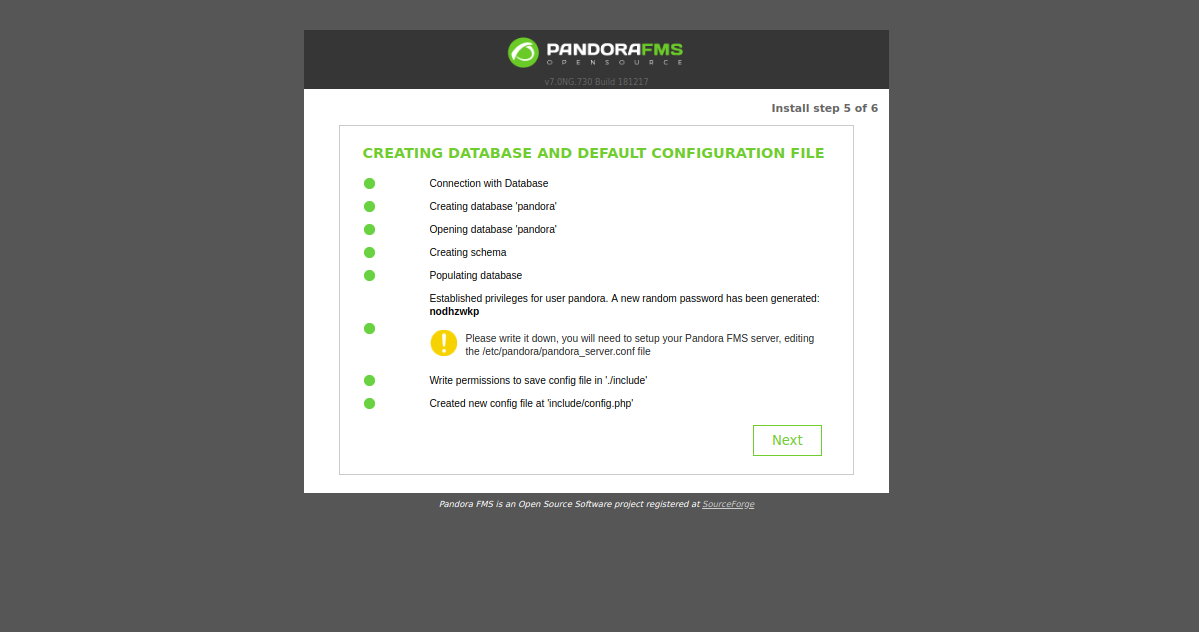
Now, click on the Next button. You should see the following page:
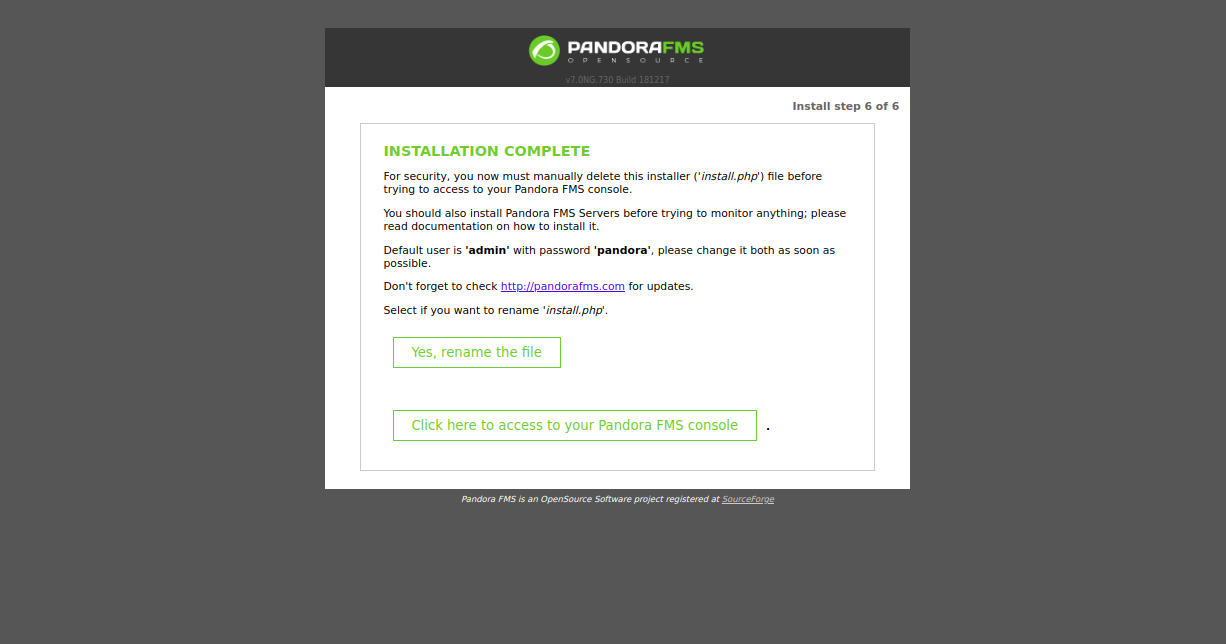
Then, remove the install.php file from the pandora_console directory.
rm -rf /var/www/html/pandora_console/install.phpClick on "Click here to access to your Pandora FMS console". You will be redirected to the Pandora FMS login page:
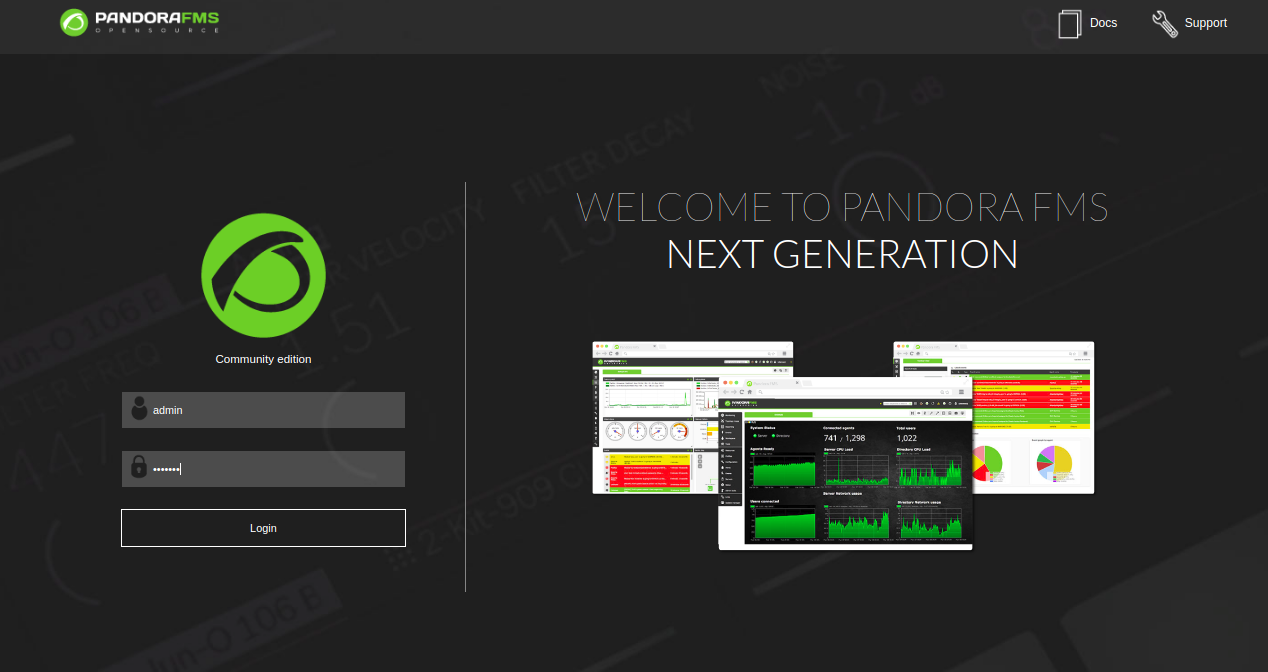
Now, provide default username as admin and password as pandora. Then, click on the Login button. You should see the following page:
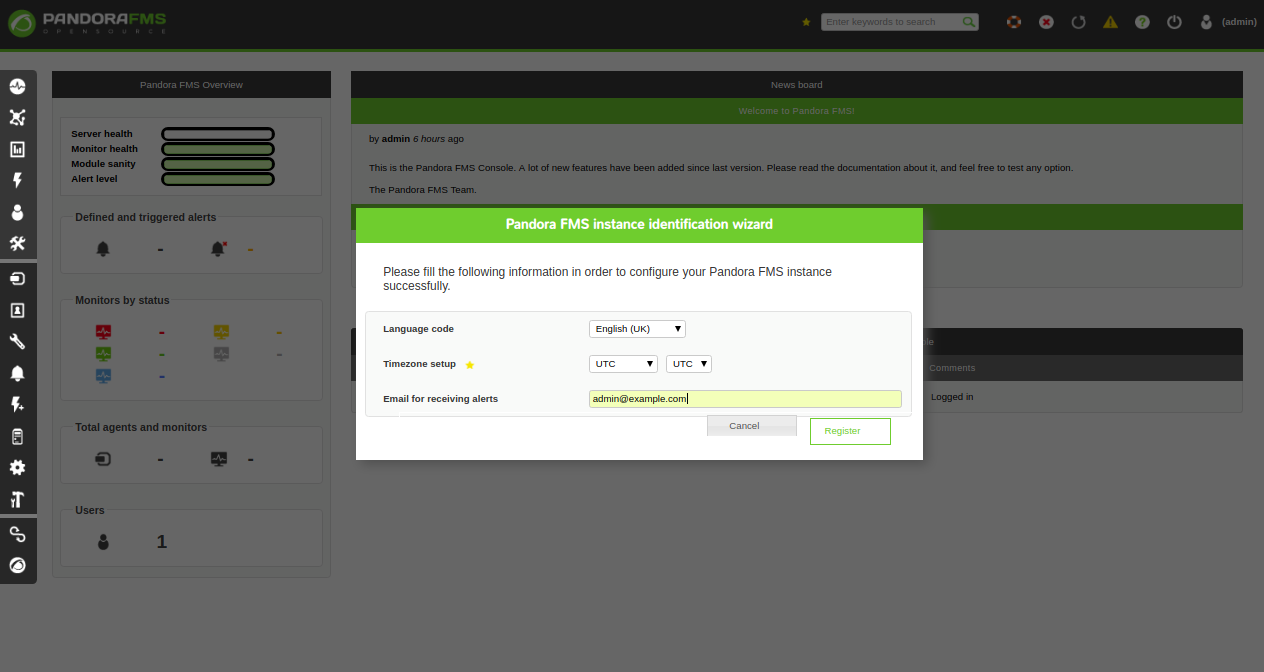
Select your language, time zone and provide your email address. Then, click on the Register button. You should see the following page:
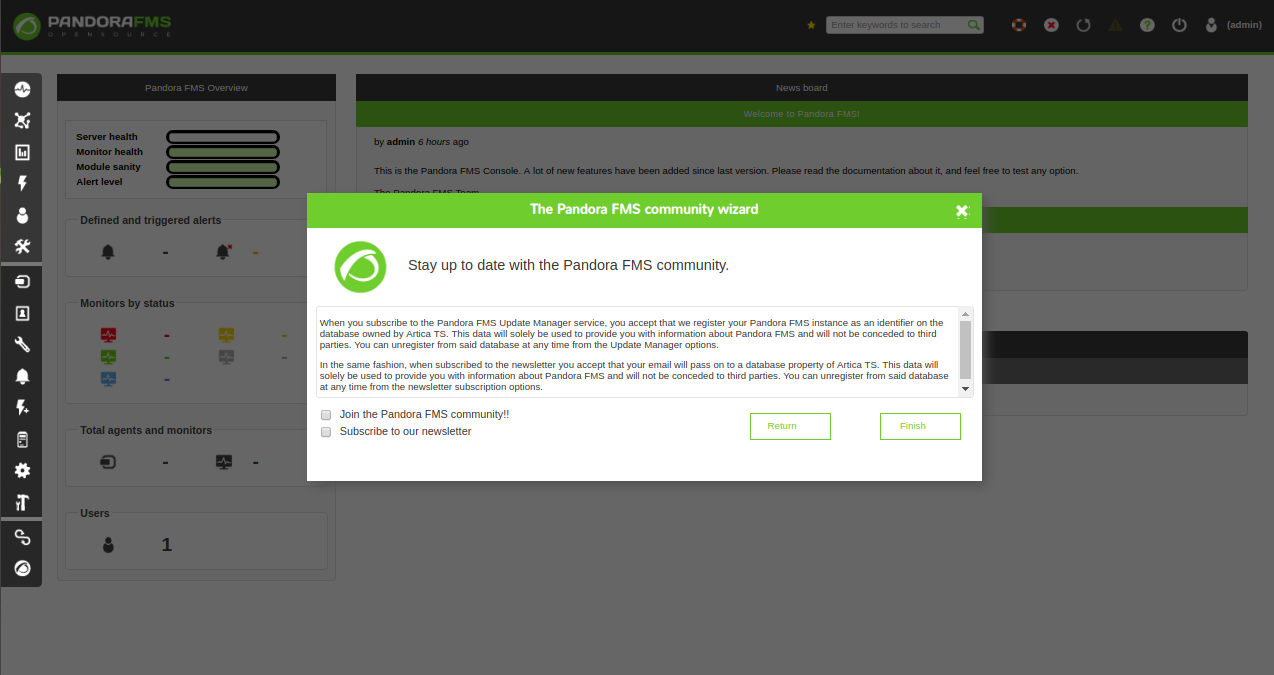
Click on the Finish button. You should see the Pandora FMS dashboard in the following page:
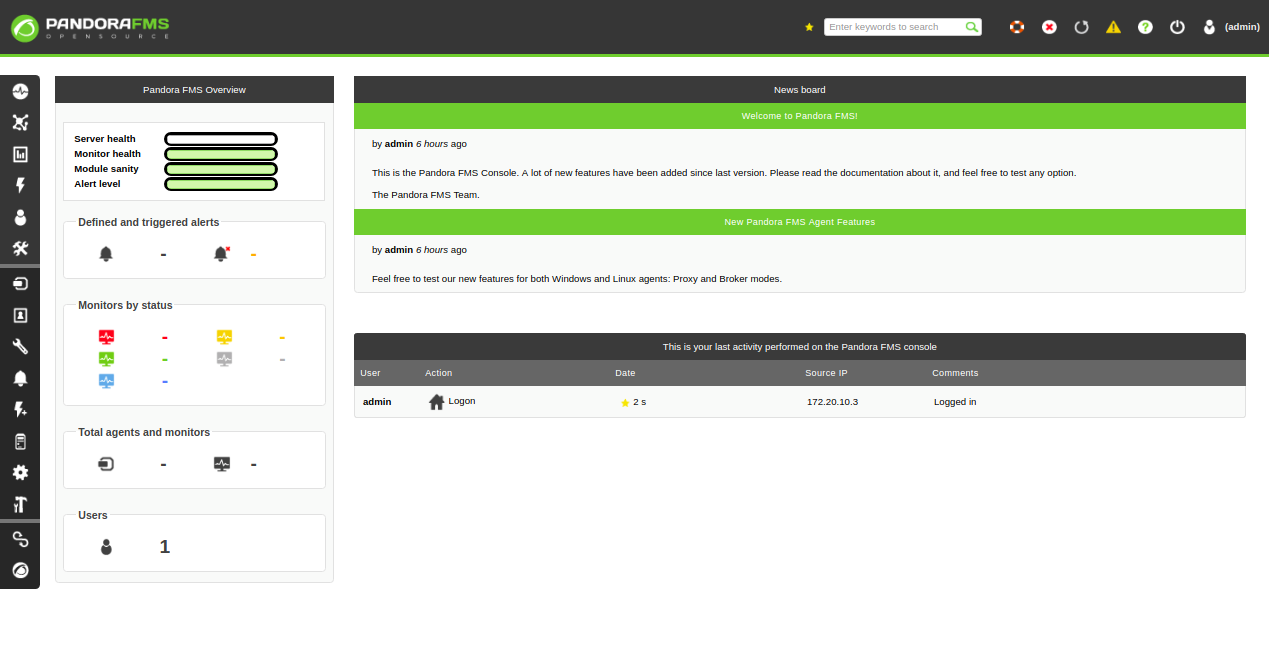
Pandora server is a combination of twelve different servers that can be used for collecting and processing data. So, you will need to install Pandora server to your server instance.
First, install some required dependencies with the following command:
rpm -ivh https://sourceforge.net/projects/pandora/files/Tools%20and%20dependencies%20%28All%20versions%29/RPM%20CentOS%2C%20RHEL/wmic-4.0.0tp4-0.x86_64.rpm
rpm -ivh https://sourceforge.net/projects/pandora/files/Tools%20and%20dependencies%20%28All%20versions%29/RPM%20CentOS%2C%20RHEL/xprobe2-0.3-12.2.x86_64.rpm
Install Pandora server with the following command:
yum install pandorafms_server You will need to specify your database username and password in pandora_server.conf file:
nano /etc/pandora/pandora_server.confMake the following changes:
dbuser root
dbpass admin@123
Save and close the file. Then, start the Pandora server with the following command:
service pandora_server startYou should see the following output:
Pandora FMS Server 7.0NG.730 Build 181217 Copyright (c) 2004-2018 Artica ST
This program is OpenSource, licensed under the terms of GPL License version 2.
You can download latest versions and documentation at official web page.

 [*] Backgrounding Pandora FMS Server process.

Pandora FMS Server is now running with PID 5317
Start the tentacle server with the following command:
service tentacle_serverd startNow, go to the Pandora Console dashboard >> Server >> Manage servers. You should see your server in the following page:
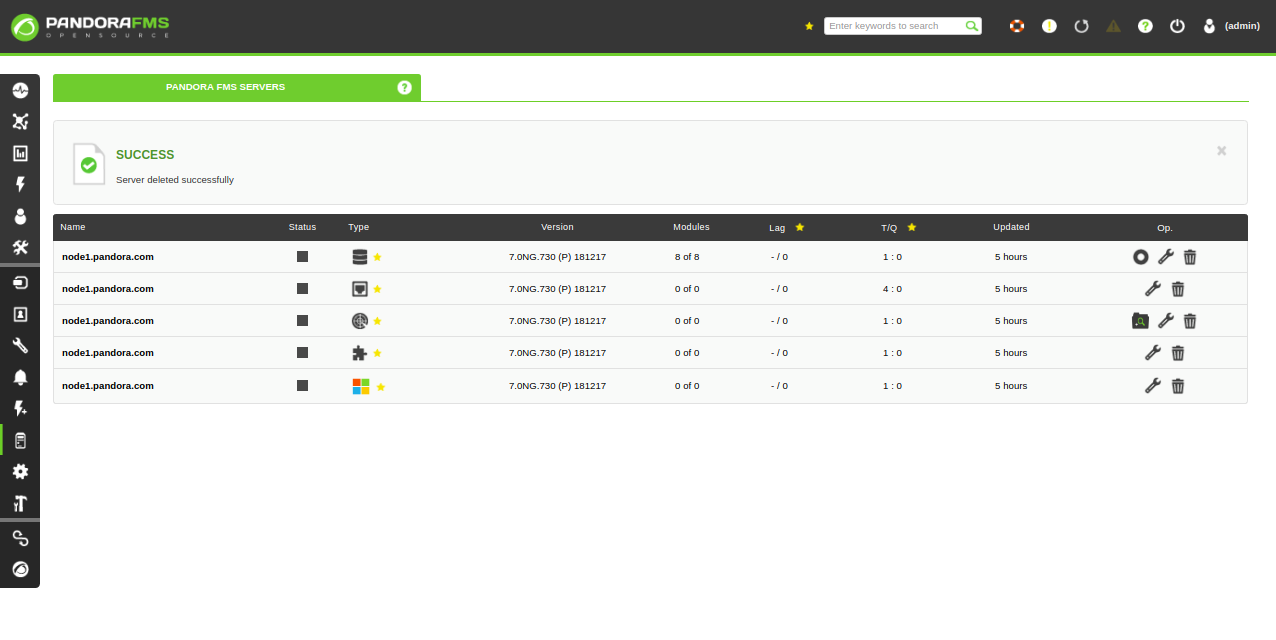
Pandora server is now installed and working fine. It's time to install Pandora agent on Client instance.
On the client instance, download the latest version of Pandora agent with the following command:
curl -O https://netix.dl.sourceforge.net/project/pandora/Pandora%20FMS%207.0NG/709/RHEL_CentOS/pandorafms_agent_unix-7.0NG.709-1.noarch.rpmInstall the downloaded package with the following command:
yum localinstall pandorafms_agent_unix-7.0NG.709-1.noarch.rpmAfter installing Pandora agent, you will need to add the Pandora server IP address to pandora_agent.conf file:
nano /etc/pandora/pandora_agent.confMake the following changes:
server_ip 172.20.10.11Save and close the file. Then, start Pandora agent service with the following command:
service pandora_agent_daemon startNow, on the Pandora Console dashboard, go to the agent list. You should see your newly added agent in the following page:
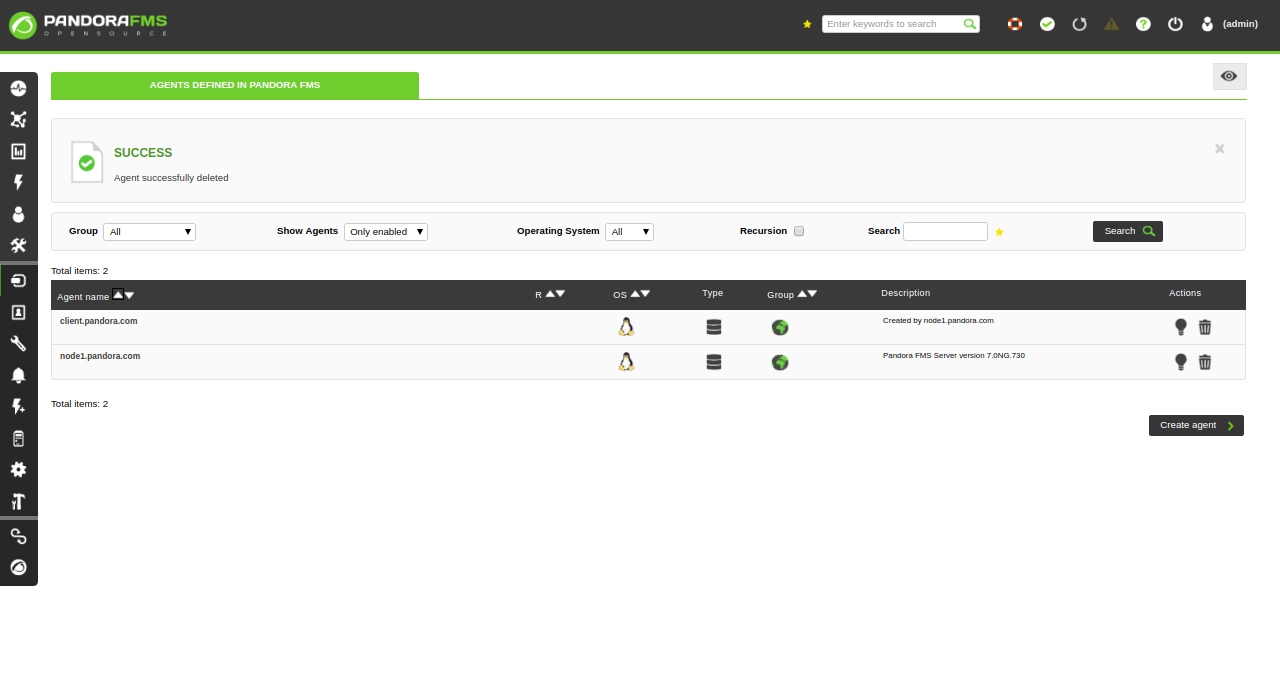
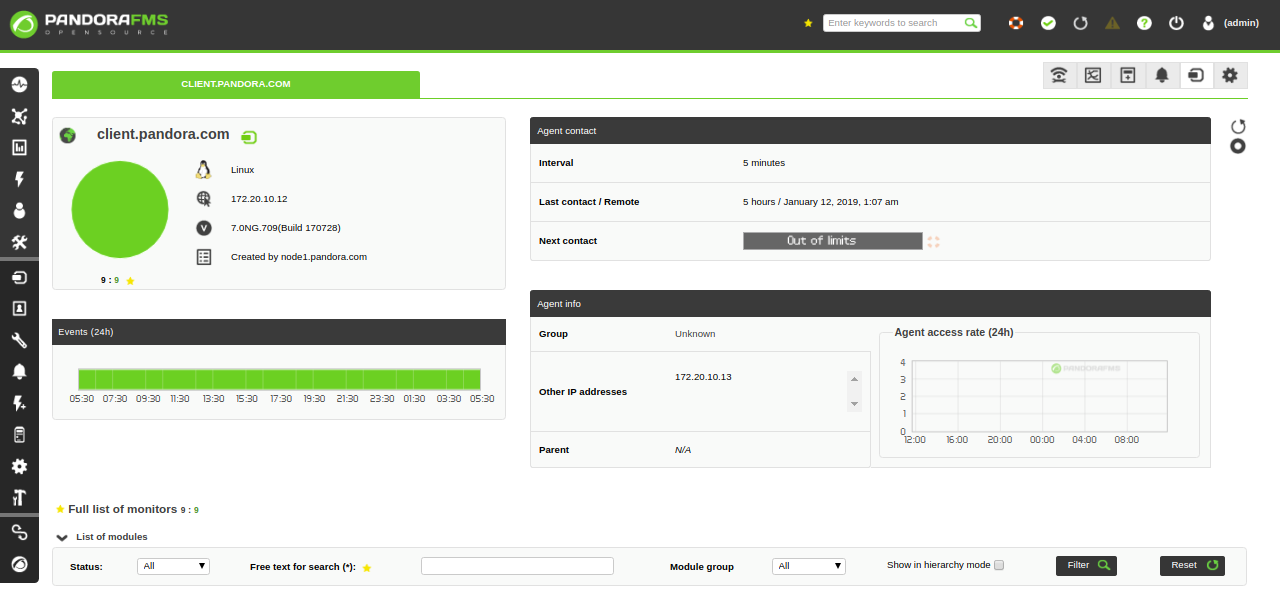
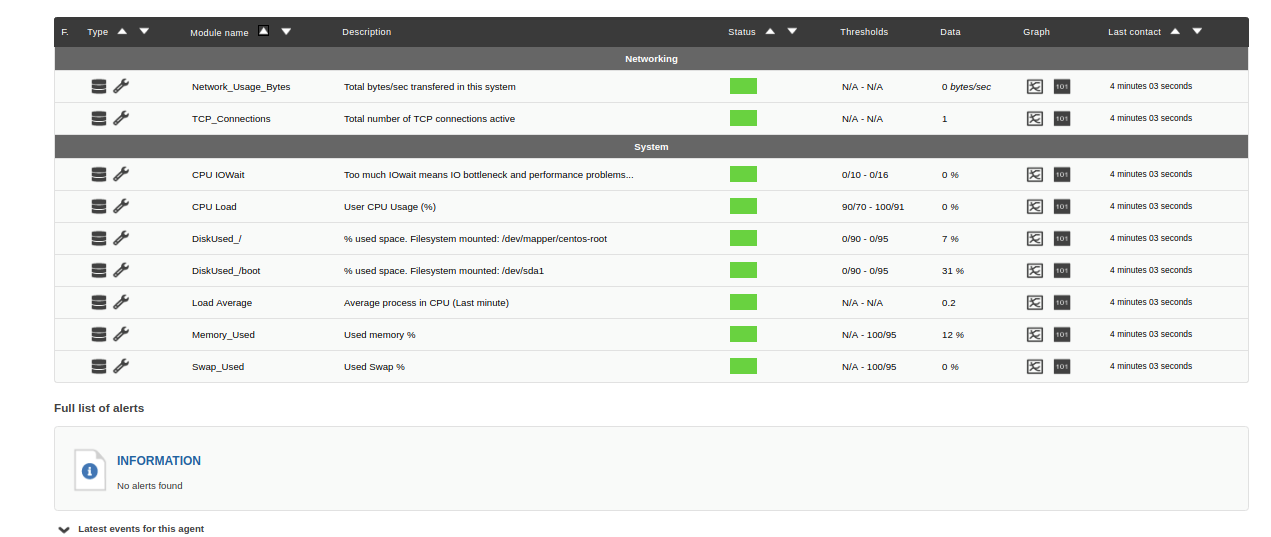
Click on the agent to see the detail information about your agent in the following page:

39 posts | 4 followers
FollowAlibaba Clouder - April 12, 2019
Alibaba Clouder - May 21, 2018
Alibaba Clouder - April 12, 2019
Hiteshjethva - December 12, 2019
Alibaba Clouder - August 16, 2019
Alibaba Clouder - May 13, 2019

39 posts | 4 followers
Follow Platform For AI
A platform that provides enterprise-level data modeling services based on machine learning algorithms to quickly meet your needs for data-driven operations.
Learn More VPC
VPC
A virtual private cloud service that provides an isolated cloud network to operate resources in a secure environment.
Learn More Super App Solution for Telcos
Alibaba Cloud (in partnership with Whale Cloud) helps telcos build an all-in-one telecommunication and digital lifestyle platform based on DingTalk.
Learn More Machine Translation
Relying on Alibaba's leading natural language processing and deep learning technology.
Learn MoreMore Posts by Hiteshjethva
5449475882196178 December 13, 2019 at 2:19 am
Visit https://www.3drenderingltd.com/ for great services about 3D rendering companies