By Hitesh Jethva, Alibaba Cloud Community Blog author.
Apache ActiveMQ is a free, open source message broker software written in Java. It is used for the communication between two distributed processes or applications that have different or incompatible languages. Apache ActiveMQ is designed for high-performance clustering and communication, and supports a wide range of language clients and protocols such as, Java, C, C++, Ruby and Python.
In this tutorial, we will learn how to install and configure Apache ActiveMQ on an Alibaba Cloud Elastic Compute Service (ECS) Ubuntu 18.04 server.
Create a new ECS instance and connect to your instance as the root user.
Once you are logged into your Ubuntu 18.04 instance, run the following command to update your base system with the latest available packages.
apt-get update -yApache ActiveMQ is written in the Java language, so you will need to install Java to your instance. By default, the latest version of the Java is available in the Ubuntu 18.04 default repository. You can install it by just running the following command:
apt-get install openjdk-11-jre -yOnce the Java is installed, you can check the version of java with the following command:
java -versionYou should see the following output:
openjdk version "10.0.2" 2018-07-17
OpenJDK Runtime Environment (build 10.0.2+13-Ubuntu-1ubuntu0.18.04.4)
OpenJDK 64-Bit Server VM (build 10.0.2+13-Ubuntu-1ubuntu0.18.04.4, mixed mode)The best way to install Apache ActiveMQ is to download their binaries from Apache official websites. You can download the Apache ActiveMQ binaries using the following command:
wget http://archive.apache.org/dist/activemq/5.15.8/apache-activemq-5.15.8-bin.tar.gzOnce the download is completed, extract the downloaded file with the following command:
tar -xvzf apache-activemq-5.15.8-bin.tar.gzMove the extracted file to the /opt directory:
mv apache-activemq-5.15.8 /opt/activemqYou will need to create user and group named activemq that will be used to run ActiveMQ.
You can create a activemq user and group with the following command:
addgroup --quiet --system activemq
adduser --quiet --system --ingroup activemq --no-create-home --disabled-password activemq
Change the ownership of /opt/activemq directory to user activemq and group activemq:
chown -R activemq:activemq /opt/activemqNext, you will need to create a systemd service file for managing ActiveMQ service. You can do it with the following command:
nano /etc/systemd/system/activemq.serviceAdd the following lines:
[Unit]
Description=Apache ActiveMQ
After=network.target

[Service]
Type=forking

User=activemq
Group=activemq

ExecStart=/opt/activemq/bin/activemq start
ExecStop=/opt/activemq/bin/activemq stop

[Install]
WantedBy=multi-user.target
Save and close the file, when you are finished.
Reload systemd with the following command:
systemctl daemon-reloadStart ActiveMQ service and enable it to start on boot with the following command:
systemctl start activemq
systemctl enable activemq
You can also check the status of ActiveMQ with the following command:
/opt/activemq/bin/activemq statusYou should see the following output:
INFO: Loading '/opt/activemq//bin/env'
INFO: Using java '/usr/bin/java'
ActiveMQ is running (pid '17543')All the configurations are located in /opt/activemq/conf/activemq.xml file. You can change it as per your need:
nano /opt/activemq/conf/activemq.xmlYou can define transport connector, storage and message limit as below:
          <systemUsage>
            <systemUsage>
                <memoryUsage>
                    <memoryUsage percentOfJvmHeap="70" />
                </memoryUsage>
                <storeUsage>
                    <storeUsage limit="100 gb"/>
                </storeUsage>
                <tempUsage>
                    <tempUsage limit="50 gb"/>
                </tempUsage>
            </systemUsage>
        </systemUsage>


        <destinationPolicy>
            <policyMap>
              <policyEntries>
                <policyEntry topic=">" >
                    <!-- The constantPendingMessageLimitStrategy is used to prevent
                         slow topic consumers to block producers and affect other consumers
                         by limiting the number of messages that are retained
                         For more information, see:

                         http://activemq.apache.org/slow-consumer-handling.html

                    -->
                  <pendingMessageLimitStrategy>
                    <constantPendingMessageLimitStrategy limit="1000"/>
                  </pendingMessageLimitStrategy>
                </policyEntry>
              </policyEntries>
            </policyMap>
        </destinationPolicy>
Save and close the file. Then, restart ActiveMQ with the following command:
systemctl restart activemqYou can check ActiveMQ process with the following command:
ps aux | grep activemqYou can also check ActiveMQ default port and admin port with the following command:
netstat -naptu | grep 61616Now, open your web browser and type the URL http://your-server-ip:8161/admin . You will be redirected to the following page:

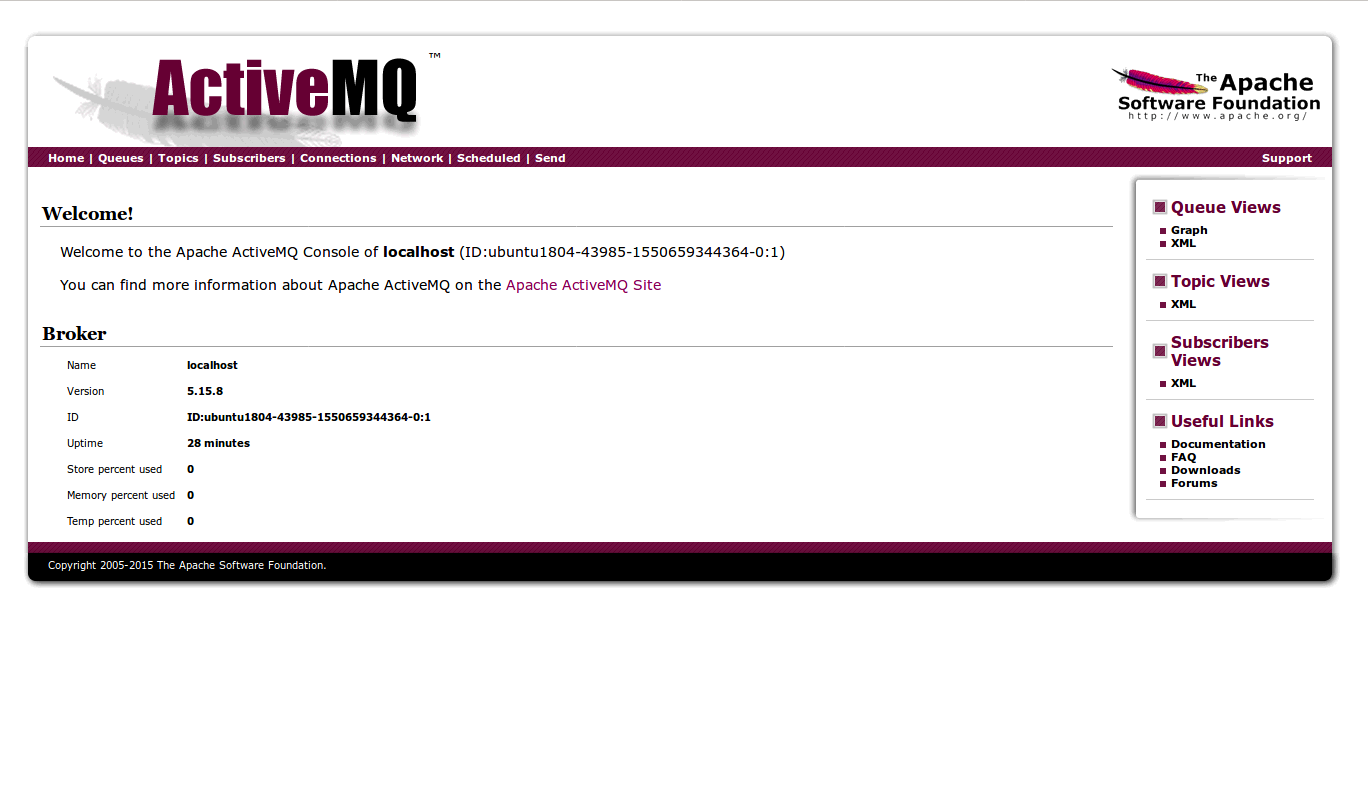
Enter the default username and password as admin / admin. Then, click on the Ok button. You should see the ActiveMQ default dashboard in the following page:

You can also monitor ActiveMQ with Hawt.io. Hawt.io is a modular web console for managing your Java stuff.
First, download the latest version of Hawt.io from their official website using the following command:
wget https://oss.sonatype.org/content/repositories/public/io/hawt/hawtio-default/2.5.0/hawtio-default-2.5.0.warOnce the download is completed, extract the downloaded file with the following command:
unzip hawtio-default-2.5.0.war -d hawtioMove the extracted directory to the /opt/activemq/webapps/ with the following command:
mv hawtio /opt/activemq/webapps/You will need to change ACTIVEMQ_OPTS to add hawtio options. You can do it by editing the following file:
nano /opt/activemq/bin/envMake the following changes:
ACTIVEMQ_OPTS="$ACTIVEMQ_OPTS_MEMORY -Djava.util.logging.config.file=logging.properties -Djava.security.auth.login.config=$ACTIVEMQ_CONF/login.config -Dhawtio.realm=activemq -Dhawtio.role=admins -Dhawtio.rolePrincipalClasses=org.apache.activemq.jaas.GroupPrincipal"Save and close the file. Then, open another file:
nano /opt/activemq/conf/jetty.xmlMake the following changes:
<bean id="rewriteHandler" class="org.eclipse.jetty.rewrite.handler.RewriteHandler">

<bean class="org.eclipse.jetty.webapp.WebAppContext">
    <property name="contextPath" value="/hawtio" />
    <property name="resourceBase" value="${activemq.home}/webapps/hawtio" />
    <property name="logUrlOnStart" value="true" />
</bean>
Save and close the file. Then, restart ActiveMQ service with the following command:
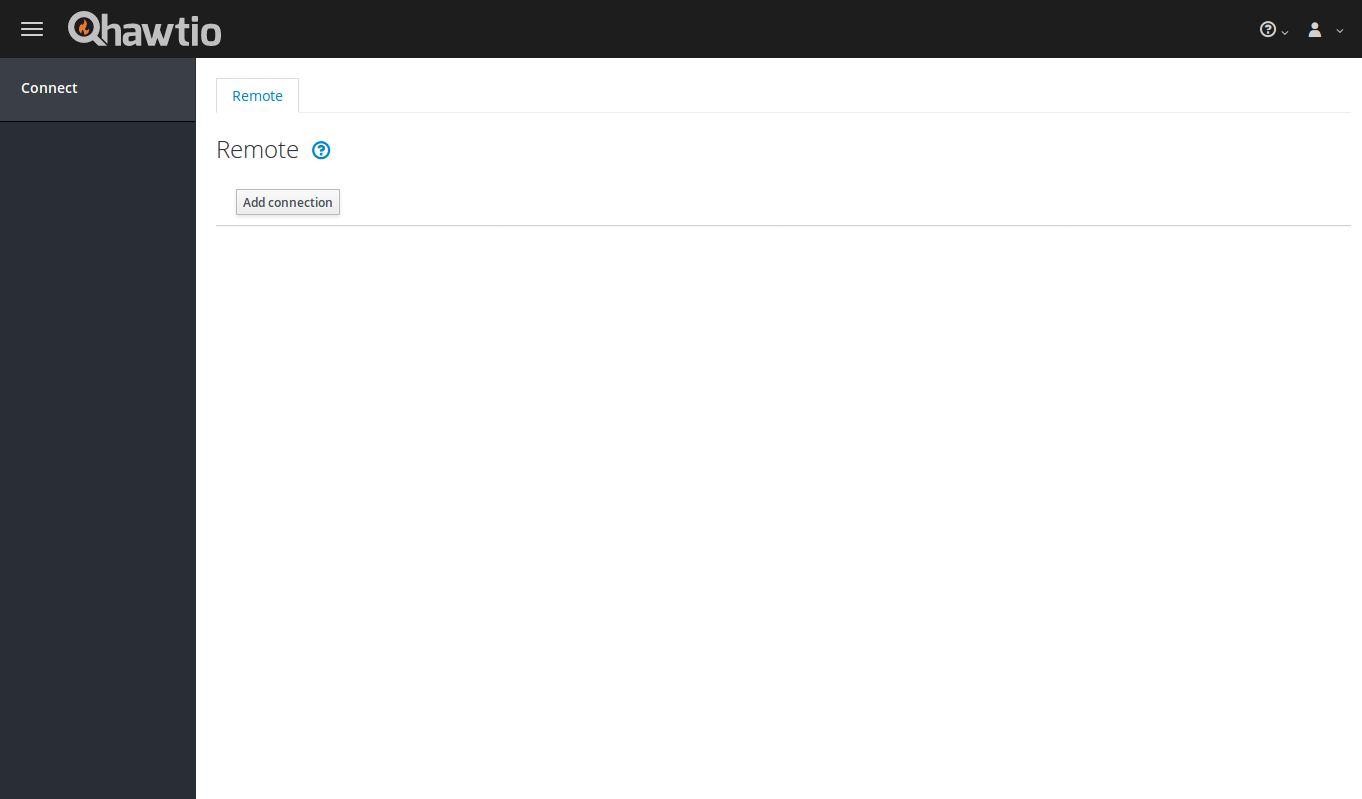
systemctl restart activemqNext, open your web browser and type the URL http://ipaddress:8161/hawtio . You will be redirected to the Hawtio ActiveMQ dashboard in the following page:


39 posts | 6 followers
FollowAlibaba Clouder - January 26, 2021
Alibaba Clouder - August 5, 2019
Alibaba Clouder - May 23, 2019
Hiteshjethva - January 8, 2020
Hiteshjethva - March 2, 2020
francisndungu - December 10, 2019

39 posts | 6 followers
Follow ApsaraMQ for RocketMQ
ApsaraMQ for RocketMQ is a distributed message queue service that supports reliable message-based asynchronous communication among microservices, distributed systems, and serverless applications.
Learn More AliwareMQ for IoT
A message service designed for IoT and mobile Internet (MI).
Learn More Message Queue for RabbitMQ
A distributed, fully managed, and professional messaging service that features high throughput, low latency, and high scalability.
Learn More Message Queue for Apache Kafka
A fully-managed Apache Kafka service to help you quickly build data pipelines for your big data analytics.
Learn MoreMore Posts by Hiteshjethva