By Hitesh Jethva, Alibaba Cloud Community Blog author.
Cerb is a free, open source and web-based collaboration and automation application written in PHP. It can be used for sending a high volume of emails and uses either MySQL or MariaDB as its database. Cerb provides a simple, and easy-to-use web interface for real-time monitoring, task management, and goal tracking.
In this tutorial, we will learn how to install and configure Cerb on an Alibaba Cloud Elastic Compute Service (ECS) CentOS 7 server.
Create a new ECS instance and connect to your instance as the root user.
Once you are logged into your CentOS 7 instance, run the following command to update your base system with the latest available packages.
yum update -yBefore starting, you will need to disable Selinux on your server. You can do this by editing /etc/selinux/config file:
nano /etc/selinux/configMake the following changes:
SELINUX=disabledSave and close the file. Then, restart your server to apply the changes.
Cerb runs on Apache web server, written in PHP and use MariaDB to store their data. So you will need to install Apache, MariaDB, PHP and other required packages to your system.
Install Apache and MariaDB server with the following command:
yum install httpd mariadb-server -yAfter installing Apache and MariaDB, you will need to install the latest version of PHP to your system. By default, the latest version of PHP is not available in the CentOS 7 default repository. So you will need to add repository for that.
Install EPEL repository with the following command:
yum install epel-release -yInstall and add REMI repository with the following command:
yum install http://rpms.remirepo.net/enterprise/remi-release-7.rpm
yum install yum-utils
yum-config-manager --enable remi-php73
Once the repository has been installed, you can install PHP with all the required libraries with the following command:
yum install php php-cli php-zip php-curl php-dom php-gd php-imap php-json php-mbstring php-mysqli php-openssl php-pcre php-session php-simplexml php-xml php-spl php-mailparse git unzip wget -yAfter installing all the packages, open php.ini file and modify some settings:
nano /etc/php.iniMake the following changes:
memory_limit = 256M
upload_max_filesize = 32M
post_max_size = 32M
Save and close the file, when you are finished. Then, start Apache and MariaDB service and enable them to start on boot time with the following command:
systemctl start httpd
systemctl start mariadb
systemctl enable httpd
systemctl enable mariadb
You can also check the status of MariaDB with the following command:
systemctl status mariadbBy default, MariaDB is not secured, so you will need to secure it first. You can secure it with the following command:
mysql_secure_installationAnswer all the questions as shown below:
Enter current password for root (enter for none): Enter
Set root password? [Y/n]: Y
New password:
Re-enter new password:
Remove anonymous users? [Y/n]: Y
Disallow root login remotely? [Y/n]: Y
Remove test database and access to it? [Y/n]: Y
Reload privilege tables now? [Y/n]: Y
Once MariaDB is secured, log in to MariaDB shell with the following command:
mysql -u root -pEnter your root password when prompt, then create a database and user for Cerb with the following command:
MariaDB [(none)]>CREATE DATABASE cerbdb;
MariaDB [(none)]>GRANT ALL PRIVILEGES ON cerbdb.* TO 'cerbuser'@'localhost' IDENTIFIED BY 'password' WITH GRANT OPTION;
Flush the privileges and exit from the MariaDB shell with the following command:
MariaDB [(none)]>FLUSH PRIVILEGES;
MariaDB [(none)]>EXIT;
Once you have done, you can proceed to the next step.
Before installing Cerb, you will also need to install Composer to your system. Composer is a dependency manager for PHP. It can be used to install dependencies required by PHP.
First, download the Composer installer script with the following command:
php -r "copy('https://getcomposer.org/installer', 'composer-setup.php');"Download the expected signature of the latest Composer installer from the Composer's Github repository and store it in a variable with the following command:
HASH="$(wget -q -O - https://composer.github.io/installer.sig)"Verify the installer script with the following command:
php -r "if (hash_file('SHA384', 'composer-setup.php') === '$HASH') { echo 'Installer verified'; } else { echo 'Installer corrupt'; unlink('composer-setup.php'); } echo PHP_EOL;"If everything will be fine, you should see the following output:
Installer verifiedInstall Composer with the following command:
php composer-setup.php --install-dir=/usr/local/bin --filename=composerYou will need to download the latest version of the Cerb from Git repository. You can download it with the following command:
cd /var/www/html
git clone git://github.com/wgm/cerb.git cerb
Change the directory to the cerb and install all the PHP dependencies using Composer as shown below:
cd cerb
composer install
Give proper permissions to the cerb directory with the following command:
chown -R apache:apache /var/www/html/cerb
chmod -R 755 /var/www/html/cerbYou will need to create an Apache virtual host file for Cerb. You can create it with the following command:
nano /etc/httpd/conf.d/cerb.confAdd the following lines:
<VirtualHost *:80>
    ServerAdmin admin@example.com
    DocumentRoot "/var/www/html/cerb"
    ServerName example.com
    ErrorLog "/var/log/httpd/cerb-error_log"
    CustomLog "/var/log/httpd/cerb-access_log" combined
</VirtualHost>
Save and close the file, when you are finished. Then, restart Apache web service with the following command:
systemctl restart httpdYou can also check the status of Apache service with the following command:
systemctl status httpdAllow port 80 through firewalld. You can do this with the following command:
firewall-cmd --zone=public --permanent --add-service=httpReload the firewalld to apply all the changes with the following command:
firewall-cmd --reloadCerb is now installed and configured, it's time to access Cerb web interface.
Open your web browser and type the URL http://example.com . You will be redirected to the following page:
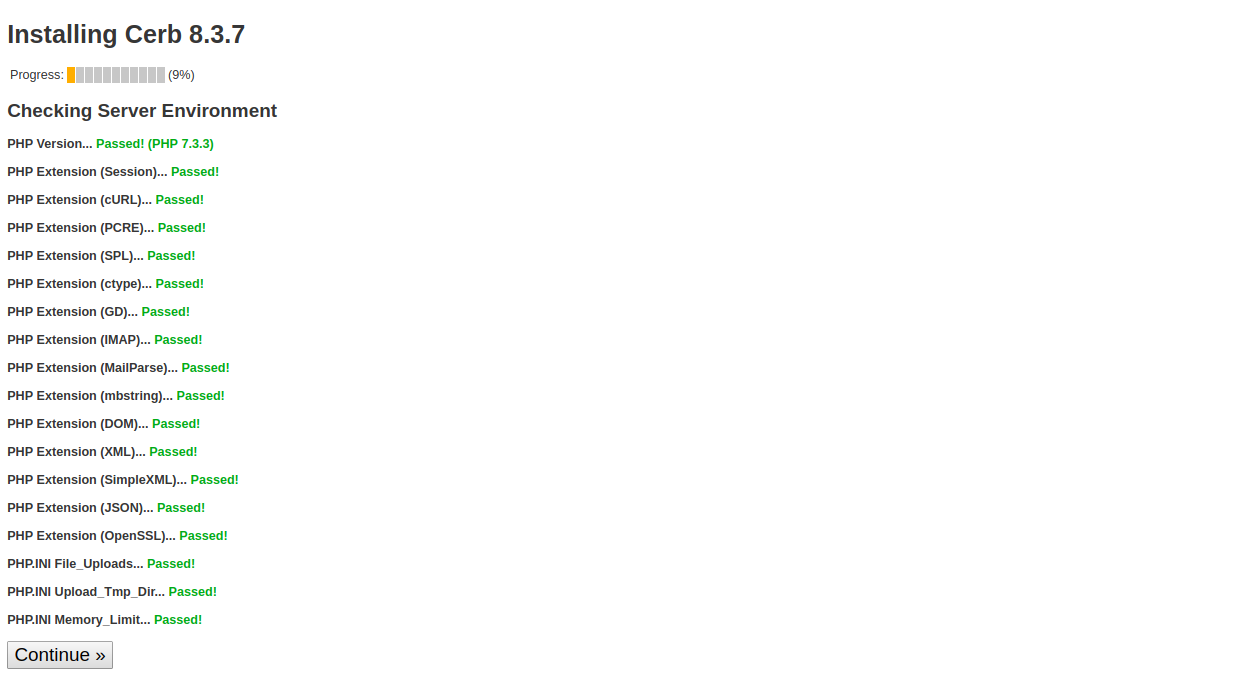
Make sure all the required dependencies have been installed. Then, click on the Continue button. You should see the following page:
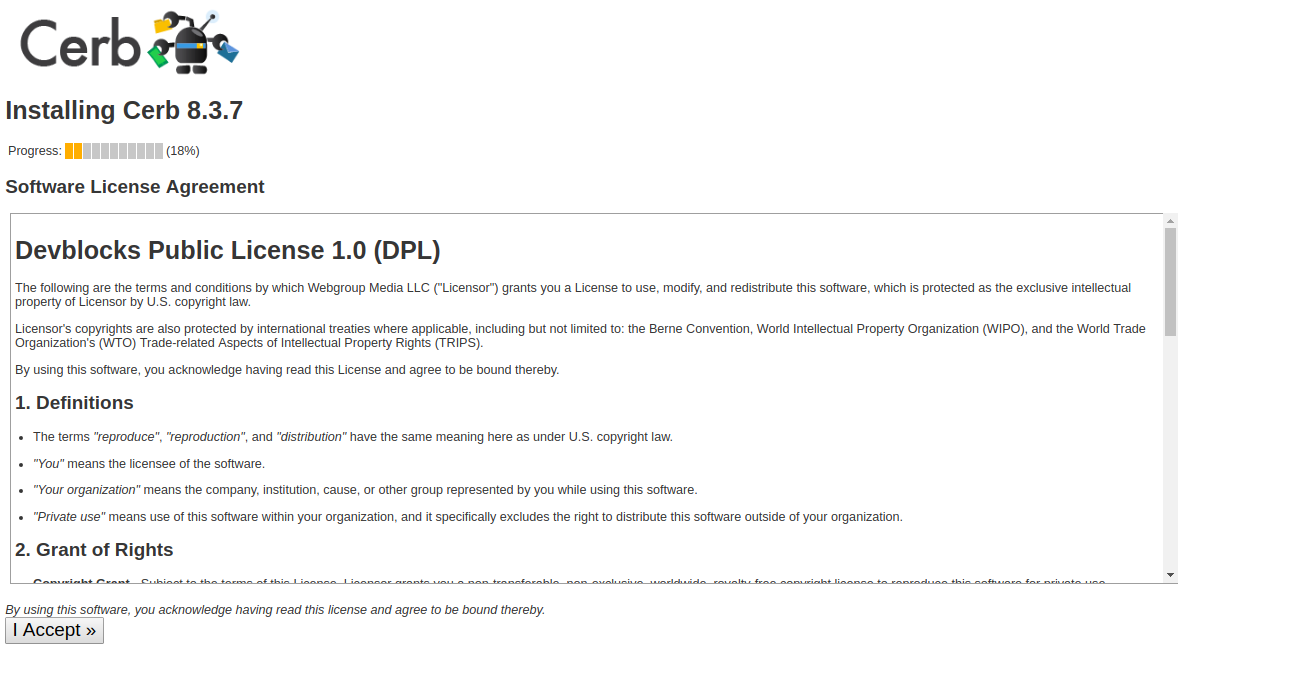
Accept the license agreement and click on the I Accept button. You should see the following page:
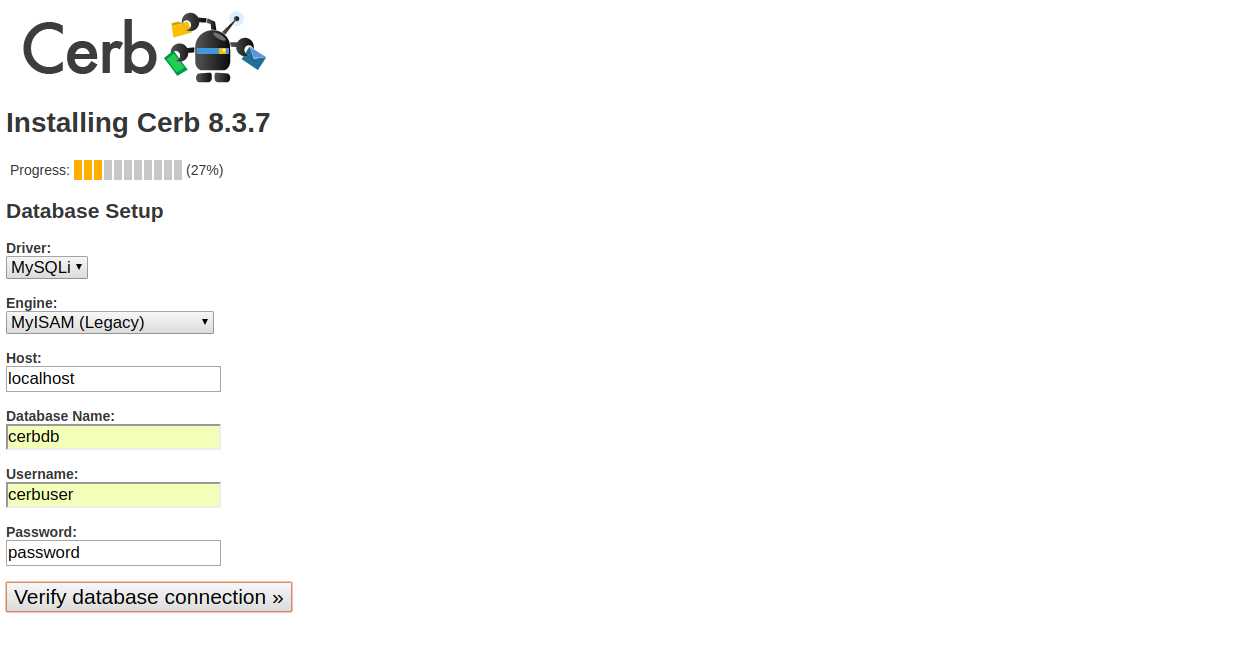
Provide your database details like, database name, database user name and password. Then, click on Verify database connection. You should see the following page:
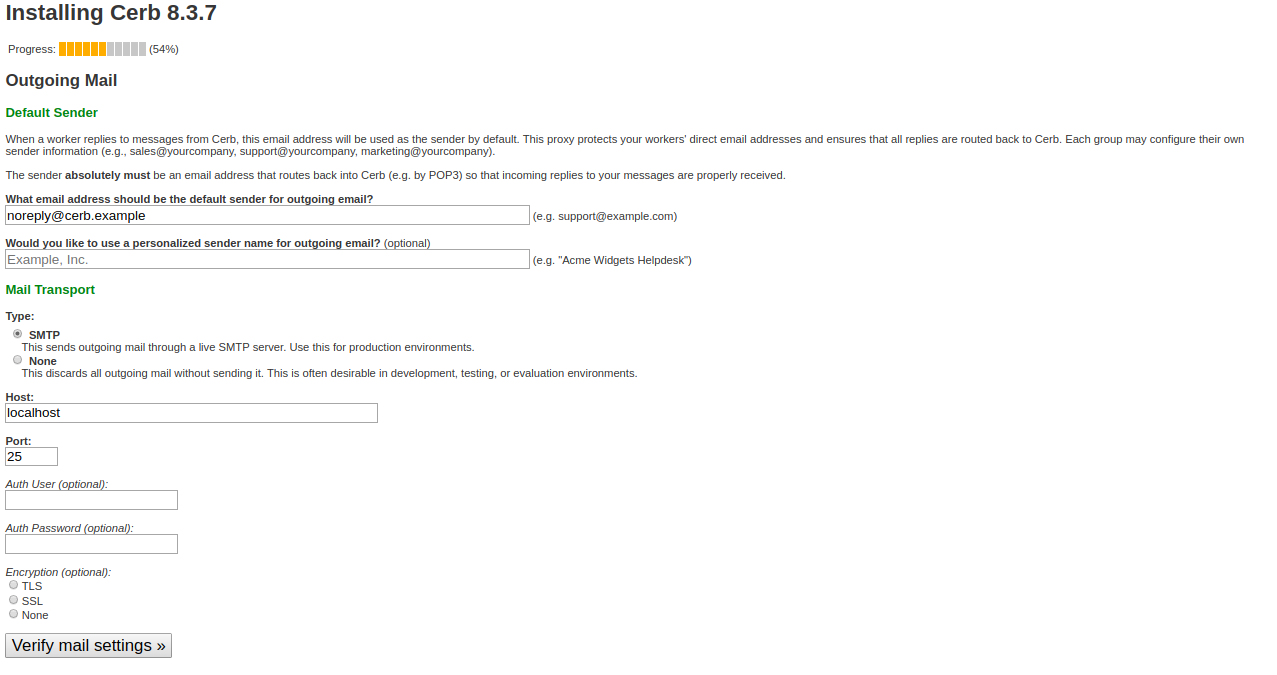
Enter your outgoing mail settings and click on the Verify mail settings. You should see the following page:
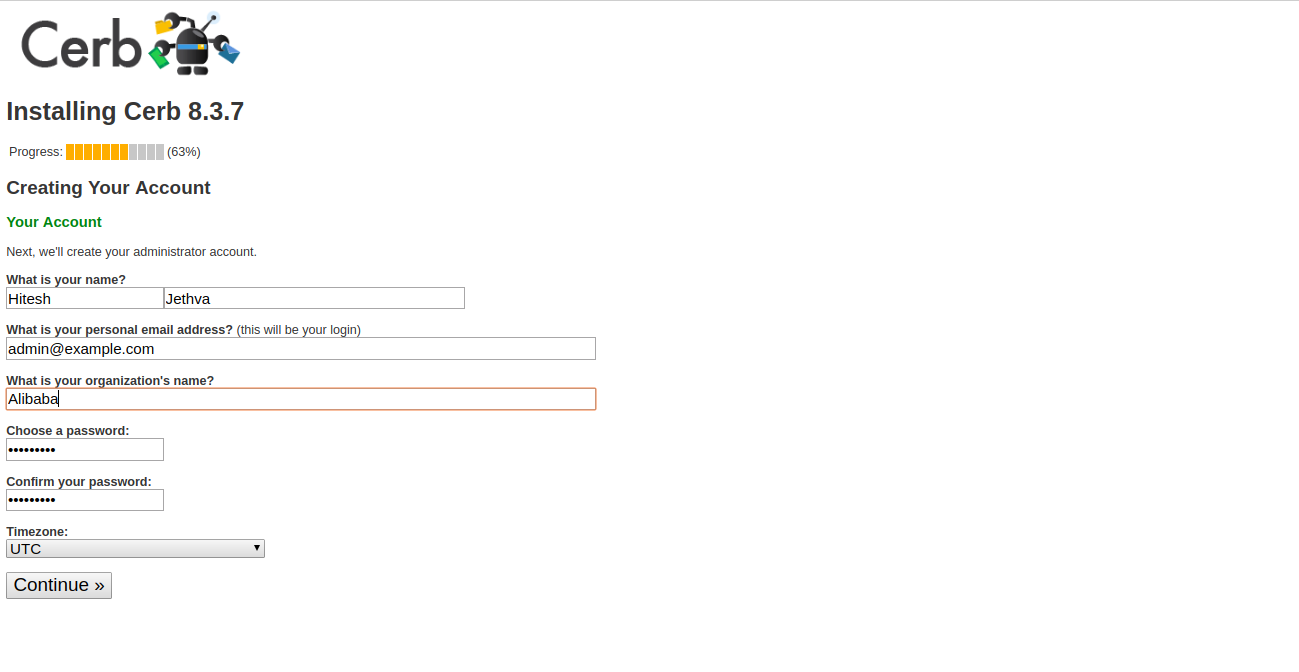
Enter your name, organization name, email and password. Then, click on the Continue button. You should see the following page:
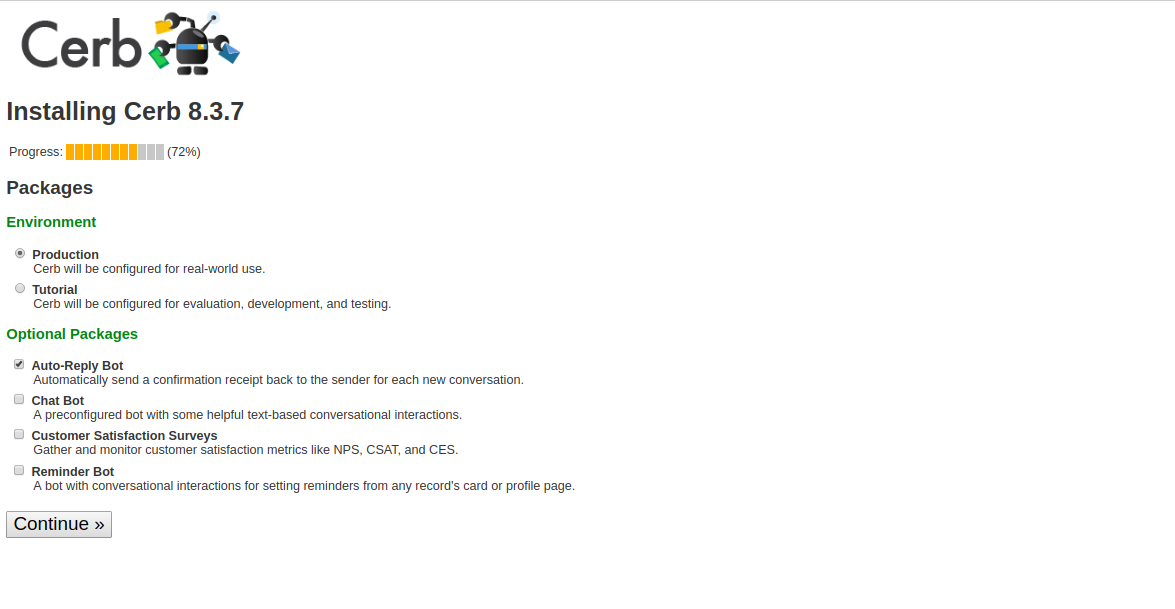
Choose your environment and packages. Then, click on the Continue button. Once the installation has been completed successfully, you should see the following page:
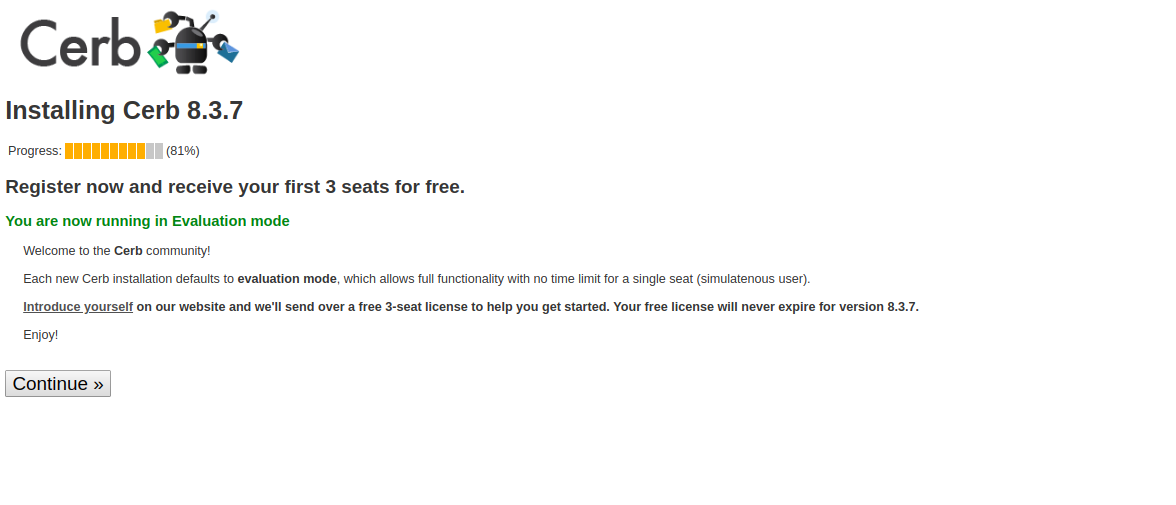
Click on the Continue button. You should see the following page:
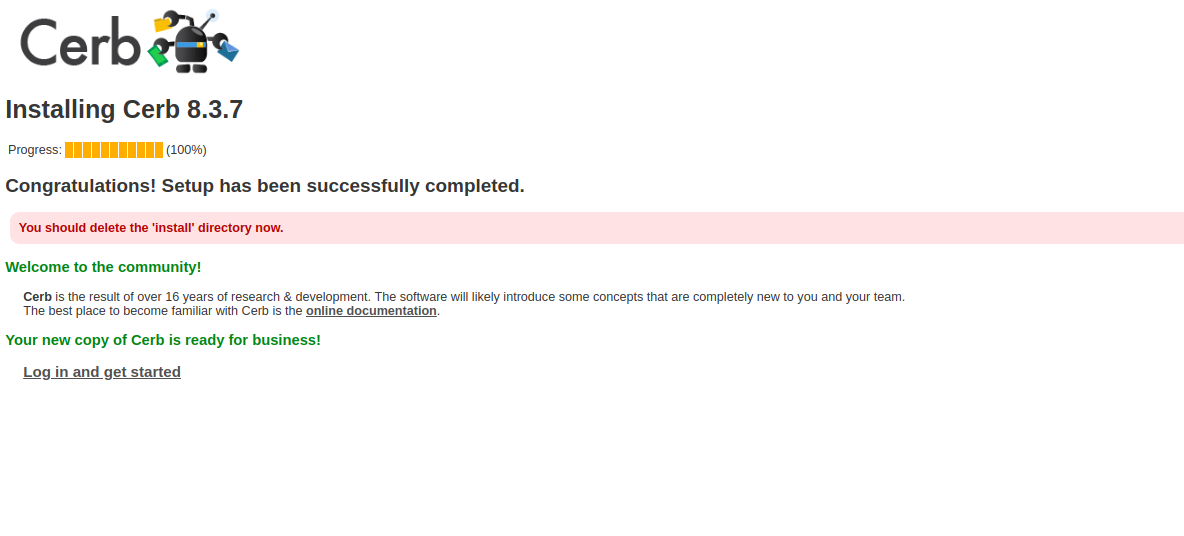
Click on the Log in and get started button. You should see the following page:
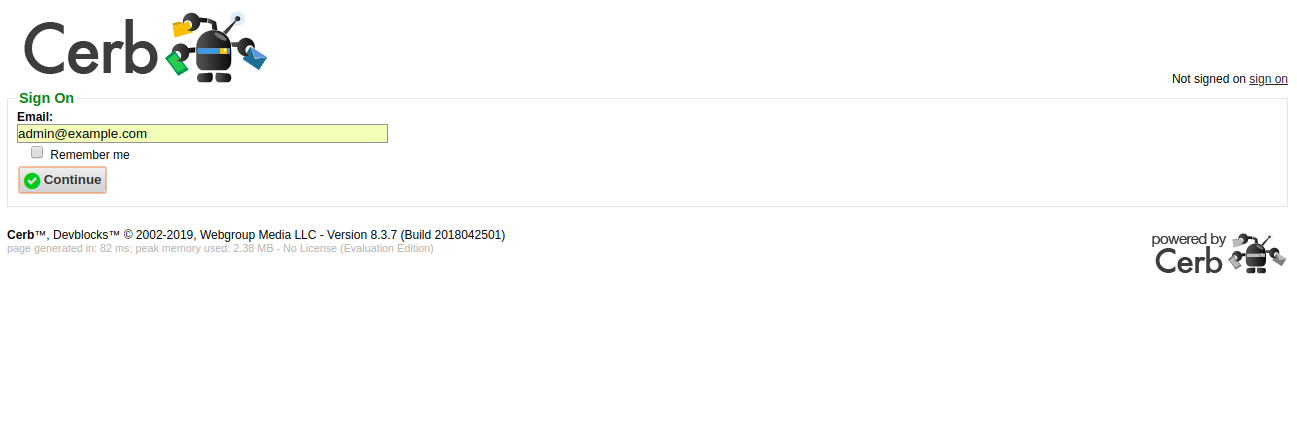
Provide your email address and click on the Continue button. You should see the following page:

Provide your password and click on the Sign On button. You should see the Cerb default dashboard in the following page:
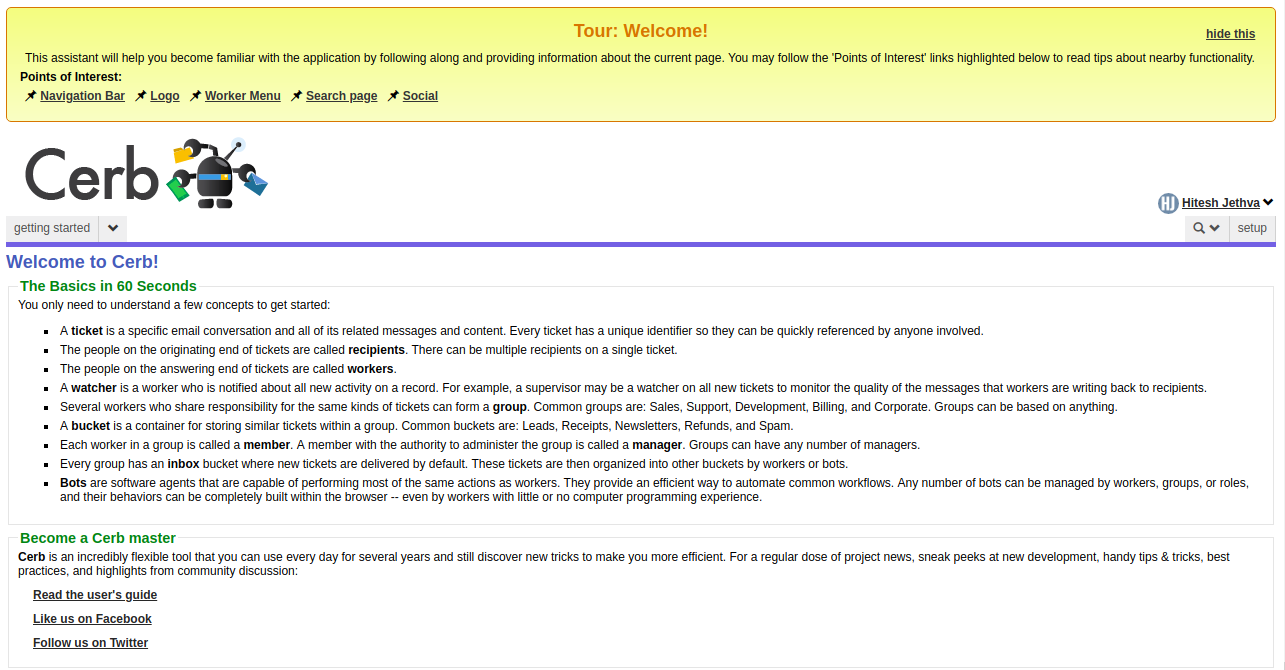
Congratulations! You have successfully installed Cerb on CentOS 7 server. You can now easily send large amount of email through the Cerb web based interface.

39 posts | 6 followers
FollowHiteshjethva - January 8, 2020
Alibaba Clouder - April 12, 2019
Alibaba Clouder - May 13, 2019
Alibaba Clouder - April 1, 2019
Hiteshjethva - December 12, 2019
Alibaba Clouder - June 8, 2018

39 posts | 6 followers
Follow Alibaba Mail
Alibaba Mail is one of the only email service providers in the industry that supports public cloud services and provides fast, secure, and stable services.
Learn More Super App Solution for Telcos
Alibaba Cloud (in partnership with Whale Cloud) helps telcos build an all-in-one telecommunication and digital lifestyle platform based on DingTalk.
Learn More ECS(Elastic Compute Service)
Elastic and secure virtual cloud servers to cater all your cloud hosting needs.
Learn More ECS Bare Metal Instance
An elastic and horizontally scalable high-performance computing service providing the same computing performance as traditional physical servers including physical isolation.
Learn MoreMore Posts by Hiteshjethva