You can replace the original security groups of an Elastic Compute Service (ECS) or elastic network interface (ENI) instance with other security groups based on your business requirements. This topic describes how to use Cloud Architect Design Tools (CADT) to replace a security group of an ECS or ENI instance.
Replacement rules
Service | Original security group | New security group supported after replacement |
ECS | Basic security group |
|
Advanced security group |
| |
ENI | Basic security group | Basic security group |
Advanced security group | Advanced security group |
Security groups can affect the network connectivity of ECS instances. Before you replace the security groups of an ECS instance, make sure that the new security groups meet your network connectivity requirements and do not affect service availability.
An ECS instance cannot belong to both basic and advanced security groups at the same time. An ECS instance must belong to security groups of the same type.
Replacement method
To replace a security group of an ECS or ENI instance by using CADT, you must first create a new security group or import an existing security group for the ECS or ENI instance. Then, delete the original security group.
Procedure
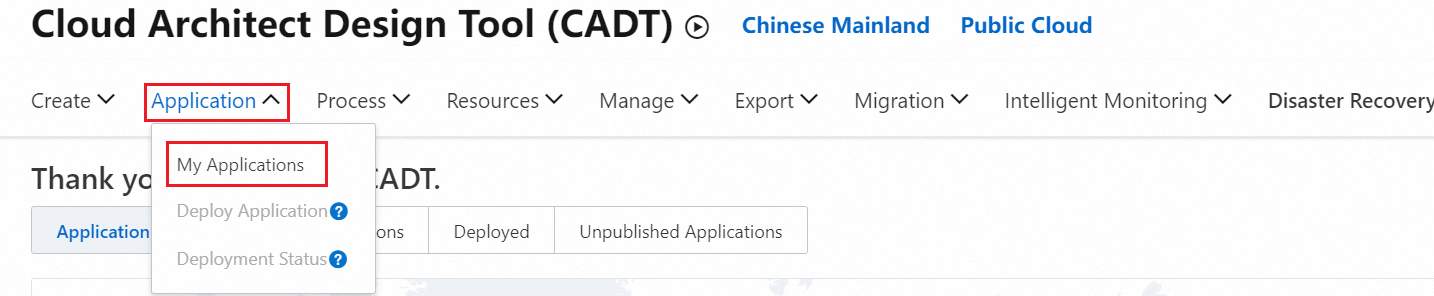
Log on to the CADT console. In the top navigation bar, choose Application > My Applications.
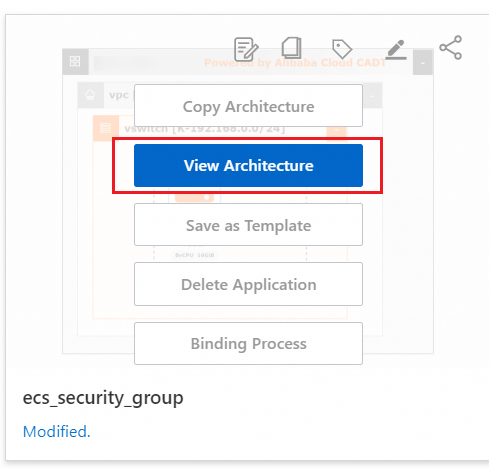
On the page that appears, find the application for which you want to replace the security group, move the pointer over the application, and then click View Architecture.
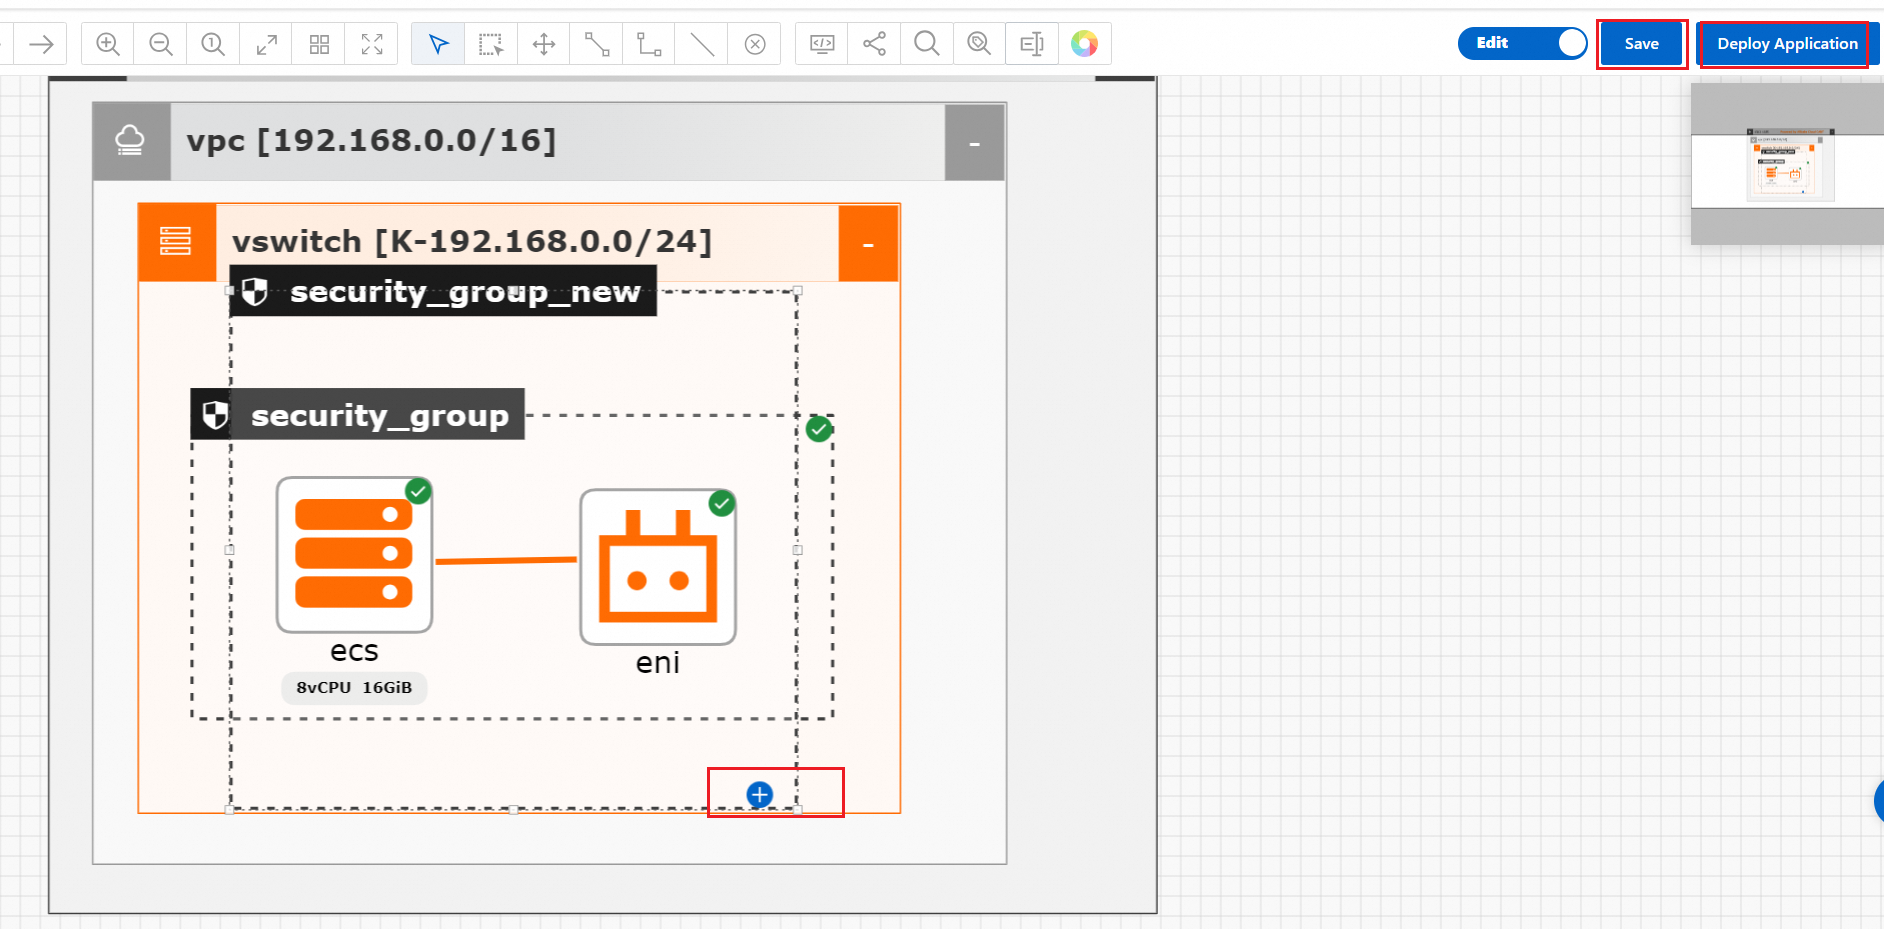
Turn on Edit, and drag a new security group to the canvas to cover the corresponding instance resource. The following figure shows the sequence of operations. In this example, a new basic security group is created.

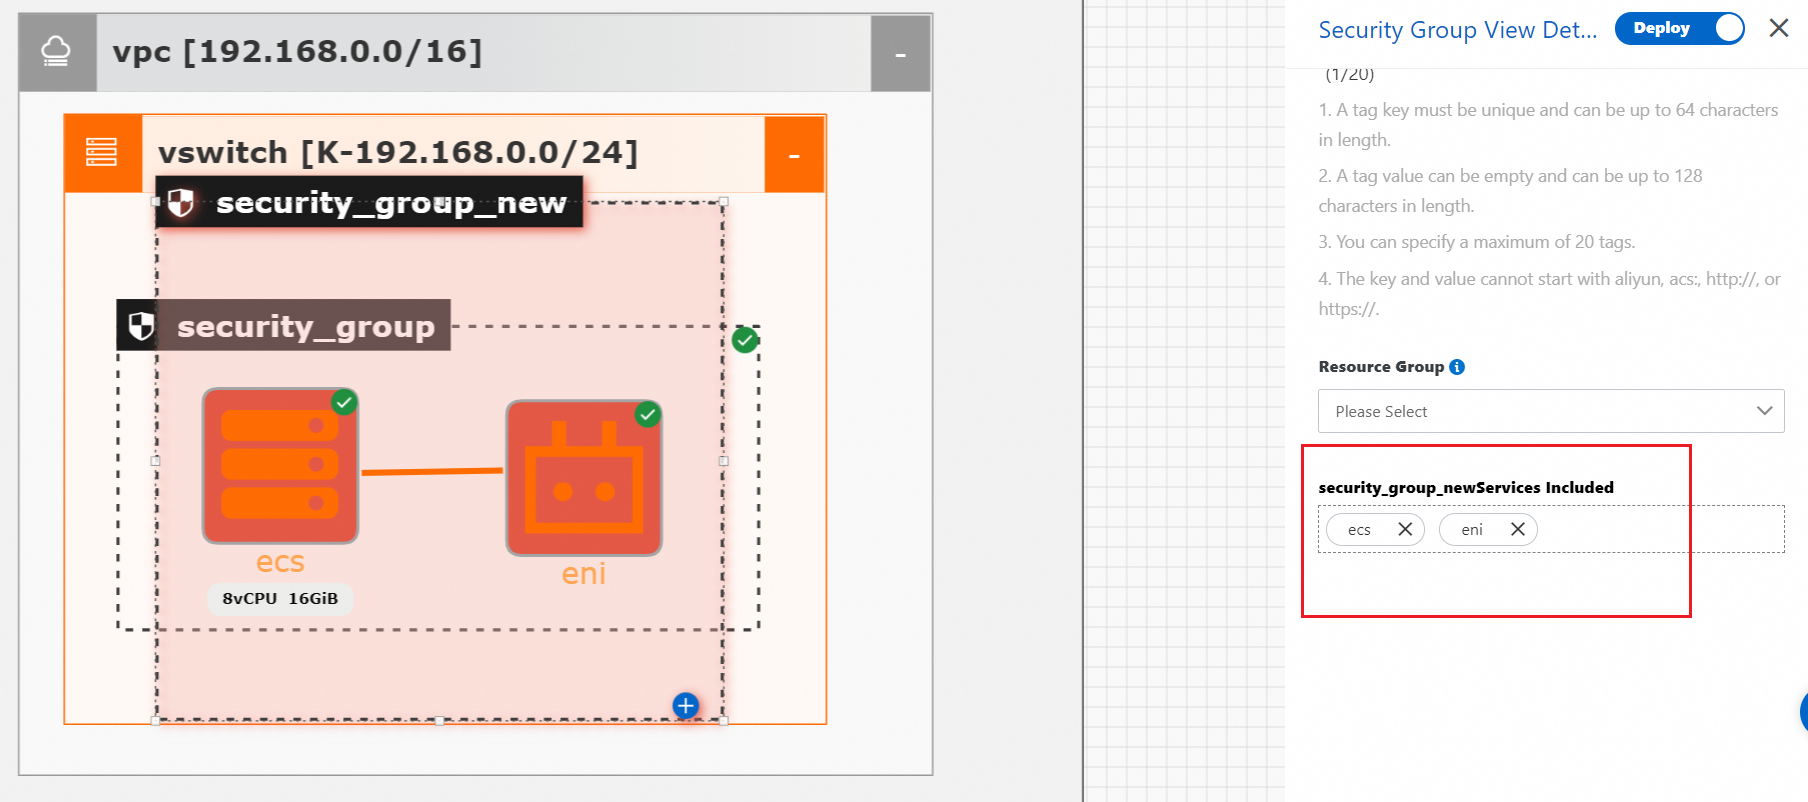
Double-click the new security group. In the panel that appears, configure the parameters based on your business requirements.
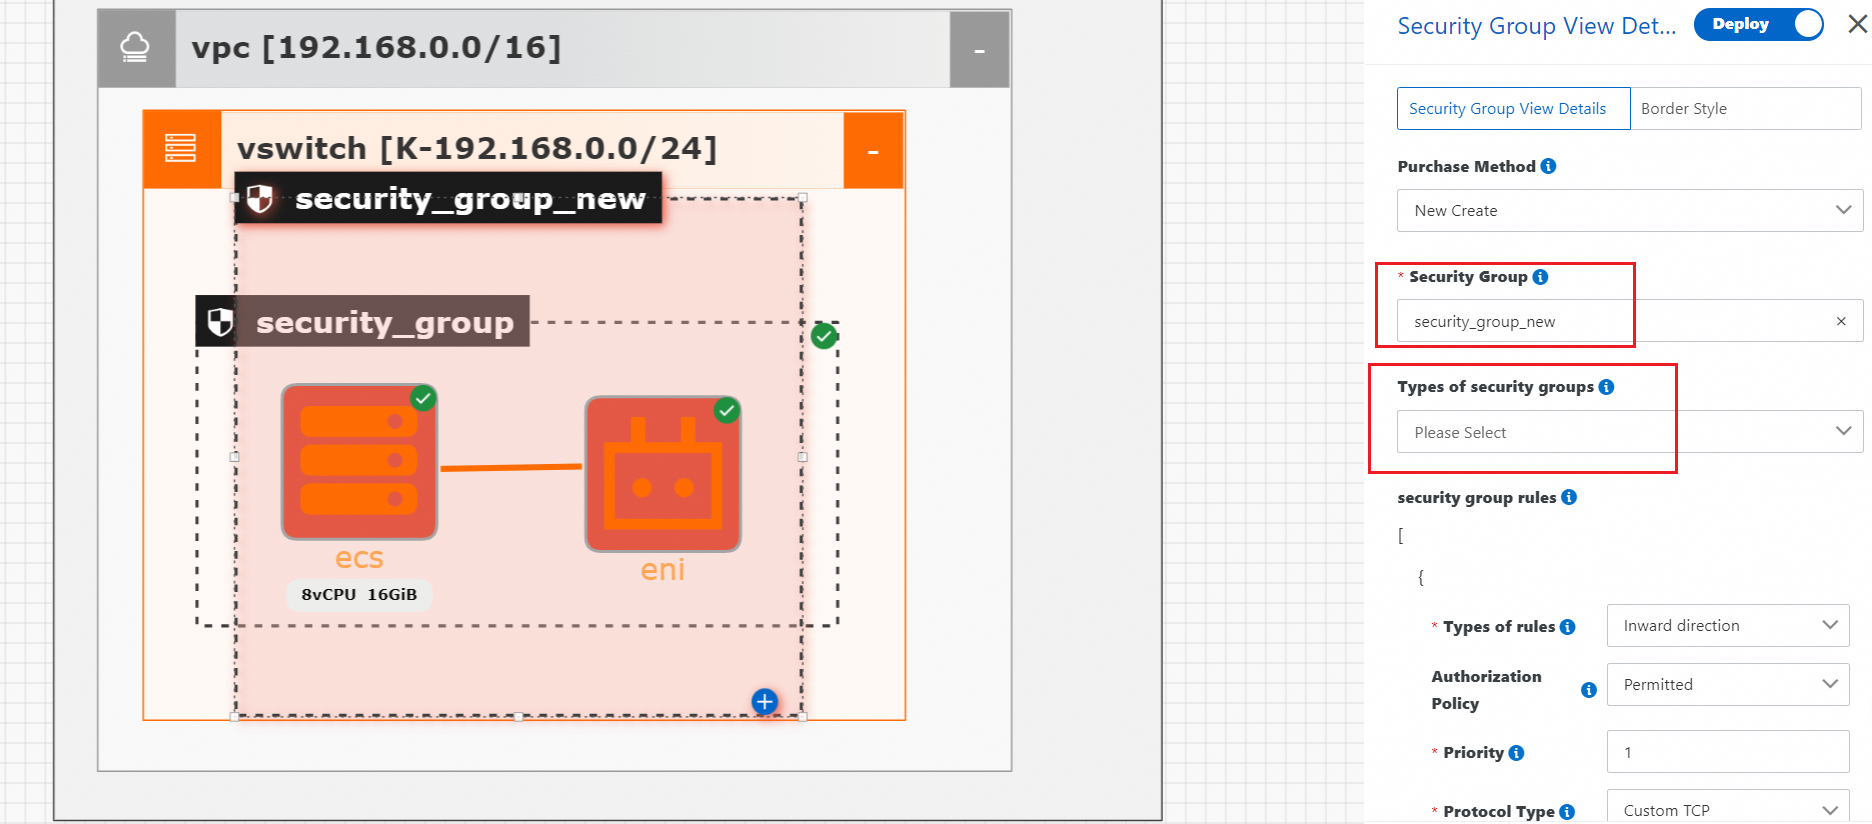
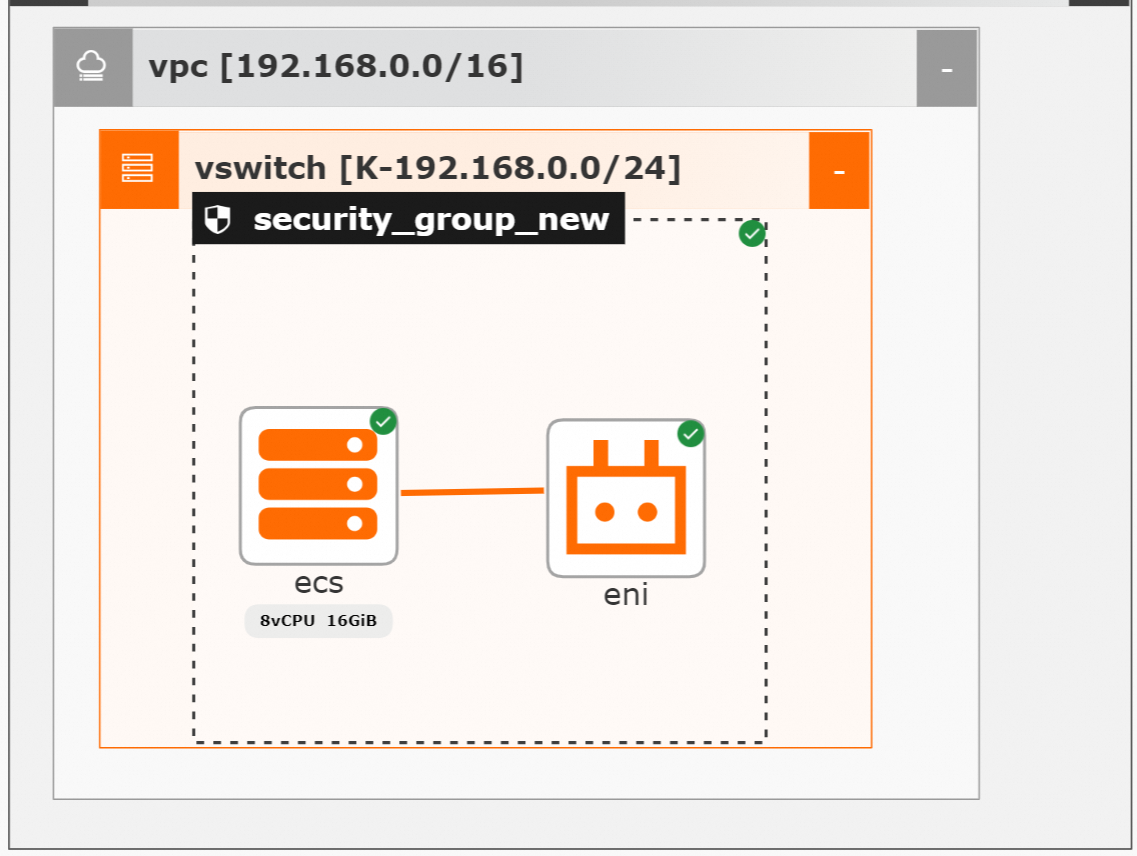
Confirm that the new security group contains the corresponding service instances.
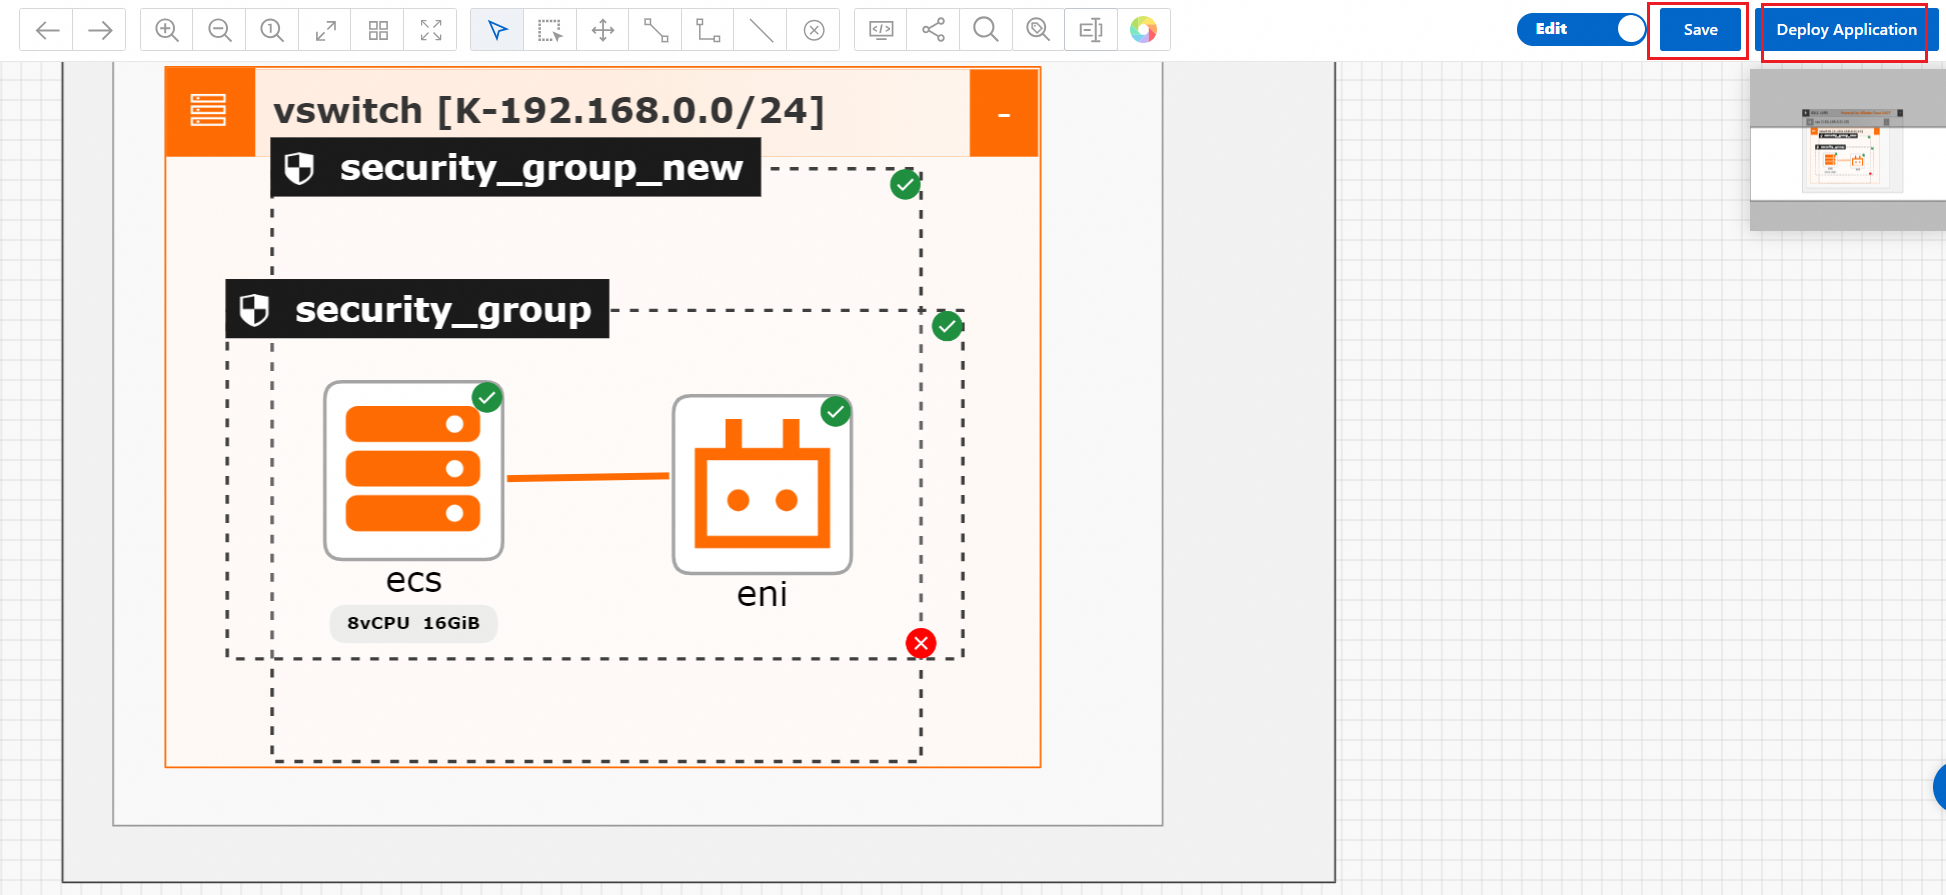
After you complete the preceding configurations, click Save and then click Deploy Application.
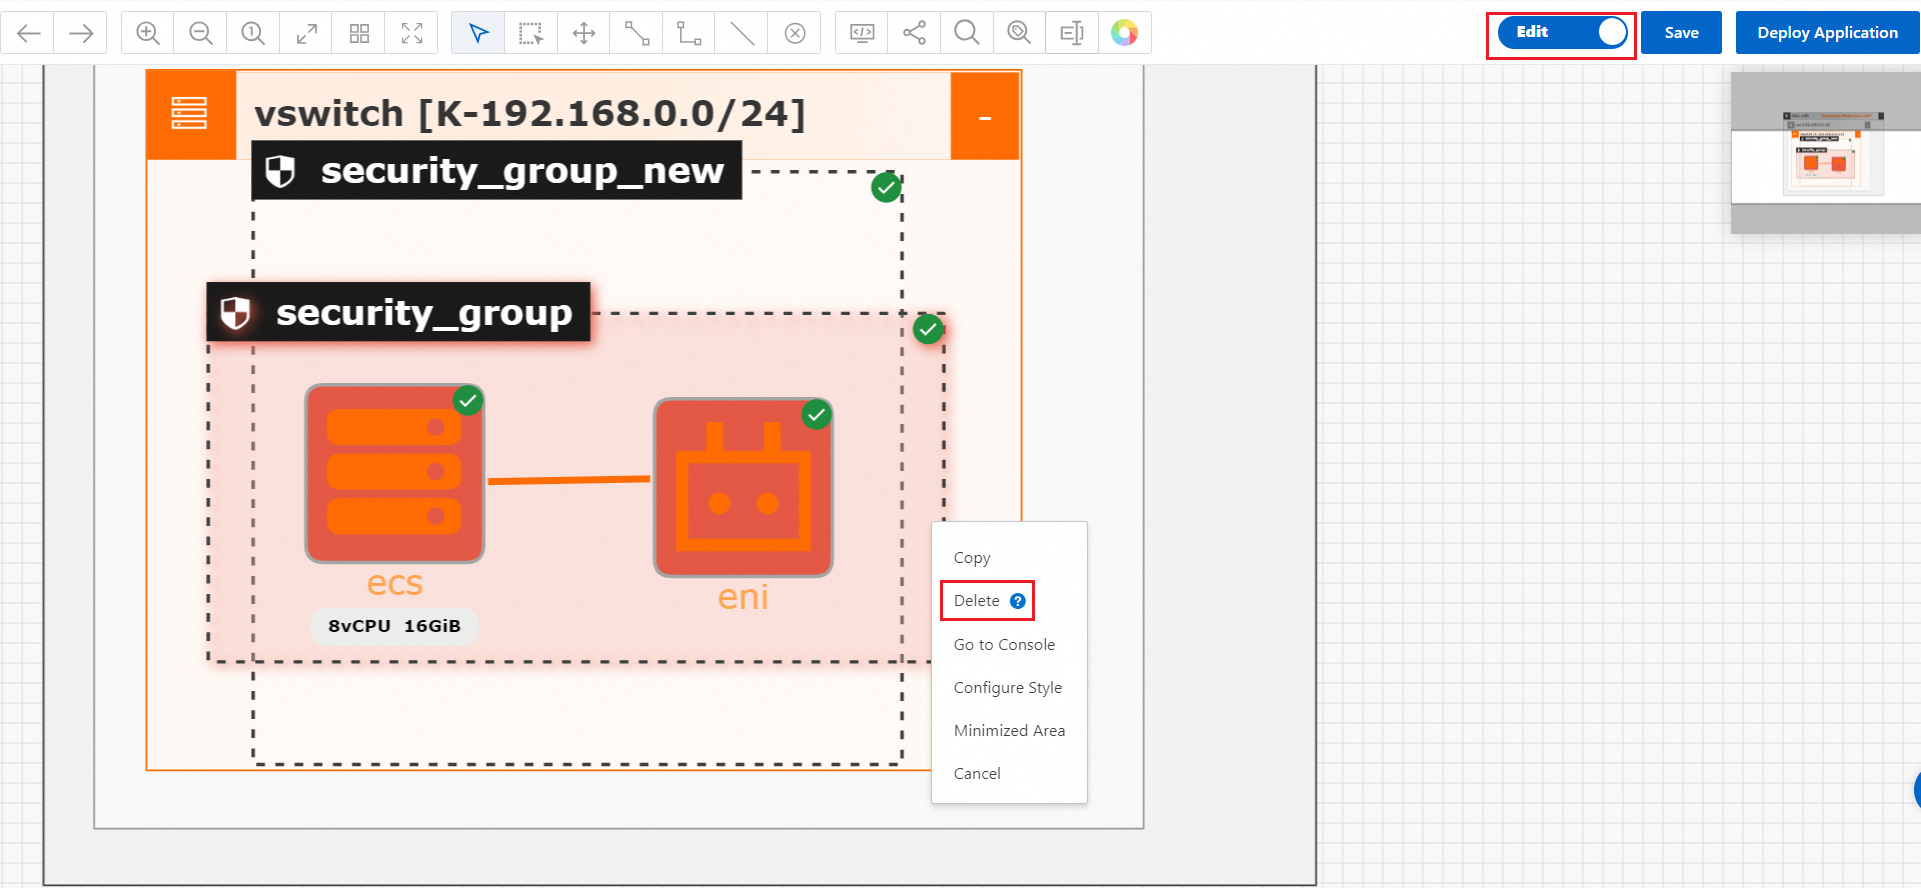
After the application is deployed, turn on Edit, right-click the original security group, and then click Delete.
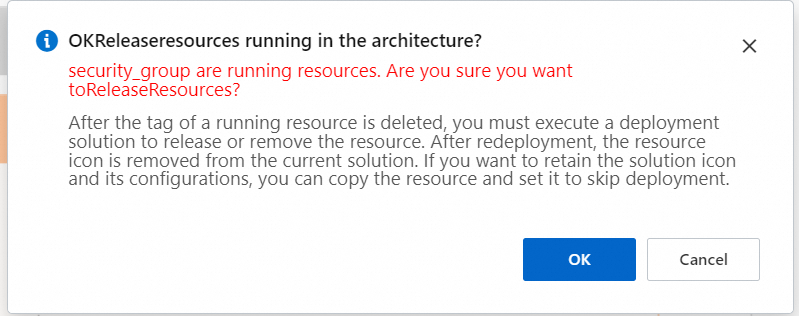
Save the application again and deploy it.
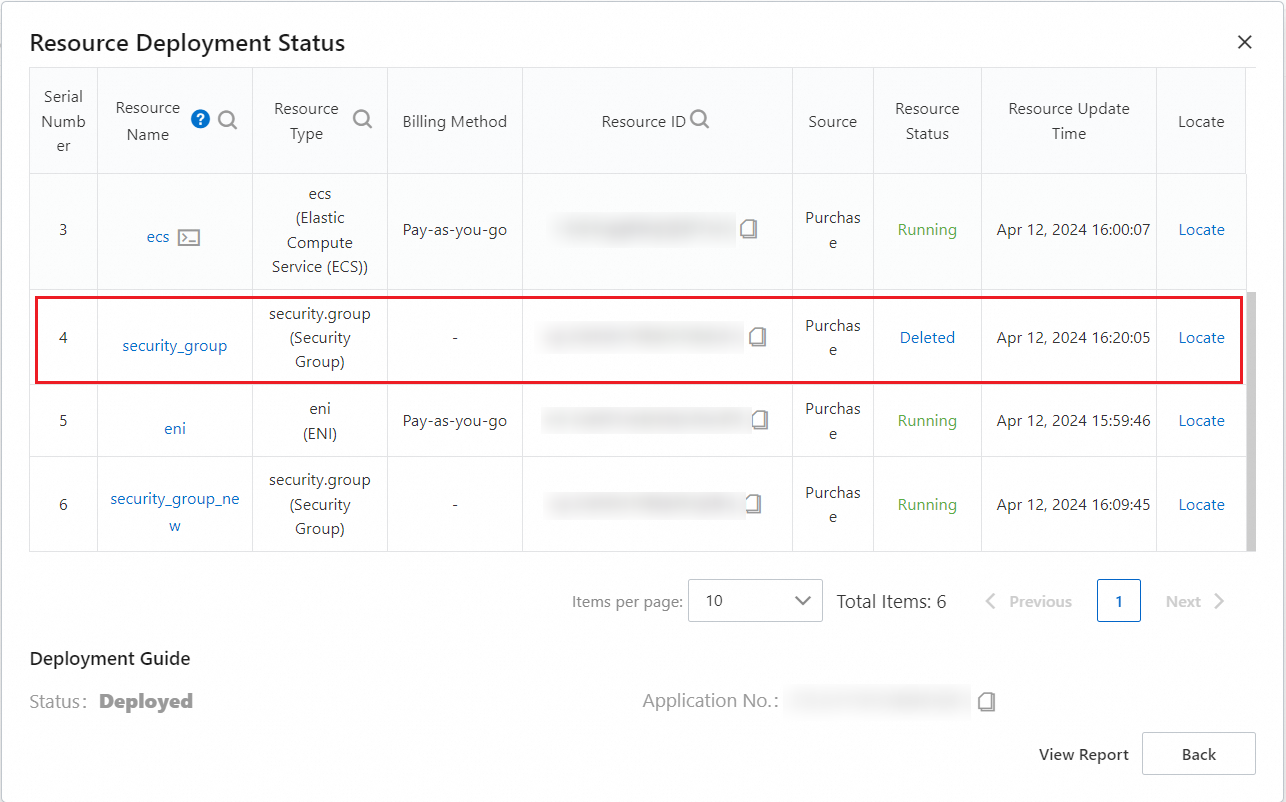
After the application is deployed, view the resource information. The original security group is deleted and the new security group runs as expected.
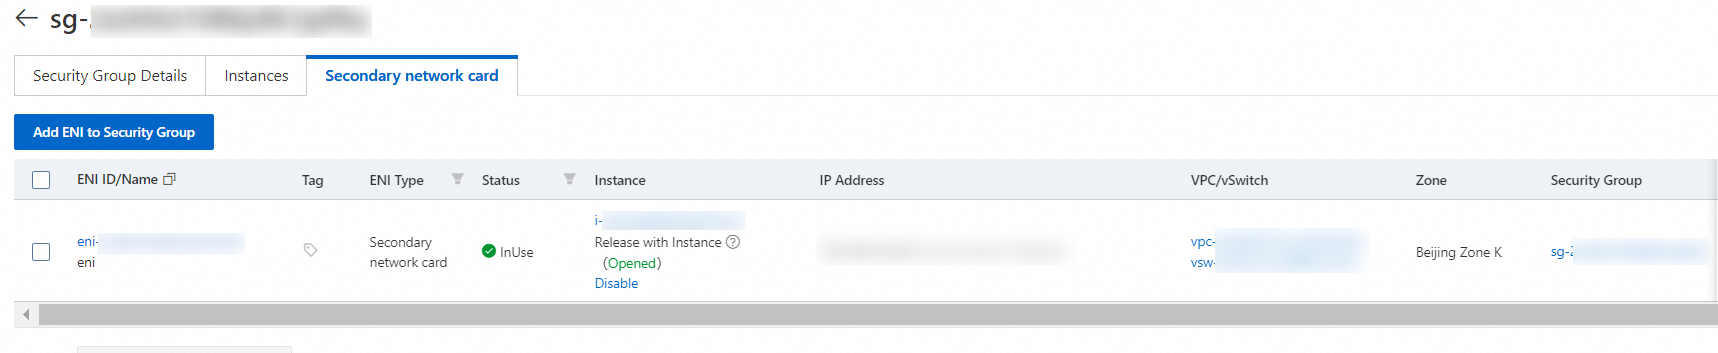
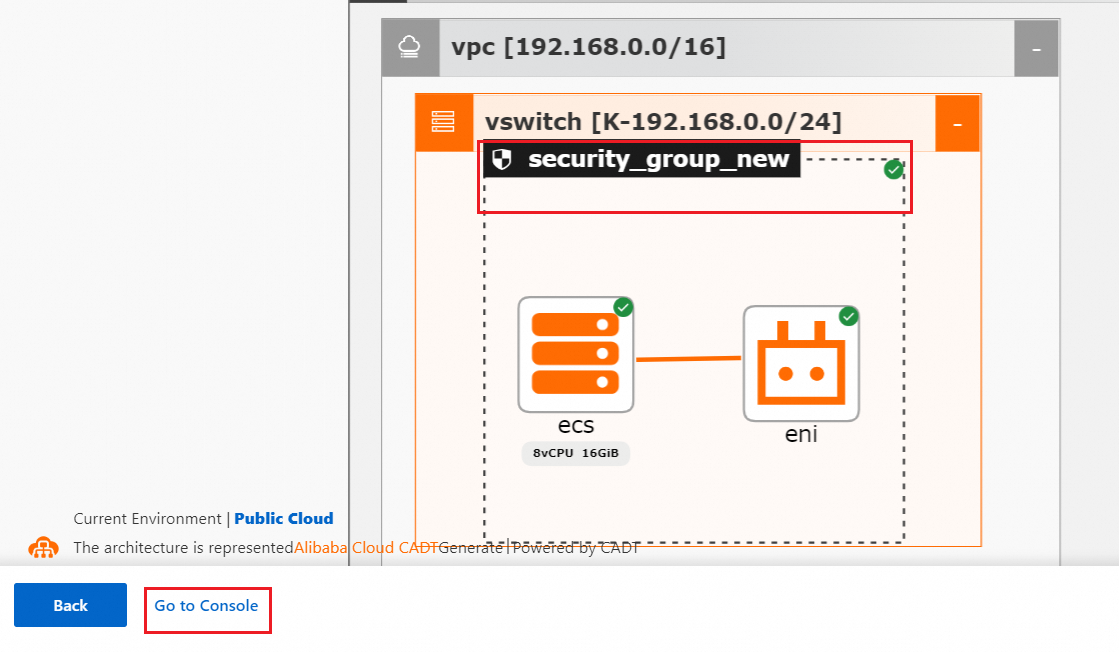
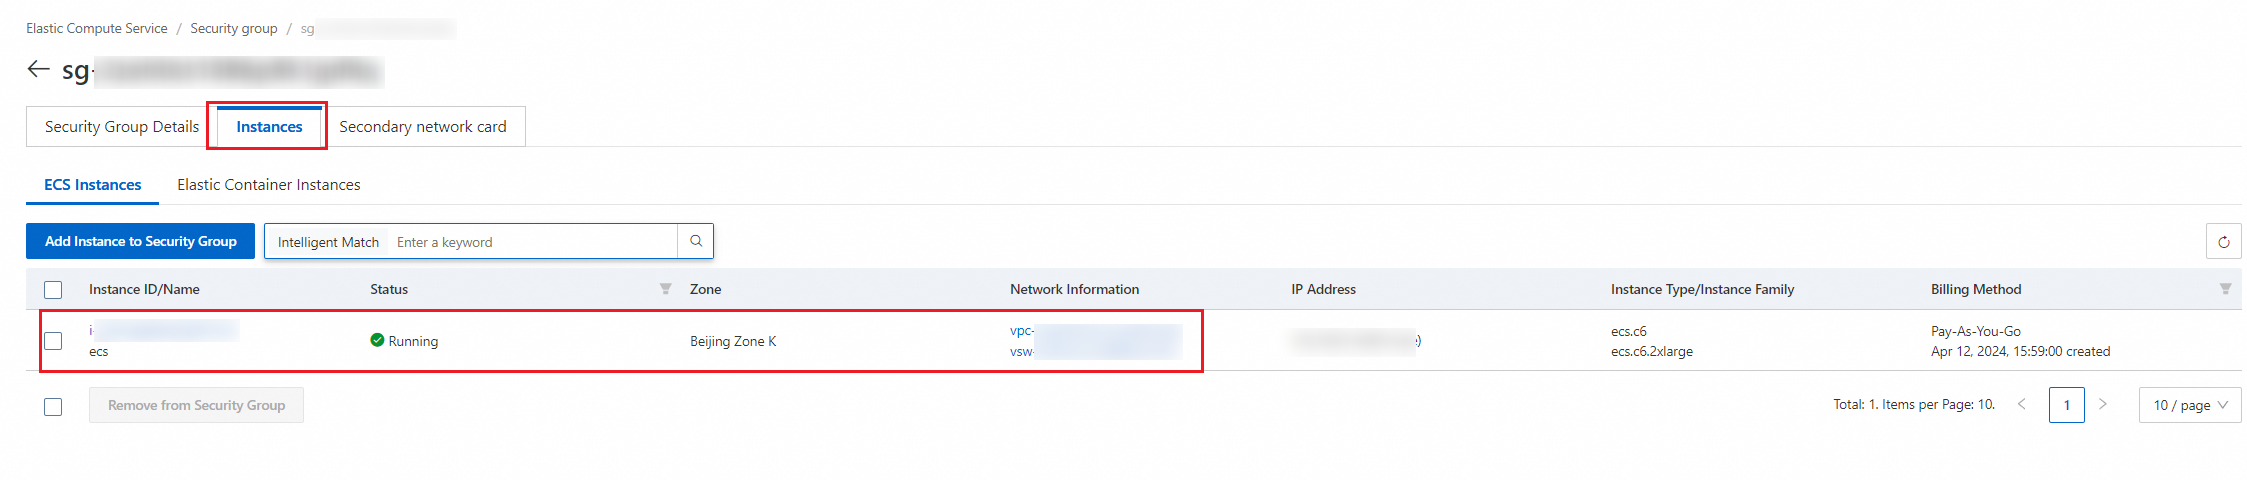
Double-click the security group on the canvas and click Go to Console to verify that the new security group contains the corresponding service instances.
ECS instance:
ENI instance: