You can access the tutorial artifact, including deployment script (Terraform), related source code, sample data, and instruction guidance from this GitHub project.
Please refer to this link for more tutorials around Alibaba Cloud Database
Database Deployment Tutorials Series: https://community.alibabacloud.com/series/118
This is a Next.js and MongoDB social web application designed with simplicity for learning and real-world applicability in mind. It uses Next.js and MongoDB on the cloud.
This is the original project. We've modified and customized it to make it work Alibaba Cloud ECS and MongoDB.
Deployment Architecture:
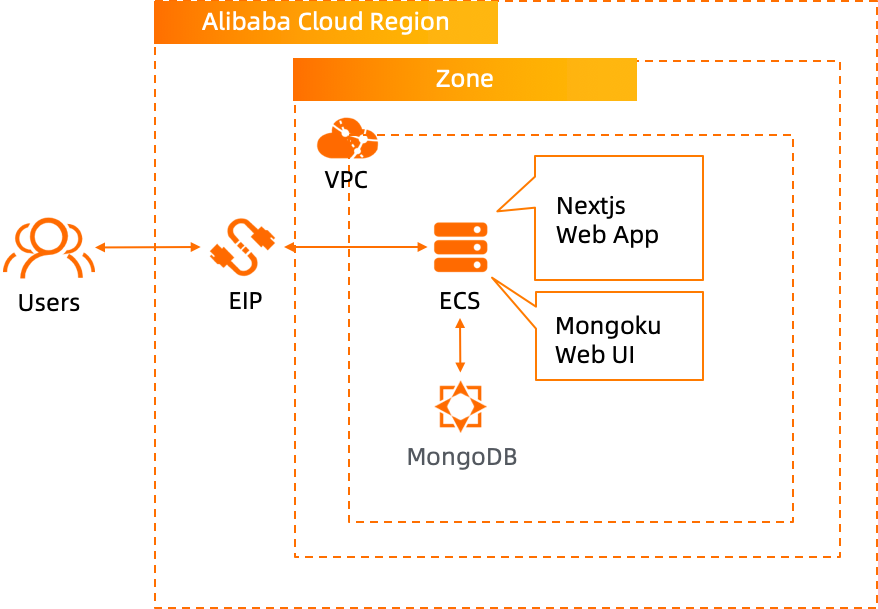
Run the Terraform script to initialize the resources. (IIn this tutorial, we use MongoDB as a backend database, so ECS and MongoDB are included in the Terraform script.*) Please specify the necessary information and region to deploy.

After the Terraform script execution finishes, the ECS instance information is listed below:
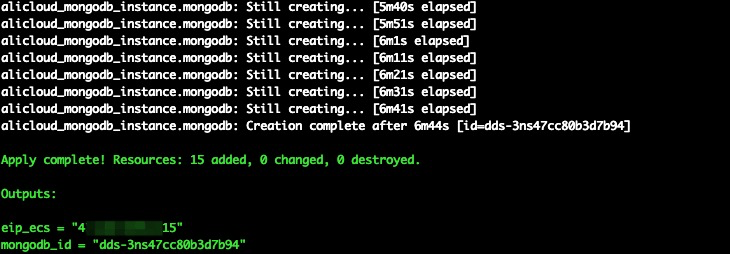
eip_ecs: The public EIP of the ECS for web app hostGo to the Alibaba Cloud ECS console to see the ECS instance you just created:
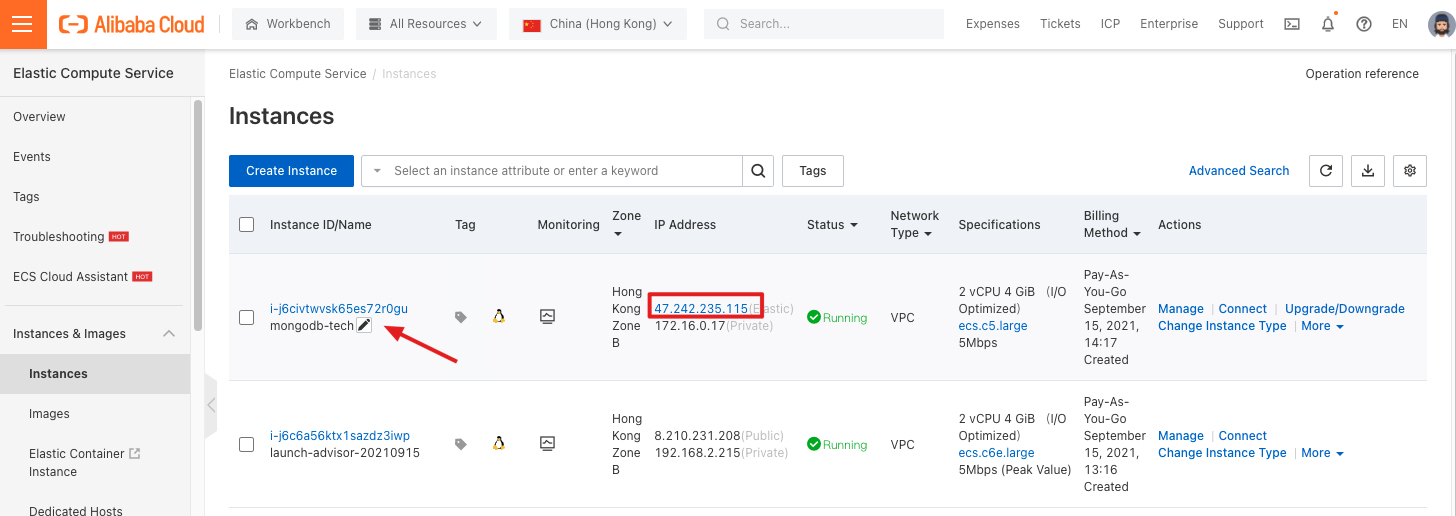
Go to the Alibaba Cloud MongoDB console to view the MongoDB instance:

Copy the public IP address of the "mongodb-tech" instance you just created and log in remotely via SSH.

The default account name and password of the ECS instance:
Account name: root
Password: Aliyuntest123
ssh root@<ECS_EIP>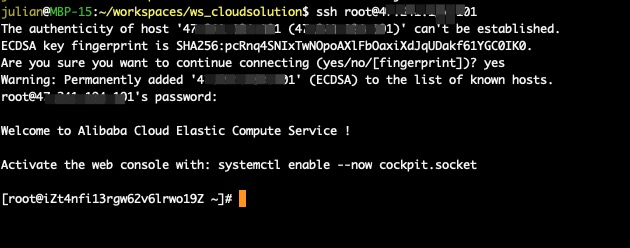
Enter the following command to download the Node.js installation package:
wget https://labex-ali-data.oss-us-west-1.aliyuncs.com/nodejs/node-v16.9.1-linux-x64.tar.xz 
Enter the following command to decompress the installation package:
tar xf node-v16.9.1-linux-x64.tar.xz
Run the following command to move the decompressed directory to the /usr/local directory:
mv node-v16.9.1-linux-x64 /usr/local/node
Run the vim /etc/profile command to open the environment variable configuration file. Append the following content to the end of the file:
export NODE_HOME=/usr/local/node
export PATH=$PATH:$NODE_HOME/bin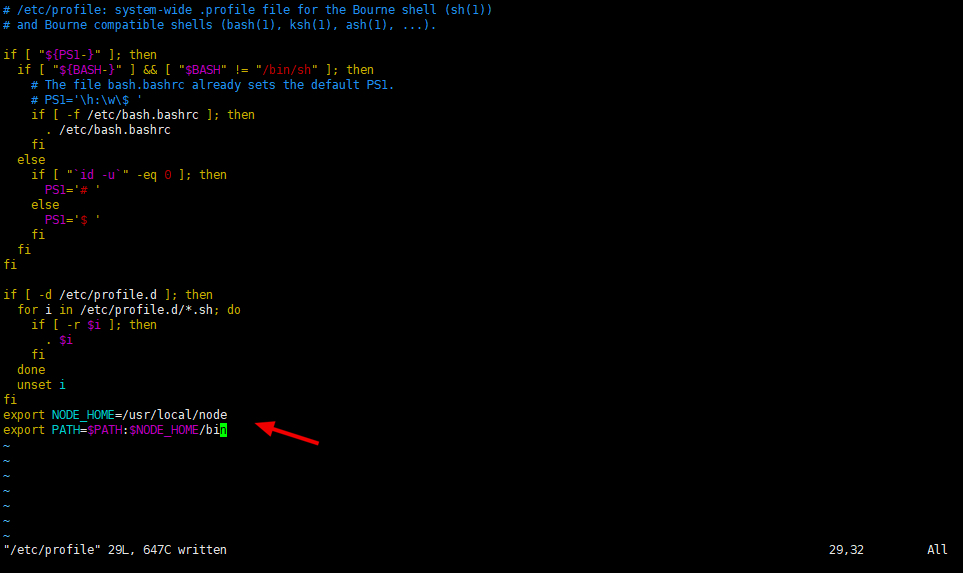
Run the following command to make the modification take effect:
source /etc/profile
Run the following commands. You can see the corresponding service version, which indicates the installation is completed:
node -v

npm -v
Enter the following command to install the Git tool:
apt update && apt -y install git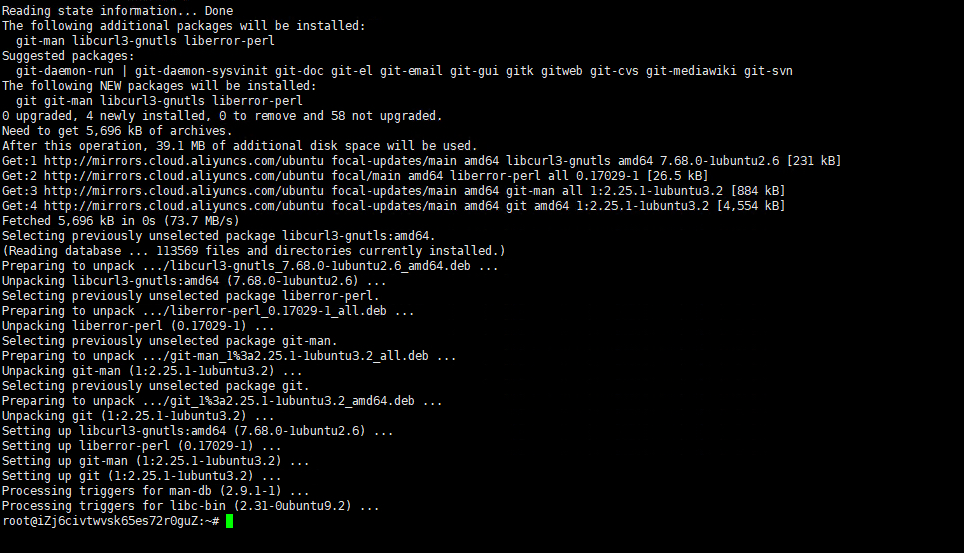
Enter the following command to create a projects directory and enter:
mkdir projects && cd projects
Enter the following command to download the sample project:
git clone https://github.com/hoangvvo/nextjs-mongodb-app

ls
Enter the following command to enter the sample project directory:
cd nextjs-mongodb-app
Enter the following command to install the Next.js framework dependency package:
npm install next react react-dom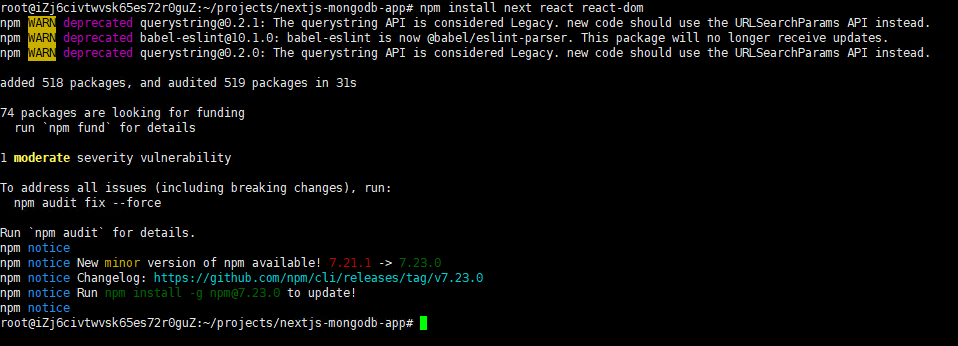
Enter the following command to copy an ".env" configuration file first:
cp .env.example .env
Enter the command: vim .env, open the ".env" configuration file, and modify the connection address of MongoDB referring to the figure below:

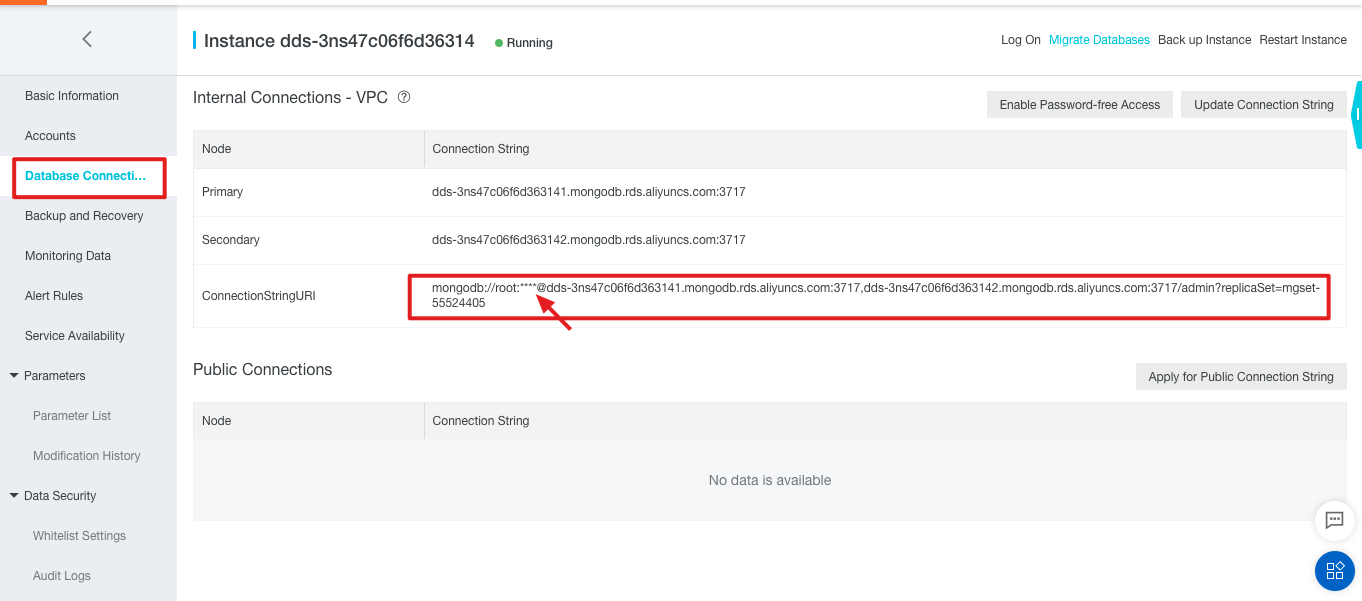
The connection method to obtain MongoDB is shown in the figure below. Please pay attention and replace "**" with the password "Aliyuntest123":
Enter the following command to start the project:
npm run dev
Visit the public IP address of the current ECS in the browser, and the project is installed successfully.
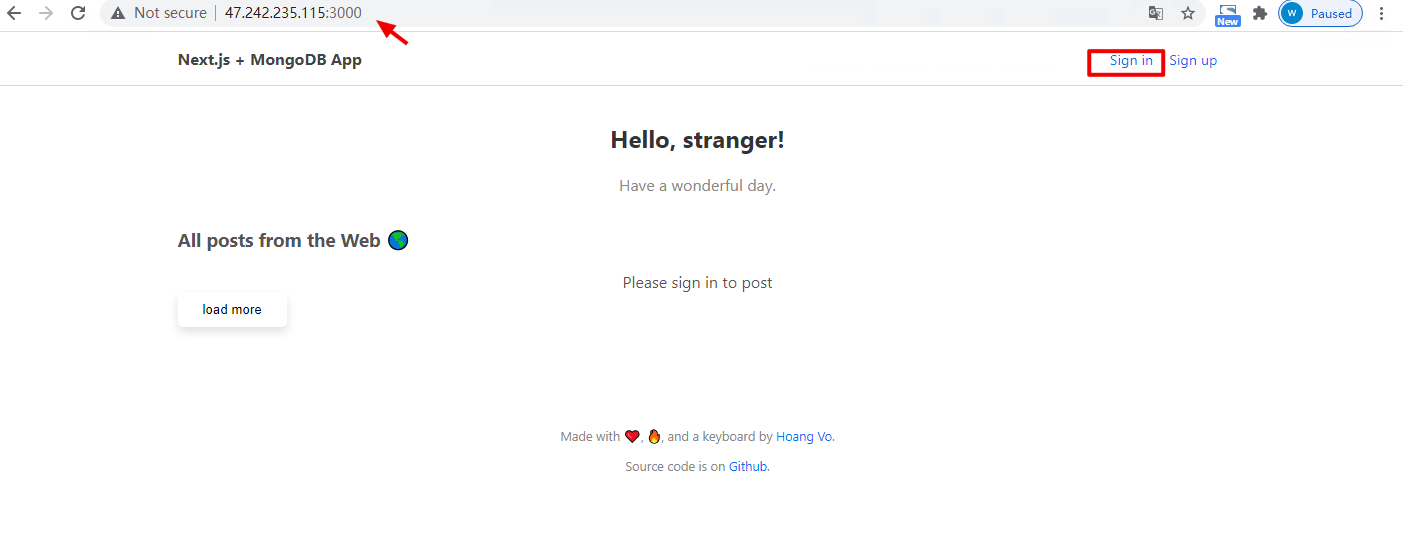
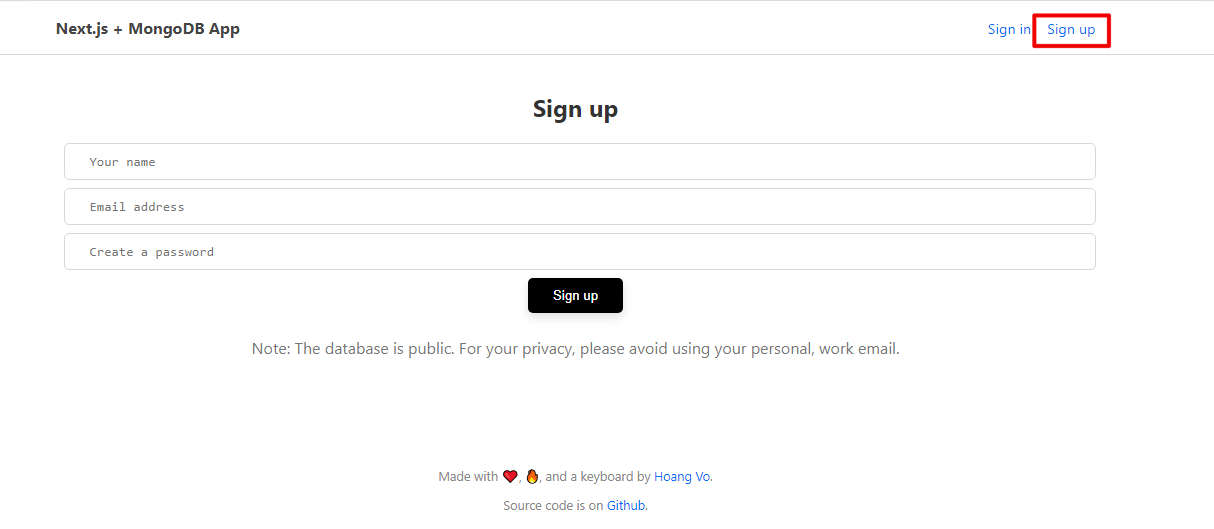
Users can register their accounts to post messages.
Usually, we need to run the Node.js app as a daemon process. Now, install pm2 to start or manage the lifecycle of the Node.js web app.
First, enter Ctrl + C to stop the web app process started by executing npm run dev beforehand. Then, execute the following commands to install pm2 and start the web app via pm2.
npm i -g pm2
npm run build
pm2 start npm -- run start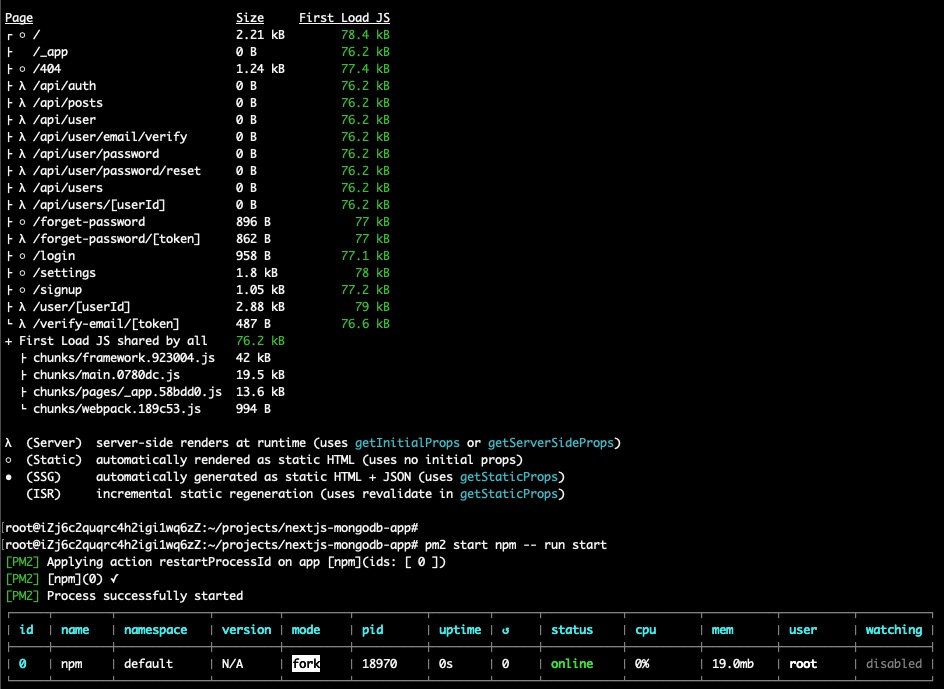
Then, visit the public IP address of the current ECS with port 3000 again in the browser, and the project is started by pm2 successfully.
Execute the following commands to install the open-source MongoDB Web Admin tool Mongoku on ECS to manage data on MongoDB.
cd ~
npm install -g mongoku
mongoku start --pm2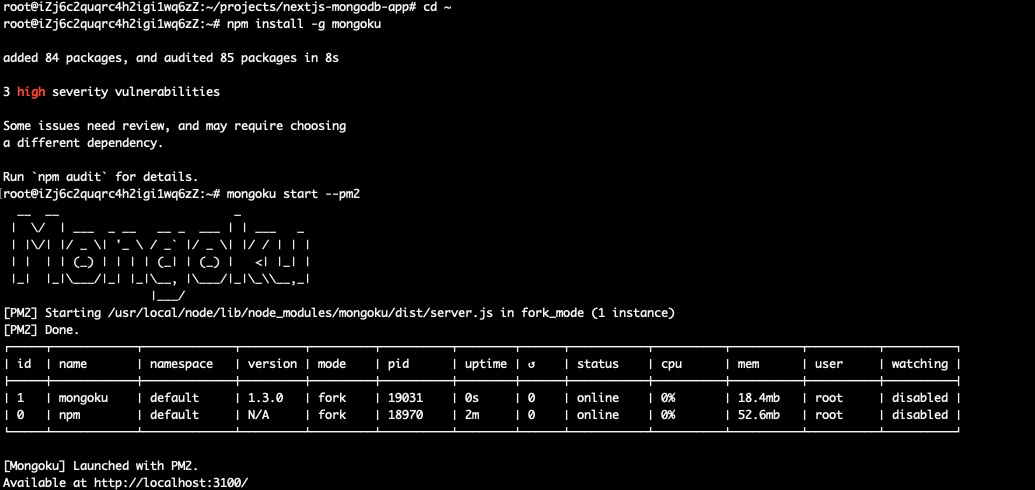
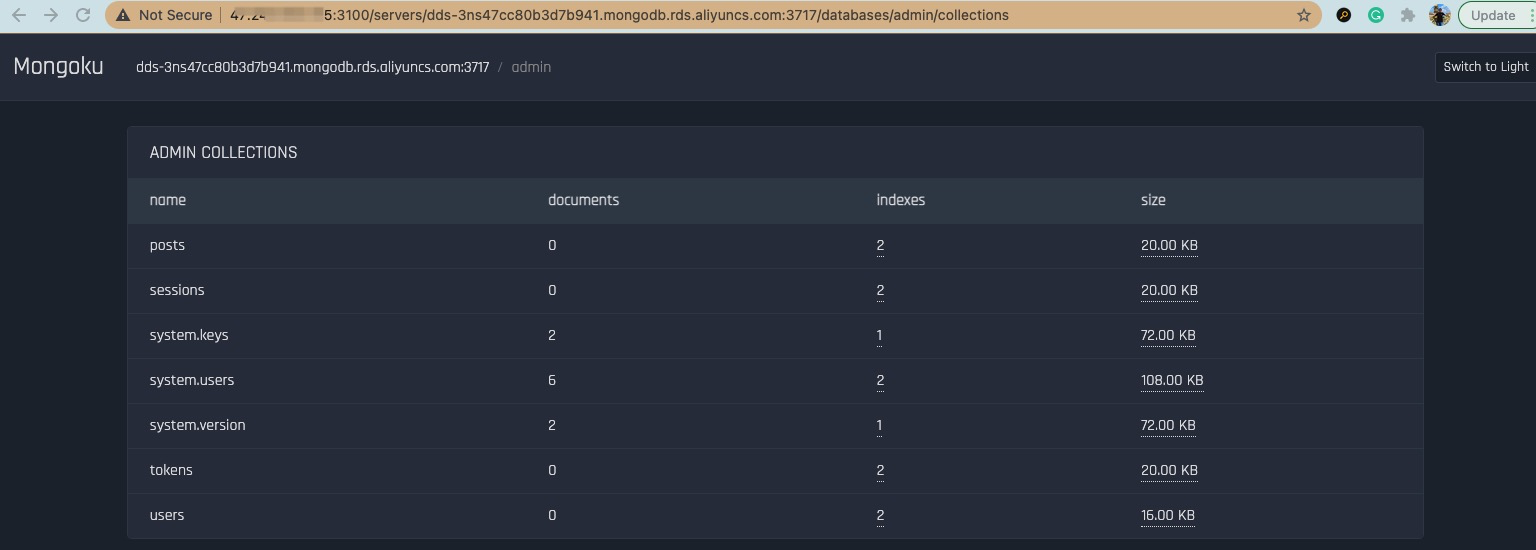
Then, open http://<ECS_EIP>:3100/ again in the web browser to visit the Mongoku Web Admin. Mongoku uses the 3100 port for web apps by default. I've already set this in the security group rule within the Terraform script.
Now, we can add the MongoDB connection URI here as the server to navigate and manage the data for this social web app via Mongoku. Please enjoy.

Create an E-Commerce Web App with Node.js Express Framework and MongoDB on Alibaba Cloud
Alibaba Clouder - April 16, 2018
Alibaba Cloud Indonesia - March 28, 2023
Alibaba Cloud Community - August 5, 2022
Alibaba Clouder - November 23, 2020
ApsaraDB - November 1, 2021
ApsaraDB - October 14, 2021
 ECS(Elastic Compute Service)
Elastic and secure virtual cloud servers to cater all your cloud hosting needs.
Learn More ApsaraDB for MongoDB
A secure, reliable, and elastically scalable cloud database service for automatic monitoring, backup, and recovery by time point
Learn More DAS(Database Autonomy Service)
Self-driving Database Platform: Self-repair, Self-optimization, and Self-security
Learn More Elastic Desktop Service
A convenient and secure cloud-based Desktop-as-a-Service (DaaS) solution
Learn MoreMore Posts by ApsaraDB