By Colince Azeye, Alibaba Cloud Community Blog author.
To provide a simple definition, a backup can be defined as a copy of data stored at an alternative location (such as a disk or folder) that ensures restoration after a disaster or data loss. In case of data corruption or system crash, the system is recovered to a previously prepared backup. It is recommended to create a regular backup for assuring data availability and security.
Depending on the method there are different types of backup available. However, for this article, let's discuss the three most widely used backups.
1. Full Backup: It stores a copy of all files and typically occurs automatically according to a pre-set schedule. Compared to the other types of backup, this backup takes more space and time to implement even while dealing with the compressed files. However, it is preferred due to its ease of restoration.
2. Incremental Backup: It saves space by backing up only the files created or changed since the last backup. The key advantage of using this backup is that a relatively small data volume is stored at each iteration. However, it increases the computing overhead as there is a need to compare each source file with the last full backup along with incremental iterations to determine whether data is new.
3. Differential Backup: It is similar to incremental backup, except that each backup operation stores the new and updated files since the last full backup. The advantage of this backup resides on the fact that only the last full backup and the last differential is needed to create the full restoration.
In addition to the preceding three types of backup, there are backups based on the location (like local, remote and intra-city backup), backup mode (like block- and file-level), and timeliness (like hot and cold backup).
Now, since we have an overview of backup, let's move ahead with implementation. The following sections illustrate how to use Systemback to create a backup and how to make a snapshot. To achieve this we need a server that is installed with Ubuntu 18.4 OS that has 1G of RAM and a hard disk drive.
For this tutorial, we'll use an Alibaba Cloud ECS server. If you don't have an Alibaba Cloud account already, you can start for free here. Alternatively, you may use your personal Linux computer or a virtual machine.
Systemback is a simple system backup and restoration application, released under the terms of the GPLv3 license. This system includes the following key features:
Execute the following commands to install Systemback on Ubuntu 16.4 or 14.4.
sudo add-apt-repository ppa:nemh/systembacksudo apt-get updatesudo apt-get install systembackHowever, since the Systemback author stopped its development in 2016, Ubuntu 18.4 and later versions are not mentioned in the "supported version" list. So, let's execute the following steps to install it on the Ubuntu 18.4
Step 1. Install the add-apt-repository Package
Some systems do not have a pre-installed add-apt-repository package. Therefore, it is critical to check whether the package is already installed on the system by executing the command sudo add-apt-repository as shown below.
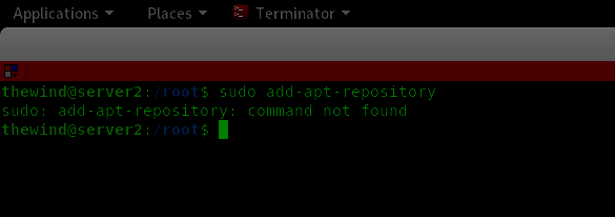
The above snippet shows that the system used for this tutorial doesn't have an add-apt-repository.
The add-apt-repository package is available under package software-properties-common. You'll want to execute the command sudo apt-get install software-properties-common to install the software-properties-common package as shown below.
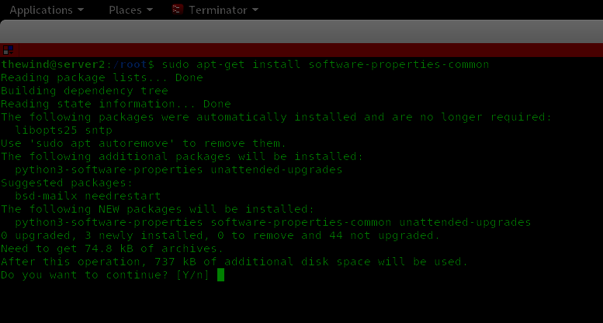
Step 2. Add Systemback Repository Key
To add the Systemback repository, you'll need to import the GPG signing key of this PPA so that the package manager verifies the signature. Enter the command sudo apt-key adv --keyserver keyserver.ubuntu.com --recv-keys 382003C2C8B7B4AB813E915B14E4942973C62A1B to successfully add the key
Step 3. Add Systemback Repository
Now add the Systemback repository by executing the command sudo add-apt-repository "deb http://ppa.launchpad.net/nemh/systemback/ubuntu xenial main" as shown below.
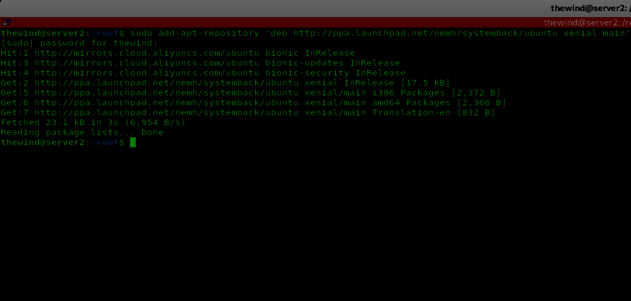
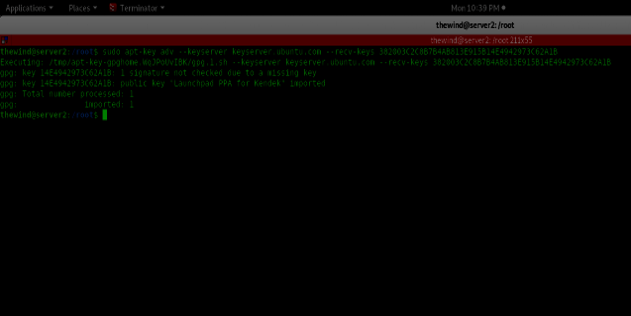
Step 4. Install Systemback
Next, you'll need to install the systemback package by running the command sudo apt-get update command and after that we have to inter the sudo apt-get install systemback.
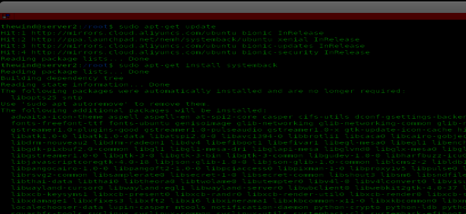
With this the installation process is complete, now let's create the first backup. There are two modes of Systemback-Graphical Mode and Command-line Interface (CLI) Mode. Let's see how to start the two modes.
1. Graphical Mode
In the case of an online server, implementing a graphical mode requires using -X for connecting with the SSH to display graphical apps. Just enter the command "systemback" to start Systemback.
2. Command-line Interface Mode
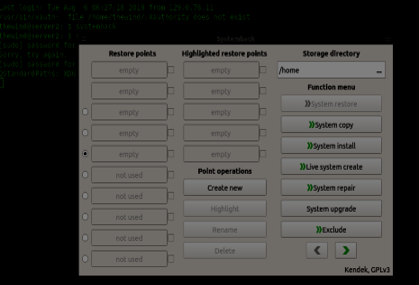
Whether you are on an online server or on your personal computer, start the command line interface mode by just entering the "systemback-cli" command
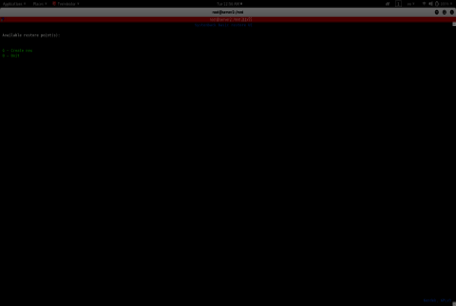
Now, let's create the first backup by creating a restore point as shown below.
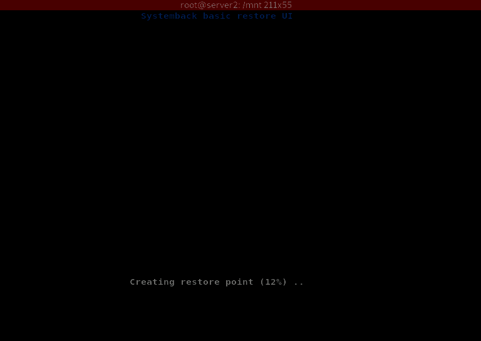
After creating a backup or restore point, another significant issue is to restore it.
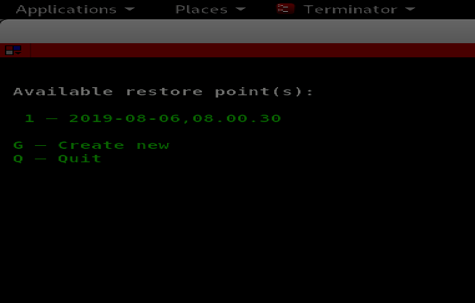
In the CLI mode, there is one point of restoration, just click on the specific point to restore that point.
Now, let's consider the graphical mode.
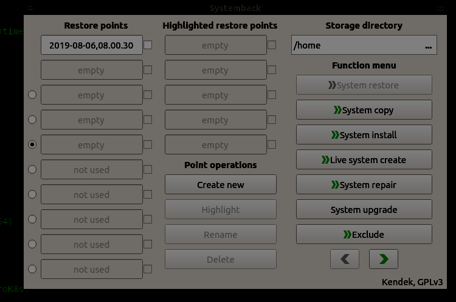
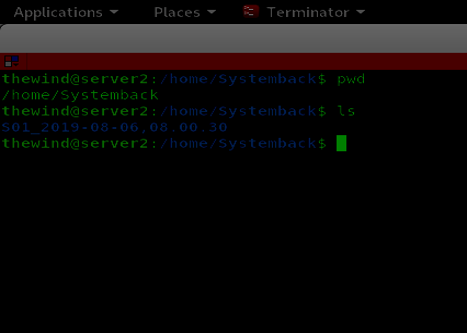
As shown in the above snippet, one point of restoration named 2019-08-06,08.00.30 implies the time at which the backup was created. After creating a restore point, Systemback creates a folder in/home folder to store all the backup as shown in the image below.
In the case of data corruption, the restores at the previous state. However, it is critical to ask what happens when a system crashes. Even though copying data in another partition or location helps to protect data but restoring data may become an issue when the system is no longer accessible. Creating a system Snapshot answers all such questions. For this article, let's understand how to create a snapshot on Alibaba cloud.
Snapshot is one of the features of cloud technology, it is a copy of data on a disk for a specific point of time. Alibaba Cloud provides the snapshot mechanism.
Creating a snapshot for a cloud disk helps to retain a copy of data on a disk at any time in case there is a problem at one or more points in time. This ensures the availability and continuity of business operations.
Let's have a quick look at how to create a snapshot on Alibaba Cloud.
1. Login into your account.
2. On the left-hand side, click on Products and select Elastic Compute Service to get the list of all the active ECS instances.
3. Next, click on the Storage and snapshot option to display the disk and snapshot, and click on the disk.
4. Now, click on Create Snapshot available on the right-hand side.
5. Enter the Snapshot name and click on ok.
6. Wait for a while and then click on the Snapshot option listed below the Disk option to check whether the snapshot is created.
There you go! With this, the restoration point is successfully created. Now, to restore the system in the previous date or time, just roll back the disk. To start roll restoration, select Snapshot under the Storage & Snapshot option and click on the Rollback this to restore the system at a certain point in time.
This article was written to help users in installing Systemback to create a backup. It also throws light on the various backup types and suggests how to create a snapshot on a disk to ensure restoration in case of a system crash. Alibaba Cloud's snapshot mechanism helps to ensure system availability and reliability.
Migrating from a Relational PostgreSQL to ApsaraDB RDS for PostgreSQL
How to Create Your Own IP Phone with Asterisk on Alibaba Cloud

2,593 posts | 793 followers
Followfrancisndungu - August 2, 2018
Alibaba Cloud MVP - December 27, 2019
francisndungu - May 29, 2019
Alibaba Clouder - March 26, 2019
Alibaba Clouder - July 25, 2019
Ali Ali - May 15, 2025

2,593 posts | 793 followers
Follow ECS(Elastic Compute Service)
Elastic and secure virtual cloud servers to cater all your cloud hosting needs.
Learn More OSS(Object Storage Service)
An encrypted and secure cloud storage service which stores, processes and accesses massive amounts of data from anywhere in the world
Learn More MaxCompute
Conduct large-scale data warehousing with MaxCompute
Learn MoreMore Posts by Alibaba Clouder