By Kenny Lai, Alibaba Cloud Solution Architect
Alibaba Cloud Hybrid Backup Recovery (HBR) provides secure, cost-effective, and scalable data protection for data stored in the cloud and on-premises data centers. With deduplication and AES-256 encryption features, you can greatly reduce cloud storage spending while ensuring the security of your data at the same time.
Hybrid Backup Recovery is a feasible solution for you to back up data stored in Alibaba Cloud Elastic Compute Service (ECS) instances, Network Attached Storage (NAS), Object Storage Service (OSS), or in your on-premises data centers or VMware virtual machines. Hybrid Backup Recovery also allows you to migrate data from VMware virtutal machines to Alibaba Cloud.
In this post, I will show you step by step how you can set up Hybrid Backup Recovery, from defining the backup target to executing backup and restore tasks.
Locate the Hybrid Backup Recovery Console. To do this, After logging into Alibaba Cloud, from the Products menu, enter "Hybrid Backup Recovery", or "hbr" for short, and you'll see the product link for Hybrid Backup Recovery. Click on the link.

After entering the Hybrid Backup Recovery console, locate File Backup under the On-Premises Backup Session in the left-side navigation pane.
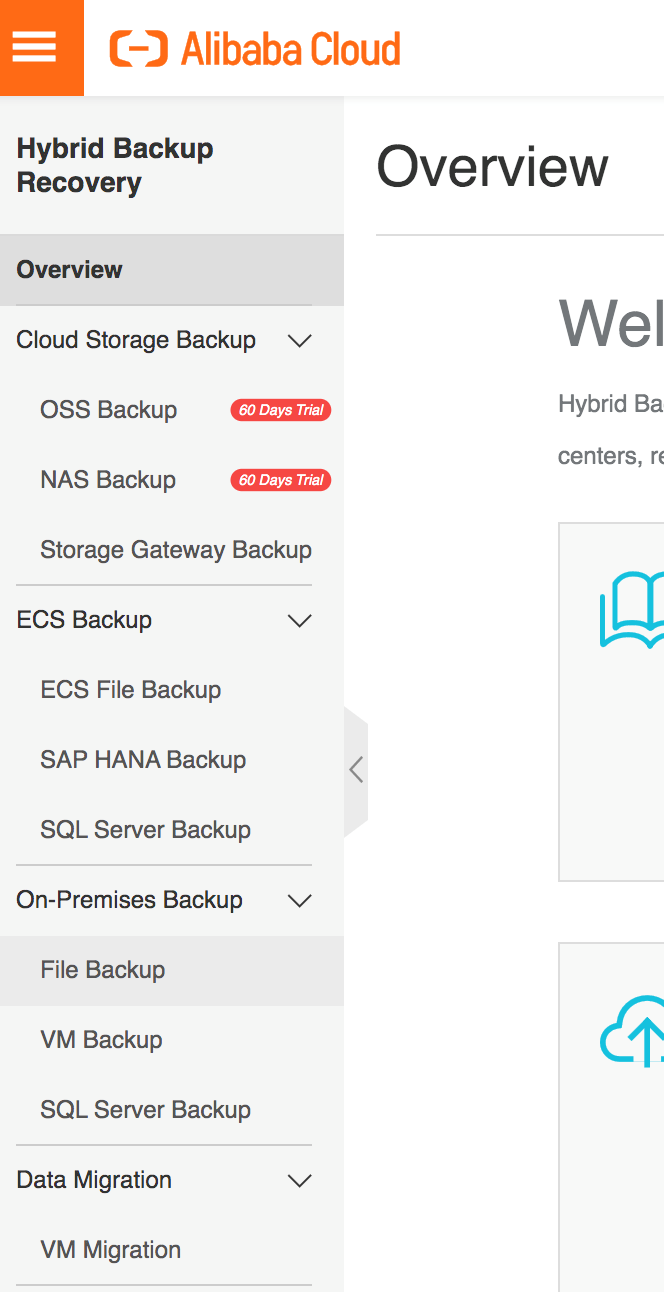
Click on File Backup to move to the File Backup screen, and click Create Client to create a new Client.

We will also need to create a new vault and in the Create Client screen. For this, we will need to input the vault name, and define a new client.
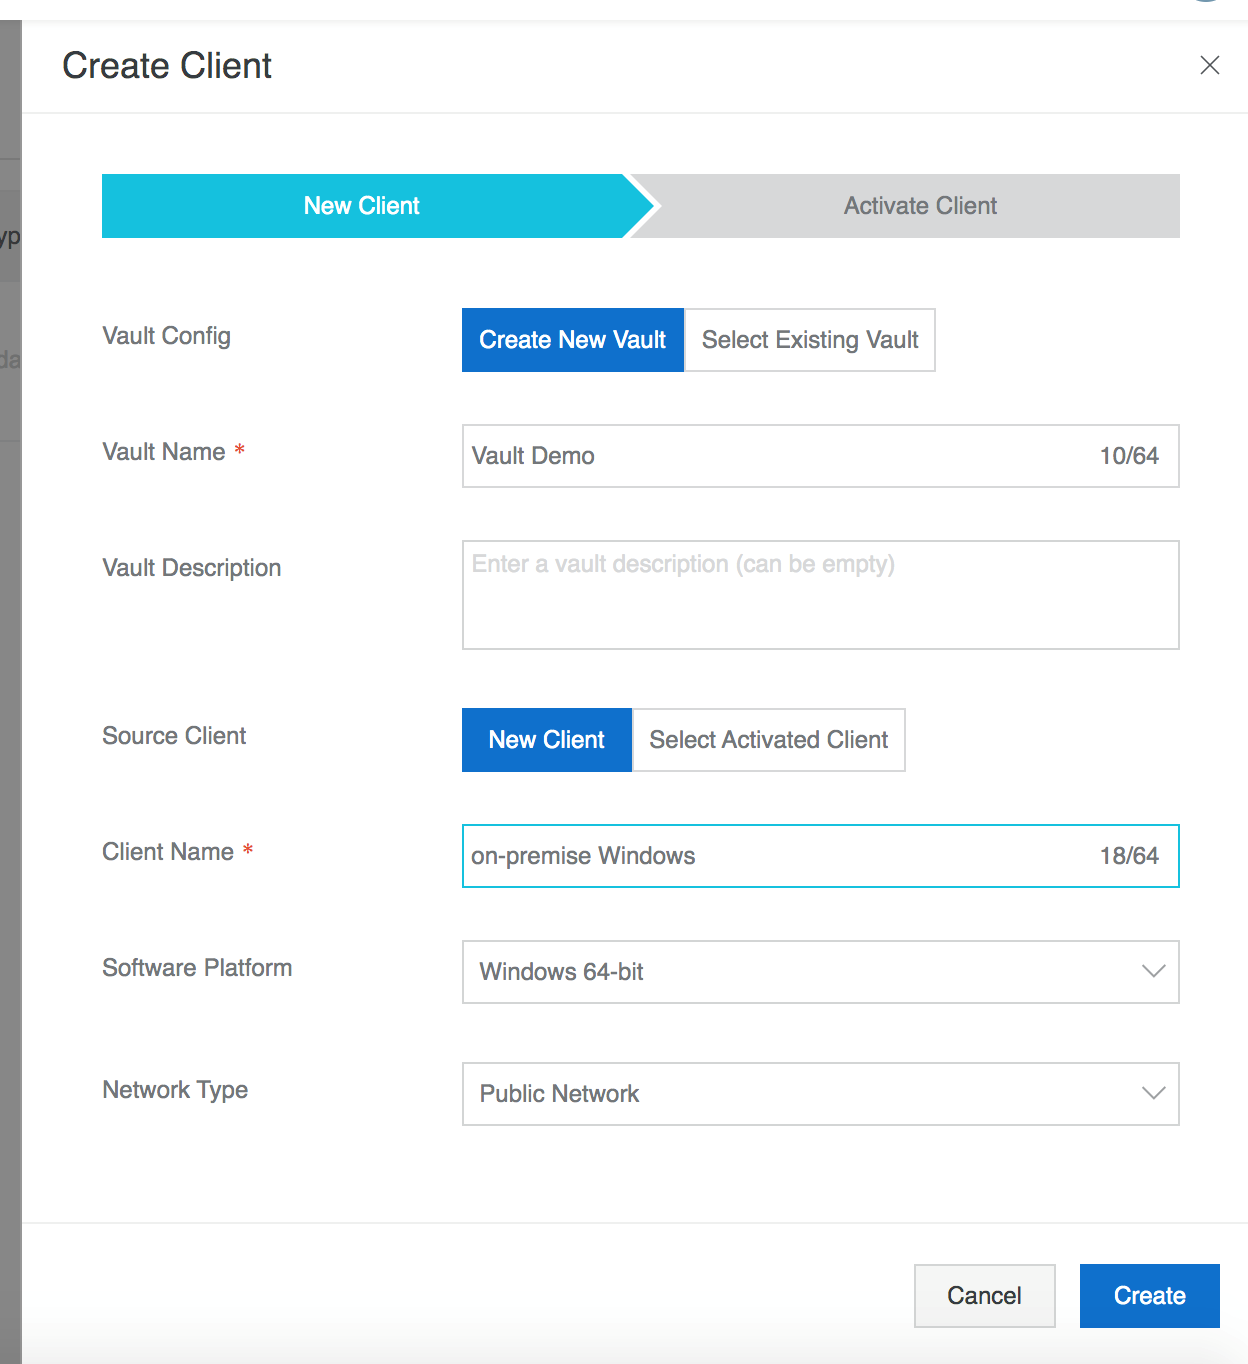
After you enter all the relevant information, click the Create button. Soon after, a Download Client will be displayed. Click on the client to download the Hybrid Backup Recovery client.
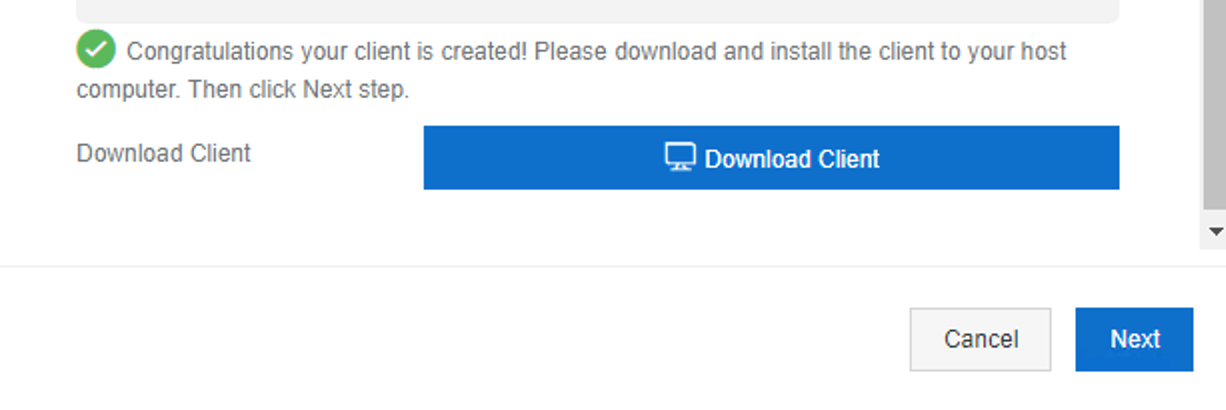
It is a zip file. You will need to extract it and run the installer.

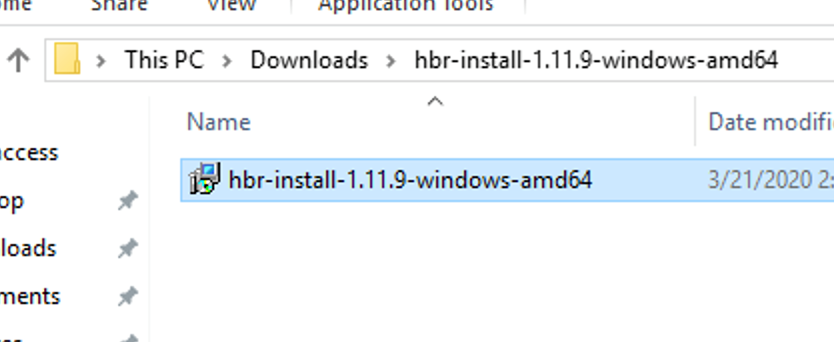
If the Windows Defender pops up, click to allow the installation to run away to be able to continue.
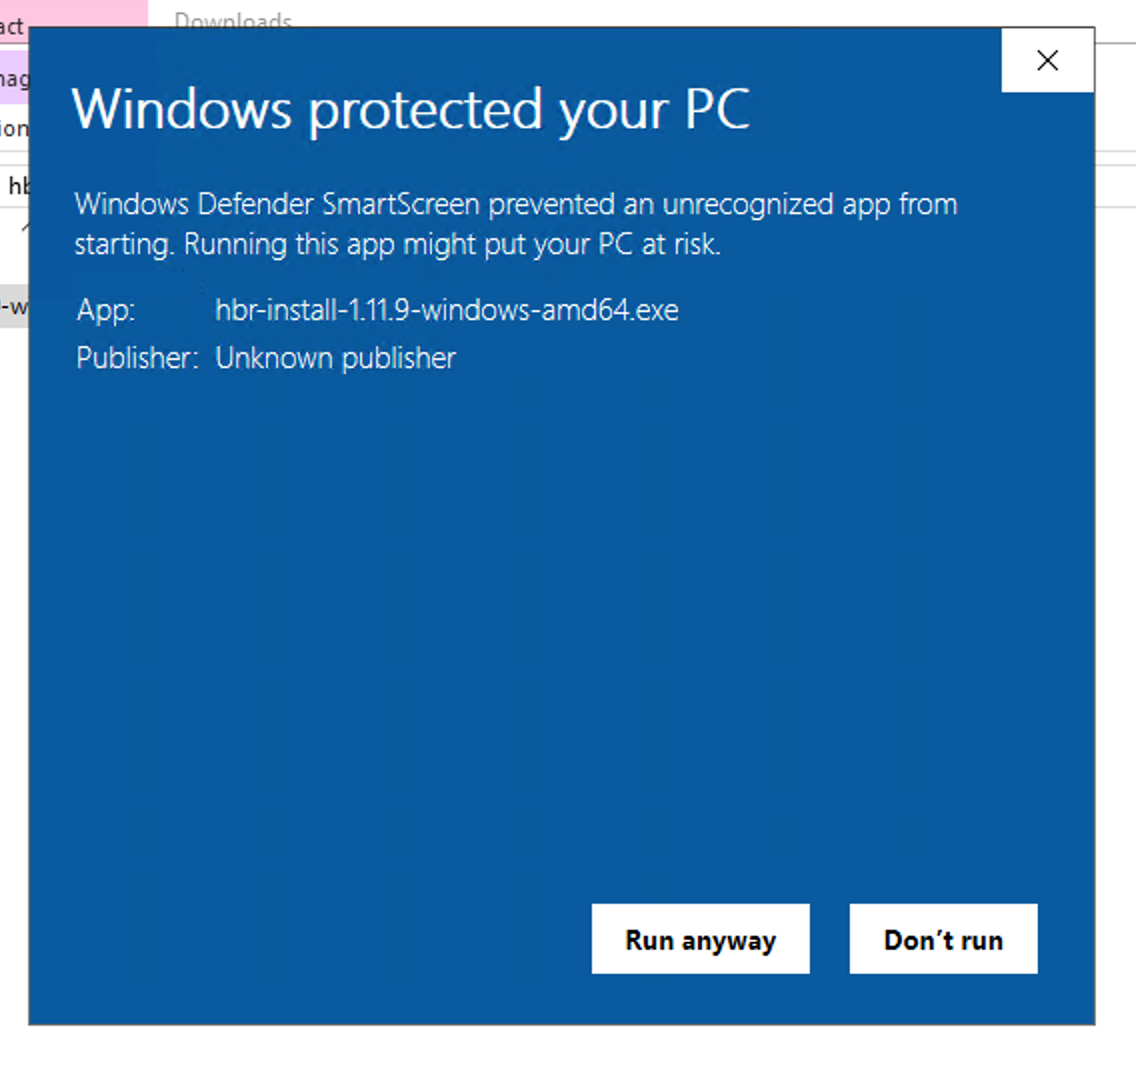
After the client installation is complete, return back to the cloud console and click the Next button.

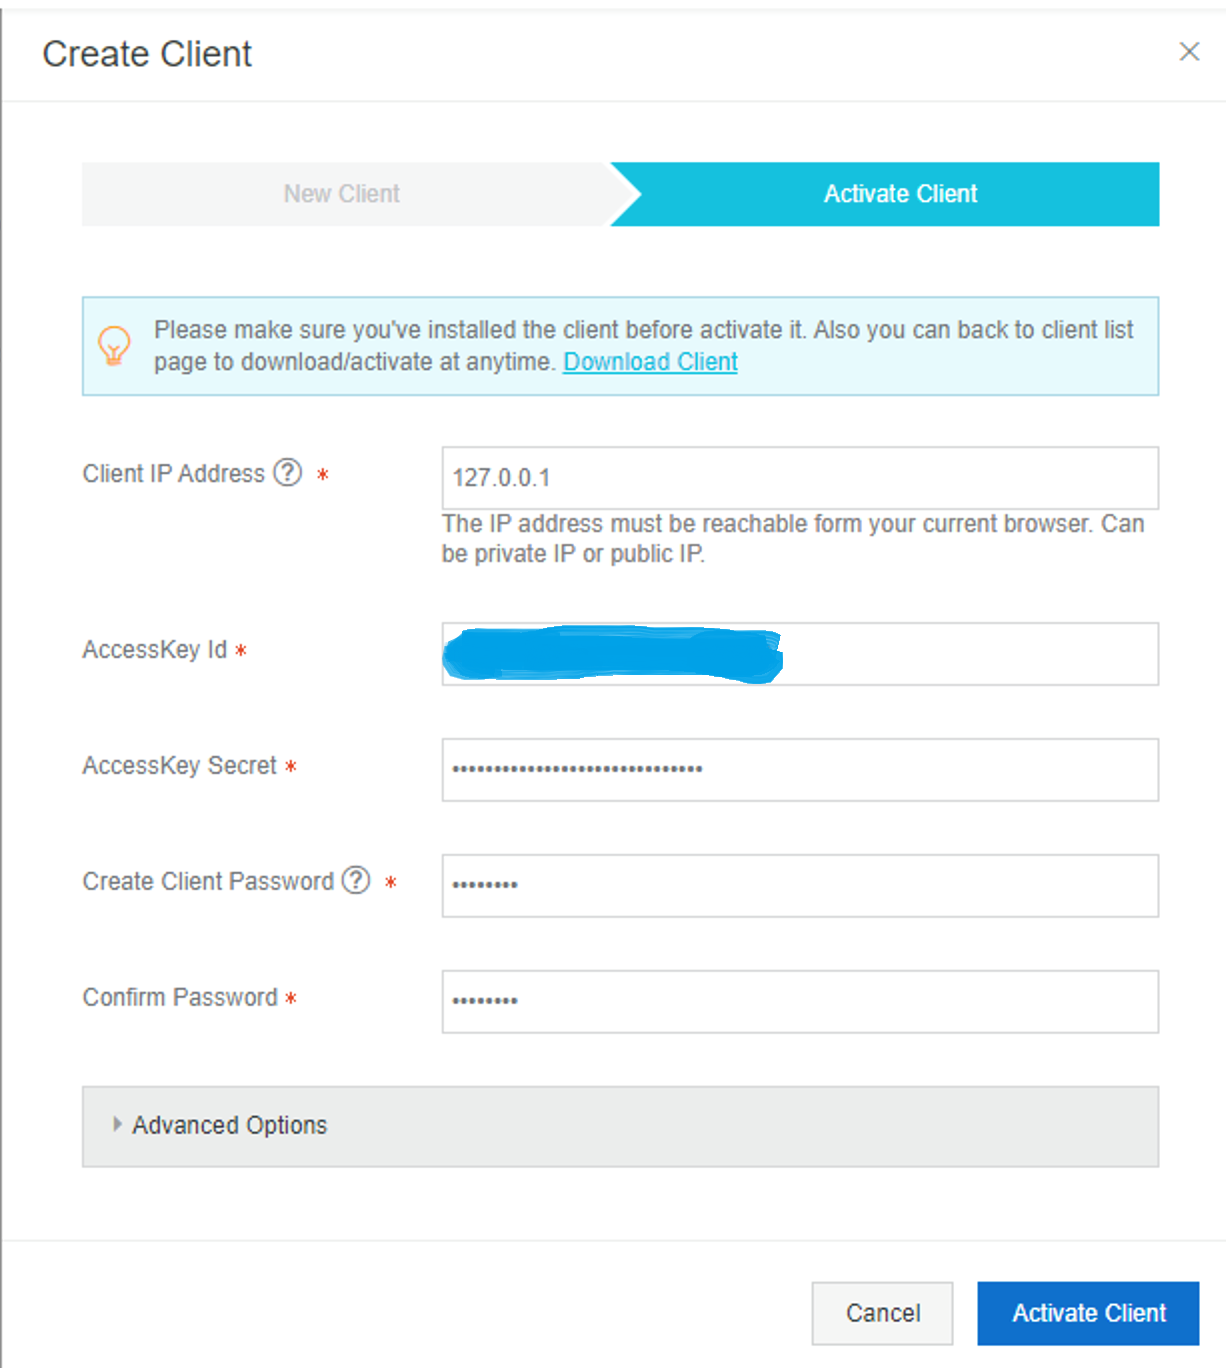
Then, enter the client IP address, the Access Key ID and Access Key Secret from the Cloud Console. It is generally recommend to create a sub-account to access the Hybrid Backup Recovery function.
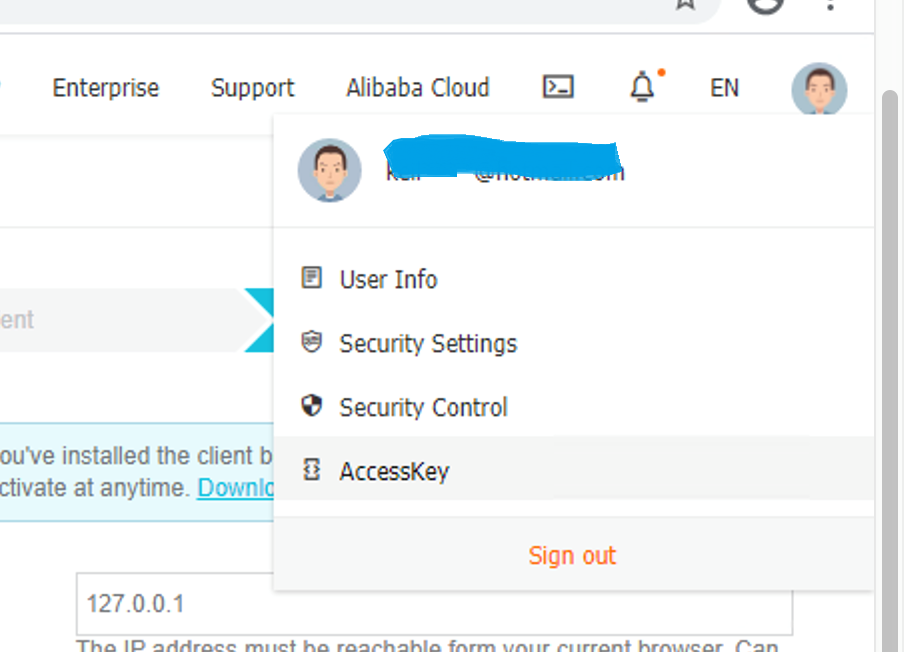
Access Key information can be obtained from the AccessKey session from the cloud console. This is located at the upper right-hand side of the console.
Click the Activate Client button.
After the client is activated, you will be brought back to the Hybrid Backup Recovery client console. On the displayed screen, click on Backup Polices to create a Backup Policy.

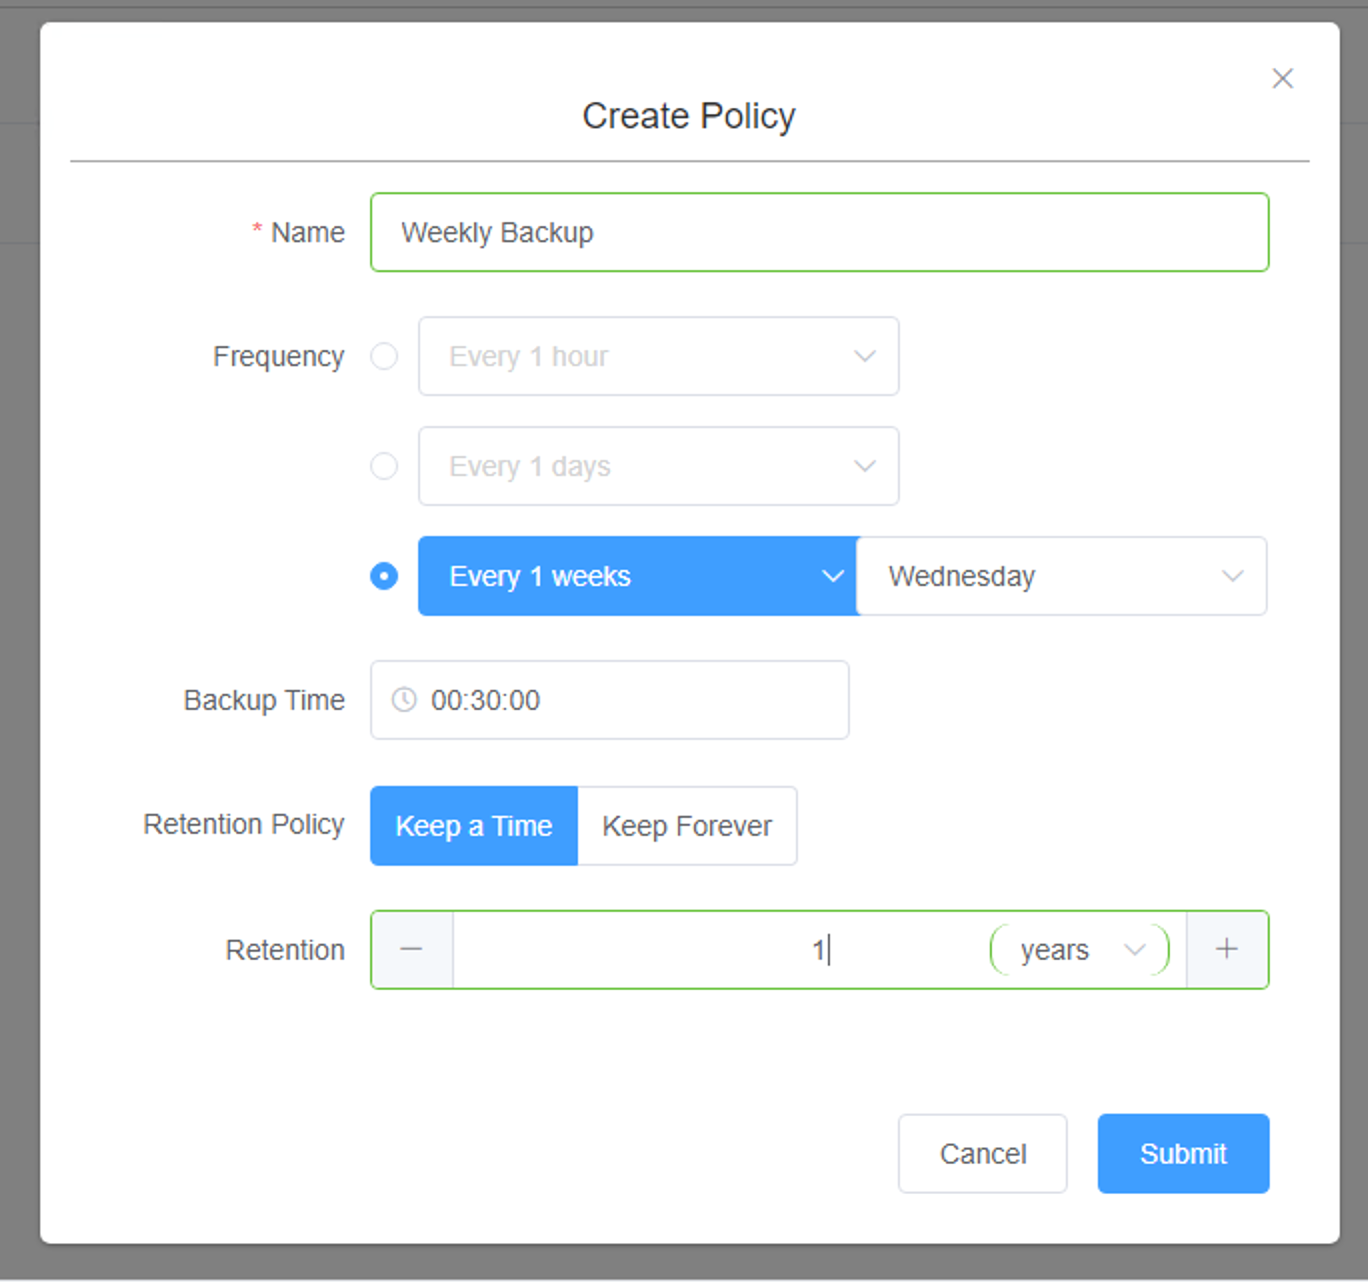
In the Create Policy popup window, provide a name to the policy and set its frequency and backup time and retention policy. After that, click Submit to finish.
Click on Backup link to move to Backup Jobs page. In this screen, you can create a Backup Plan or create a Backup Workflow.

Click create Backup Plan and a Create Backup Plan screen will be displayed. In the Basic Settings page, enter the source you would like Hybrid Backup Recovery to monitor and configure the Backup Rule and Running Plan, and select the Backup Policy you created in the previous step.
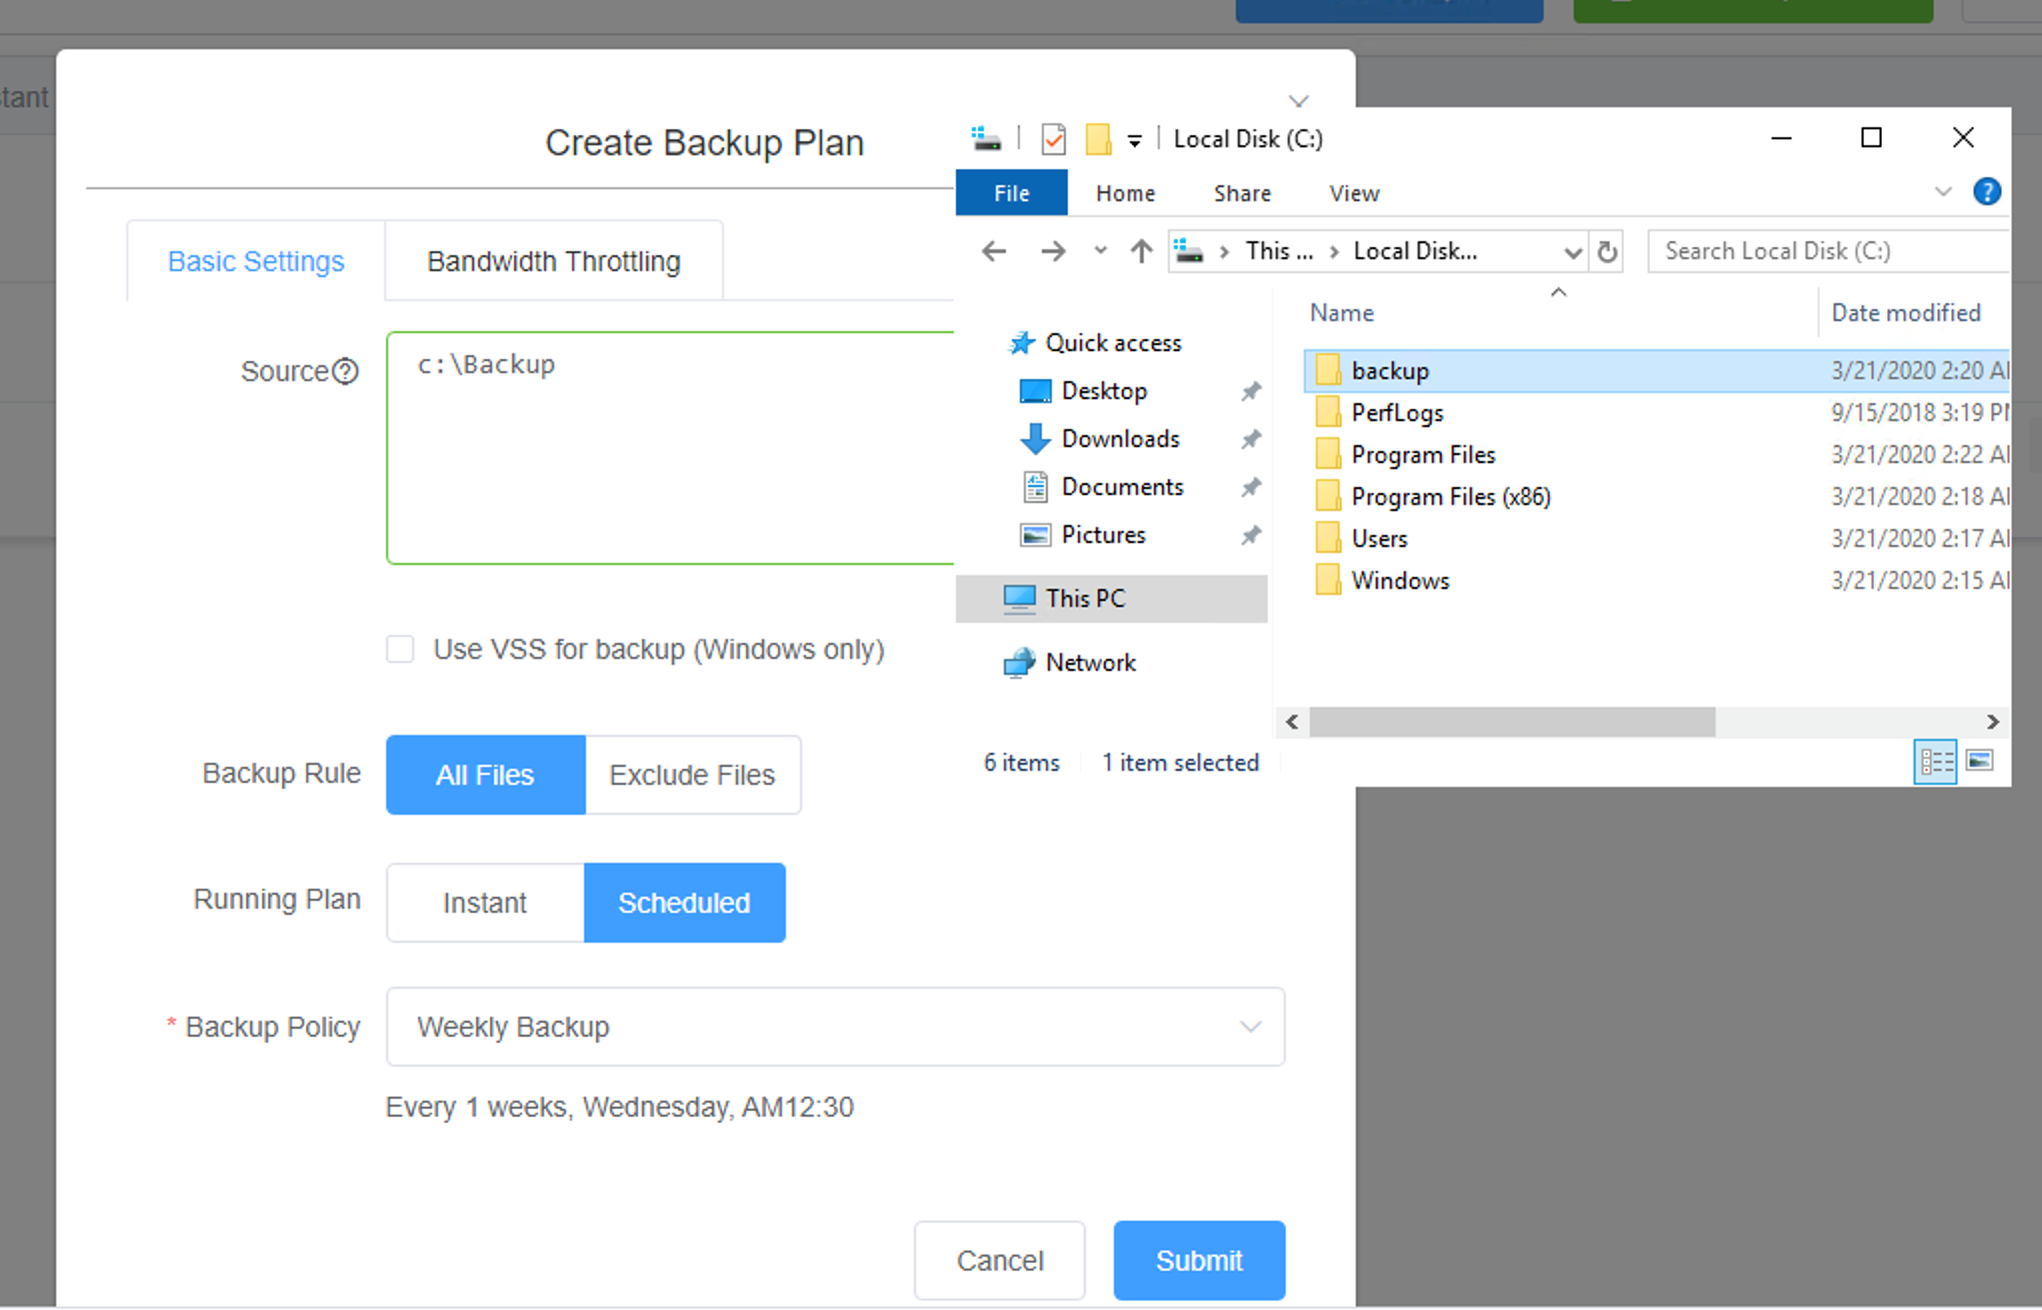
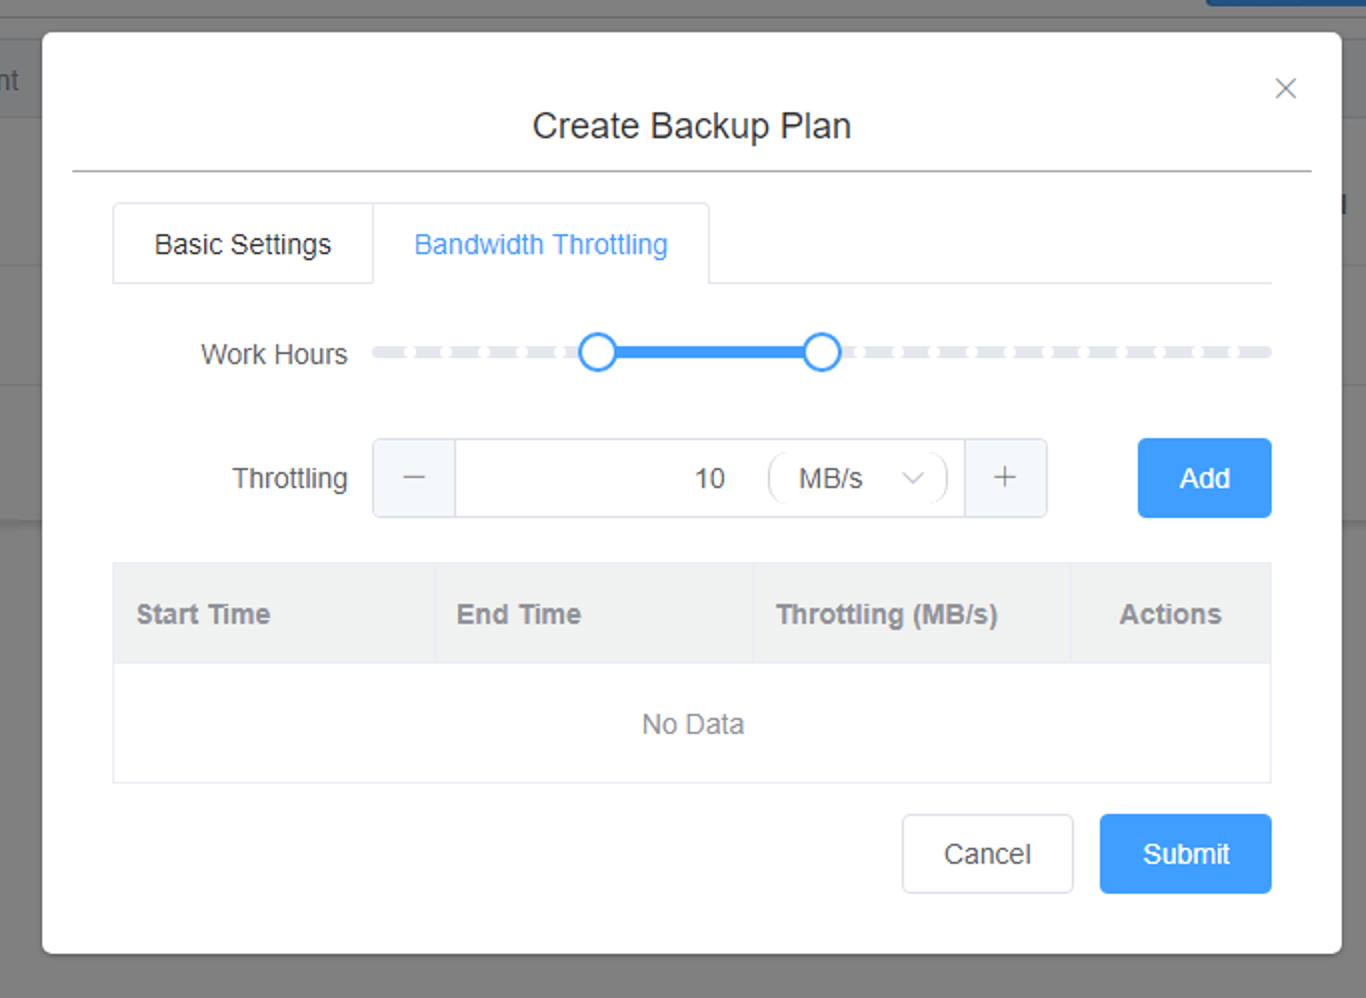
You can also click on Bandwidth Throttling to limit the network speed during peak hours.
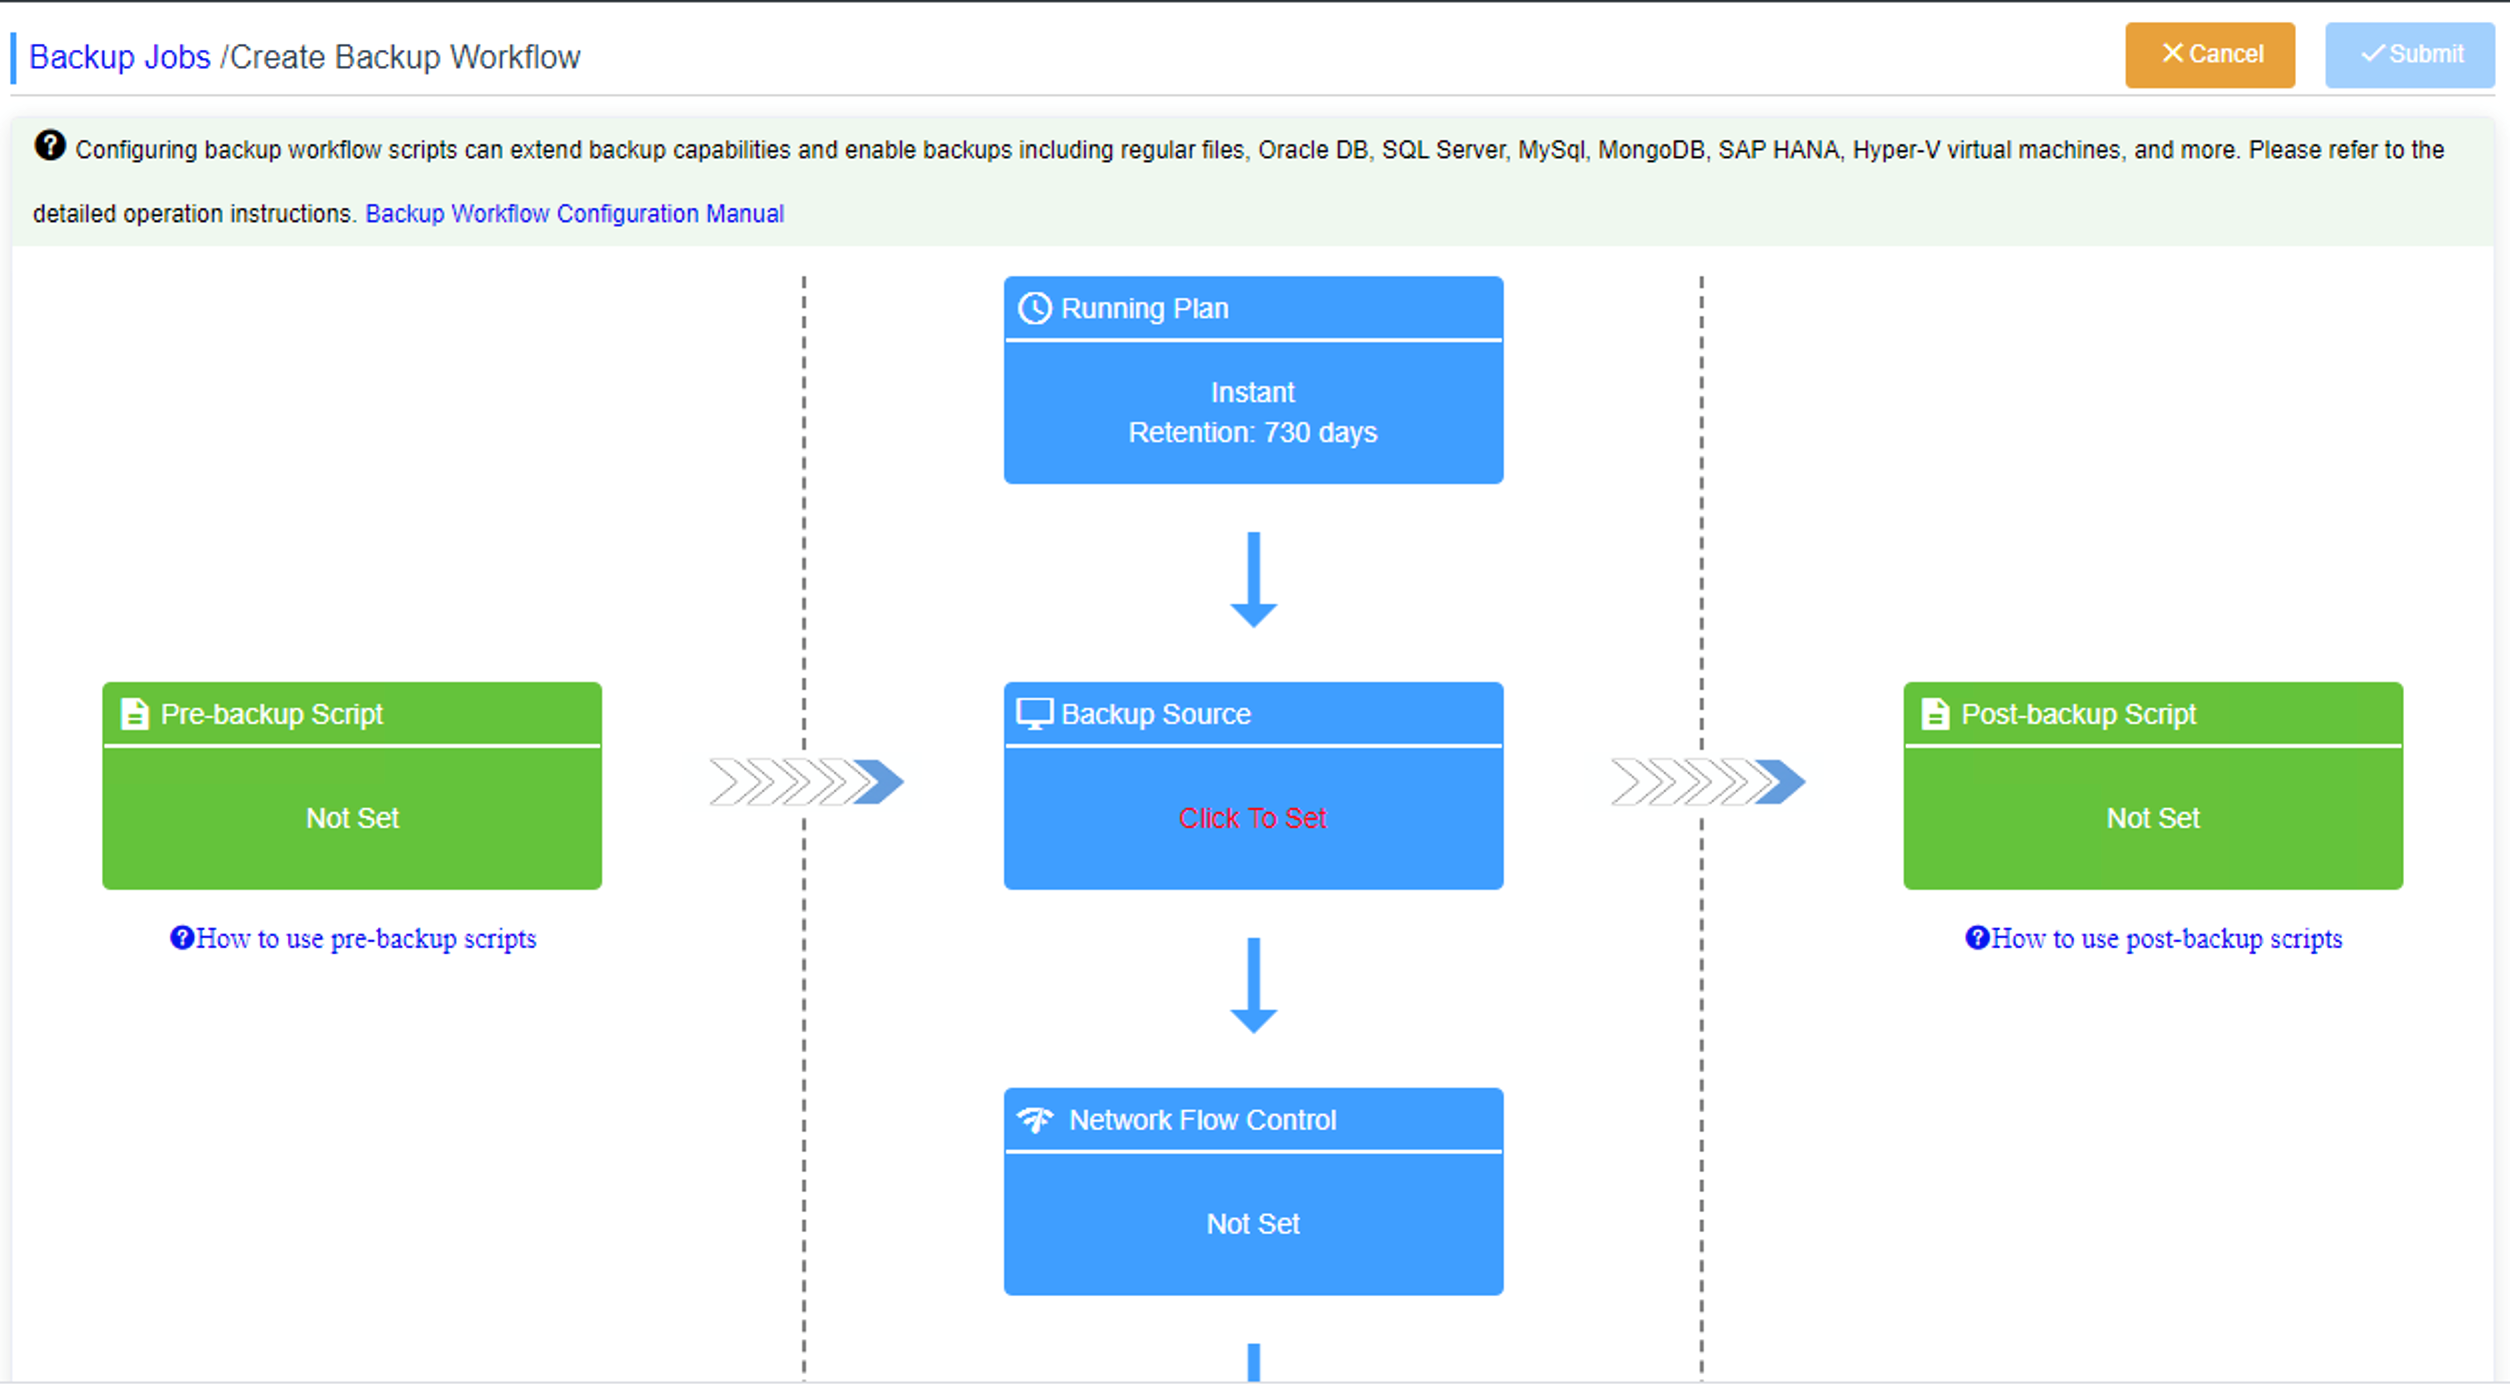
Alternatively, you can use Create Backup Workflow to execute script before and after the backup job.
Once you create the Schedule backup job, it will appear in Scheduled tab.

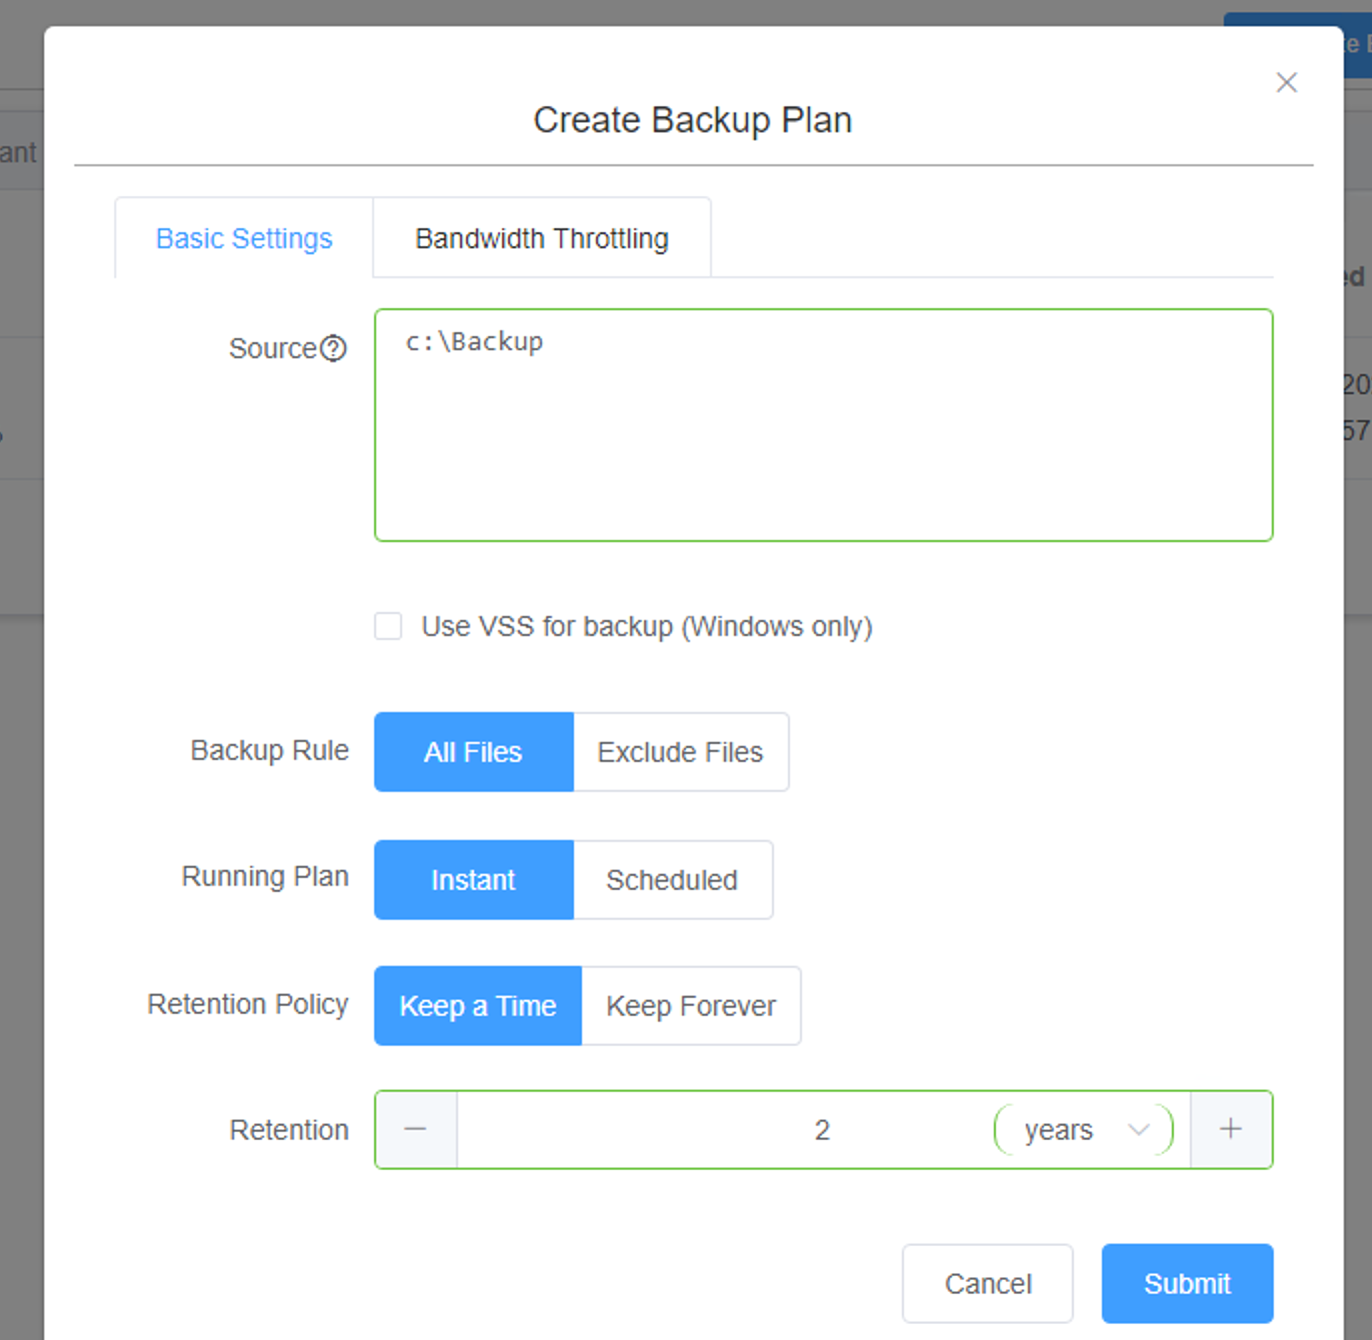
You can also switch to the Instant tab to create an instant backup job.

Enter the information required, and click Submit to run the backup job now.
It will first scan the folder and collect the files to be backup.

And after a while, the backup job will be complete.

We can view the backup job.

You can also view the backup job history in this area of the console.

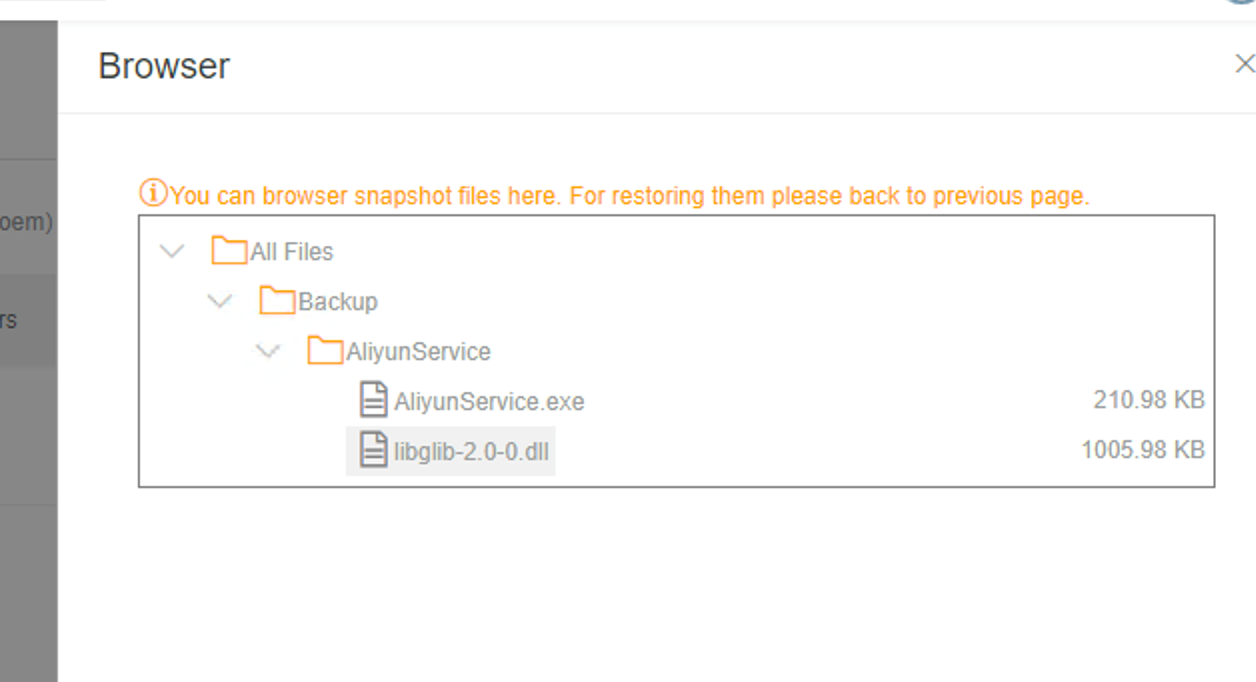
By clicking on the Browser link, you will be able to view the backup content.
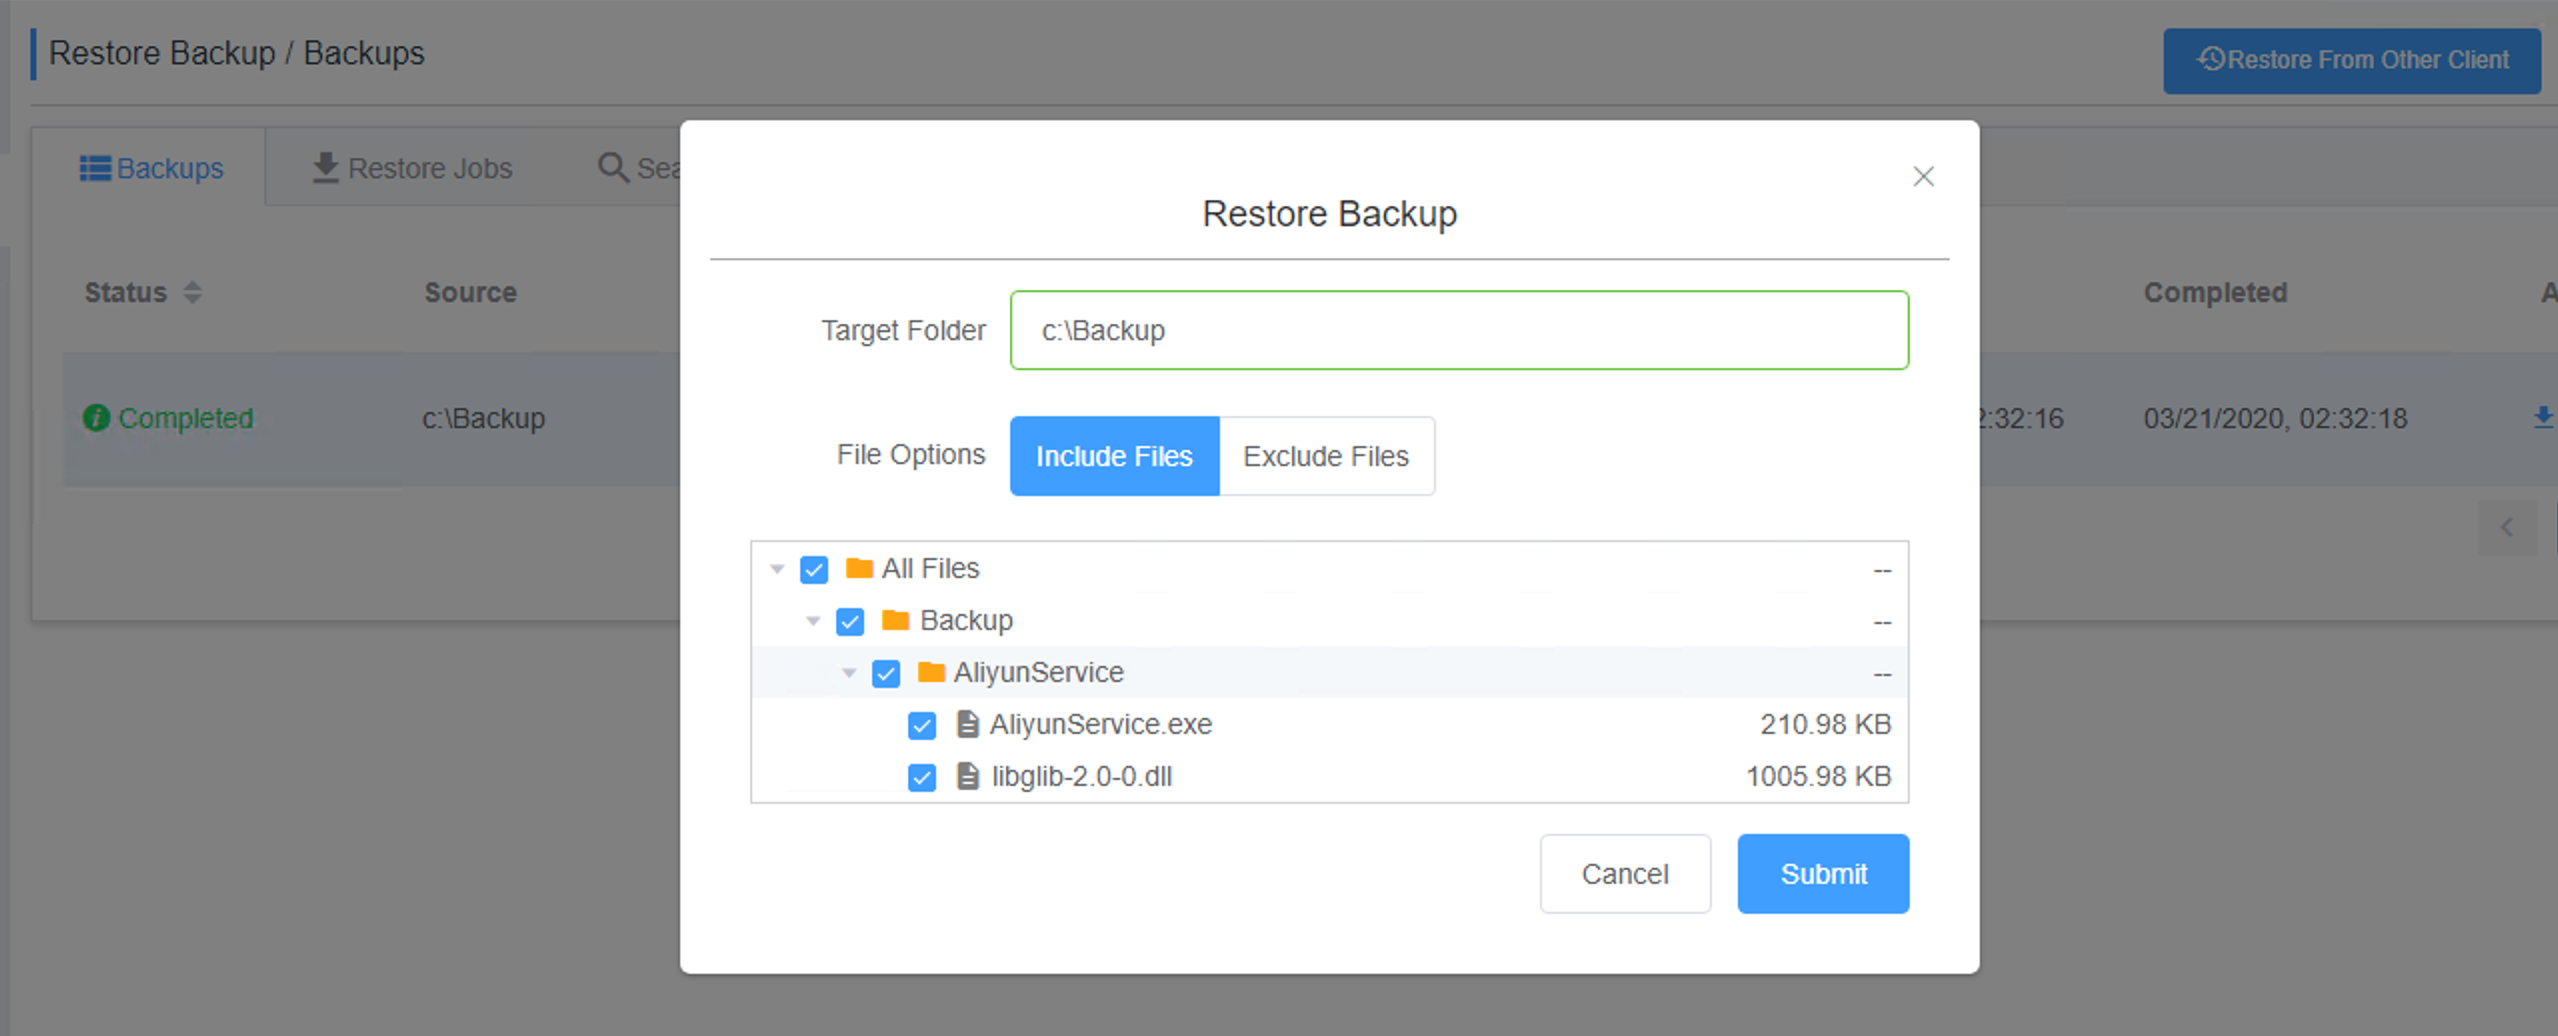
To perform a Restore from backup task, click the required backup and click restore link.

Enter the target folder to restore and select files to be restore. After it is finished, click the Submit button.
Hybrid Backup Recovery will then run the restore task.


We first clear the folder of backed data.
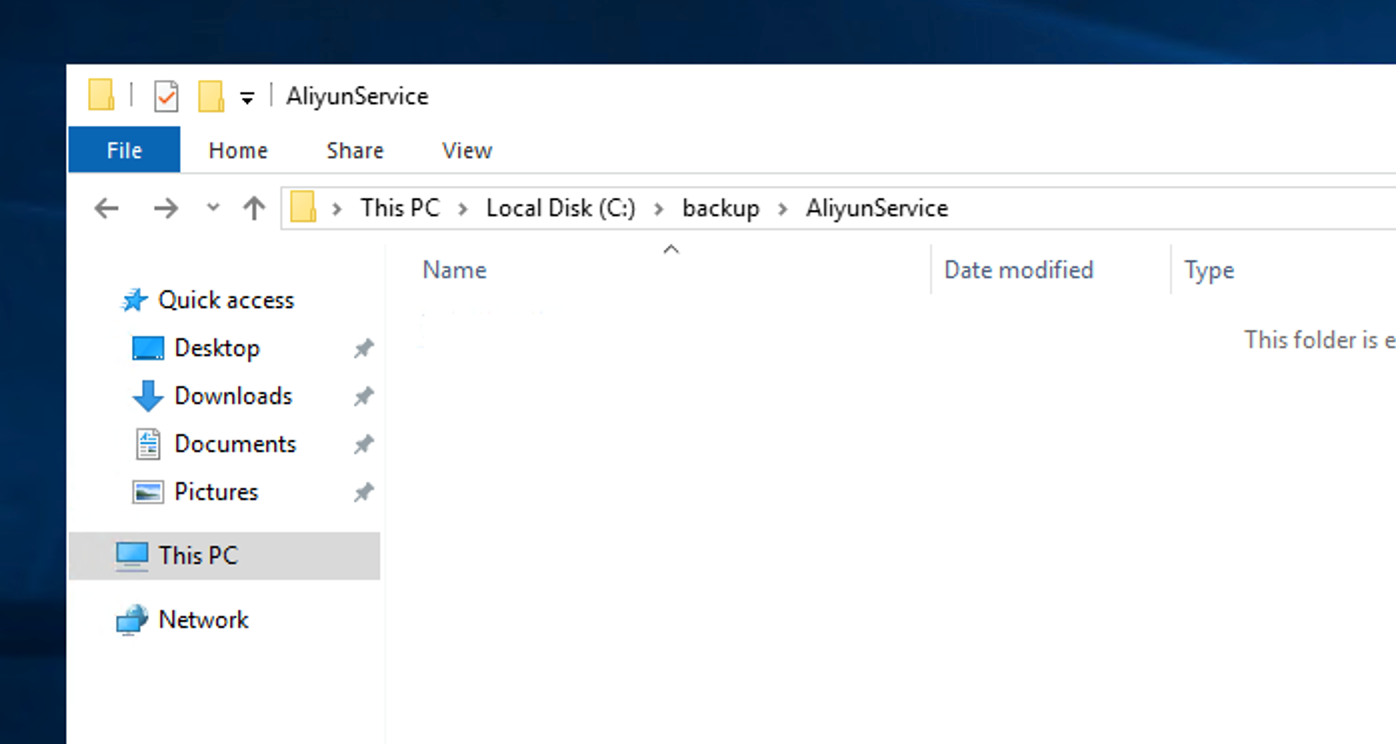
And after the restore task is run, the files are back again.

By following the steps in this tutorial, you have set up Hybrid Backup Recovery. Hybrid Backup Recovery is great because it creates an easy way to backup and restores files.
The views expressed herein are for reference only and don't necessarily represent the official views of Alibaba Cloud.
Alibaba Cloud and Cloudflare Collaborate on Expansion of Bandwidth Alliance
What Would You Do If Your App Crashes during Coronavirus Outbreak?

2,593 posts | 792 followers
FollowAlibaba Clouder - September 4, 2020
Alibaba Cloud Community - February 25, 2022
Alibaba Cloud Community - February 25, 2022
Alibaba Clouder - July 3, 2020
Rupal_Click2Cloud - September 21, 2022
Alibaba Clouder - June 23, 2020

2,593 posts | 792 followers
Follow ECS(Elastic Compute Service)
Elastic and secure virtual cloud servers to cater all your cloud hosting needs.
Learn More OSS(Object Storage Service)
An encrypted and secure cloud storage service which stores, processes and accesses massive amounts of data from anywhere in the world
Learn More Cloud Backup
Cloud Backup is an easy-to-use and cost-effective online data management service.
Learn MoreMore Posts by Alibaba Clouder