This tutorial shows you how to synchronize Redis data with ApsaraDB RDS for MySQL using Canal and Kafka.
You can access all the tutorial resources, including deployment script (Terraform), related source code, sample data, and instruction guidance, from the GitHub project: https://github.com/alibabacloud-howto/opensource_with_apsaradb/tree/main/apache-superset
For more tutorials around Alibaba Cloud Database, please refer to: https://github.com/alibabacloud-howto/database
https://github.com/alibabacloud-howto/solution-mysql-redis-canal-kafka-sync
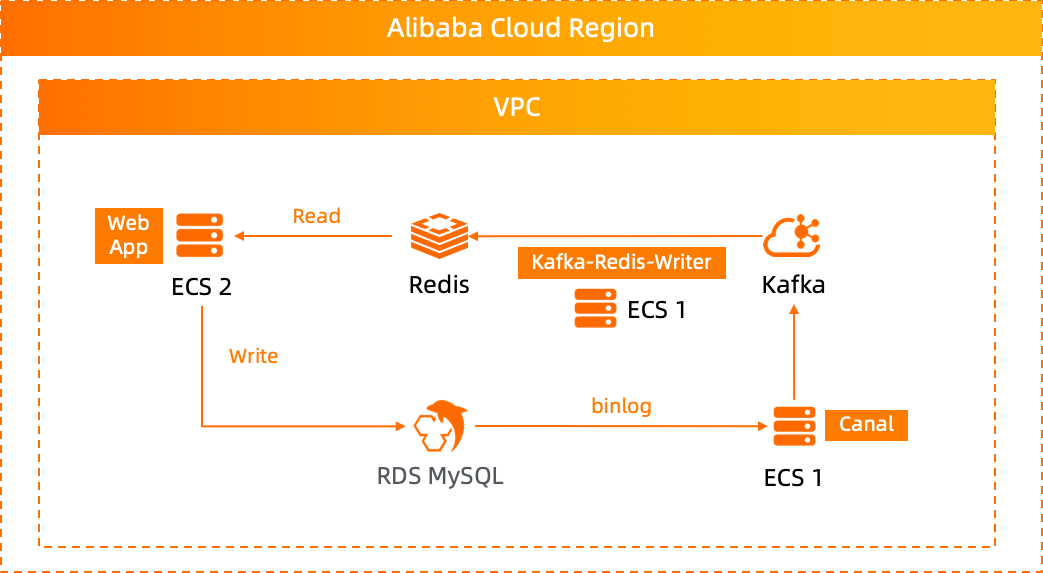
This document uses Kafka and Canal to achieve data synchronization between Redis and MySQL. The architecture diagram is as follows:

Through the architecture diagram, we can clearly know the components that need to be used, MySQL, Canal, Kafka, Redis, etc.
Except for Canal which needs to be deployed on ECS, these components will be created using Terraform tools.
Run the following command to update the apt installation source.(This experiment uses the Ubuntu 16.04 system)
apt update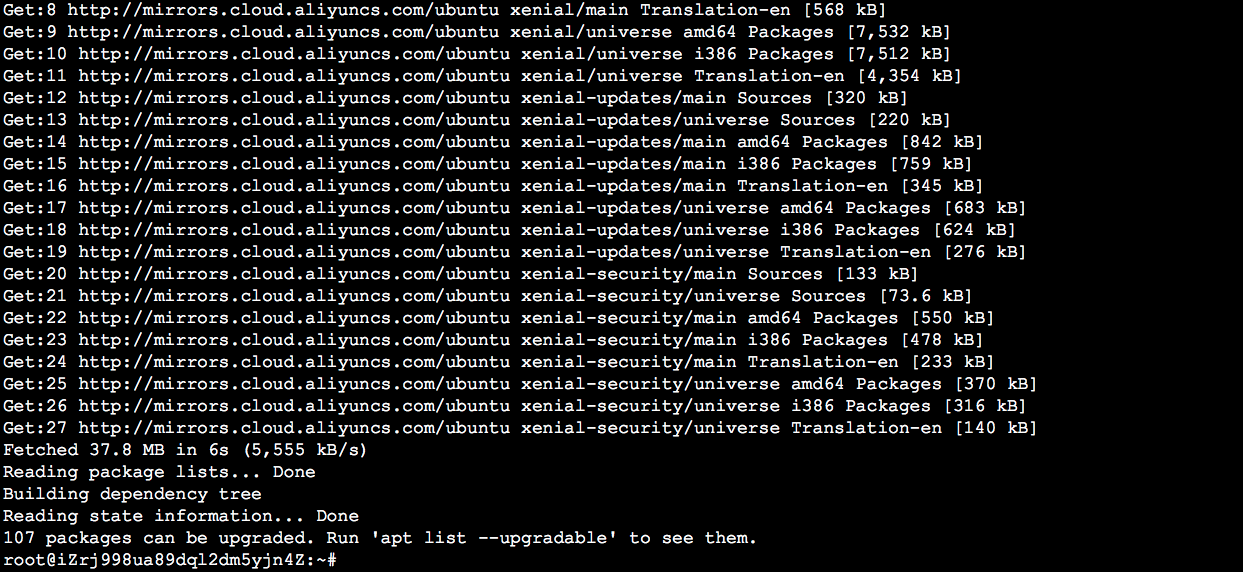
Run the following command to install the unpacking tool:
apt install -y unzip zip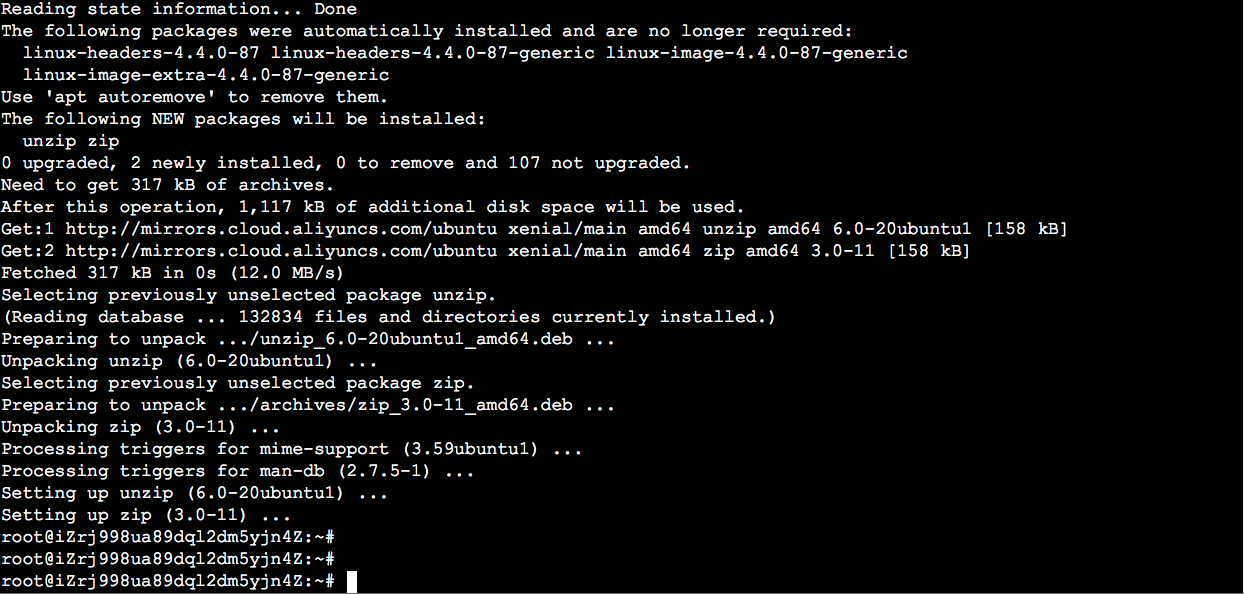
Run the following command to download the Terraform installation package:
wget http://labex-ali-data.oss-us-west-1.aliyuncs.com/terraform/terraform_0.14.6_linux_amd64.zip
Run the following command to unpack the Terraform installation package to /usr/local/bin:
unzip terraform_0.14.6_linux_amd64.zip -d /usr/local/bin/
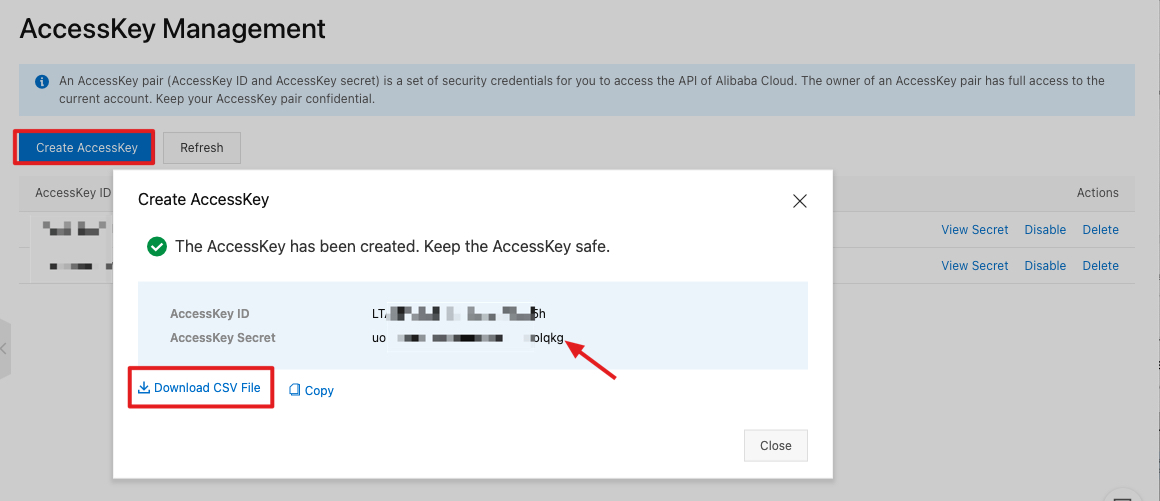
Refer back to the user's home directory as shown below, click AccessKey Management.

Click Create AccessKey. After AccessKey has been created successfully, AccessKeyID and AccessKeySecret are displayed. AccessKeySecret is only displayed once. Click Download CSV FIle to save the AccessKeySecret
Back to the ECS command line,
Enter the following command,
mkdir -p terraform && cd terraform
Enter the command vim main.tf, copy the content of this file https://github.com/alibabacloud-howto/solution-mysql-redis-canal-kafka-sync/blob/master/deployment/terraform/main.tf to the file, save and exit. Please pay attention to modify YOUR-ACCESS-ID and YOUR-ACCESS-KEY to your own AccessKey
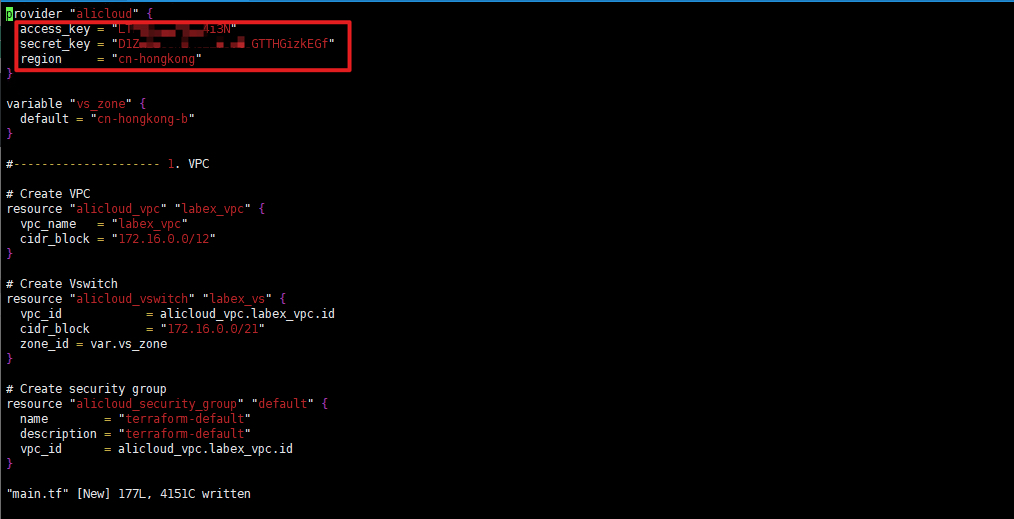
Enter the following command,
terraform init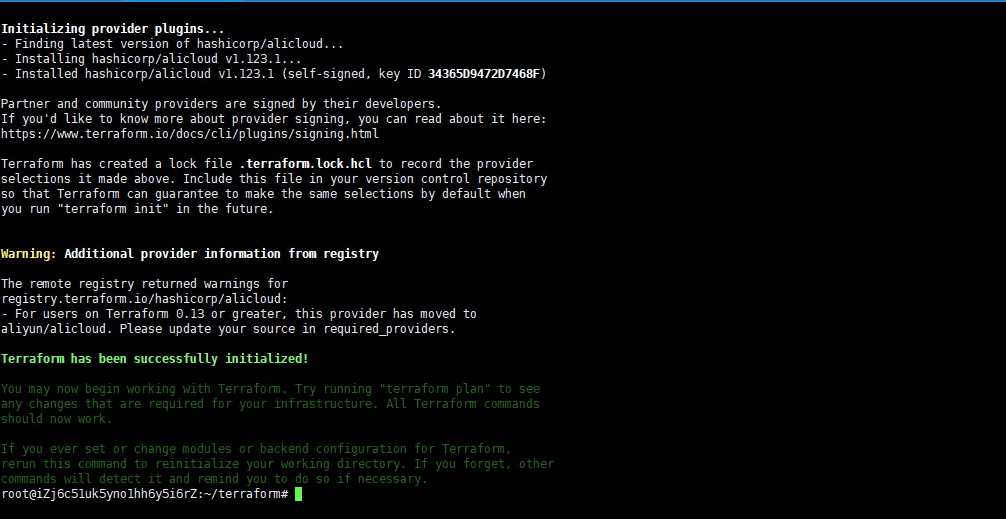
Enter the following command,
terraform plan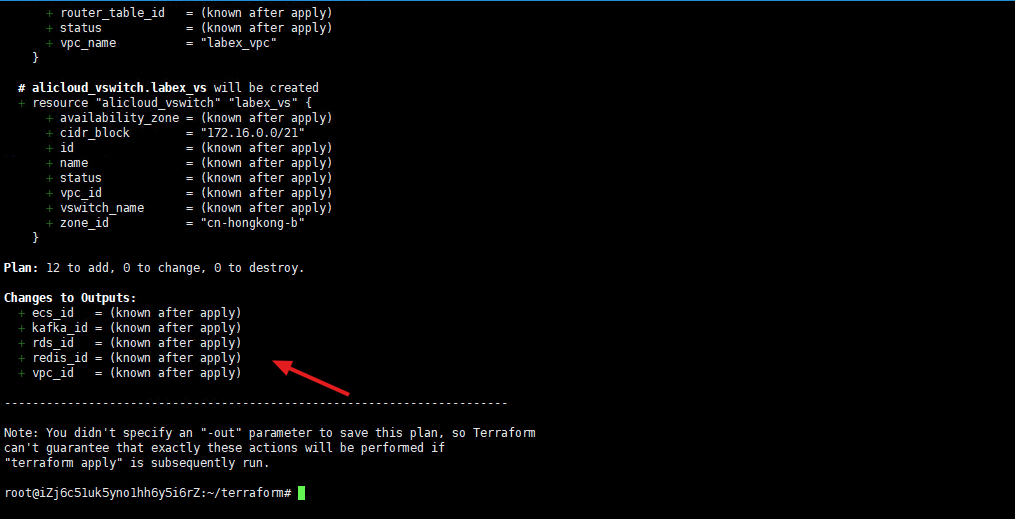
Enter the following command,
terraform apply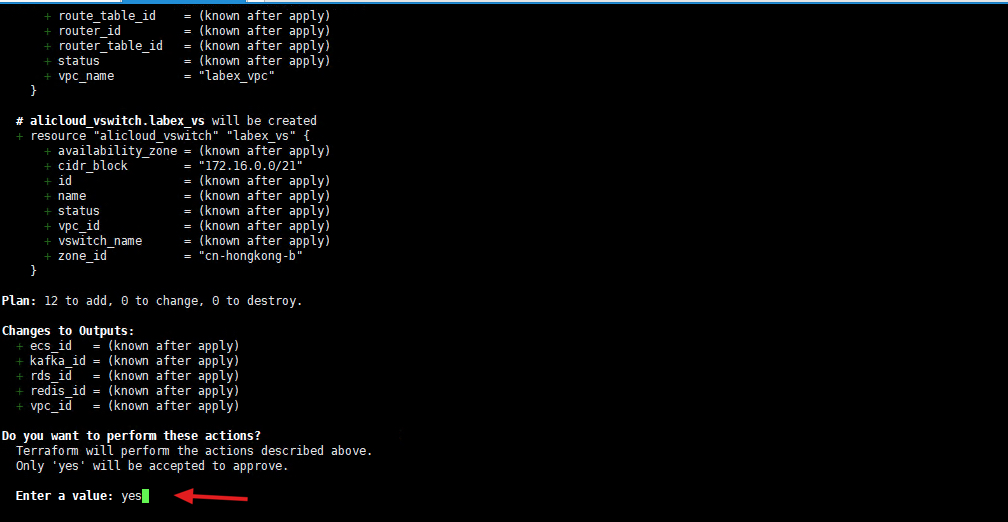
Enter "yes" to start creating related resources. It takes about 10 minutes, please wait patiently.
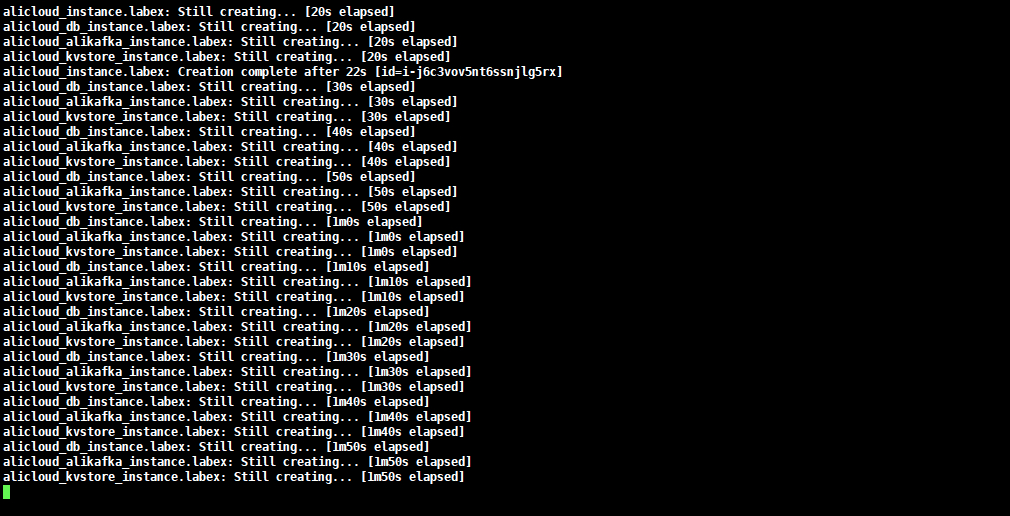
Created successfully.
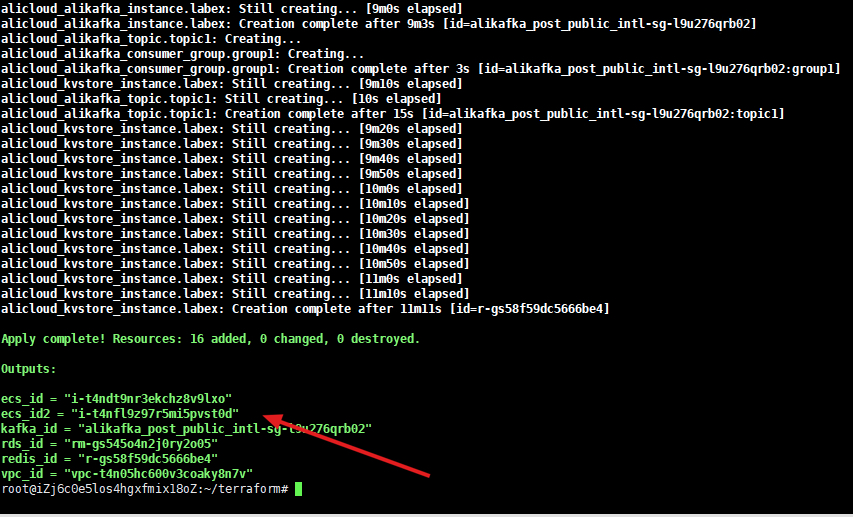
Back to the ECS console, you can see the two ECS instances just created. First, remotely log in to the instance of "labex".
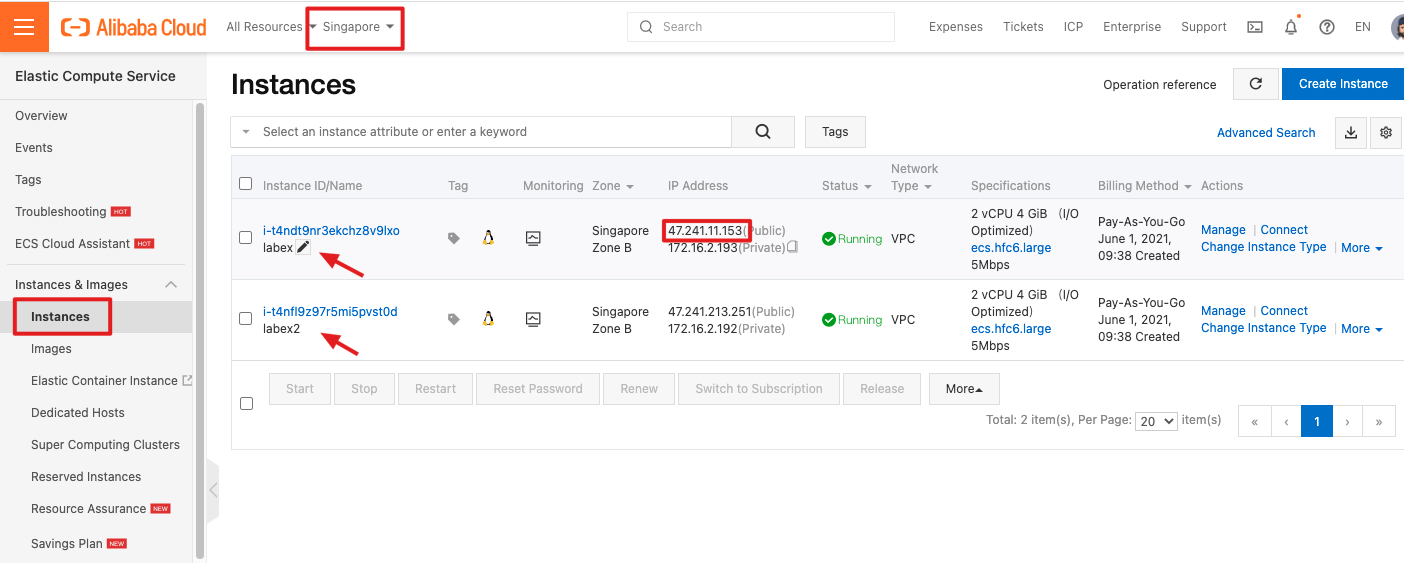
ssh root@<labex-ECS-public-IP>The default account name and password of the ECS instance:
Account name: root
Password: Aliyun-test
Enter the following command to install the MySQL client.
apt update && apt -y install mysql-client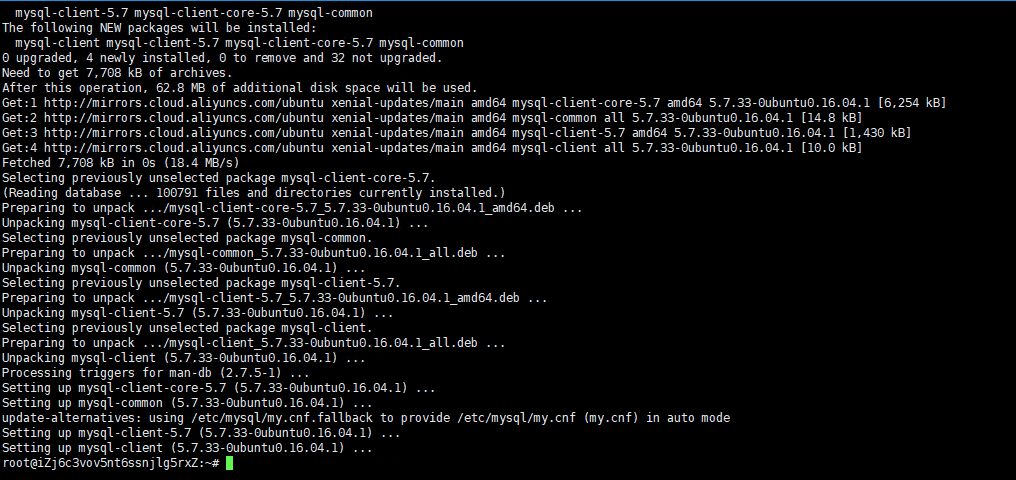
Enter the following command to download the Redis installation package.
wget https://labex-ali-data.oss-us-west-1.aliyuncs.com/redis/redis-5.0.12.tar.gz
Enter the following command to decompress the installation package.
tar -xzf redis-5.0.12.tar.gz
Enter the following command to compile Redis.
cd redis-5.0.12 && make 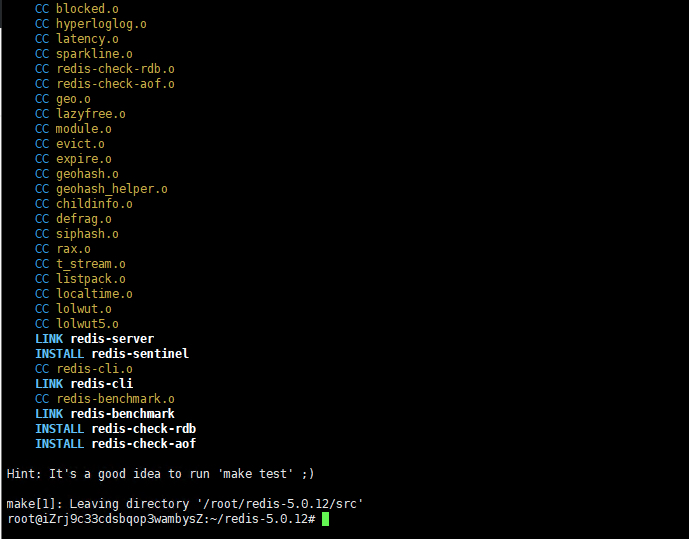
Enter the command vim /etc/profile, copy the following content to the file, save and exit.
vim /etc/profileexport PATH=$PATH:/root/redis-5.0.12/src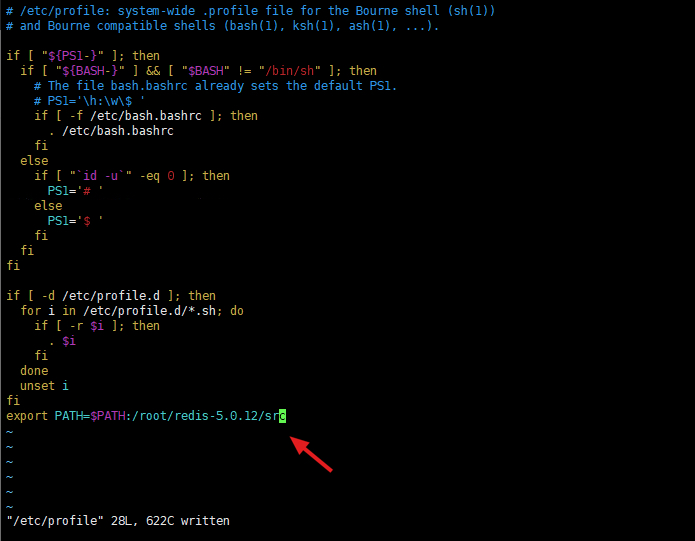
Enter the following command to make the modification effective.
source /etc/profile
Enter the following command.
redis-cli --help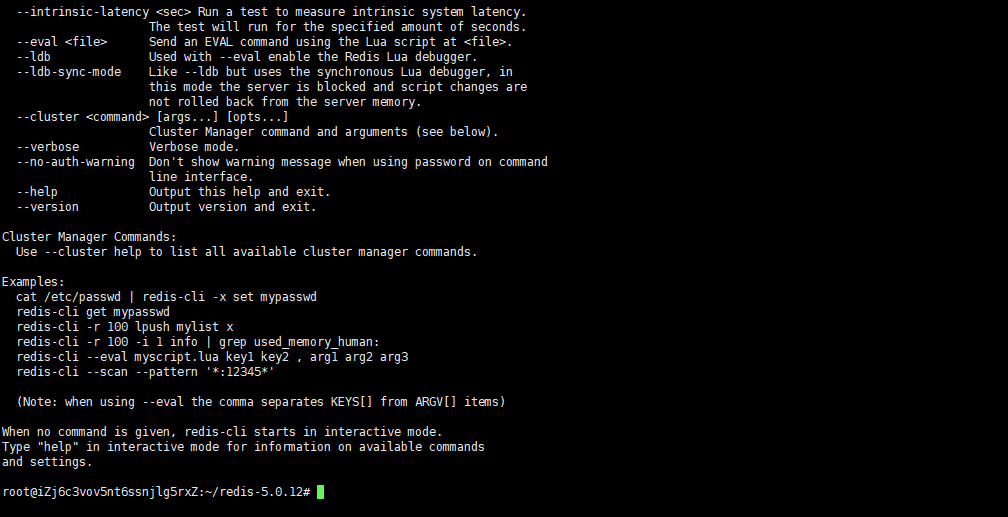
Note that redis-cli has been installed.
Input the following command to download the installation package。
cd && wget https://labex-ali-data.oss-accelerate.aliyuncs.com/spark-analysis/jdk-8u181-linux-x64.tar.gz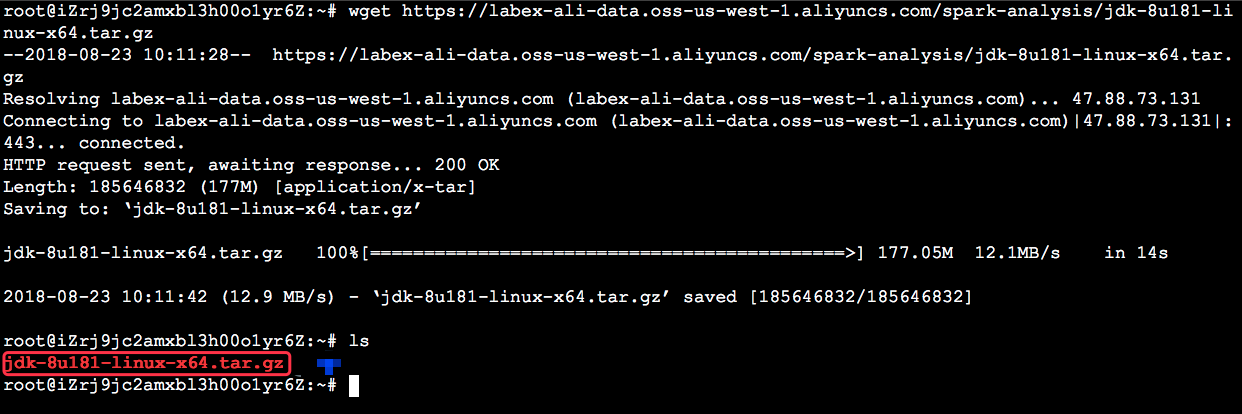
Applications on Linux are generally installed in the /usr/local directory. Input the following command to zip the downloaded installation package into the /usr/local directory.
tar -zxf jdk-8u181-linux-x64.tar.gz -C /usr/local/
Input the vim /etc/profile command to open this fie and then add the following code to the end of this file.
vim /etc/profileexport JAVA_HOME=/usr/local/jdk1.8.0_181
export PATH=$PATH:$JAVA_HOME/bin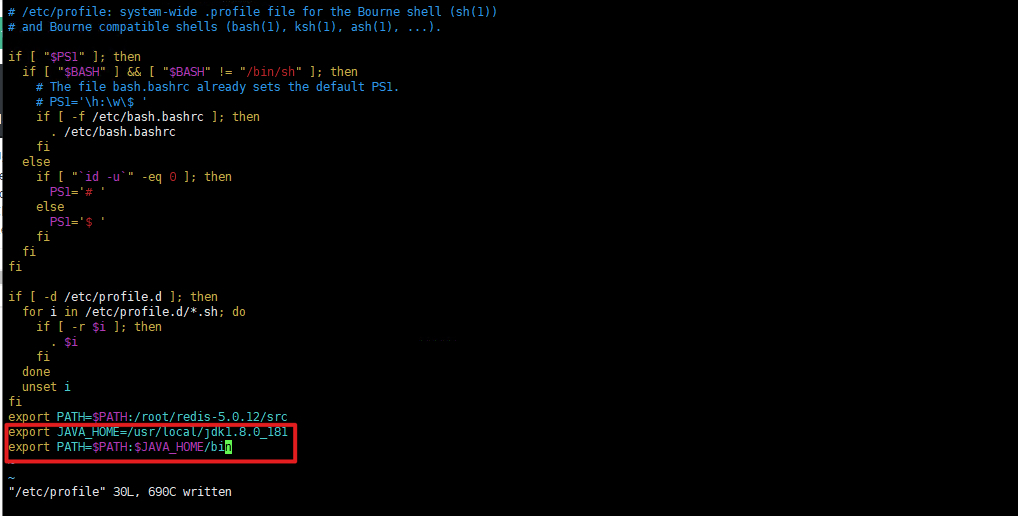
Input the source /etc/profile command to make your changes take effect.
source /etc/profileExecute command java -version to verify the JDK installation.
java -version
Go to the Alibaba Cloud Kafka console and you can see the Kafka instance created by Terraform just now.

Click the instance name to view the connection address of the Kafka instance.
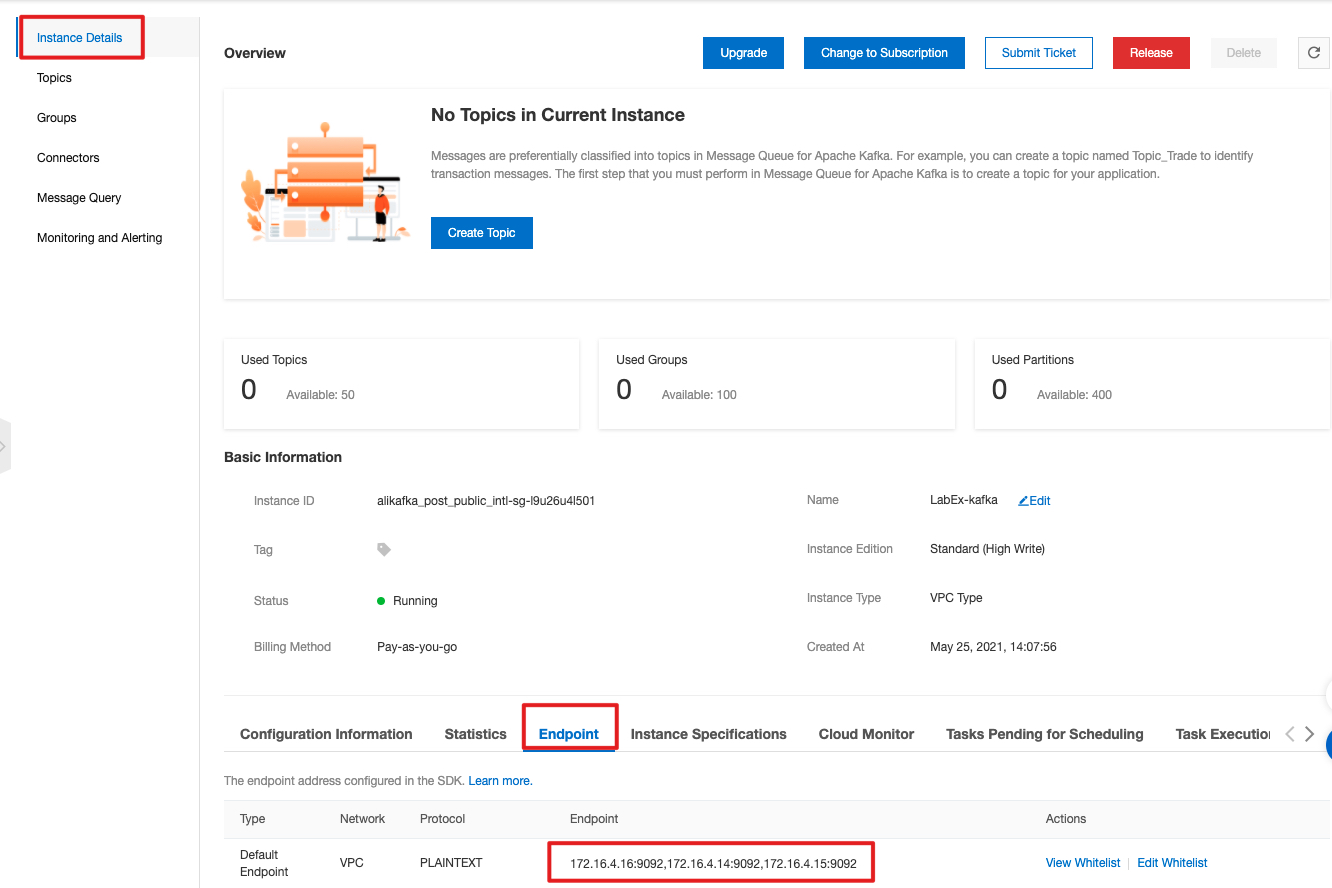
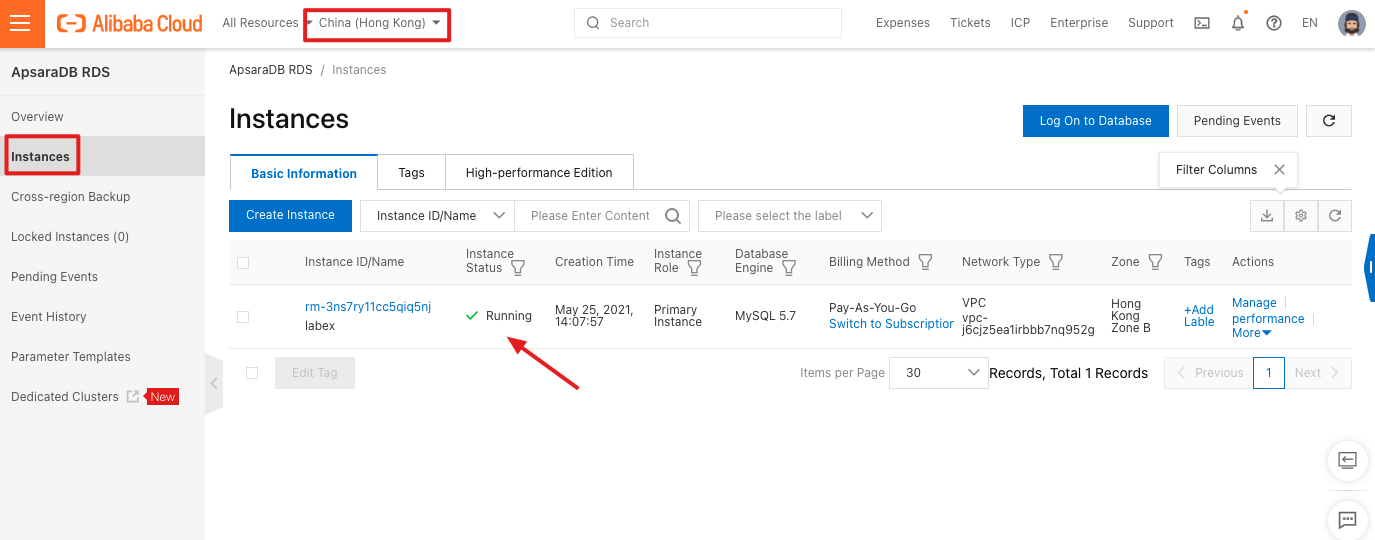
Back to the Alibaba Cloud RDS console, you can see the RDS instance created by Terraform just now.
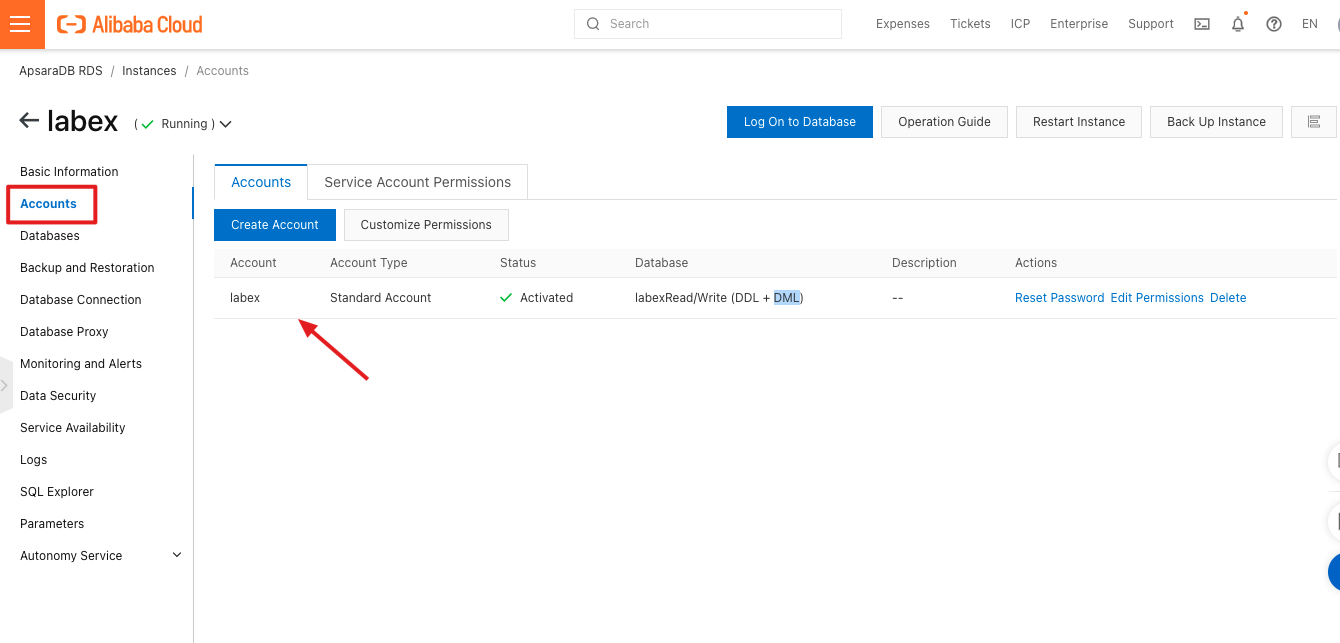
You can see the database accounts that have been created.
The database created.

Intranet address of the database.

Back to the ECS command line,
Enter the following command to connect to the RDS database. Please pay attention to replace YOUR-RDS-PRIVATE-ADDR with the user's own RDS intranet address.
mysql -hYOUR-RDS-PRIVATE-ADDR -ulabex -pAliyun-test
Enter the following command to create a table in the "labex" database.
use labex;

create table user(
    id          varchar(5),
    username    varchar(20),
    password    varchar(20),
    addr        varchar(40),
    phone       varchar(11),
    nickname    varchar(12)
);

Enter the following command to view the current database status. Please remember the log file and location here, it will be used when configuring Canal later
show master status;
Enter the exit command to exit the database.

Enter the following command to download the canal installation package.
cd && wget https://labex-ali-data.oss-us-west-1.aliyuncs.com/canal/canal.deployer-1.1.5.tar.gz
Enter the following command to create a canal directory and download the canal installation package to this directory.
mkdir canal

tar -zxvf canal.deployer-1.1.5.tar.gz -C canal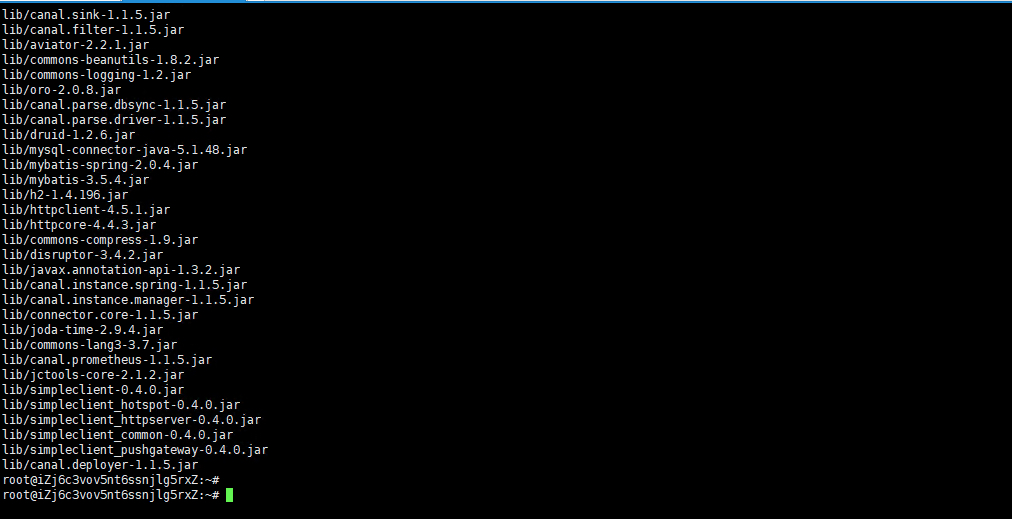
Enter the following command to view the files in the canal directory.
cd canal && ls 
Enter the command vim conf/canal.properties and modify the relevant configuration referring to the following. Please pay attention to replace YOUR-KAFKA-ADDR with the user's own Kafka connection address.
vim conf/canal.properties# tcp, kafka, RocketMQ choose kafka mode here
canal.serverMode = kafka
# The number of threads of the parser. If this configuration is turned on, it will block or fail to parse if it is not turned on
canal.instance.parser.parallelThreadSize = 16
# Configure the service address of MQ, here is the address and port corresponding to kafka
kafka.bootstrap.servers = YOUR-KAFKA-ADDR
# Configure instance, there must be a directory with the same name as example in the conf directory, and you can configure multiple
canal.destinations = example


Enter the command vim conf/example/instance.properties, refer to the following to modify the relevant configuration. Please pay attention to replace YOUR-RDS-ADDR with the user's own RDS connection address.
vim conf/example/instance.properties## mysql serverId , v1.0.26+ will autoGen
# canal.instance.mysql.slaveId=0
# position info
canal.instance.master.address=YOUR-RDS-ADDR
# Execute SHOW MASTER STATUS in MySQL; view the binlog of the current database
canal.instance.master.journal.name=mysql-bin.000003
canal.instance.master.position=181545
# account password
canal.instance.dbUsername=labex
canal.instance.dbPassword=Aliyun-test
canal.instance.connectionCharset = UTF-8
# MQ queue name
canal.mq.topic=canaltopic
# Partition index of single-queue mode
canal.mq.partition=0


Enter the following command to start the canal service.
bin/startup.sh
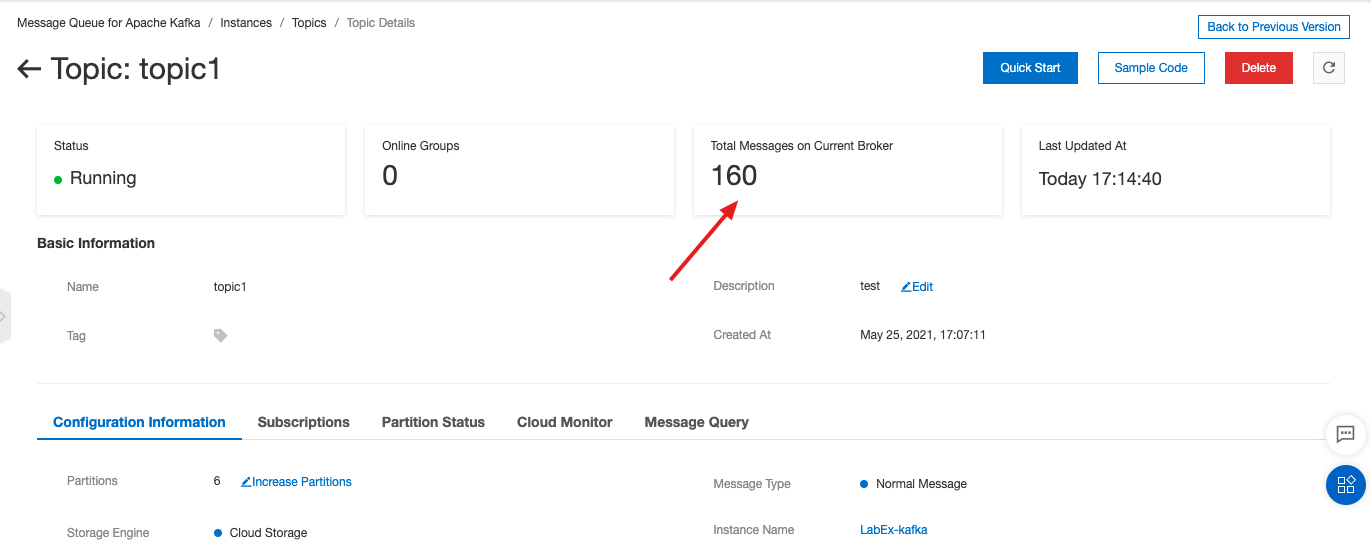
Go back to the Alibaba Cloud Kafka console and view the topic information.
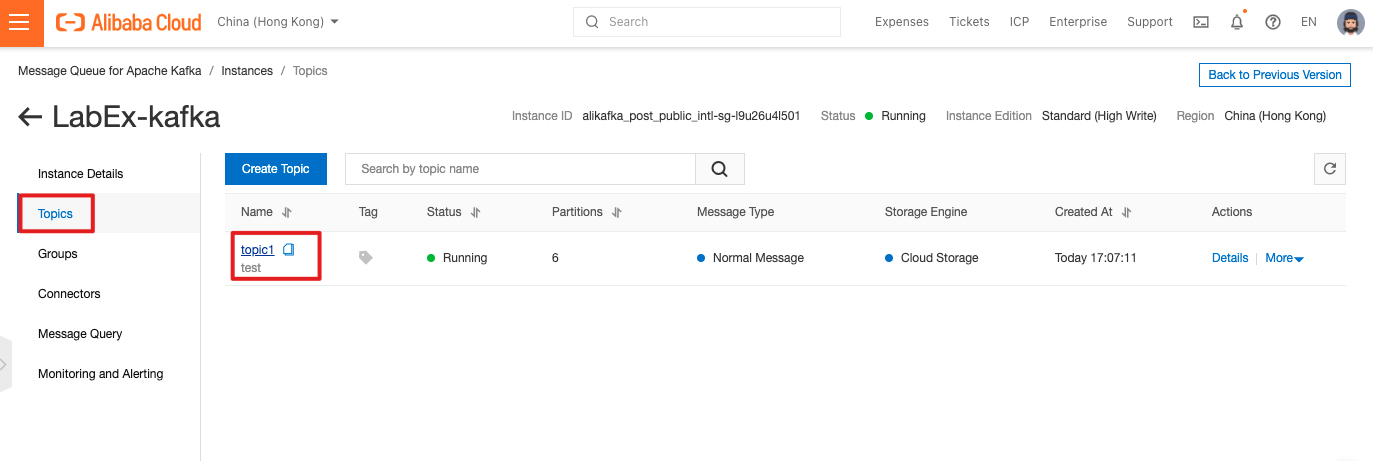
You can see that the topic on Kafka has started to have messages, indicating that Canal is synchronizing RDS log data to Kafka.
Back to the ECS command line,
Enter the following command to download a sample jar package, which will be responsible for synchronizing the data in Kafka to Redis.
cd && wget https://labex-ali-data.oss-us-west-1.aliyuncs.com/canal/canal-0.0.1-SNAPSHOT.jarOr you can build canal-0.0.1-SNAPSHOT.jar from the source code under the directory: https://github.com/alibabacloud-howto/solution-mysql-redis-canal-kafka-sync/tree/master/source
mvn clean package assembly:single -DskipTests
Enter the following command to start the synchronization process, Please pay attention to replace YOUR-KAFKA-ADDR, YOUR-REDIS-ADDR with the user's own Kafka and Redis connection address
java -cp canal-0.0.1-SNAPSHOT.jar canal.SyncKafkaRedis YOUR-KAFKA-ADDR topic1 group1 YOUR-REDIS-ADDR Aliyun-testSuch as:
java -cp canal-0.0.1-SNAPSHOT.jar canal.SyncKafkaRedis 172.16.4.16:9092,172.16.4.14:9092,172.16.4.15:9092 topic1 group1 r-3nsa4cc5c3d04814.redis.rds.aliyuncs.com Aliyun-test
You can see that the data is being synchronized, and the output messages are consumed from Kafka.
The message being consumed here is that Canal synchronizes RDS binlog file data to Kafka, which is aimed at RDS
The default "mysql" database message in the example. When the sample jar package consumes these messages, it will be output directly.
When the message of the target database "labex" is consumed, the data in Redis will be updated.
Next, create two new ECS command line interfaces.
The one that is executing the synchronization process is called command line 1.
The newly created ones are called command line 2 and command line 3, respectively.
At the command line 2.
Enter the following command to log in to the RDS database. Please replace YOUR-RDS-PRIVATE-ADDR with the user's own RDS intranet address.
mysql -ulabex -hYOUR-RDS-PRIVATE-ADDR -pAliyun-test -D labexSuch as:
mysql -ulabex -hrm-3ns7ry11cc5qiq5nj.mysql.rds.aliyuncs.com -pAliyun-test -D labex
Enter the following command to insert data into the user table.
insert into user values("19832", "name1", "ddsdfdfd", "addr1", "17138141002", "nickname1");
insert into user values("20122", "name2", "xdfdsafd", "addr2", "13877686321", "nickname2");
On the command line 1,
You can see that there are two records of data synchronization that were inserted just now.

On the command line 3,
Enter the following command to check whether there is data in redis. Please pay attention to replace YOUR-REDIS-ADDR with the user's own Redis address
redis-cli -h YOUR-REDIS-ADDR -a Aliyun-testSuch as:
redis-cli -h r-3nsa4cc5c3d04814.redis.rds.aliyuncs.com -a Aliyun-test
You can see that there are already two pieces of data.
Enter the following command, you can see that the data has been synchronized successfully.
get 19832

get 20122
Next we update the data in RDS.
On the command line 2,
Enter the following command to update the data with id = "19832".
update user set username = "nanzhao" where id = "19832";
On the command line 3,
Enter the following command, you can see that the data has been updated.
get 19832
Next we delete the data in RDS.
On the command line 2,
Enter the following command to delete the data with id = "19832".
delete from user where id = "19832";
On the command line 3,
Enter the following command, you can see that the Redis Key no longer exists, indicating that the synchronization is successful.
get 19832
Next, remotely log in to the "labex2" instance.
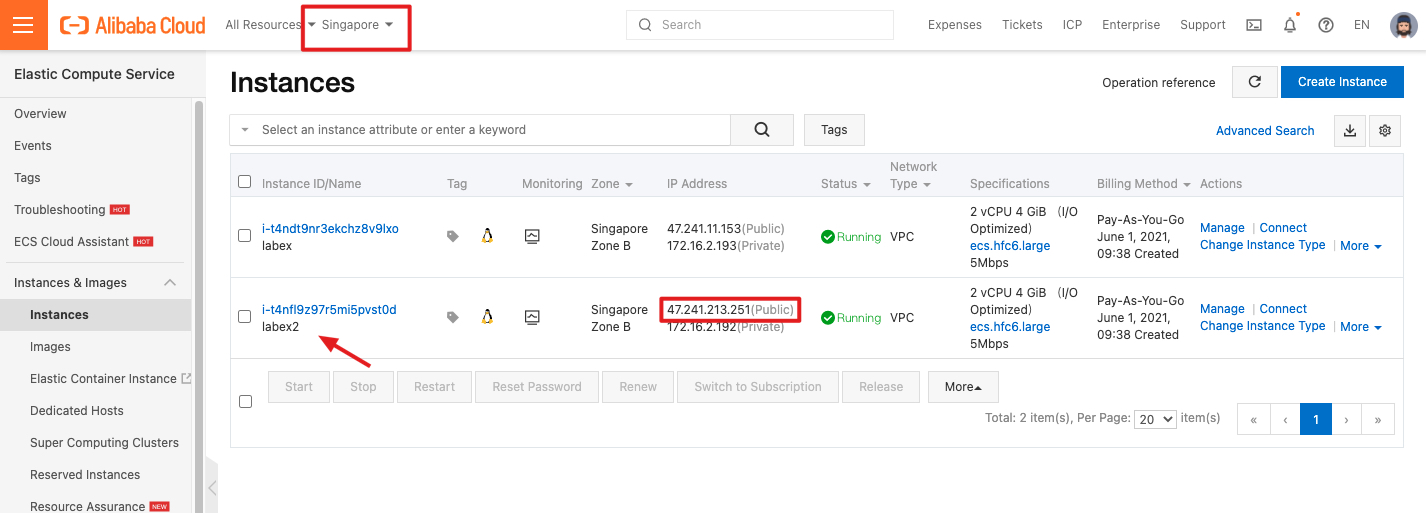
ssh root@<labex2-ECS-public-IP>The default account name and password of the ECS instance:
Account name: root
Password: Aliyun-test
Enter the following command to install apache2.
apt update && apt install -y apache2 python3-pip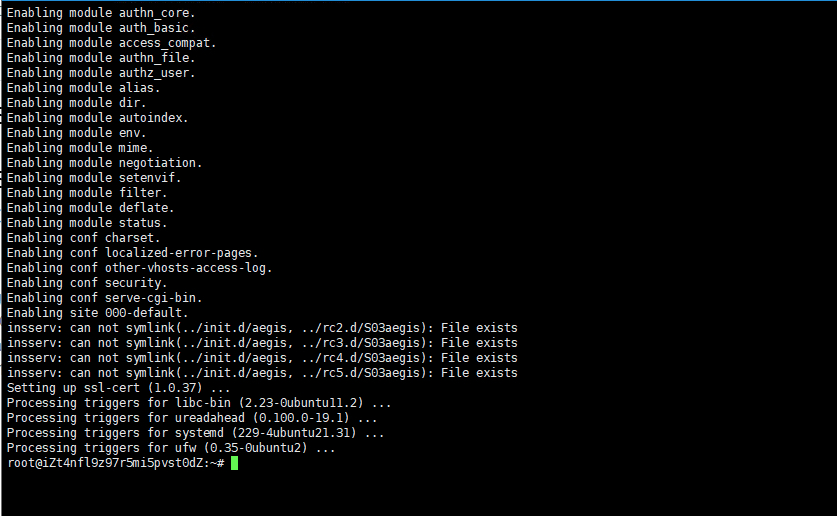
Enter the following command to install the redis dependency of python.
export LC_ALL=C

pip3 install redis
Run the following command to create a folder:
mkdir /var/www/python
Run the following command to disable the event module and enable the prefork module:
a2dismod mpm_event

a2enmod mpm_prefork cgi
Run the vim /etc/apache2/sites-enabled/000-default.conf command to open the Apache configuration file. Replace all the contents of the file with the following configuration. Save the settings and exit.
vim /etc/apache2/sites-enabled/000-default.conf<VirtualHost *:80>
DocumentRoot /var/www/python
<Directory /var/www/python>
Options +ExecCGI
DirectoryIndex leaderboards.py
</Directory>
AddHandler cgi-script .py
ErrorLog ${APACHE_LOG_DIR}/error.log
CustomLog ${APACHE_LOG_DIR}/access.log combined
</VirtualHost>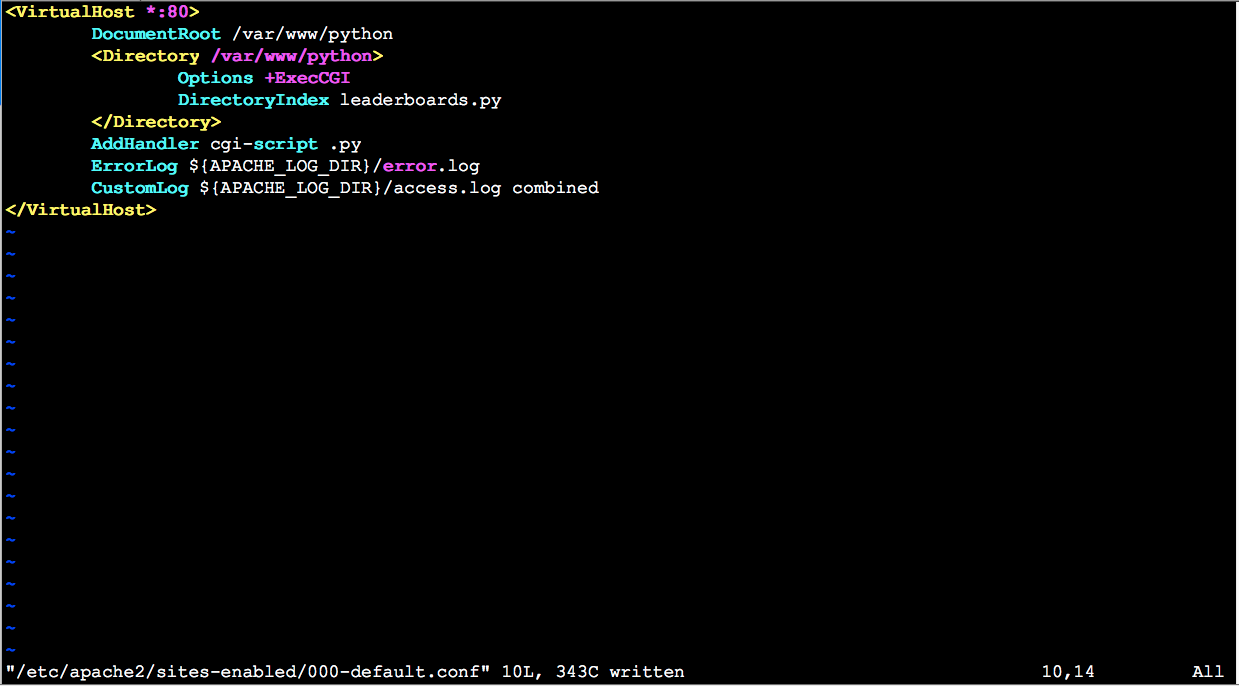
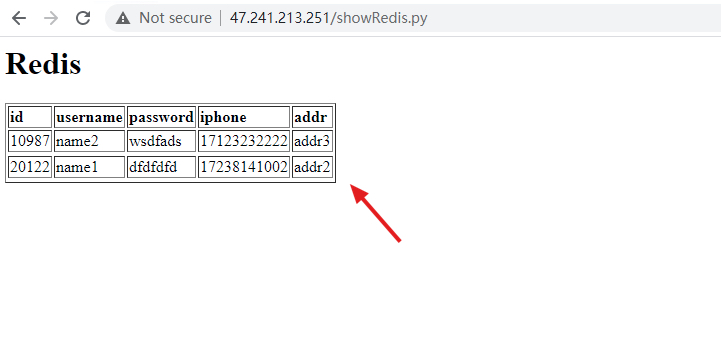
Run the vim /var/www/python/showRedis.py command to create a new file. Copy the following content to the file. Save the settings and exit.Replace YOUR-REDIS-ADDR with the address of your Redis instance.
vim /var/www/python/showRedis.py#!/usr/bin/python3
import cgitb
import redis
import json
r = redis.StrictRedis(host='YOUR-REDIS-ADDR', port=6379, db=0, password='Aliyun-test')
cgitb.enable()
print("Content-Type: text/html;charset=utf-8")
print()
keys = r.keys()
print ("<h1>Data is fetched from Redis:</h1>")
print ("<table border=1><tr><td><b>id</b></td><td><b>username</b></td><td><b>password</b></td><td><b>iphone</b></td><td><b>addr</b></td></tr>")
for key in keys:
print("<tr>")
dic1 = json.loads(r.get(key).decode("utf-8"))
print ("<td>", dic1.get("id", "null"), '</td>')
print ("<td>", dic1.get("username", "null"), '</td>')
print ("<td>", dic1.get("password", "null"), '</td>')
print ("<td>", dic1.get("phone","null"), '</td>')
print ("<td>", dic1.get("addr", "null"), '</td>')
print("<tr/>")
print ("</table><br/><br/>")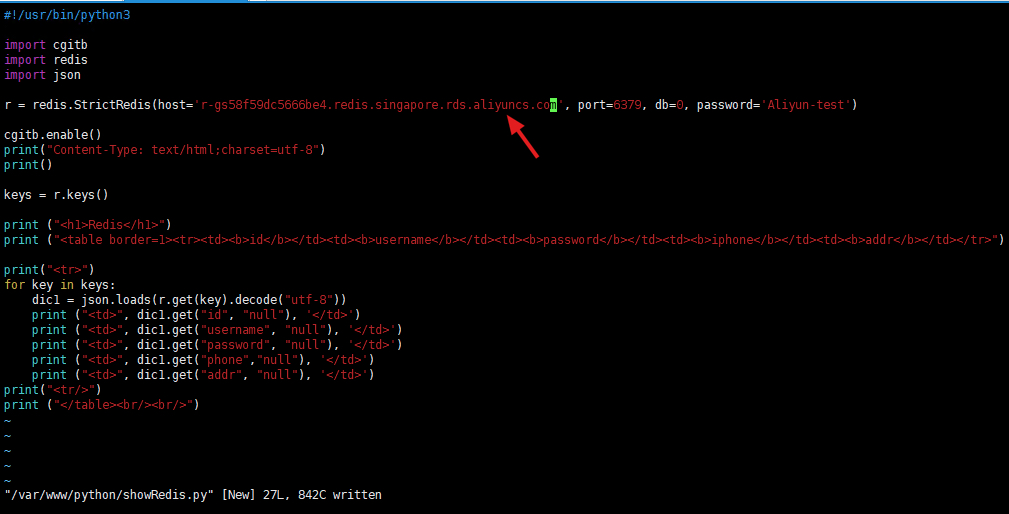
Run the following command to grant the file execution permission:
chmod 755 /var/www/python/showRedis.py
Run the following command to restart Apache to make the preceding configurations take effect:
service apache2 restart
Access from the browser with "labex2" ECS in this tutorial. Please pay attention to replace the IP address with the user's own ECS public network address
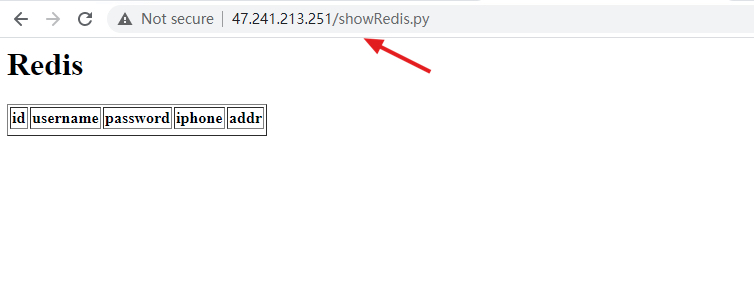
Next, we repeat the operations of inserting, updating, and deleting data in MySQL in the section Data synchronization test, and then refresh the browser to see the data in Redis.
Deploy MongoDB Instances in Multiple Regions Automatically Using Terraform
Rose Bowl Games Scoreboard Powered by Redis & MySQL - Provisioning Resources with Terraform
Alibaba Clouder - January 7, 2021
Apache Flink Community China - May 13, 2021
Apache Flink Community - May 9, 2025
Data Geek - May 10, 2024
Apache Flink Community - March 31, 2025
Apache Flink Community China - June 2, 2022
 Message Queue for Apache Kafka
A fully-managed Apache Kafka service to help you quickly build data pipelines for your big data analytics.
Learn More PolarDB for MySQL
Alibaba Cloud PolarDB for MySQL is a cloud-native relational database service 100% compatible with MySQL.
Learn More Time Series Database (TSDB)
TSDB is a stable, reliable, and cost-effective online high-performance time series database service.
Learn More AnalyticDB for MySQL
AnalyticDB for MySQL is a real-time data warehousing service that can process petabytes of data with high concurrency and low latency.
Learn MoreMore Posts by ApsaraDB
5811131261712595 June 26, 2022 at 2:19 pm
in this blog i see using ECS and script main.tf wich is already configured.my questions is, in the main.tf script is gonna create new rds mysql database, can i use my existing rds?and can i use mysql db that running in kube ali cloud? and in the scipt the region is using hongking can i use my region?