For general-purpose computing workloads such as deep learning and AI, a GPU requires the Tesla driver to use its high-performance computing capabilities. GPU-accelerated compute-optimized instances that run Windows do not support automatic driver installation during instance creation. You must follow the steps in this topic to manually install the Tesla driver.
Procedure
This topic applies to all GPU-accelerated compute-optimized Windows instances. For more information, see GPU-accelerated compute-optimized instance families (gn, ebm, and scc series).
Step 1: Download the Tesla driver
Connect to your Windows GPU-accelerated instance.
For more information, see Connect to a Windows instance using Workbench.
On your remote desktop, visit the NVIDIA drivers download page.
NoteFor more information about how to install and configure NVIDIA drivers, see NVIDIA CUDA Installation Guide for Linux.
Set the search criteria and click Search.
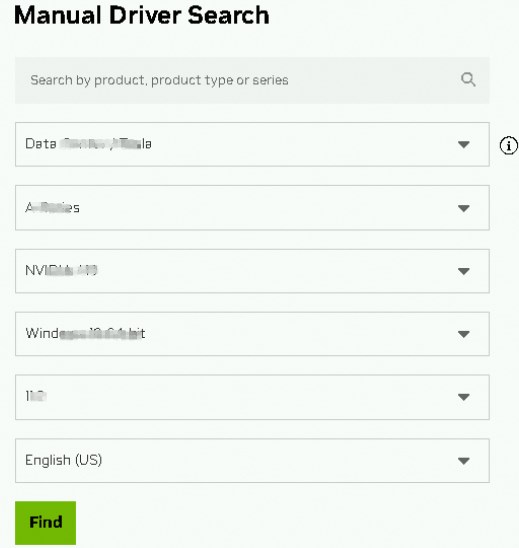
The following table describes the filters.
Filter
Description
Example value
Product Type
Product Series
Product
Select the product type, series, and product that correspond to the GPU model of your instance type.
NoteTo view details about your GPU instance, such as the instance ID, instance type, and operating system, see View instance information.
Data Center / Tesla
A-Series
NVIDIA A10
Operating System
Select the Windows operating system version that matches the image used by your instance.
Windows 10 64-bit
CUDA Toolkit
Select the CUDA Toolkit version.
11.2
Language
Select a language for the driver.
Chinese (Simplified)
On the driver search results page, click Show More Versions.
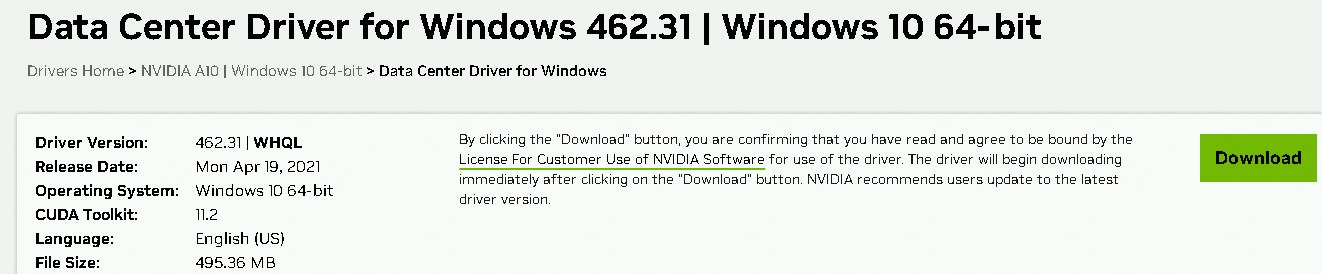
Find the driver that you want to download and click View.
For example, you can select Data Center Driver for Windows with driver version 462.31 and CUDA Toolkit version 11.2.
On the driver details page, click Download.
Step 2: Install the Tesla driver
Open the folder containing the downloaded driver and double-click the installation file.
Follow the on-screen instructions to complete the installation.
After the installation, restart the GPU instance if prompted. For more information, see Restart instances.
ImportantAfter you install the Tesla driver on Windows, the built-in Remote Desktop Protocol (RDP) does not support applications that rely on DirectX or OpenGL. To run these applications, you must install a VNC service and client or use another remote connection client that supports protocols such as PCoIP or XenDesktop HDX 3D.
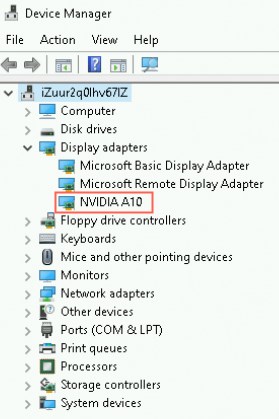
In the lower-left corner of your remote desktop, type Device Manager and press
Enter.On the Device Manager page, click Display adapters to check whether the driver is installed.
If the driver information (for example, NVIDIA A10) appears, the installation was successful.
References
If you have a GPU-accelerated compute-optimized instance that runs a Linux operating system, you can install a Tesla driver for general-purpose computing workloads such as deep learning and AI. For more information, see Automatically install or load the Tesla driver when you create a GPU-accelerated instance or Manually install the Tesla driver on a GPU-accelerated compute-optimized Linux instance.
If you need to uninstall the current Tesla driver for any reason, see Uninstall Tesla drivers.
If the installed driver is unsuitable, or if an incorrect driver causes the instance to malfunction, you can either uninstall it and install a new one, or perform a direct upgrade. To upgrade a driver, see Upgrade the NVIDIA Tesla or GRID driver.