This topic describes how to configure the Send a Viber Message component to send a Viber message to an end user. The end user can reply to the message by using the specific features of Viber.
Component information
Icon
![]()
Name
Send a Viber Message
Preparations
Go to the canvas page of an existing flow or a new flow.
Go to the canvas page of an existing flow.
Log on to Chat App Message Service Console. Choose Chat Flow > Flow Management. Click the name of the flow that you want to edit. The canvas page of the flow appears.

Create a new flow to go to the canvas page. For more information, see Create a flow.
Procedure
Click the Send a Viber Message icon on the canvas to show the component configuration section on the right side.

Configure the component based on your business requirements. For more information, see the Parameters section of this topic.
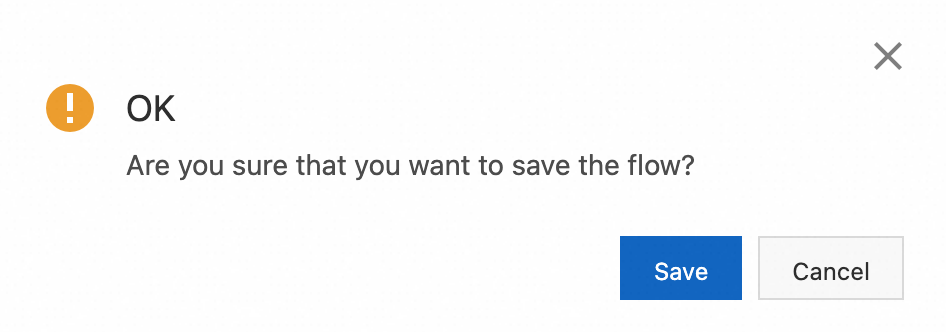
Click Save in the upper-right corner. In the message that appears, click Save.
Parameters
Message sending settings

If the trigger type of the flow is Manual, the action must be From/To.
Parameter | Description |
Action | Valid values:
|
Message Type | Select a message type. Valid values:
|
Sending Type | Select a message sending type. Valid values: Service Id and Variable. You must select a variable after you set Sending Type to Variable. |
Channel | Select a Viber channel to send the message. |
Recipient | Select a message recipient. You can enter the phone number of a recipient or select a variable. |
Message settings

Select the type of media resources in the message that you want to send.
Valid values:
Text
Text and Button
Image
Text and Image
Text, Image, and Button
File
Video
Text and Video
Text, Video, and Button
Template
If the message contains an image, you must enter the URL of the image.
If the message contains a file, you must enter the URL, name, and type of the file.
If the message contains a video file, you must enter the URL, validity period, size, and thumbnail URL of the video file.
If you set the Message Type parameter to Template, you must select a message template. You can click Preview to preview the template content.
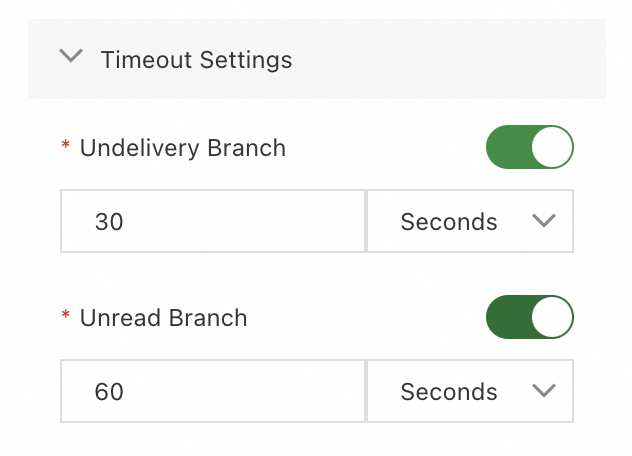
Timeout settings
You can turn on Undelivery Branch and Unread Branch to specify custom timeout periods and configure corresponding components for branches. For example, you can add the Send an SMS Message component to the undelivery branch. For more information, see Configure the Send an SMS Message component.
Advanced settings
Parameter | Description |
Status Report | After you turn on Status Report, you must specify a URL for receiving a status report. |
Track ID | This ID is used to tag a specific message and track the message. |