This topic describes how to configure the Forward to Flow component. This component allows you to jump from the current flow to another selected flow and end the current flow.
Component information
Icon
![]()
Name
Forward to Flow
Preparations
Go to the canvas page of an existing flow or a new flow.
Go to the canvas page of an existing flow.
Log on to Chat App Message Service Console. Choose Chat Flow > Flow Management. Click the name of the flow that you want to edit. The canvas page of the flow appears.

Create a new flow to go to the canvas page. For more information, see Create a flow.
Procedure
Click the Forward To Flow icon on the canvas to view the configurations on the right.
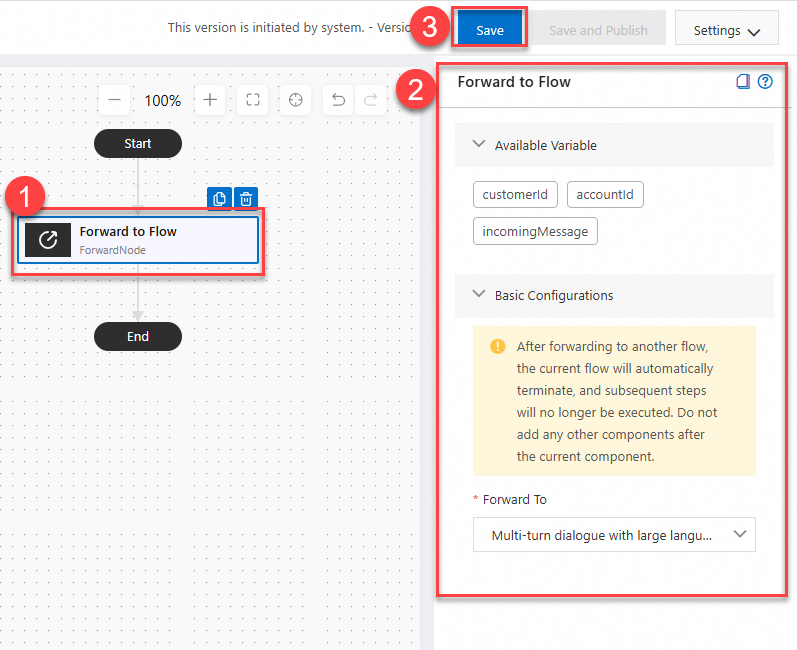
Configure the component based on your needs. For more information, see Parameters.
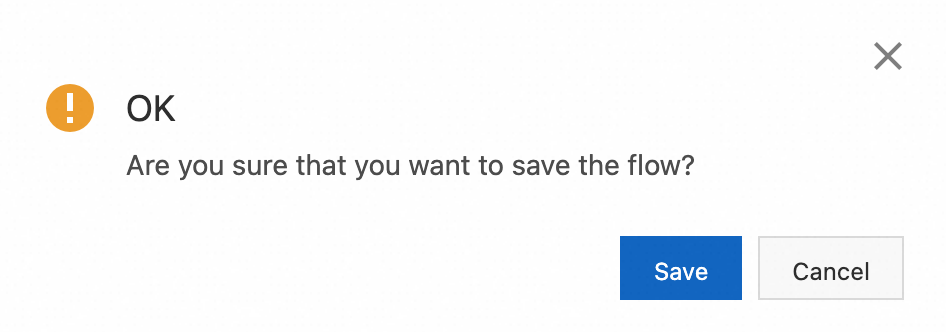
Click Save in the upper-right corner. In the message that appears, click Save.
Parameters
Parameter | Description |
Forward To | Select another flow that has been created and published. Important After a flow is forwarded to another flow, the current flow will automatically stop and subsequent steps will not be executed. The flow to jump to must be in the Published state and does not need to be attached to a WABA or any other account. |