By Hitesh Jethva, Alibaba Cloud Community Blog author. The Blog is a community-driven platform whose main aim is to demonstrate Alibaba Cloud's technical capabilities, brand message, and thought leadership through relevant, compelling content.
Dry is a simple terminal application to manage and monitor Docker containers, which gives detailed information about Nodes, Service, Stacks and Swarm constructs. You can easily start and stop Docker containers, remove Docker images, and monitor real-time container processes by using Dry.
In this tutorial, we will learn how to install Dry on an Alibaba Cloud Elastic Compute Service (ECS) instance that is installed with Ubuntu 16.04. We will also learn how to use Dry to manage and monitor Docker containers, images, and networks.
To manage and monitor Docker containers with Dry, follow these steps:
First, log on to your Alibaba Cloud ECS Console. Then, create a new ECS instance with Ubuntu 16.04 as the operating system and with at least 2GB RAM. Last, connect to your ECS instance and log on as the root user.
After you are logged on to your Ubuntu 16.04 instance, run the following command to update your base system with the latest available packages.
apt-get update -yBefore you continue to the next steps, you will need to install Docker CE and Docker compose on your instance. By default, the latest version of Docker is not available in the Ubuntu 16.04 default repository. So you will need to add the PPA for that. You can do this by running the following command:
curl -fsSL https://download.docker.com/linux/ubuntu/gpg | apt-key add -
add-apt-repository "deb [arch=amd64] https://download.docker.com/linux/ubuntu $(lsb_release -cs) stable"
Next, update the repository and install Docker CE and Docker compose by running the following command:
apt-get update -y
apt-get install docker-ce docker-compose -y
After the installation is complete, you can check the status of Docker service with the following command:
systemctl status dockerThe output is as follows:
● docker.service - Docker Application Container Engine
   Loaded: loaded (/lib/systemd/system/docker.service; enabled; vendor preset: enabled)
   Active: active (running) since Thu 2018-11-15 20:25:06 IST; 56s ago
     Docs: https://docs.docker.com
 Main PID: 16125 (dockerd)
   CGroup: /system.slice/docker.service
           └─16125 /usr/bin/dockerd -H unix://

Nov 15 20:25:04 Node1 dockerd[16125]: time="2018-11-15T20:25:04.988356579+05:30" level=warning msg="Your kernel does not support swap memory li
Nov 15 20:25:04 Node1 dockerd[16125]: time="2018-11-15T20:25:04.989716941+05:30" level=warning msg="Your kernel does not support cgroup rt peri
Nov 15 20:25:04 Node1 dockerd[16125]: time="2018-11-15T20:25:04.991123520+05:30" level=warning msg="Your kernel does not support cgroup rt runt
Nov 15 20:25:05 Node1 dockerd[16125]: time="2018-11-15T20:25:05.000582570+05:30" level=info msg="Loading containers: start."
Nov 15 20:25:06 Node1 dockerd[16125]: time="2018-11-15T20:25:06.049283689+05:30" level=info msg="Default bridge (docker0) is assigned with an I
Nov 15 20:25:06 Node1 dockerd[16125]: time="2018-11-15T20:25:06.278993600+05:30" level=info msg="Loading containers: done."
Nov 15 20:25:06 Node1 dockerd[16125]: time="2018-11-15T20:25:06.353529803+05:30" level=info msg="Docker daemon" commit=4d60db4 graphdriver(s)=o
Nov 15 20:25:06 Node1 dockerd[16125]: time="2018-11-15T20:25:06.361600332+05:30" level=info msg="Daemon has completed initialization"
Nov 15 20:25:06 Node1 systemd[1]: Started Docker Application Container Engine.
Nov 15 20:25:06 Node1 dockerd[16125]: time="2018-11-15T20:25:06.527874596+05:30" level=info msg="API listen on /var/run/docker.sock"You will also need to setup some Docker containers to test Dry. Here, we will setup Wordpress and PhpMyAdmin containers using Docker compose. First, create a directory to store your container's data and docker-compose.yml to run your container.
mkdir wordpressNext, create a docker-compose.yml to setup Wordpress and PhpMyAdmin container:
nano wordpress/docker-compose.ymlAdd the following lines:
wordpress:
  image: wordpress
  links:
    - wordpress_db:mysql
  ports:
    - 8080:80
wordpress_db:
  image: mariadb
  environment:
    MYSQL_ROOT_PASSWORD: password
phpmyadmin:
  image: corbinu/docker-phpmyadmin
  links:
    - wordpress_db:mysql
  ports:
    - 8181:80
  environment:
    MYSQL_USERNAME: root
    MYSQL_ROOT_PASSWORD: password
Save and close the file. Now, run the following command to download Wordpress and PhpMyAdmin images, then run both containers in the background:
docker-compose up -dAfter the setup is complete, the Wordpress container is listening on port 8080, and PhpMyAdmin container is listening on port 8181.
Open your web browser and type the address http://192.168.43.192:8080. You will be redirected to the Wordpress installation page:
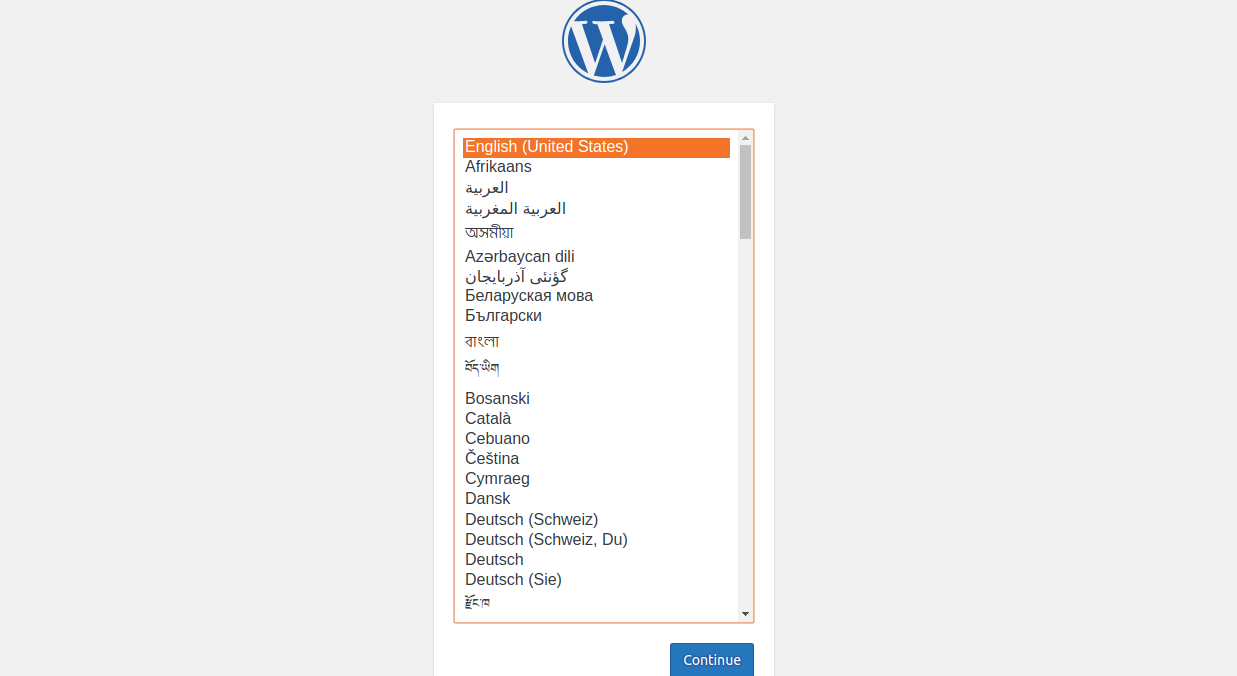
Select your language and click on the Continue button. You should see the following page:
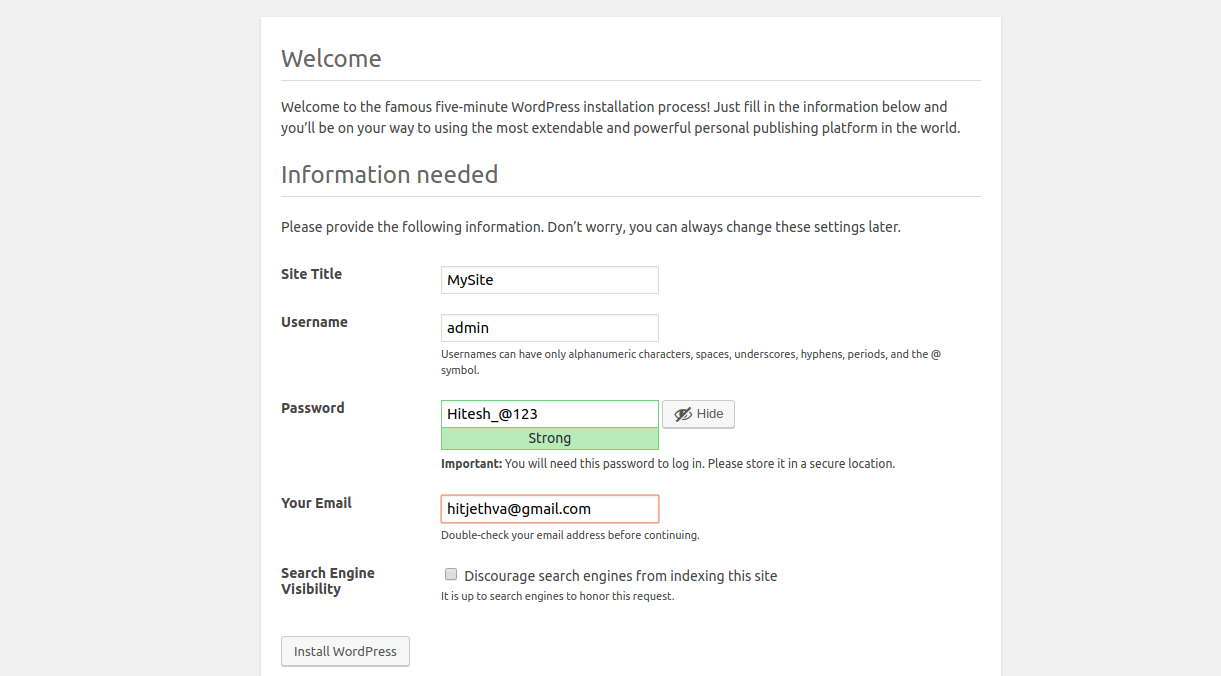
Provide your Sitename, admin username, and password. Then, click the Install Wordpress button. After the installation is complete, you will see the following page:
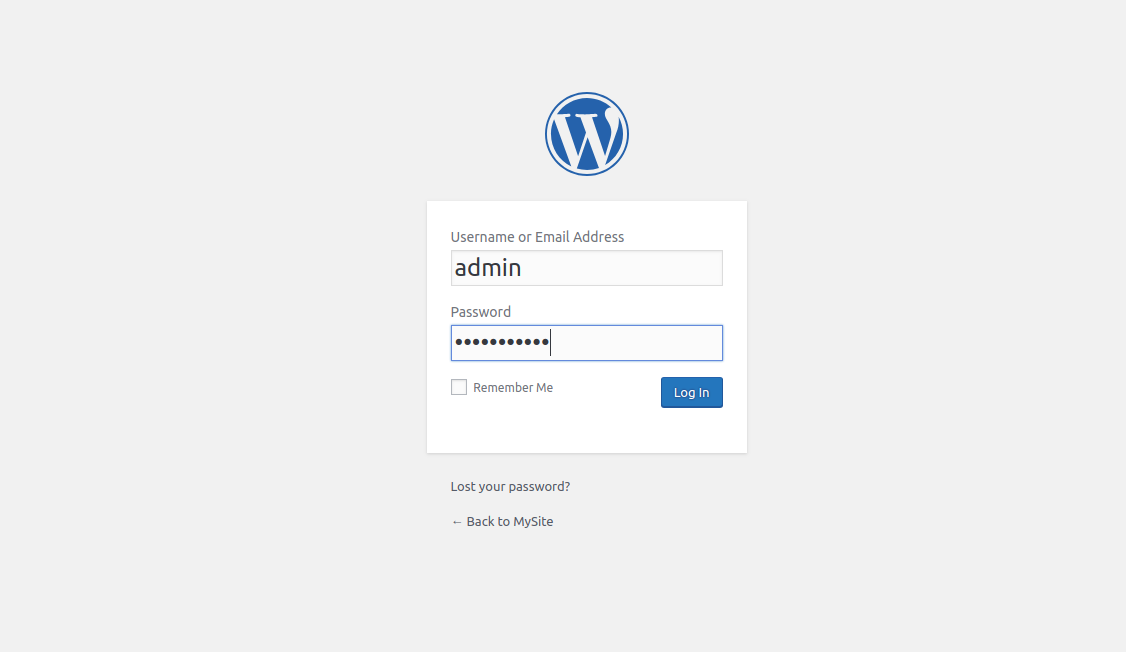
Now, provide your admin username and password. Then, click the Log on button. You will see the Wordpress dashboard in the following page:
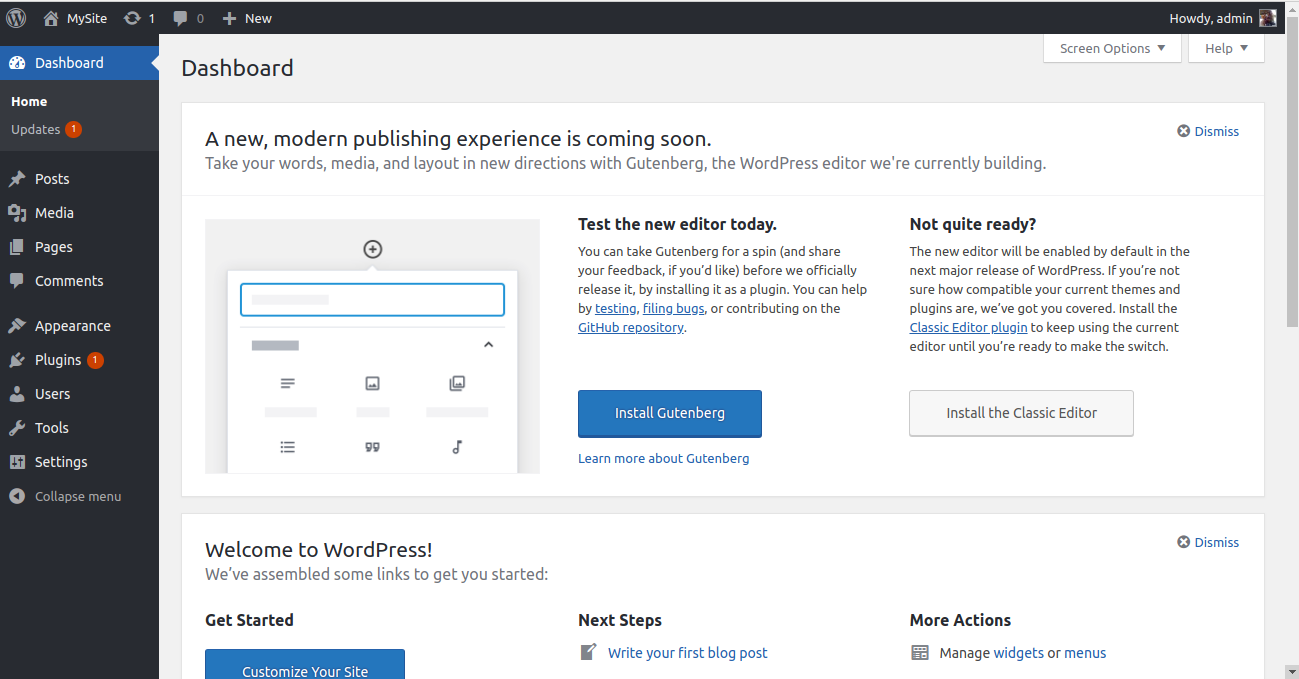
Open your web browser and type the address http://192.168.43.192:8181. You will be redirected to the following page:
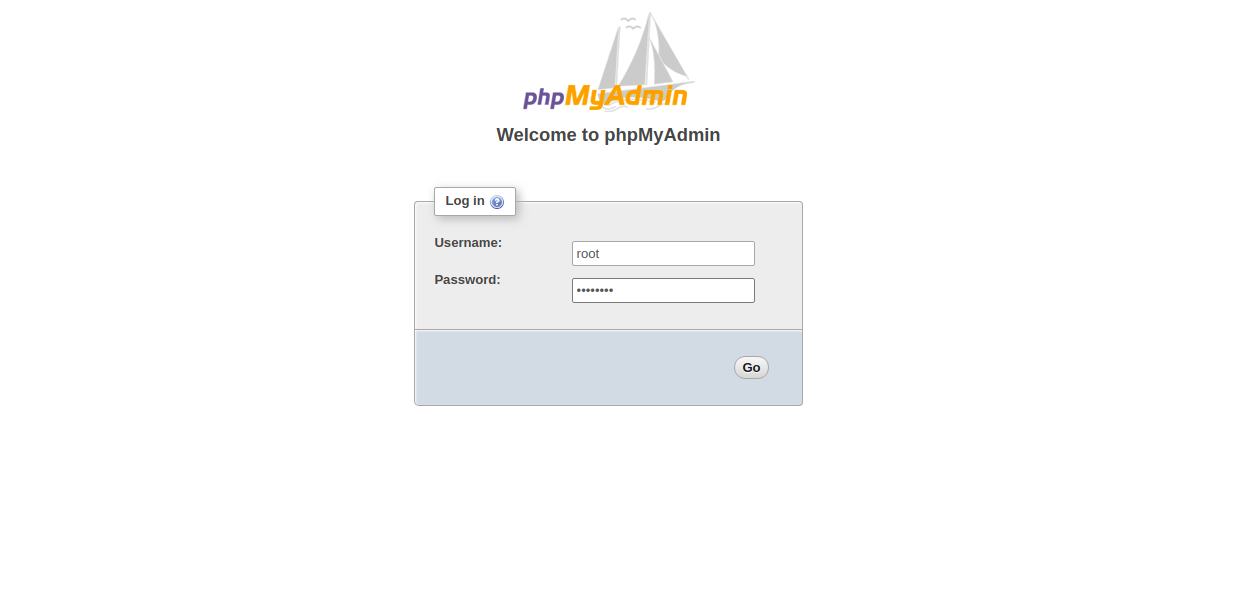
Now, provide your root username and password. Then, click the Go button. You will see the PhpMyAdmin dashboard in the following page:
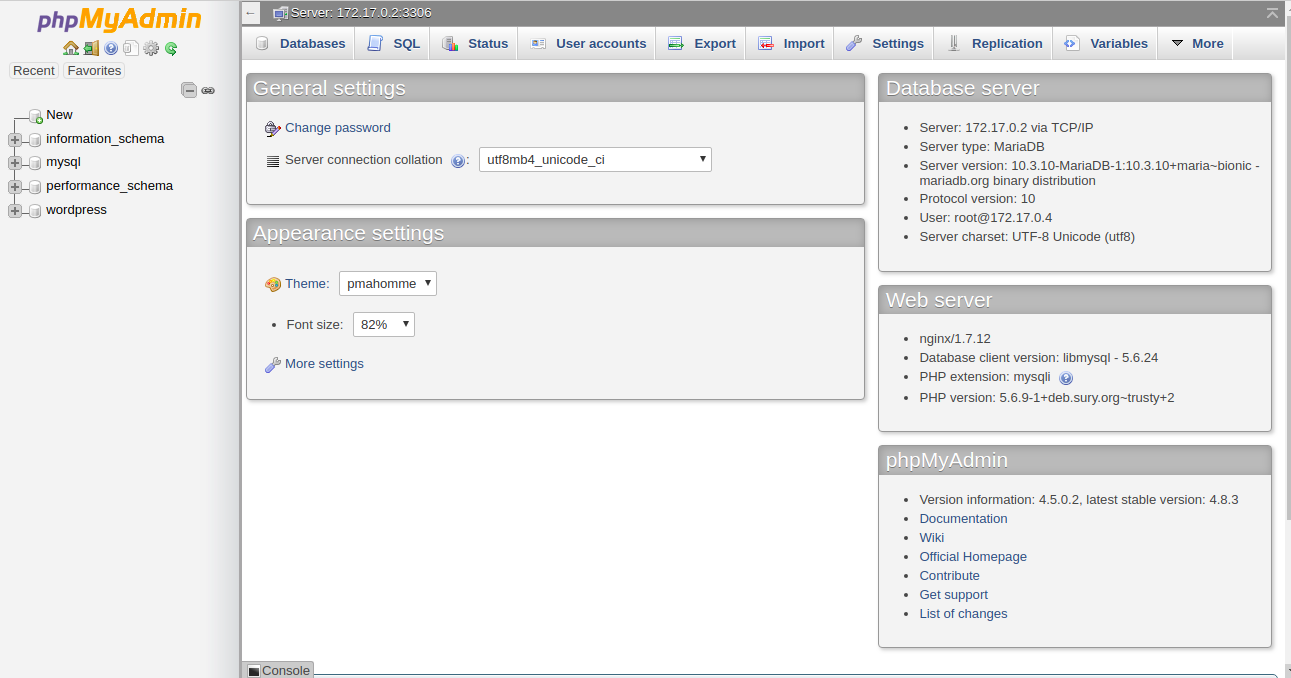
Both containers are now configured and running. Next, you will need to install Dry to your instance. You can download the latest version of Dry with the following command:
wget https://github.com/moncho/dry/releases/download/v0.9-beta.7/dry-linux-amd64After the download is complete, copy the downloaded binary file to the /usr/local/bin/ directory:
cp dry-linux-amd64 /usr/local/bin/dryNext, give permission to the dry binary file:
chmod 755 /usr/local/bin/dryNow, check the Dry version by running the following command:
dry -vThe output is as follows:
dry version 0.9-beta.7, build dfb8223aNow, simply run the dry command from your terminal window to launch the dry utility:
dryThis will open up a prompt loaded with all the useful information about the docker daemon and the containers that are running:
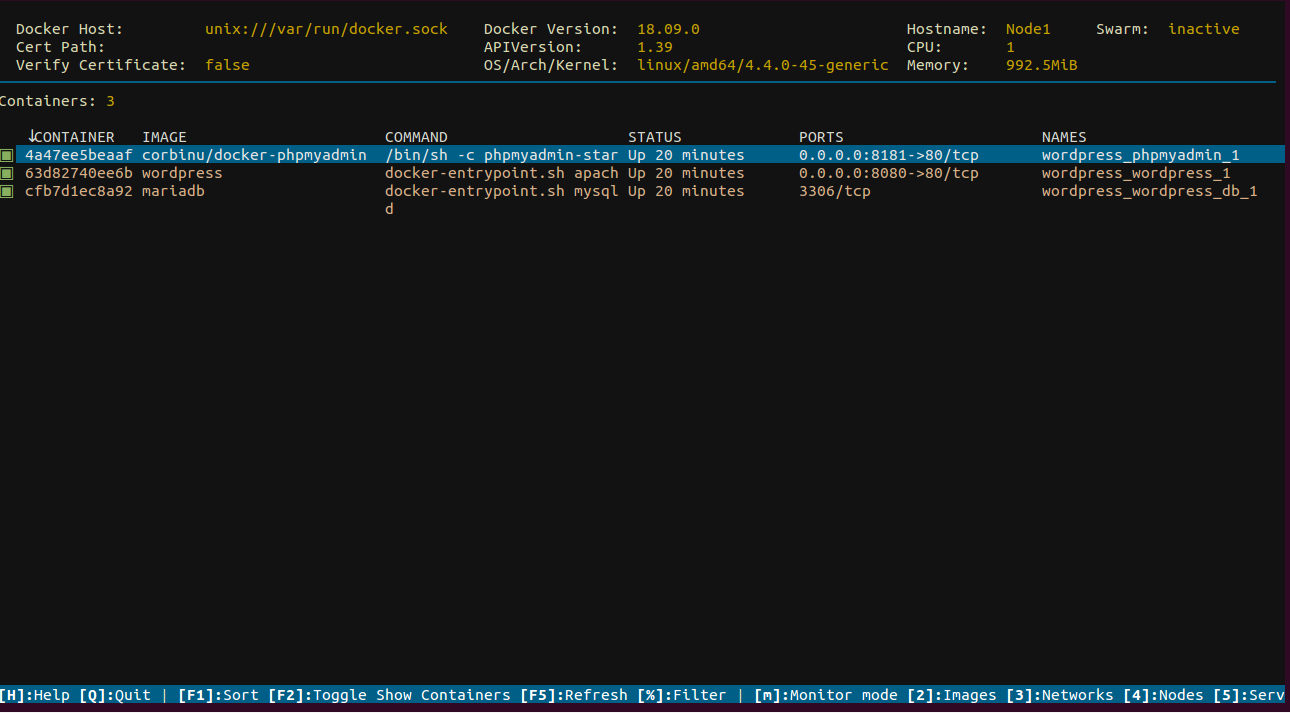
Now, use up/down arrow key to select the PhpMyAdmin container and press Enter. You should see the information about the container in the following page:
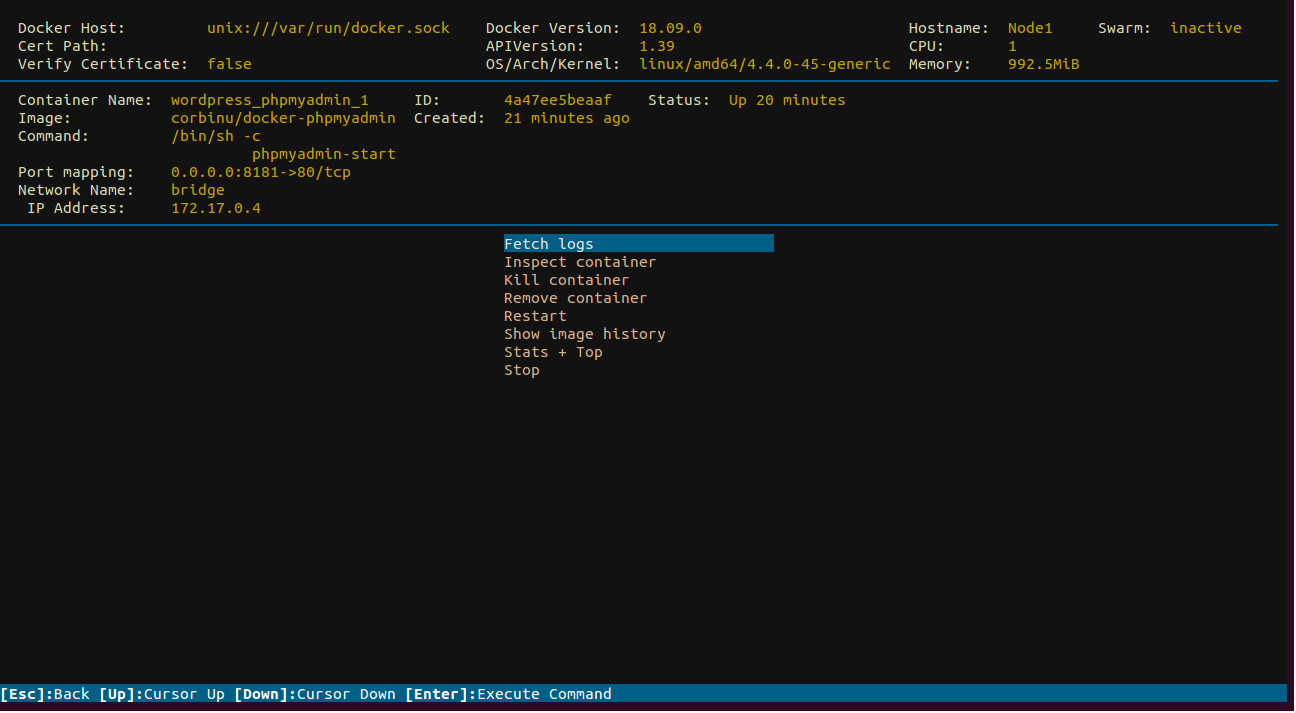
Here, you can use up/down arrow keys to restart, stop, remove and kill the container.
Press the ESC key to return to the main dashboard. Next, press 3 to access the Network section as shown below:
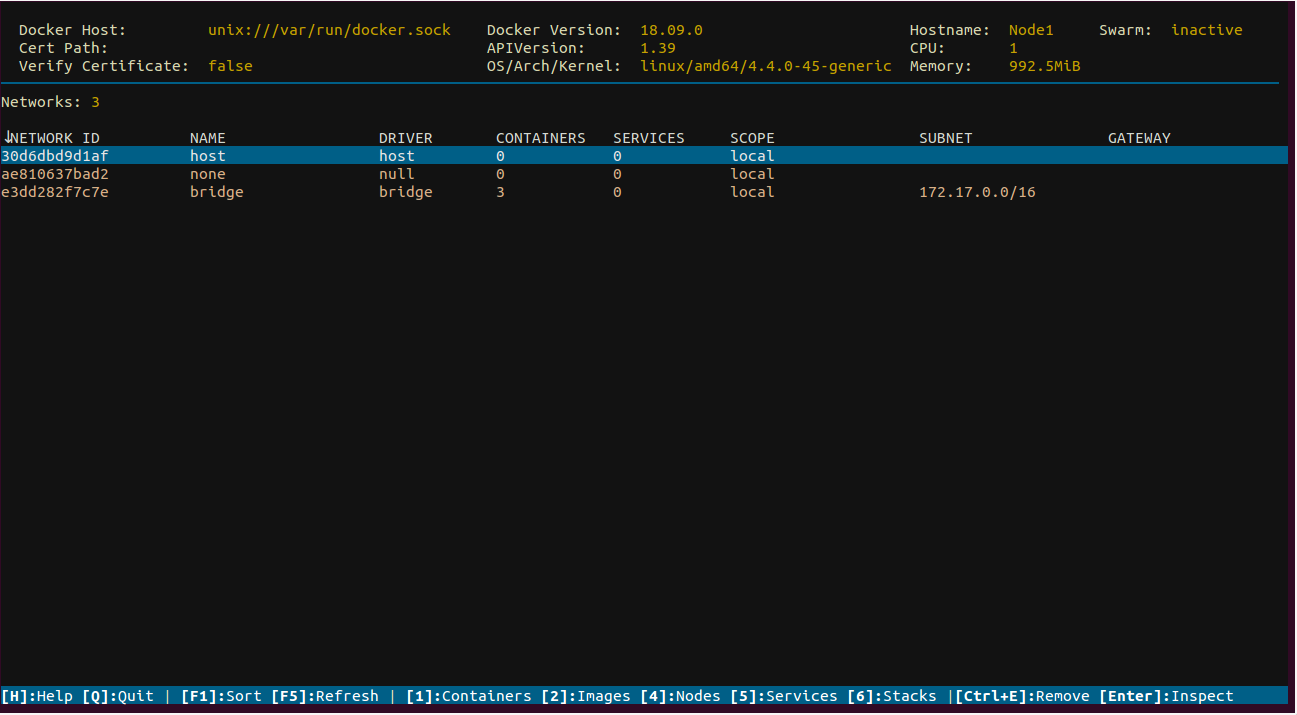
Here, you can see the network IP address and MAC address of the container. Press the ESC key again to return to the main dashboard. Press 2 to access the Image section as shown below:
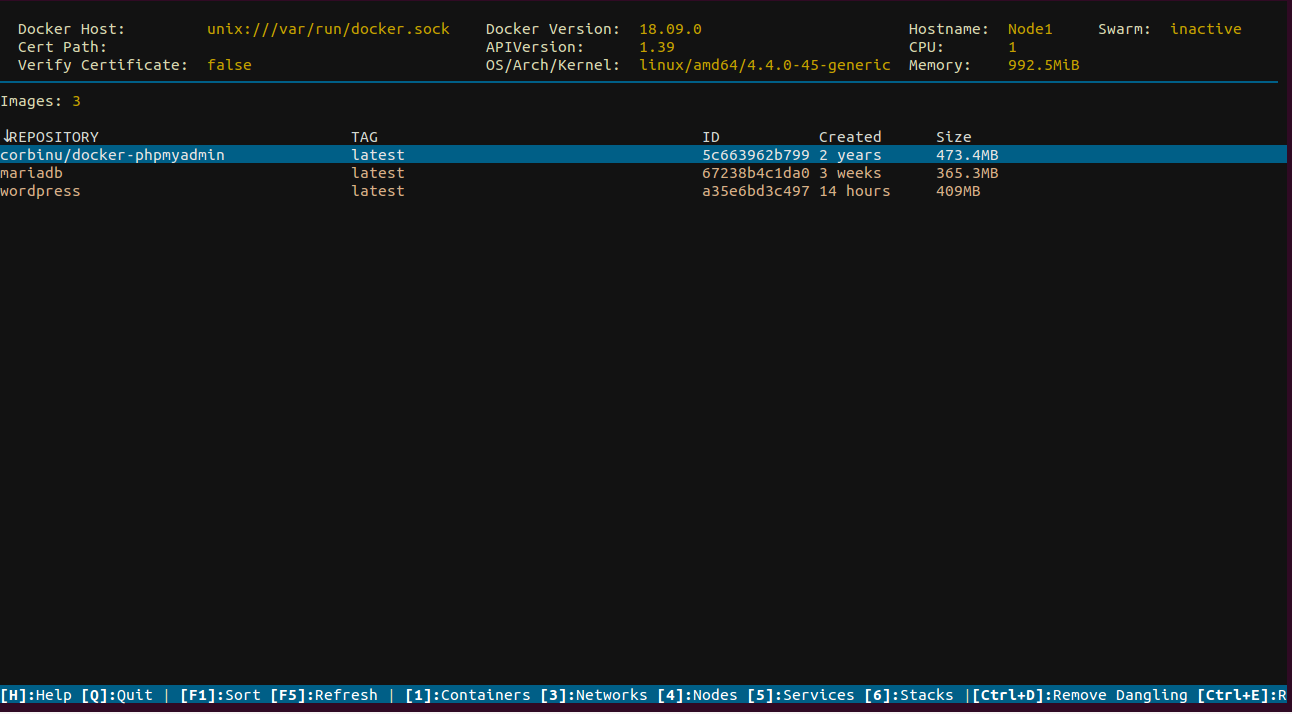
Here, you should see the images of your running containers. You can also remove images and show the history of image.
How to Install Concourse CI on an ECS Instance and Encrypt All Traffic
How to Install Fail2ban to Protect Against Brute Force Login Attacks

2,598 posts | 769 followers
FollowAlibaba Clouder - July 24, 2020
Alibaba Clouder - June 11, 2020
Alibaba Clouder - October 29, 2019
Alibaba Cloud Native Community - February 9, 2023
Alibaba Clouder - August 3, 2020
Alibaba Clouder - February 12, 2019

2,598 posts | 769 followers
Follow Managed Service for Prometheus
Multi-source metrics are aggregated to monitor the status of your business and services in real time.
Learn More Application Real-Time Monitoring Service
Build business monitoring capabilities with real time response based on frontend monitoring, application monitoring, and custom business monitoring capabilities
Learn More Resource Management
Organize and manage your resources in a hierarchical manner by using resource directories, folders, accounts, and resource groups.
Learn More ACK One
Provides a control plane to allow users to manage Kubernetes clusters that run based on different infrastructure resources
Learn MoreMore Posts by Alibaba Clouder