By Arslan Ud Din Shafiq, Alibaba Cloud Tech Share Author. Tech Share is Alibaba Cloud's incentive program to encourage the sharing of technical knowledge and best practices within the cloud community.
Elgg is a powerful open source social networking engine, which provides you with a robust framework to build web applications for organizations of all sizes. In this tutorial, I will be installing and setting up Elgg using Alibaba Cloud Elastic Compute Service (ECS) with Ubuntu 16.04.
Before proceeding with installation of any kind of package, use the following command to update your Ubuntu system. To execute this command, remember to login from non-root user with sudo privileges.
# sudo apt update && sudo apt upgradeInstall unzip with the command.
# sudo apt-get install unzipElgg requires installation of PHP 5.6 or newer version of PHP. In this tutorial, you will install PHP 7.2. To install PHP 7.2, execute the following steps.
You will need to install python software properties and software properties common.
# sudo apt-get install software-properties-common python-software-properties You will also need to add repository for newer versions of PHP.
# sudo add-apt-repository ppa:ondrej/phpUpdate the system to refresh the available repositories.
# sudo apt updateInstall PHP 7.2 with the following command.
# sudo apt install -y php7.2Elgg requires the following PHP extensions:
To install the above extensions of PHP, execute the following command.
# sudo apt install -y php7.2-json php7.2-zip php7.2-cli php7.2-mysql php7.2-gd php7.2-xml php7.2-mbstring php7.2-xmlrpc php7.2-intl php7.2-curl php7.2-sqlite3 php7.2-common libapache2-mod-php7.2When you have done installation of the above extensions, apache2 will be installed automatically. Hence, you don't need to install apache explicitly. You can confirm it by accessing your domain name or Alibaba Cloud ECS IP address.
To check your PHP installation, you can execute the following command.
# php --versionIn this tutorial, you will use MariaDB server for MySQL. By default, Ubuntu repository has older version of MariaDB server. To use new version of MariaDB, you will need to add MariaDB repository to your Ubuntu system. To do so, follow the steps below.
Verify the keys by executing command.
# sudo apt-key adv --recv-keys --keyserver hkp://keyserver.ubuntu.com:80 0xF1656F24C74CD1D8Add the repository using the command.
# sudo add-apt-repository 'deb [arch=amd64,i386,ppc64el] http://mirror.nodesdirect.com/mariadb/repo/10.2/ubuntu xenial main'Update the system by using command.
# sudo apt updateInstall MariaDB using the following command.
# sudo apt install -y mariadb-serverStart and enable the MariaDB server so that after reboot, the server can start automatically.
# sudo systemctl start mariadb
# sudo systemctl enable mariadb
Run the following command to enhance security of MariaDB server and set password for the root user.
# sudo mysql_secure_installationConnect to the MySQL shell as root user using the command below and enter your password.
# sudo mysql -u root -pExecute the following MySQL queries in your MariaDB server.
CREATE DATABASE elggdb;
CREATE USER 'aareez'@'localhost' IDENTIFIED BY '654321Ab';
GRANT ALL PRIVILEGES ON elggdb.* TO 'aareez'@'localhost';
FLUSH PRIVILEGES;
EXIT;To install Elgg, you will need to follow the steps.
Navigate to /var/www using the command.
# cd /var/wwwDownload Elgg from its official website using the command below.
# sudo wget https://elgg.org/download/elgg-2.3.7.zipUnzip the downloaded directory.
# sudo unzip elgg-2.3.7.zipRemove the downloaded zipped directory.
# sudo rm -r elgg-2.3.7.zipRename the extracted directory to elgg from elgg-2.3.7.zip
# sudo mv elgg-2.3.7 elggNavigate to /elgg using the command.
# cd elggCreate directory for storing data of Elgg by executing command below.
# sudo mkdir -p /var/www/elgg/dataChange rights for the directory created in the step above.
# sudo chown -R www-data:www-data /var/www/elgg
# sudo chmod -R 755 /var/www/elggCreate virtual host configuration file for Elgg. Execute the following command, a file will be opened in nano text editor.
# sudo nano /etc/apache2/sites-available/elgg.confCopy and paste the following code and save the file.
<VirtualHost *:80>
    ServerAdmin admin@xyz.com
    ServerName softpedia.xyz
    DocumentRoot /var/www/elgg
    DirectoryIndex index.php index.htm index.html
    <Directory /var/www/elgg>
        Options FollowSymLinks
        AllowOverride All
        Require all granted
    </Directory>
    ErrorLog ${APACHE_LOG_DIR}/Elgg_error.log
    LogLevel warn
    CustomLog ${APACHE_LOG_DIR}/Elgg_access.log combined
</VirtualHost>
Execute the command below to disable default site.
# sudo a2dissite 000-default.confYou will need to enable the newly created virtual host. To do so, execute the command below.
# sudo a2ensite elggYou will need to enable rewrite mod. You can do so by editing configuration file in apache2 directory or you can simply execute the command below.
# sudo a2enmod rewriteYou will need to enable SSL engine. You can do so by editing configuration file in apache2 directory or you can simply execute the command below.
# sudo a2enmod sslYou will have to restart apache server to apply the changes and load the settings by executing command below.
# sudo service apache2 restartYou can access Elgg via your domain name or ECS IP address. You will see the following screen.
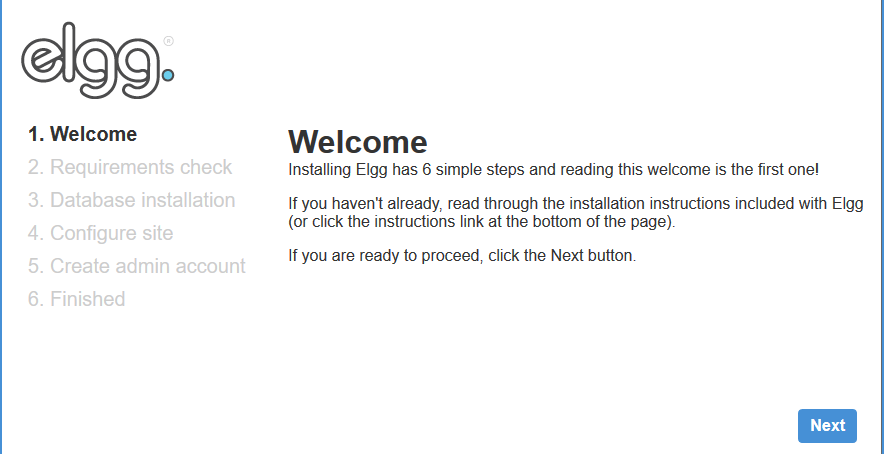
You will see the following screen when you click Next.
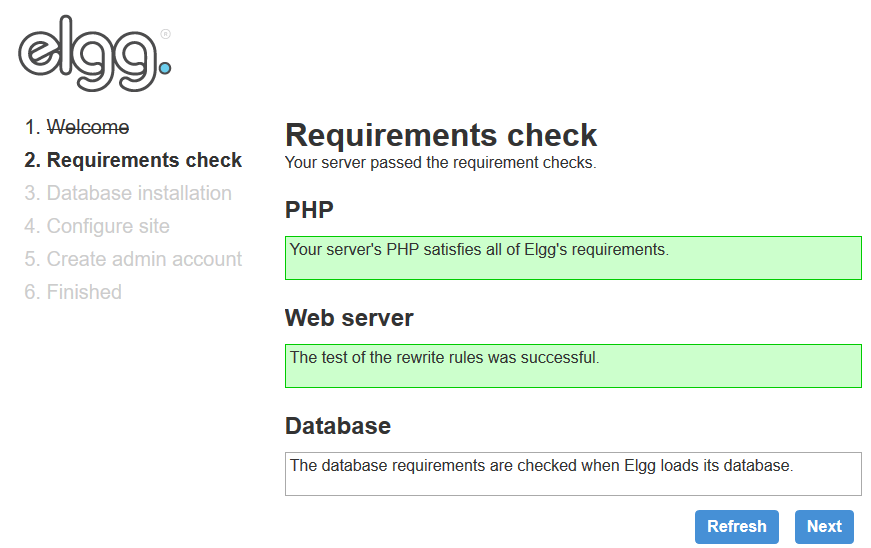
When you click Next, you will be redirected to the following screen.
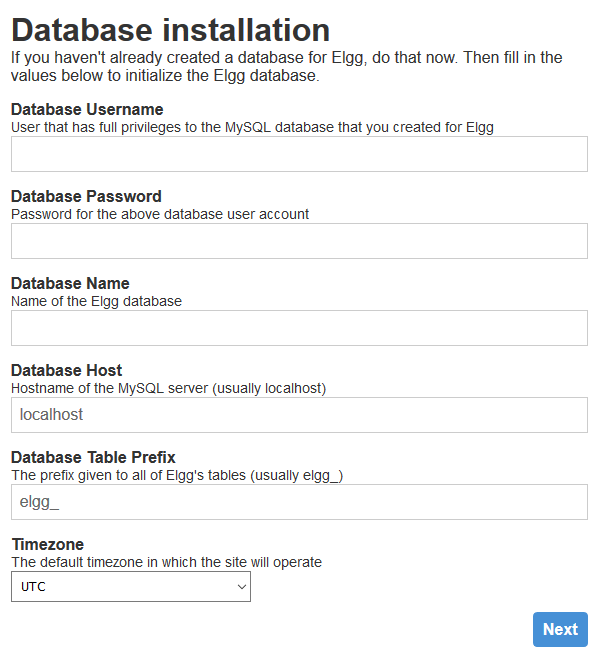
Add the database details and hit the Submit button. You will be redirected to following page. If you want to setup SSL then go to next section to install SSL and continue from here. Otherwise, fill in the details asked and hit the Submit button to continue.
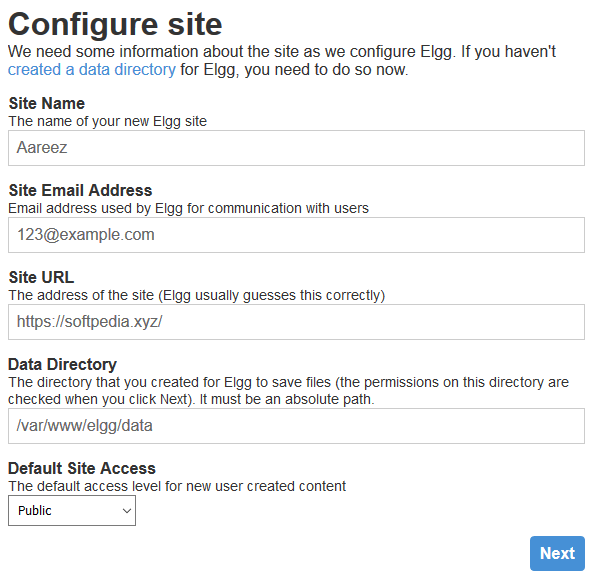
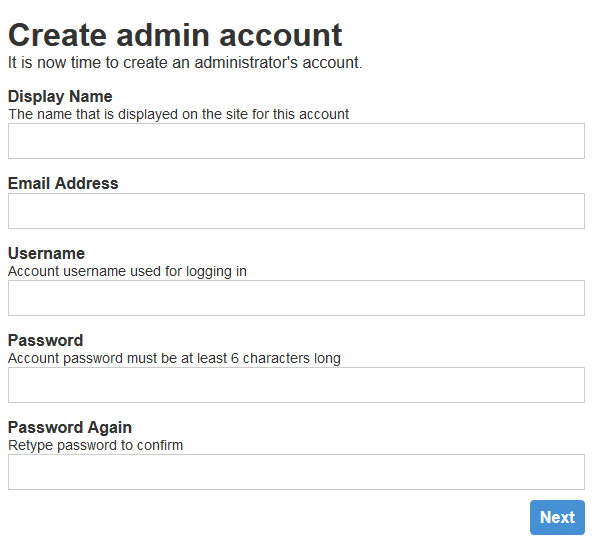
After hitting Next, you will see the following screen to setup administrator account.
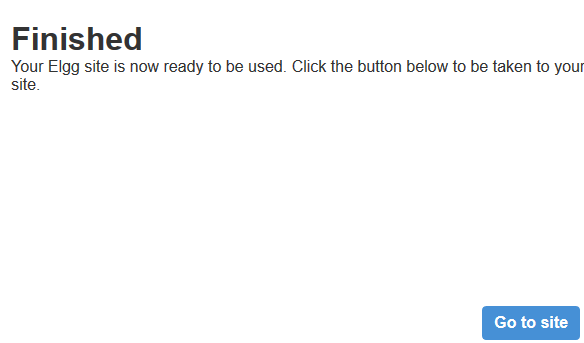
After hitting Next, you will be redirected to the following screen.
We will install SSL certificate using Let's Encrypt with Certbot. To do so, execute the following steps.
Update the package.
# sudo apt-get updateInstall software-properties-common.
# sudo apt-get install software-properties-commonAdd the certbot repository by using command below.
# sudo add-apt-repository ppa:certbot/certbotUpdate the package to load the added certbot repository.
# sudo apt-get updateStop apache before issuance of SSL certificate.
# sudo systemctl stop apache2Install python-certbot-apache using the command below.
# sudo apt-get install python-certbot-apacheExecute the following command to get Let's Encrypt SSL issued.
# sudo certbot --apache -d softpedia.xyzSelect the option 2 to redirect the link to https and update virtual host settings for SSL. Restart apache server.
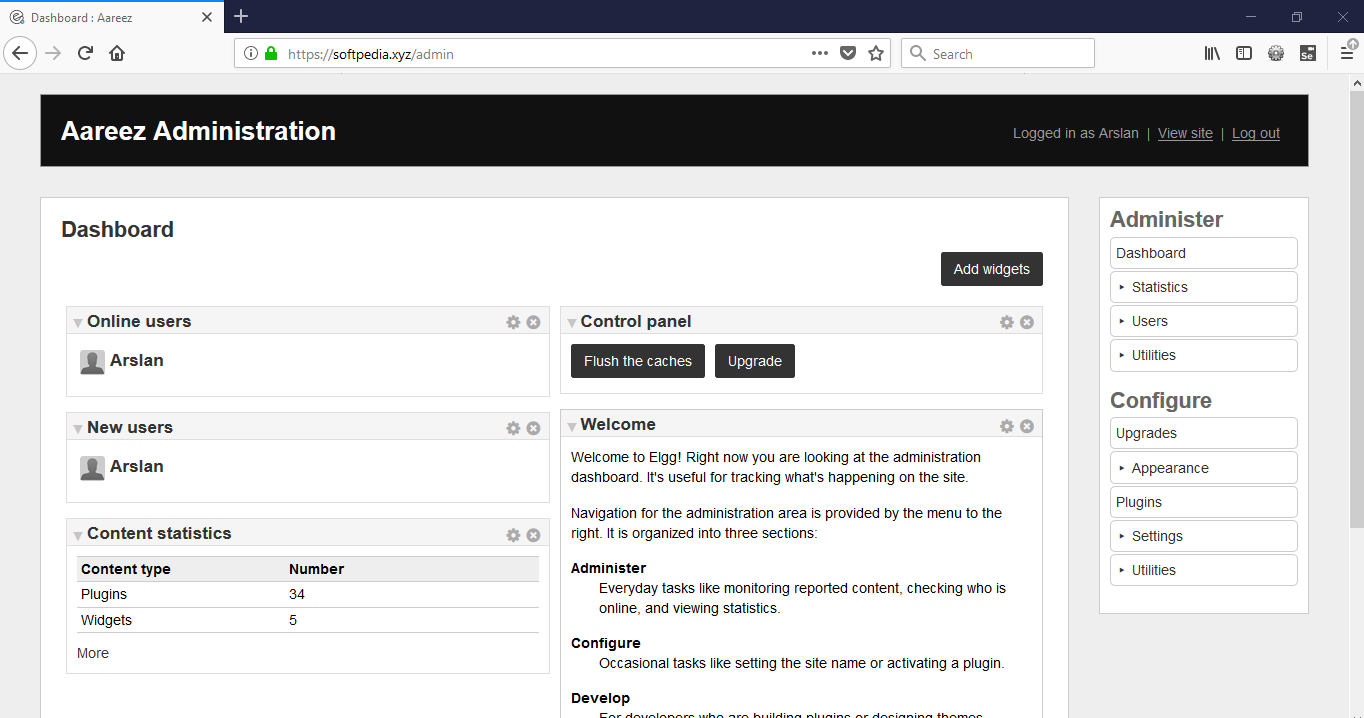
# sudo systemctl start apache2You can access your website at https://your_domain_name.tld
If you have activated firewalls, you will have to define a rule in Alibaba Cloud security group for your cloud server to add exception for port 80/tcp and 443/tcp. You can enable these ports while creating ECS instance, but in case if you have forgotten to unblock these ports, you can follow the procedure in this guide: https://www.alibabacloud.com/help/doc-detail/25471.htm
Congratulations! You can now use Elgg social network engine on your server.

2,599 posts | 764 followers
FollowAlibaba Clouder - July 5, 2019
Alibaba Clouder - July 5, 2019
Alibaba Clouder - January 15, 2019
Alibaba Clouder - January 17, 2019
Alibaba Clouder - May 21, 2018
Alibaba Clouder - January 15, 2019

2,599 posts | 764 followers
Follow EMAS Superapp
Build superapps and corresponding ecosystems on a full-stack platform
Learn More Web App Service
Web App Service allows you to deploy, scale, adjust, and monitor applications in an easy, efficient, secure, and flexible manner.
Learn More Web Hosting Solution
Explore Web Hosting solutions that can power your personal website or empower your online business.
Learn More Super App Solution for Telcos
Alibaba Cloud (in partnership with Whale Cloud) helps telcos build an all-in-one telecommunication and digital lifestyle platform based on DingTalk.
Learn MoreMore Posts by Alibaba Clouder