You can access the tutorial artifact, including the deployment script (Terraform), related source code, sample data, and instruction guidance from the GitHub project.
Please refer to this link for more tutorials about Alibaba Cloud Database
Database Deployment Tutorials Series: https://community.alibabacloud.com/series/118
Parse is a complete application stack that builds applications faster with object and file storage, user authentication, push notifications, dashboard, and more out-of-the-box. Compared to Google Firebase, Parse is a bunch of pure open-source projects for application building and lifecycle management.
Click this link to learn more about Firebase vs. Parse Server by Back4App
This tutorial explains how to install and deploy Parse Server with RDS for PostgreSQL on Alibaba Cloud.
Deployment Architecture:
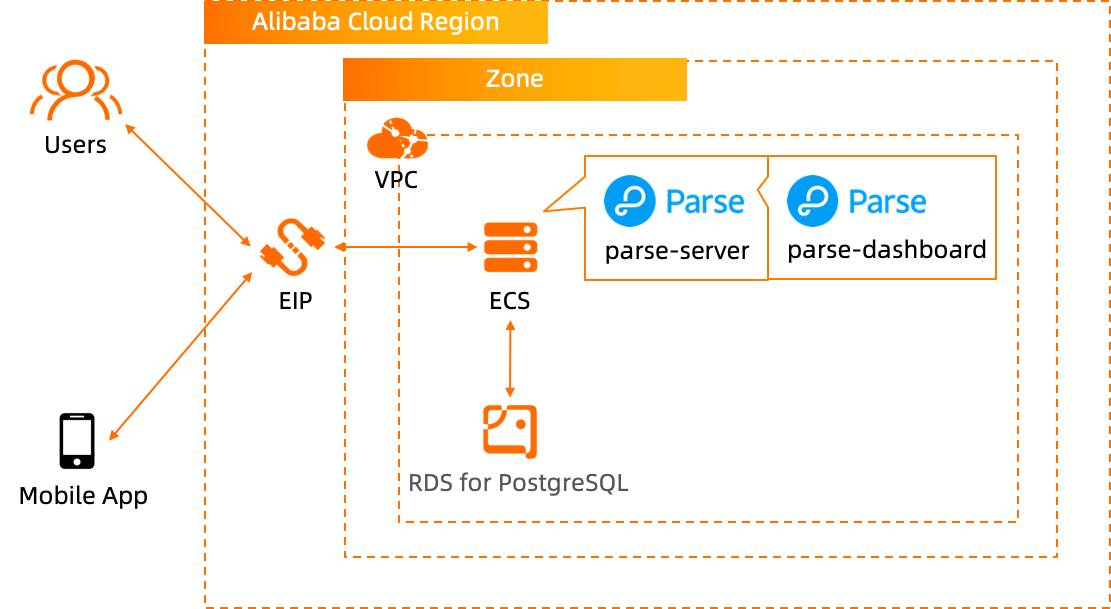
If this is your first time using Terraform, please refer to this link to learn how to install and use Terraform on different operating systems (OS).
Run the Terraform script to initialize the resources. (This tutorial uses RDS for PostgreSQL as a backend database, so ECS and RDS for PostgreSQL are included in the Terraform script.) Please specify the necessary information and region to deploy.

After the Terraform script execution finishes, the ECS instance information will be listed below:

eip_ecs: The public EIP of the ECS for parse server hostrds_pg_port_parse_server_database: The RDS for PostgreSQL database service portrds_pg_url_parse_server_database: The RDS for PostgreSQL database connection URLPlease log on to ECS with ECS EIP. The password is N1cetest by default, which is preset in the Terraform provision script in Step 1. If you've already changed it, please update accordingly.
ssh root@<ECS_EIP>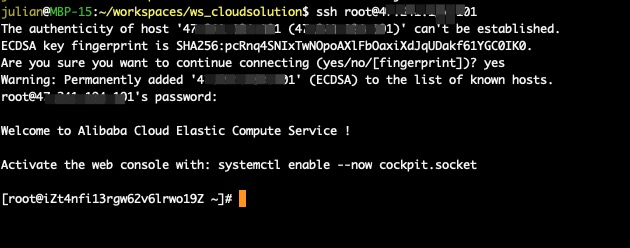
Execute the following commands to install Node.js. Parse Server requires Node 8 or newer. Here, we install Node 12.
wget https://npm.taobao.org/mirrors/node/v12.0.0/node-v12.0.0-linux-x64.tar.xz
tar -xvf node-v12.0.0-linux-x64.tar.xz
rm node-v12.0.0-linux-x64.tar.xz  -f
mv node-v12.0.0-linux-x64/ node
ln -s ~/node/bin/node /usr/local/bin/node
ln -s ~/node/bin/npm /usr/local/bin/npm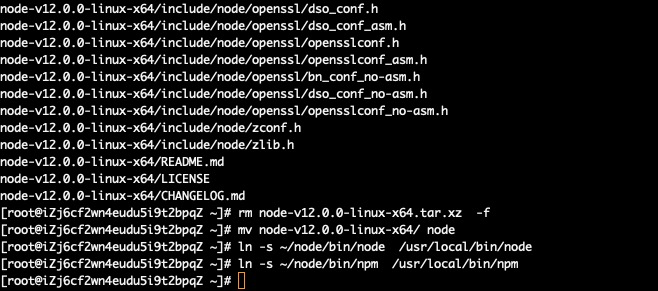
Execute the following commands to install parse-server:
npm install -g parse-server
ln -s ~/node/lib/node_modules/parse-server/bin/parse-server /usr/local/bin/parse-server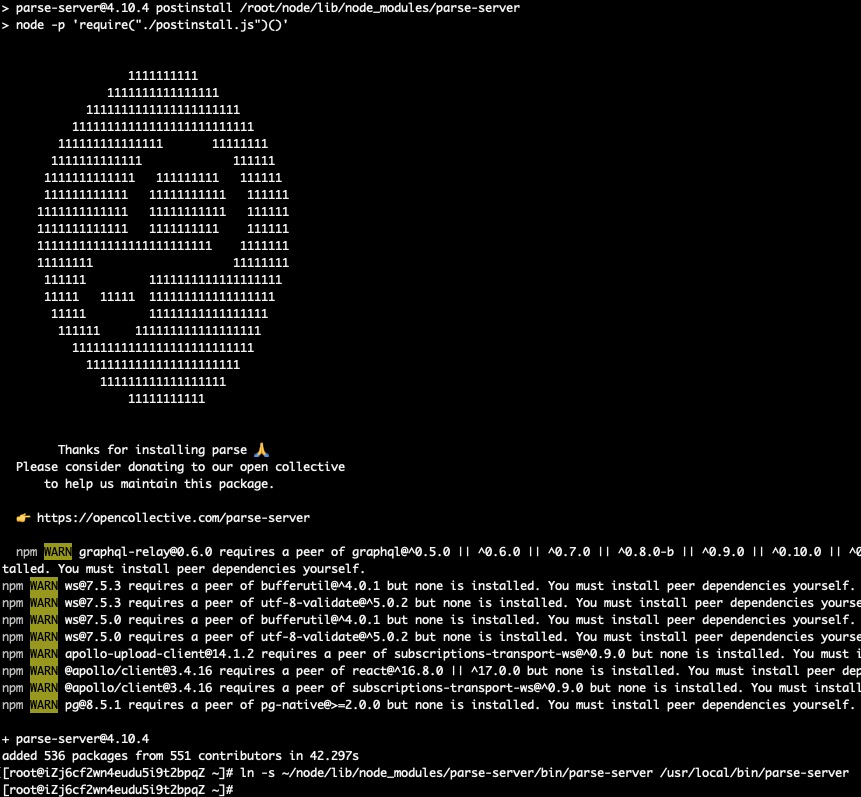
Execute the following commands to verify the Node modules have been installed successfully:
ll /usr/local/bin/
Execute the following command to start the installed parse-server:
parse-server --appId <APP_ID> --masterKey <MASTER_KEY> --databaseURI <POSTGRESQL_URL> &Please replace the parameters accordingly:
<APP_ID>: Your application ID<MASTER_KEY>: Your application secret key<POSTGRESQL_URL>: The PostgreSQL URL of the provisioned RDS for PostgreSQL instance in Step 1
For example, execute the following command. We have set the default database (parse_server_db), user name (parse), and password (N1cetest) of the RDS for PostgreSQL in the Terraform script. If you've already changed it, please update accordingly.
parse-server --appId my_application_id --masterKey 12345678 --databaseURI postgres://parse:N1cetest@pgm-xxxxxxx.pg.rds.aliyuncs.com:5432/parse_server_db &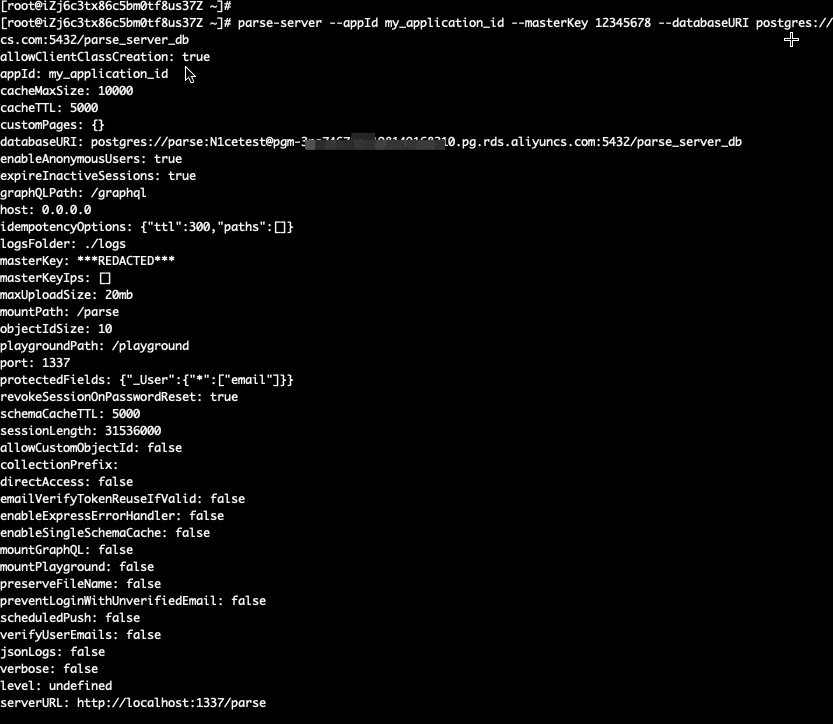
Now, the parse-server is running and listening the service port 1337. The service API URL is http://<ECS_EIP>:1337/parse.
The parse-server is ready to serve the application now. You can go to Step 4 to verify and interact with parse-server directly. However, we highly recommend installing parse-dashboard to administer and monitor the applications on parse-server.
Please visit this link for more information about parse-dashboard.
Execute the following commands to install parse-dashboard:
npm install -g parse-dashboard
ln -s ~/node/lib/node_modules/parse-dashboard/bin/parse-dashboard /usr/local/bin/parse-dashboard
ll /usr/local/bin/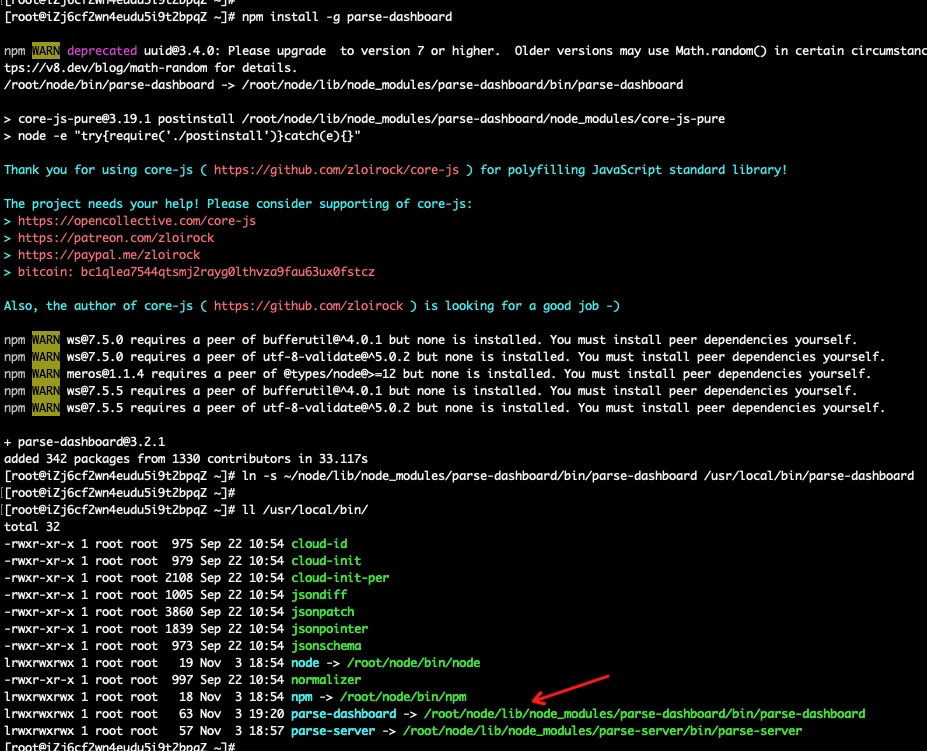
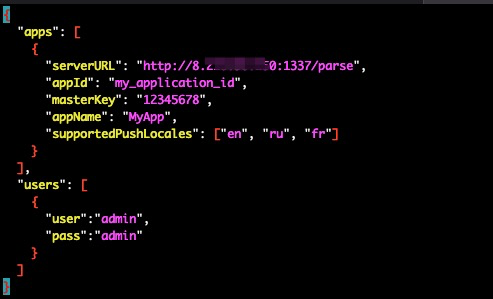
Execute the following commands to create a configuration file to start the dashboard of the previous application started on parse-server:
cd ~/node/lib/node_modules/parse-dashboard/bin
vim parse-dashboard.json
Input the following content into the file parse-dashboard.json, and please remember to:
<ECS_EIP> with the provisioned ECS EIP in Step 1
<APP_ID> with your application ID used when starting parse-server in Step 2
<MASTER_KEY> with your application secret key used when starting parse-server in Step 2
Here, we have preset the user name and password as admin and admin for the parse-dashboard log on. You can change it accordingly.
{
  "apps": [
    {
      "serverURL": "http://<ECS_EIP>:1337/parse",
      "appId": "<APP_ID>",
      "masterKey": "<MASTER_KEY>",
      "appName": "MyApp",
      "supportedPushLocales": ["en", "ru", "fr"]
    }
  ],
  "users": [
    {
      "user":"admin",
      "pass":"admin"
    }
  ]
}
Execute the following command to start the parse-dashboard:
parse-dashboard --dev --config parse-dashboard.json &
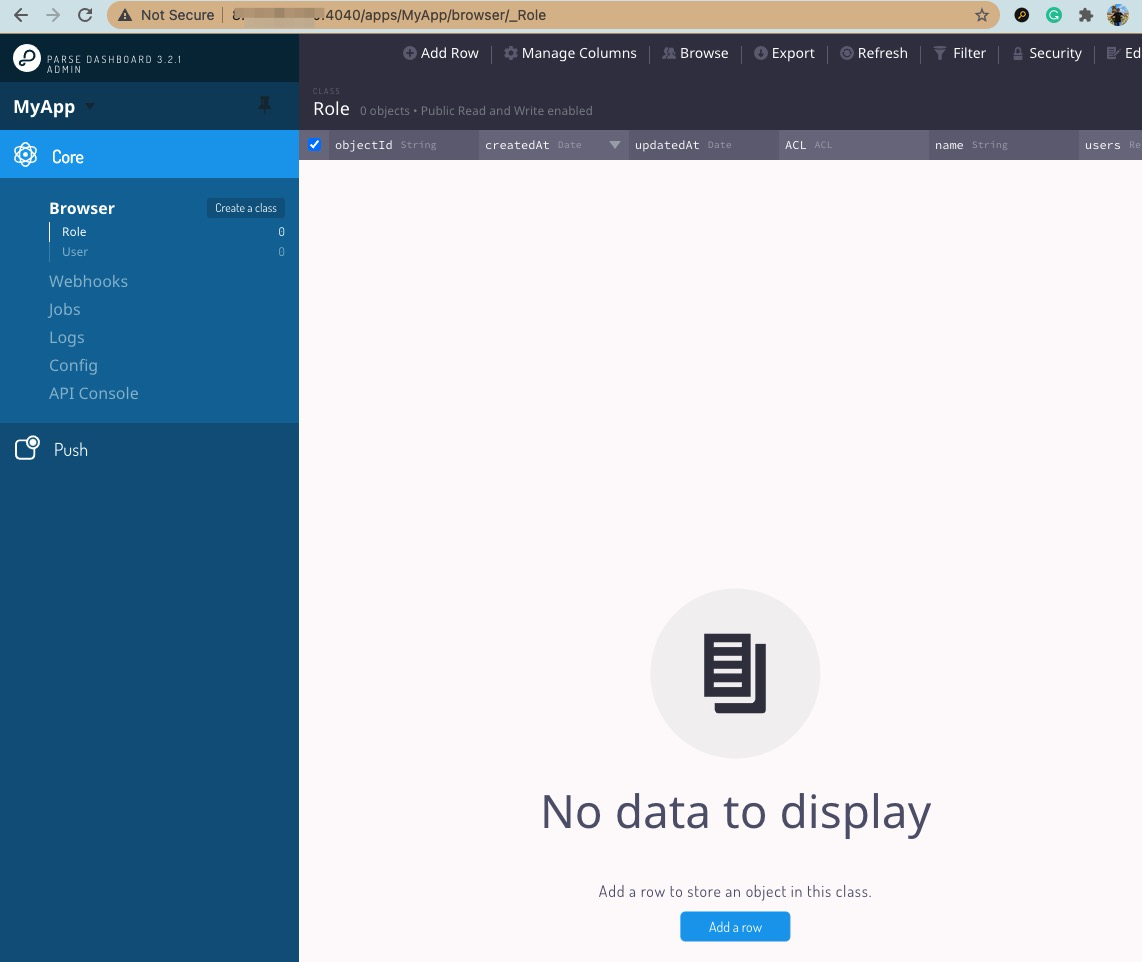
Now, the parse-dashboard has been started. Please visit http://<ECS_EIP>:4040:
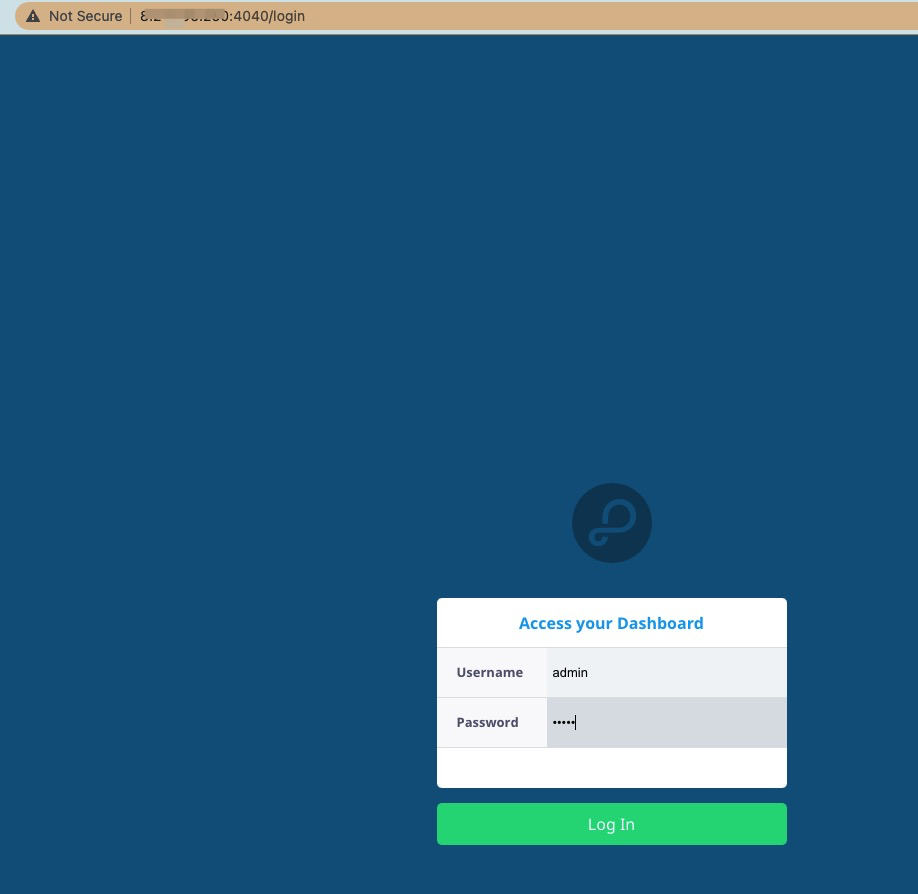
Log on to see the application dashboard:
The parse-server and parse-dashboard are ready. Let's post some data to simulate the interaction with the parse-server.
Please execute the following commands on ECS and check the response. Remember to replace the my_application_id with the defined application ID when starting the parse-server:
curl -X POST \
-H "X-Parse-Application-Id: my_application_id" \
-H "Content-Type: application/json" \
-d '{"score":100,"playerName":"Sean Plott","cheatMode":false}' \
http://localhost:1337/parse/classes/GameScore

curl -X POST \
-H "X-Parse-Application-Id: my_application_id" \
-H "Content-Type: application/json" \
-d '{"score":120,"playerName":"Sean Plott","cheatMode":false}' \
http://localhost:1337/parse/classes/GameScore

curl -X POST \
-H "X-Parse-Application-Id: my_application_id" \
-H "Content-Type: application/json" \
-d '{"score":999,"playerName":"Julian","cheatMode":true}' \
http://localhost:1337/parse/classes/GameScore

curl -X GET \
  -H "X-Parse-Application-Id: my_application_id" \
  http://localhost:1337/parse/classes/GameScore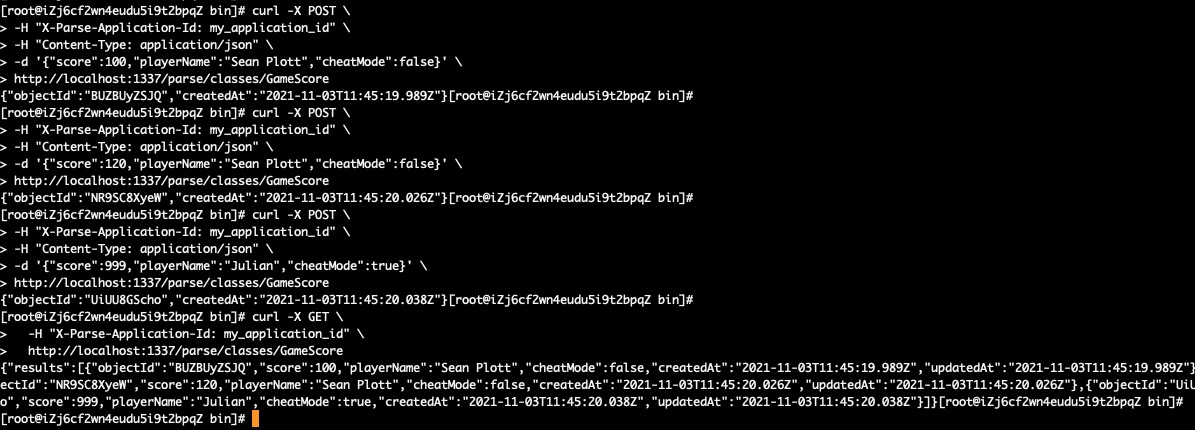
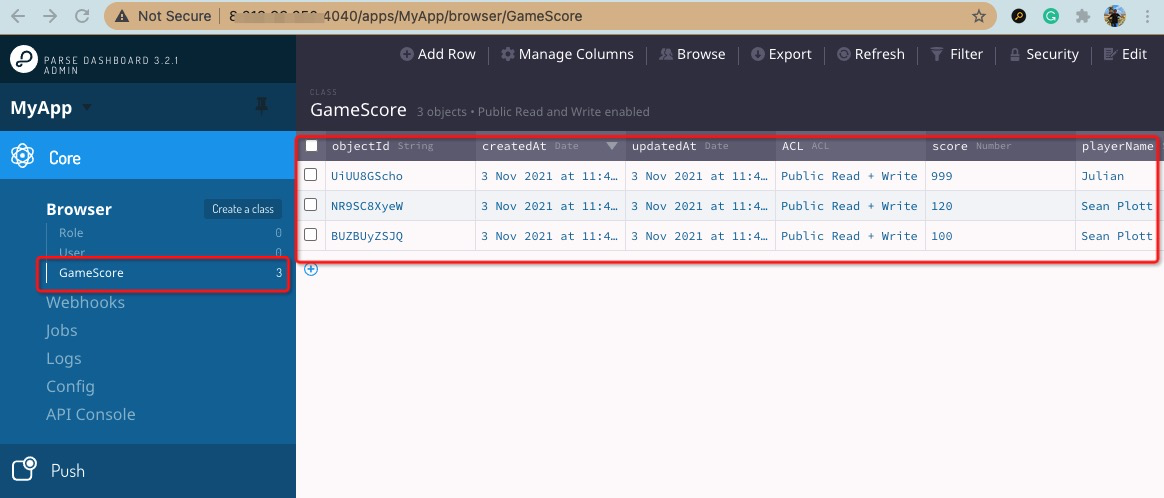
Go to the parse-dashboard and refresh the web page to see the posted application data:
A Deep-Dive into MySQL: Analysis of Memory Management in Performance Schema
ApsaraDB - December 15, 2021
ApsaraDB - November 22, 2022
ApsaraDB - January 13, 2022
ApsaraDB - October 21, 2024
Alibaba Clouder - February 25, 2021
Alibaba Clouder - February 24, 2020
 ApsaraDB RDS for PostgreSQL
An on-demand database hosting service for PostgreSQL with automated monitoring, backup and disaster recovery capabilities
Learn More PolarDB for PostgreSQL
Alibaba Cloud PolarDB for PostgreSQL is an in-house relational database service 100% compatible with PostgreSQL and highly compatible with the Oracle syntax.
Learn More AnalyticDB for PostgreSQL
An online MPP warehousing service based on the Greenplum Database open source program
Learn More ApsaraDB RDS for MySQL
An on-demand database hosting service for MySQL with automated monitoring, backup and disaster recovery capabilities
Learn MoreMore Posts by ApsaraDB