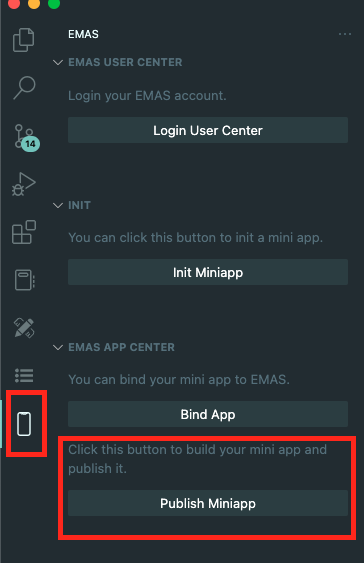
The superapp solution allows you to use a Visual Studio Code extension to initialize, package, and build a WindVane scaffolding project, and use Application Open Platform to publish a WindVane miniapp. This topic describes how to quickly develop a WindVane miniapp by using Visual Studio Code.
Development process
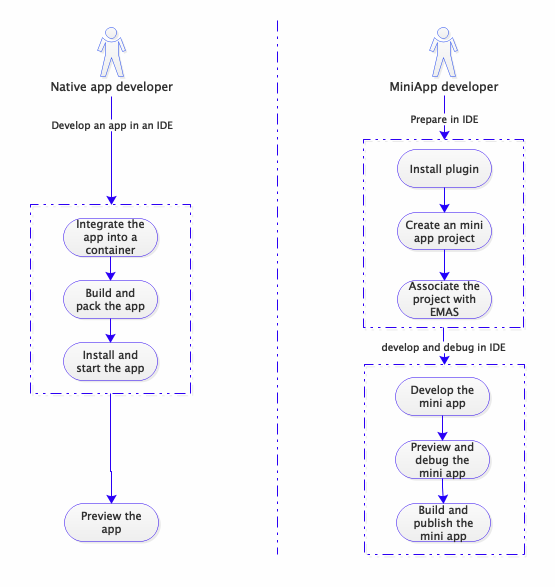
Two roles are involved in the development of a WindVane miniapp: the developer of the native app and the developer of the WindVane miniapp
The developer of the native app integrates the superapp solution into the native app by integrating the WindVane miniapp container or other EMAS components.app
The developer of the WindVane miniapp use the scaffolding to quickly develop the miniapp.
Prerequisites
A native app is available.
The miniapp container is integrated into the native app.
For more information about how to integrate a miniapp container into an Android app, see Integrate a miniapp container into a native app.
For more information about how to integrate a miniapp container into an iOS app, see Integrate a miniapp container into a native app.
Step 1: Install an extension
Download and install the Visual Studio Code extension for WindVane miniapps. For more information, see Install the Visual Studio Code extension for WindVane. 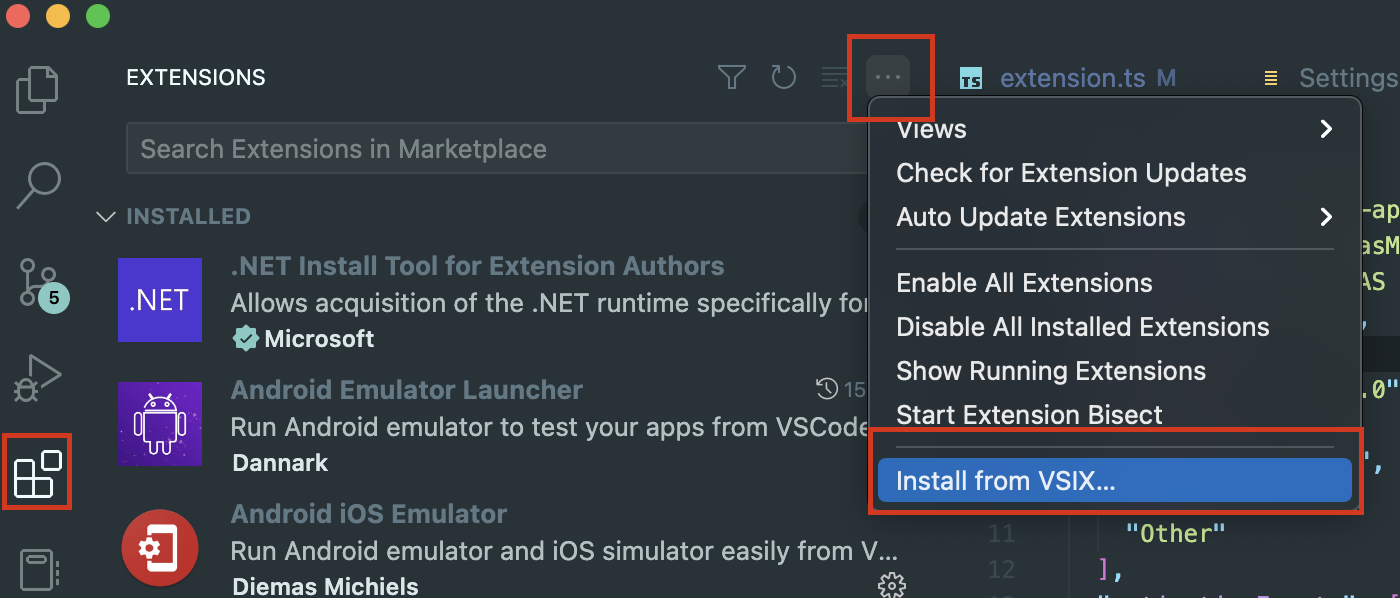
Step 2: Initialize the scaffolding for WindVane miniapps
Initialize the scaffolding for WindVane miniapps in Visual Studio Code. For more information, see Use the scaffolding for miniapps. 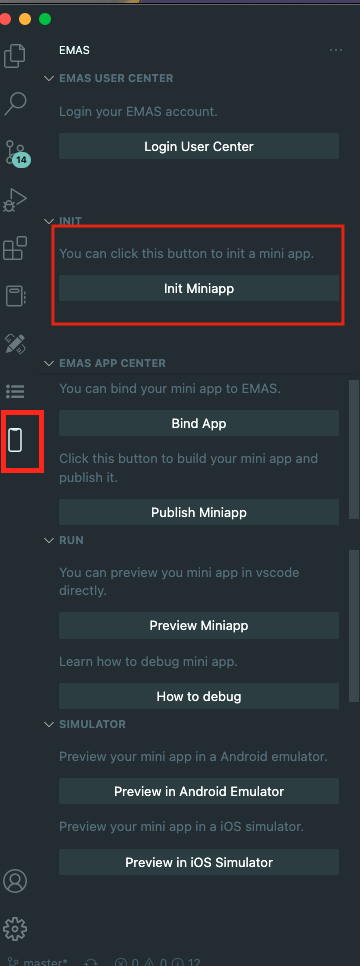
Step 3: Bind the miniapp project to EMAS
Log on to Application Open Platform of EMAS, create an application, and then bind the application to the miniapp project in Visual Studio Code. For more information, see Bind your miniapp project to EMAS. 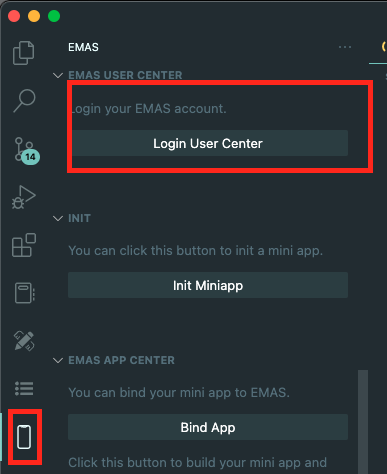
Step 4: Preview and debug the miniapp project
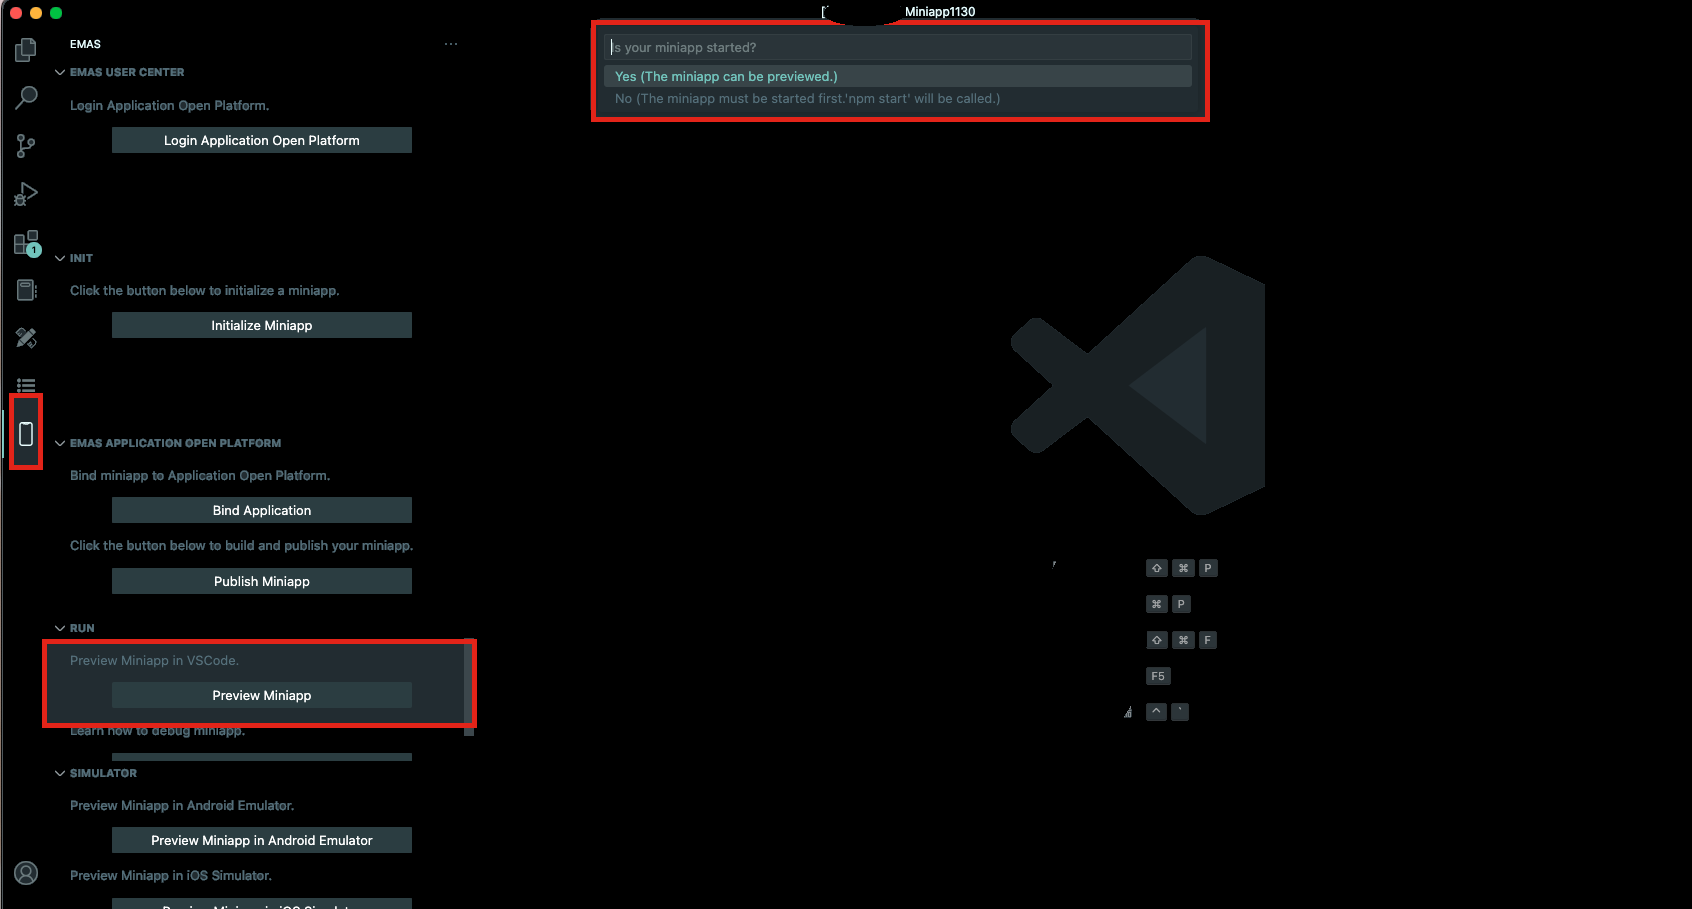
Preview and debug the miniapp project in Visual Studio Code. You can also debug the miniapp project in a simulator. For more information, see Preview and debug a miniapp.
Step 5: Package, build, and publish the miniapp
Use Visual Studio Code to package and build the miniapp project, and then use Application Open Platform to publish the miniapp. For more information, see Package, build, and publish your miniapp.