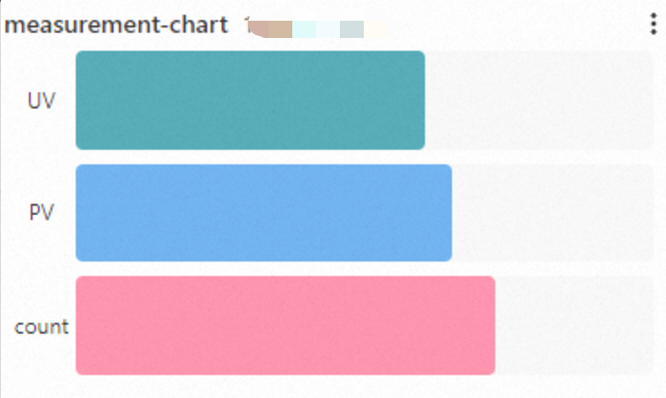
You can configure multiple query statements for a bar gauge. You can use a bar gauge to visualize multiple bar charts. You can also configure custom settings for fields. This topic describes how to configure multiple query statements and use a bar gauge to display the results of multiple query statements
Prerequisites
Data is collected. For more information, see Collect text logs from servers.
Indexes are created. For more information, see Create indexes.
A dashboard is created. For more information, see Create a dashboard.
Configuration effect
Query and analyze data: You can query and analyze the collected logs in the Simple Log Service console. For example, you can retrieve logs, aggregate logs, and collect statistics on logs.
Configure a bar gauge: You can add three query statements, specify colors for the results of query statements, and then add a bar gauge to a dashboard.
Step 1: Query and analyze data
Log on to the Simple Log Service console. In the Projects section, click the project you want.
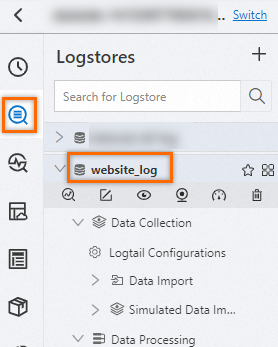
In the left-side navigation pane, click Log Storage. In the Logstores list, click the Logstore that you want to manage.
On the page that appears, enter the following query statement in the search box and click Search & Analyze to view the logs.
Count the number of unique visitors (UVs).
status < 400 | SELECT approx_distinct(client_ip) AS UVCount the number of page views (PVs).
status < 400 | SELECT count(*) AS PVCount the number of log entries.
* | SELECT count(*) AS count
Step 2: Configure a bar gauge
1. Add a bar gauge
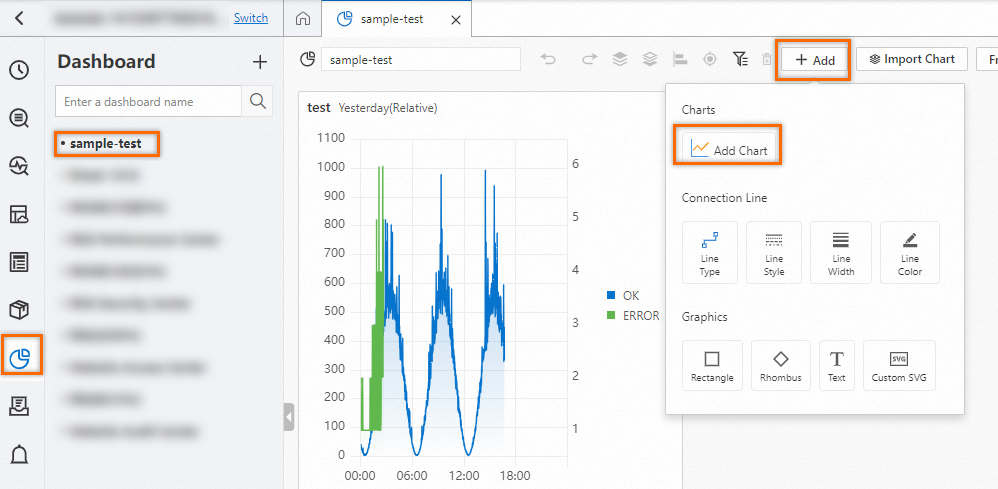
In the left-side navigation pane, choose . In the Dashboard list, click the dashboard that you want to manage. In the upper-right corner of the dashboard page, click Edit. In edit mode, choose .
2. Configure multiple query statements
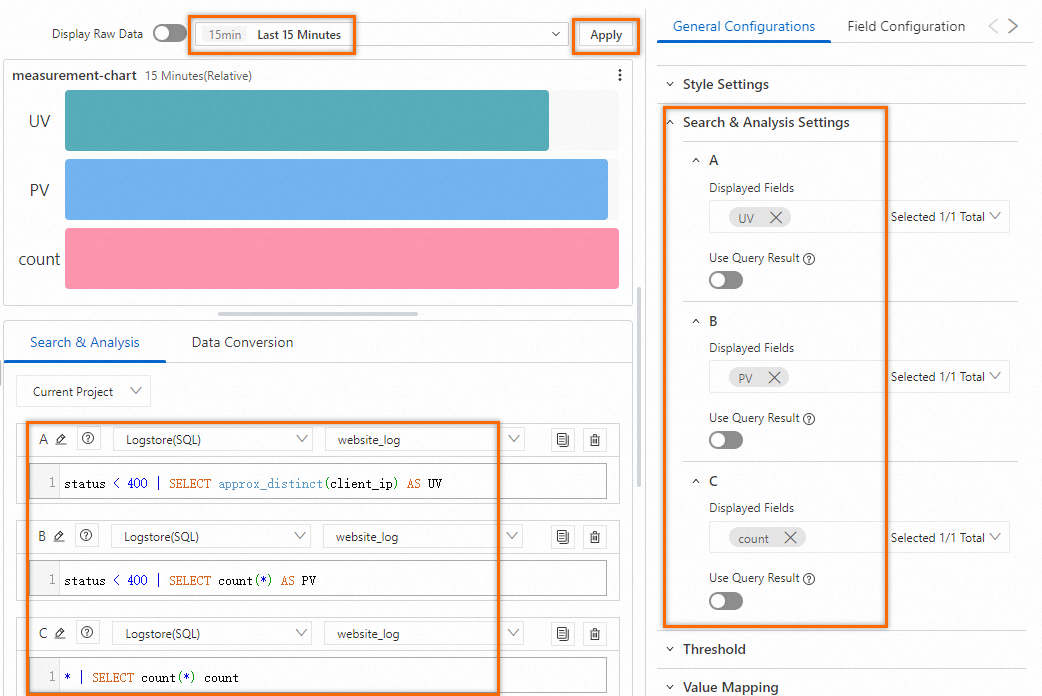
On the right side of the Edit Chart page, choose based on the following figure. On the left side of the page that appears, configure the query time range, Logstore, and query statements for the bar gauge. After you complete the configuration, click Apply in the upper part of the Edit Chart page to view the configuration effects of the bar gauge.
: Select the UV field in the results of Query statement A.
: Select the PV field in the results of Query statement B.
: Select the count field in the results of Query statement C.
3. Specify the color
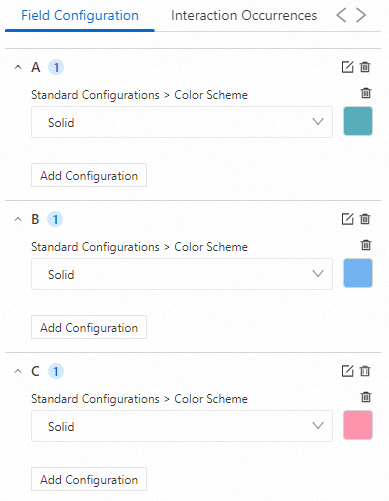
On the right side of the Edit Chart page, click Field Configuration tab and specify the color for the bar gauge. For more information, see Field settings.
In the A section, you can configure personalized display settings for the results of Query statement A and set the color to green.
In the B section, you can configure personalized display settings for the results of Query statement B and set the color to blue.
In the C section, you can configure personalized display settings for the results of Query statement C and set the color to pink.
