This topic uses an example of updating an ECS instance in a virtual private cloud (VPC) to describe how to use an Apsara DevOps pipeline and the ROS module to automate stack creation and updates.
Prerequisites
Create a service role and grant permissions to the role.
Create a service role, such as TestTeamRole. For more information, see Create a RAM role for a trusted Alibaba Cloud service.
Grant permissions to the role. For more information, see Grant permissions to a RAM role. The following table describes the required permissions.
Policy name
Description
AliyunTeambitionRolePolicy
Manages Apsara DevOps
AliyunROSFullAccess
Manages ROS
AliyunECSFullAccess
Manages ECS
AliyunVPCFullAccess
Manages VPC
AliyunRDSFullAccess
Manages RDS
Prepare a code repository, such as a Git repository, to use as the pipeline trigger source.
Background information
Apsara DevOps is an enterprise-level, one-stop DevOps solution. It provides end-to-end collaboration services and development tools that cover the entire lifecycle from requirements to development, testing, release, and O&M. Apsara DevOps integrates with Resource Orchestration Service (ROS). You can use Apsara DevOps to execute ROS templates from a code repository to automate stack creation and updates.
For example, you typically create or update stacks by manually interacting with ROS for each operation. You can use an Apsara DevOps pipeline to create a release process that automates these operations.
In this example, the Create a WordPress Environment Based on ECS and ApsaraDB for RDS template is uploaded to a code repository. An Apsara DevOps pipeline is then created to execute that template and automate stack creation and updates for the WordPress site.
Step 1: Upload the template code to the code repository
Log on to the Resource Orchestration Service console.
In the navigation pane on the left, click .
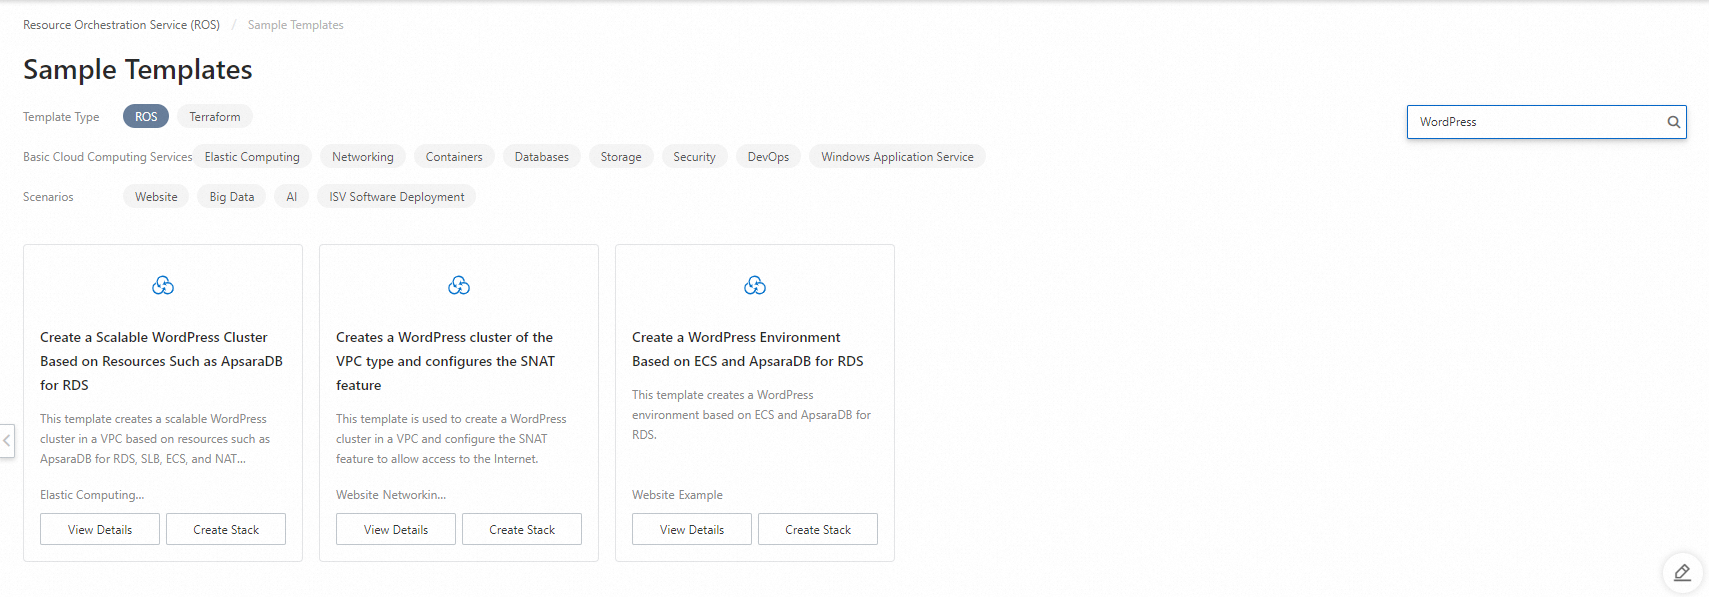
In the search box, enter WordPress to find the Create a WordPress Environment Based on ECS and ApsaraDB for RDS public template, and then click View Details.
Upload the template code to the code repository.
Step 2: Create a pipeline to automate stack creation
Log on to Apsara DevOps.
In the upper-right corner, click Create Pipeline.

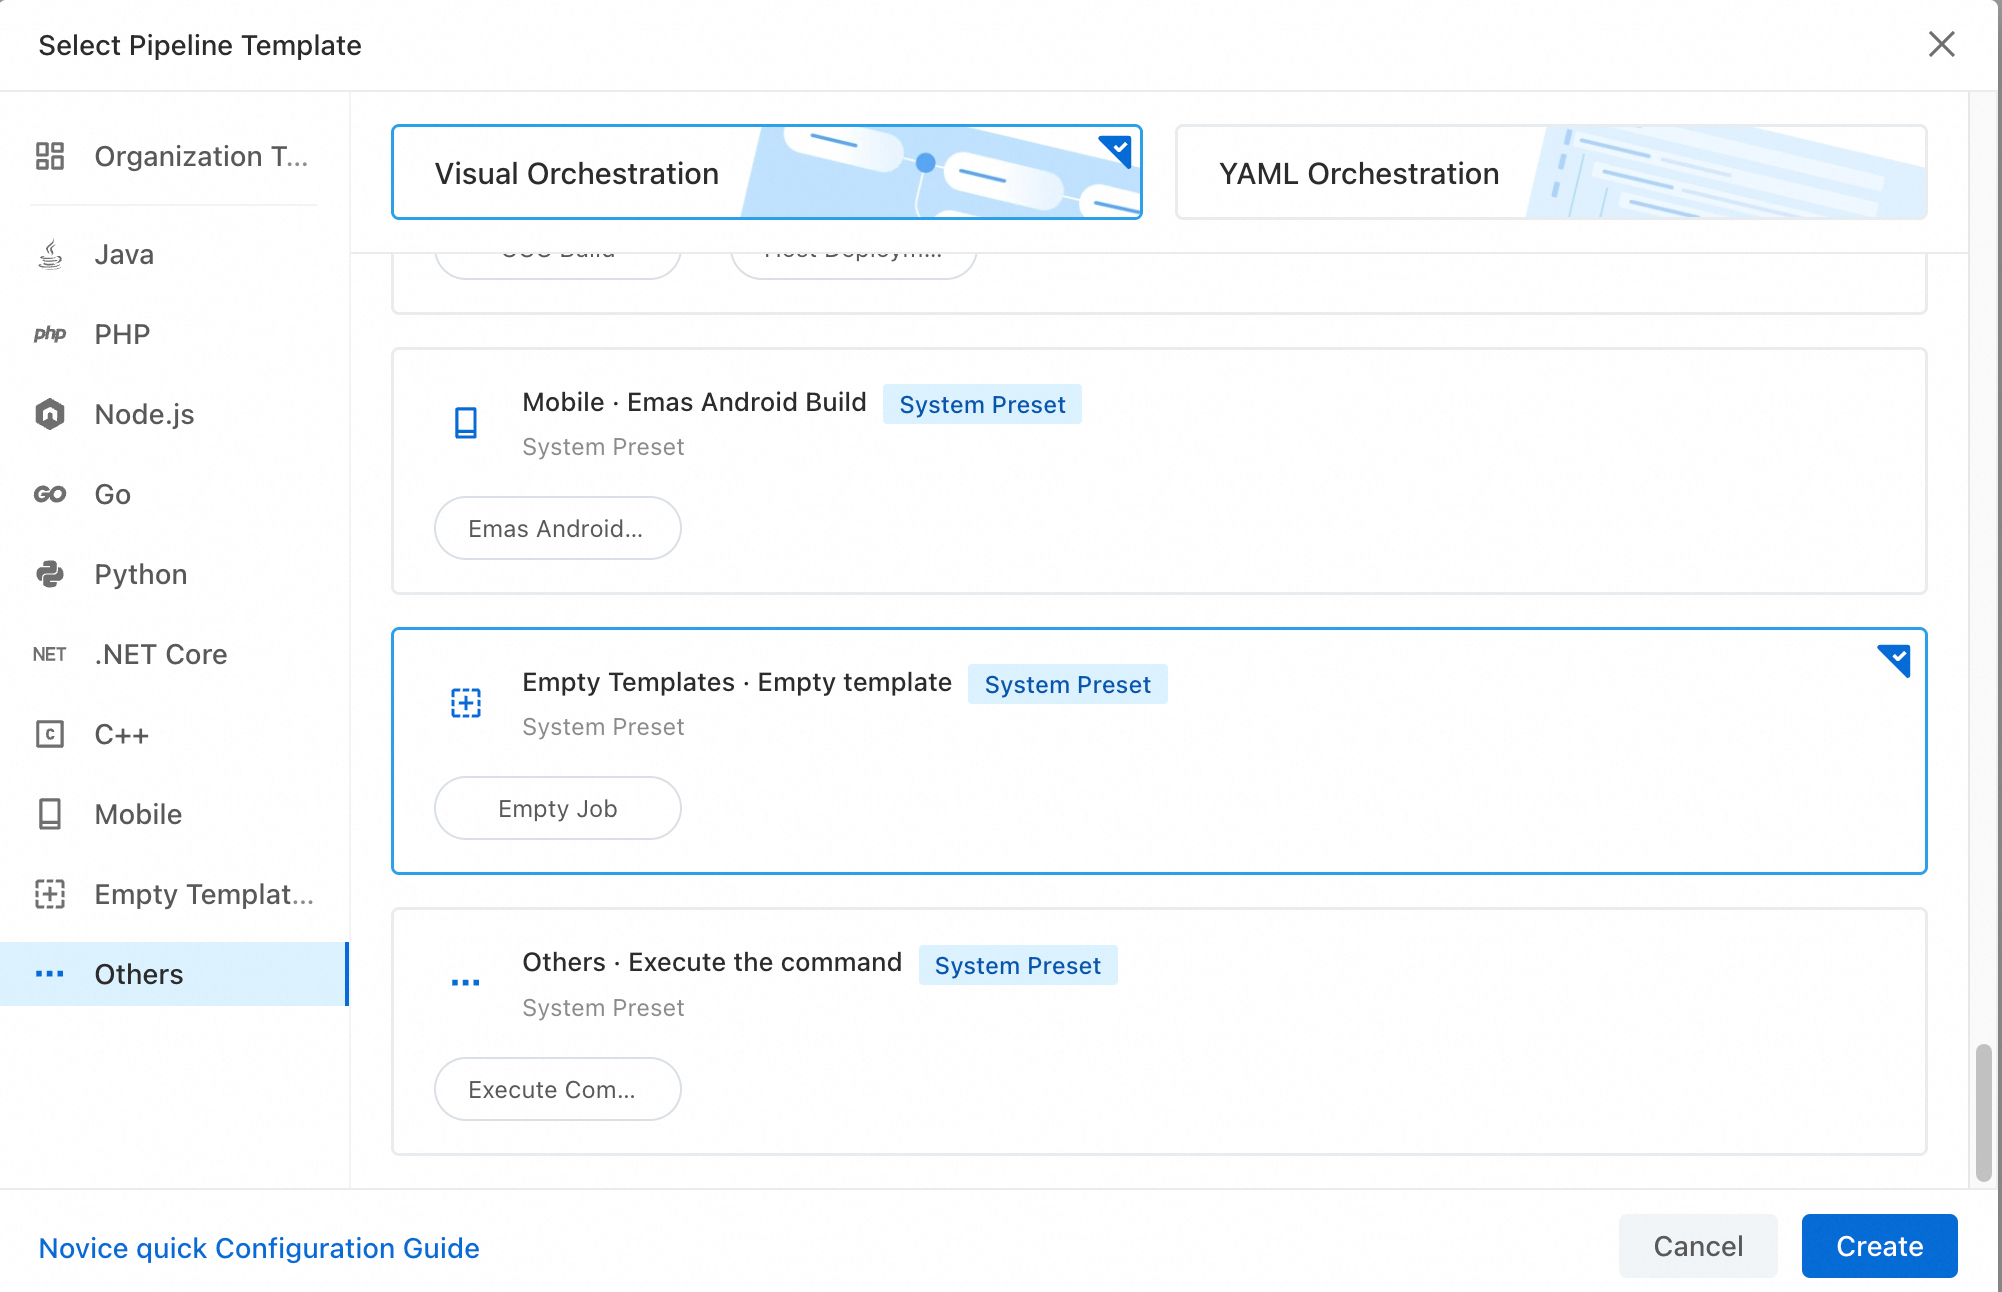
In the navigation pane on the left, click Others. Select Empty Template and click Create.
In the Add Pipeline Source dialog box, select a code source and click Add.

Click Empty Job. In the Edit dialog box, enter a task name and click .
Set the Choose Service Connection, Alibaba Cloud Region, ROS Role, Stack Name, Template Path, and Timeout Period parameters. In the upper-right corner, click Save Only.
NoteWhen you create a pipeline for the first time, click Save and Run. In the Run Pipeline dialog box, click Run. The pipeline automatically creates the stack.
Click New Task. In the Select Task Group dialog box, click Tool in the navigation pane on the left.
In the Tool area, click Manual Approval.
In the Edit dialog box, set the Task Name, Validator Type, and Validator parameters.
Click Save and Run. In the Run Pipeline dialog box, click Run. The pipeline automatically creates the stack.
You can log on to the ROS console and click Stacks. On the Stack List page, you can view information about the created stack.
The pipeline requires an approval before the next task can start.
If the approval is granted, the pipeline proceeds to the next task.
If the approval is denied, you must modify the template or configuration file, run the pipeline again, and resubmit the request for approval.
Step 3: Update the stack
If you update the template and upload the new template code to the code repository, the Apsara DevOps pipeline automatically updates the stack when it calls the code.