This topic describes how to create an ApsaraDB RDS for SQL Server data source.
Prerequisites
You have created an ApsaraDB RDS for SQL Server database.
You have obtained the username and password for accessing the ApsaraDB RDS for SQL Server database.
Limits
Support is provided for versions from 2008 to 2022.
Background information
Adding an RDS (SQL Server) data source is similar to adding an RDS (MySQL) data source, with the key difference being that the RDS (SQL Server) data source requires a unique configuration item, Schema, and uses the SQL Server-specific default port 1433.
Procedure
Add the whitelist.
Before connecting to ApsaraDB RDS for SQL Server, you need to add the IP address of Quick BI to the whitelist of ApsaraDB RDS for SQL Server. For more information on how to add to the whitelist, see Set Whitelist.
Log on to the or the international Quick BI console.
Follow the instructions in the figure below to add a data source.
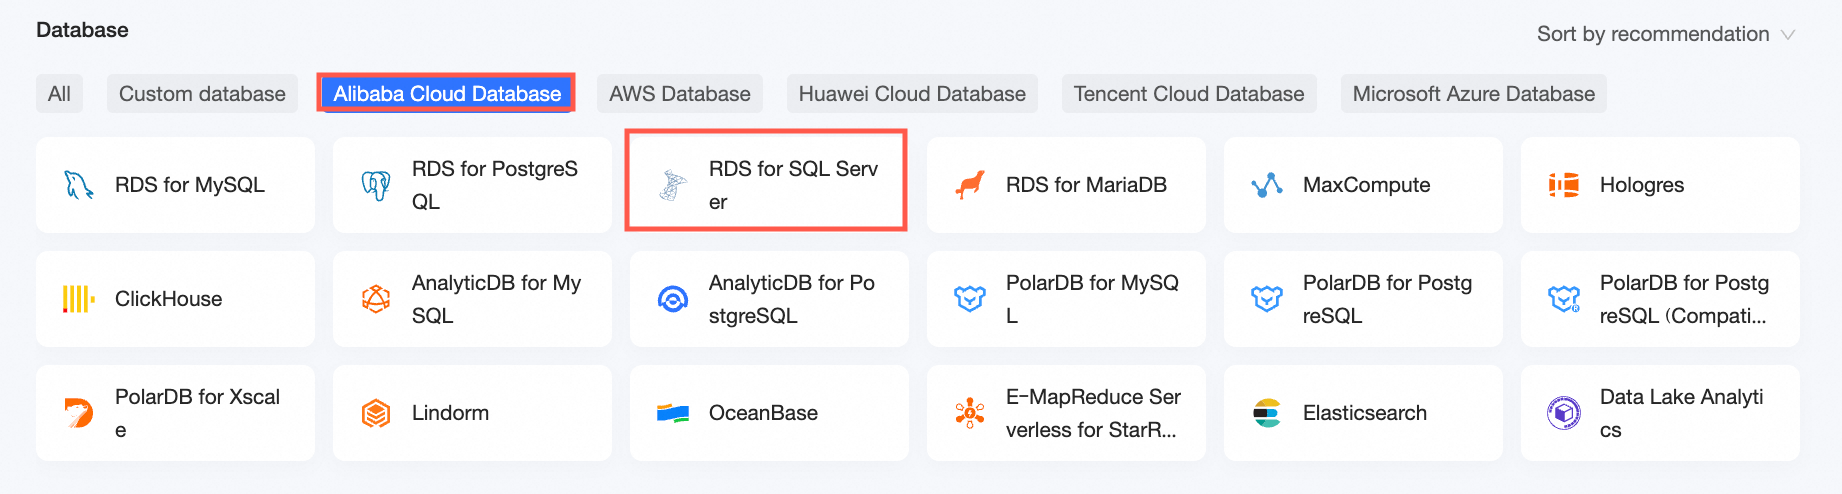
Navigate to the data source creation interface via the data source creation entry.
On the Alibaba Cloud Database tab, select the RDS SQL Server data source.
In the configuration dialog box, complete the configurations based on your business scenario.
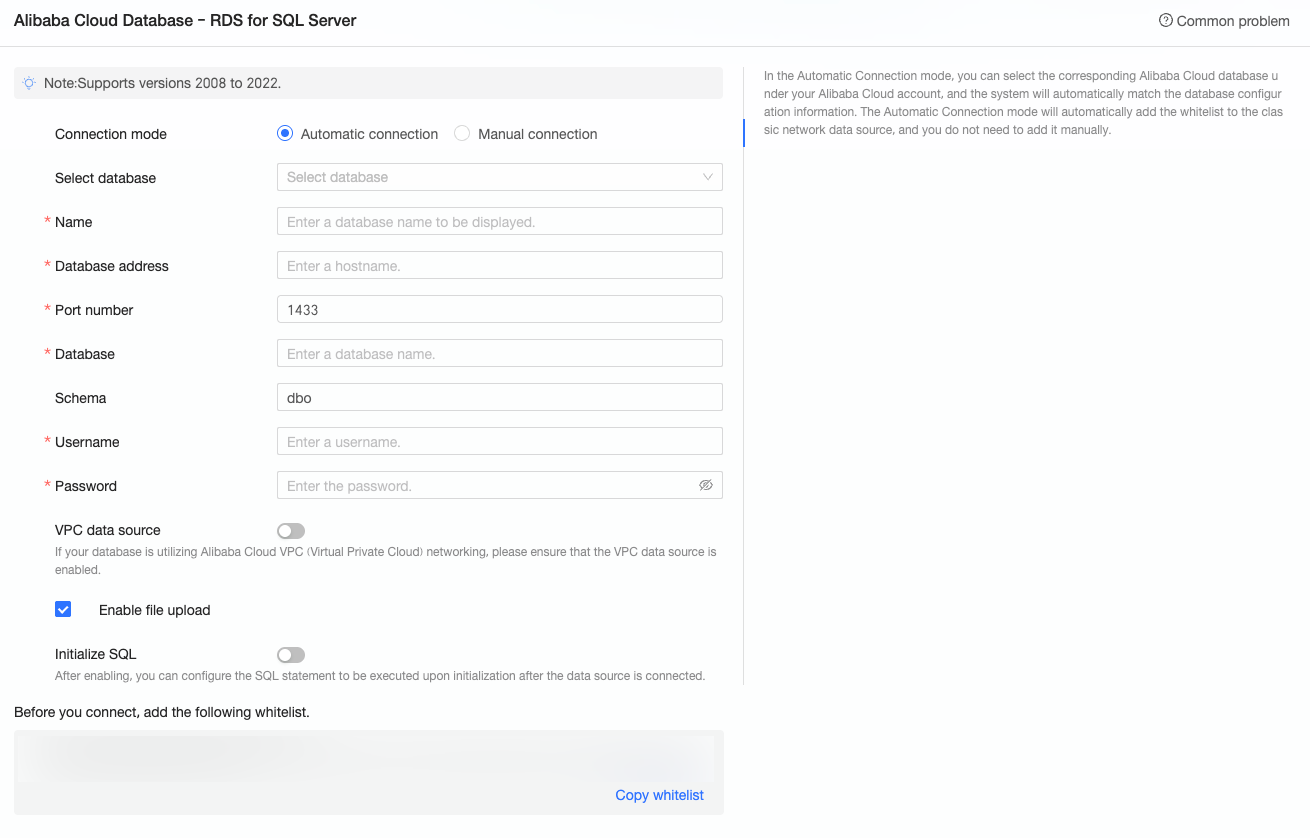
Name
Description
Display Name
The display name in the data source configuration list.
The name cannot contain special characters or start or end with spaces.
Database Address
The public address of the SQL Server database deployment (if using a VPC data source, you need to fill in the internal address and internal port of the database deployment). Log on to the RDS Management Console, click to view connection details in the Basic Information area, and obtain the database address. Example: rm-xxxxxxxxxxxxxxxxxx.sqlserver.rds.aliyuncs.com.
For more information, see View or Modify Internal and External Network Addresses and Ports.
Port
Enter the correct port number. The default is 1433.
Database
The name of the database that you want to access.
Schema
The schema of the database that you want to access. The default is dbo.
Username
The corresponding username.
Password
The corresponding password of the database.
VPC Data Source
If you use a VPC network to connect to the database, select the VPC Data Source option and enter the relevant parameters.
Purchaser Accessid: The AccessKey ID of the purchaser of this instance.
For more information, see Obtain AccessKey.
NoteEnsure that the AccessKey ID has Read permissions on the destination instance. Additionally, if you have Write permissions, the system will automatically add the whitelist. Otherwise, you need to add it manually. For more information, see Create a Custom Policy.
Purchaser Accesskey: The AccessKey Secret of the purchaser of this instance.
For more information, see Obtain AccessKey.
Instance ID: The ID of the purchaser of this instance. Log on to the RDS Management Console and obtain the instance ID in the Basic Information area.
Area: The area where this instance is located.
NoteIf you select the VPC data source, you need to fill in the internal address and internal port for the database address and port.
Enable File Upload Entry
After enabling, file uploads are supported.
Initialize SQL
After enabling, you can configure the SQL statements that are executed after the data source connection is initialized.
Only SET statements are allowed for the SQL statements executed after each data source connection initialization. Separate statements with periods.
Click Connection Test to verify the data source connectivity.

Once the test is successful, click OK to finalize the data source addition.
If a data source with the same configuration already exists, a message will indicate a configuration conflict. In this case, there is no need to add the data source again.
What to Do next
After creating the data source, you can proceed to create datasets and analyze data.
To add data tables from the SQL Server data source or custom SQL statements to Quick BI, refer to Create Datases.
For adding visualization charts and data analysis, see Create a Dashboard and Overview of Visualization Charts.
To explore data in greater depth, consult Drill Settings and Display.