To connect an Alibaba Cloud Hologres database with Quick BI, add a Hologres data source. This enables data analysis and visualization within Quick BI, which can access Hologres via the Internet. This topic describes the steps to integrate a Hologres data source with Quick BI.
You have created a Hologres database. For more information, see Purchase Hologres.
When using an Alibaba Cloud Hologres database, you can integrate it with Quick BI for data analysis by adding it as a cloud data source. For additional details about Hologres, see What is Hologres.
To prevent connection issues due to data source whitelist constraints, add Quick BI's IP address segments for different network environments to the data source's whitelist. For more on configuration, see IP Whitelist.
Limits
Only space administrators and developers are authorized to add data sources.
Creating Hologres data sources is exclusive to the Professional Edition and Pro.
Support is limited to the data warehouse version of Hologres.
Procedure
Add to the whitelist.
Before connecting Quick BI to Alibaba Cloud Hologres, add Quick BI's IP address to the Hologres whitelist. For instructions on adding to the whitelist, see IP Whitelist.
Verify the data source connection and create a data source.
Access the or the Quick BI console.
Use the guide below to add a data source.
Navigate to the data source creation interface via the data source creation entry.
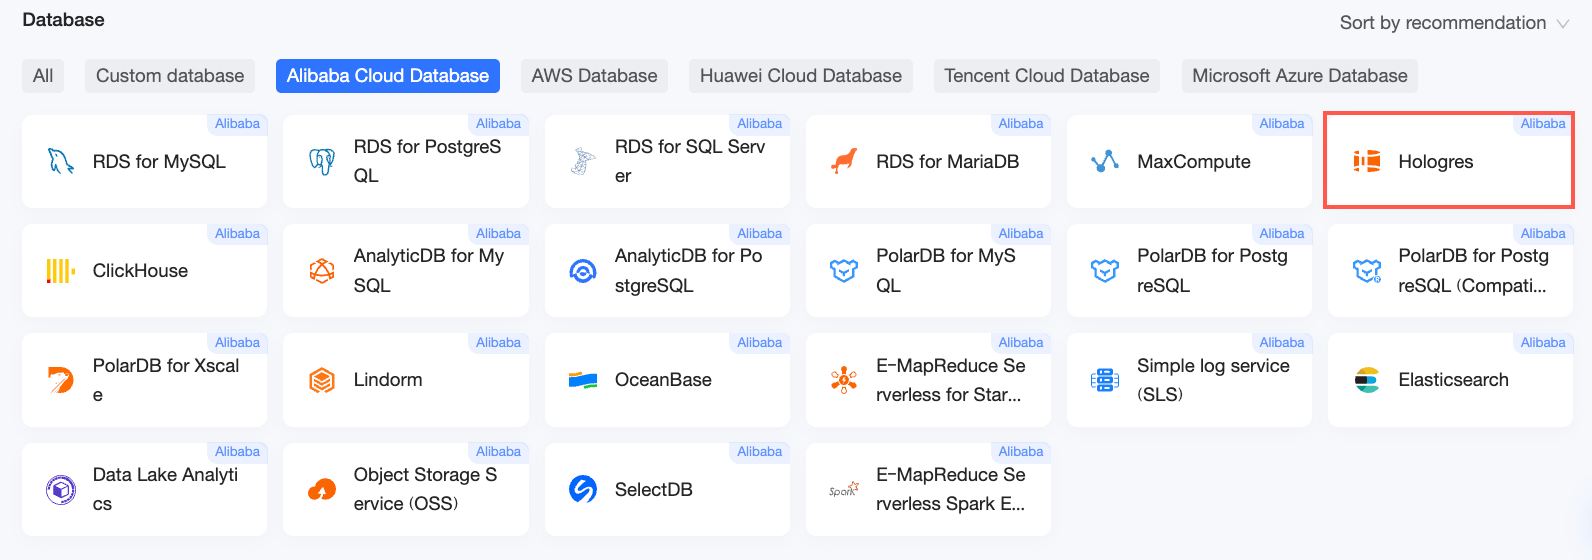
On the Alibaba Cloud Database tab, select Hologres data source.
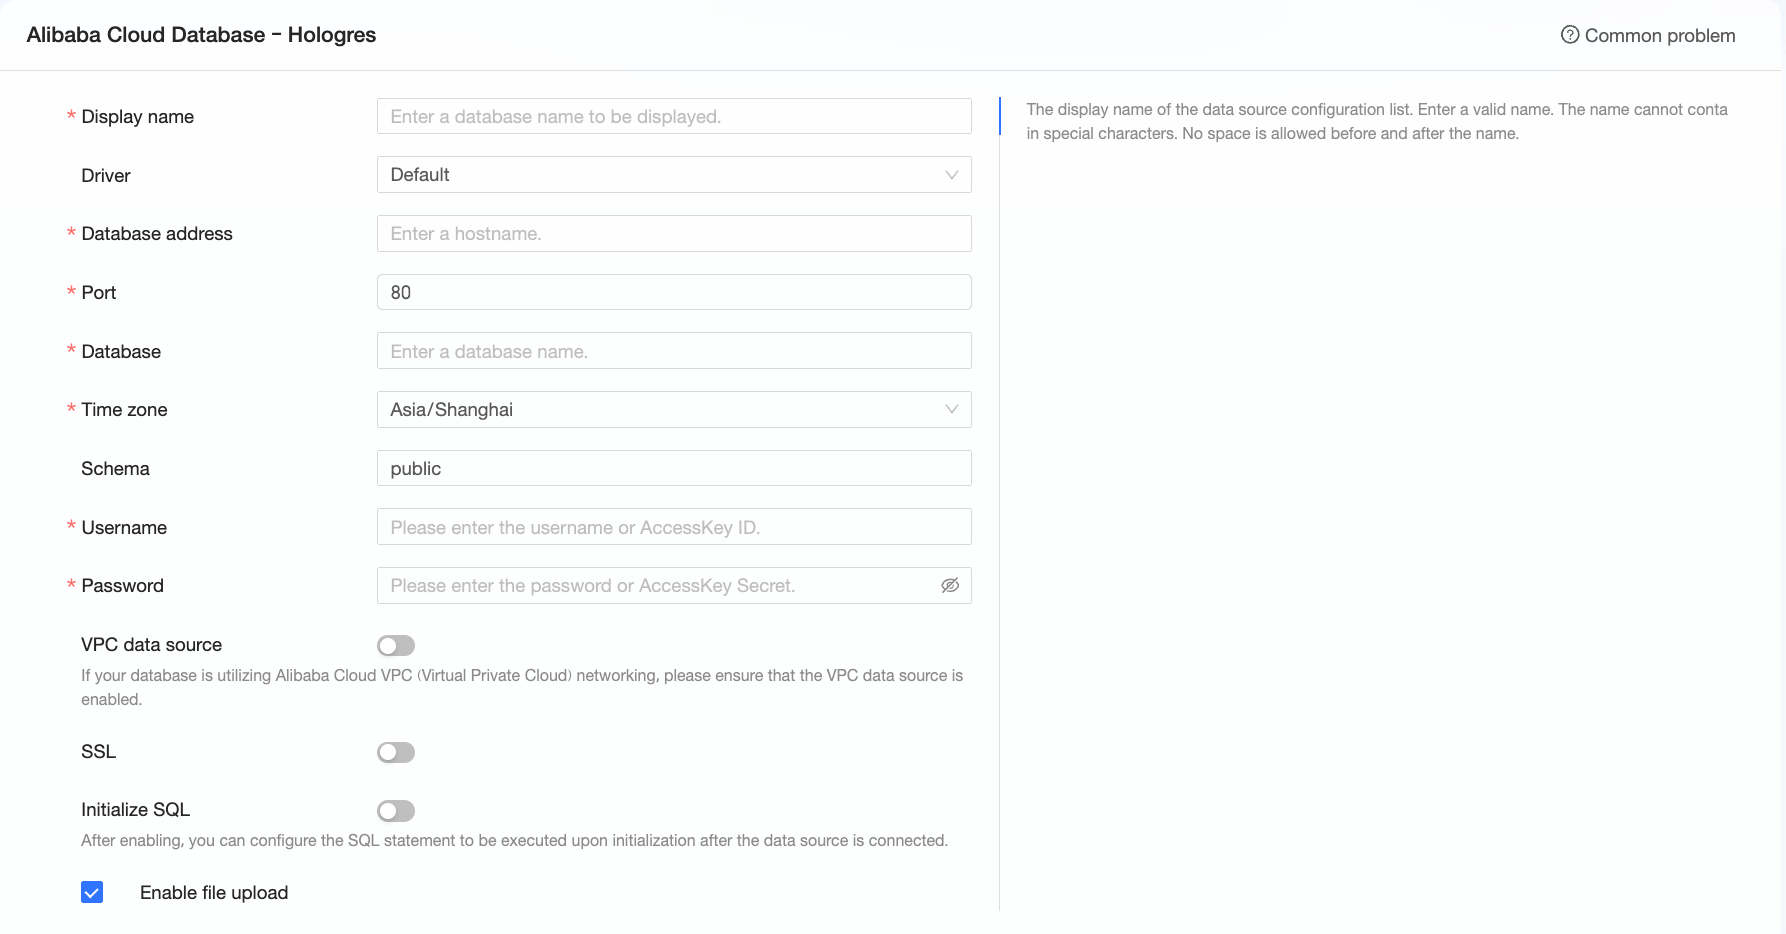
In the Configure Connection dialog box, set the parameters as needed.
Name
Description
Display Name
The display name in the data source configuration list.
Please enter a standard name without special characters or spaces at the beginning or end.
Database Address and Port
The public address for deploying the Hologres database (if using a VPC data source, fill in the internal address and internal port for deploying the database). Log on to the Hologres console, click to view connection details in the Basic Information area to obtain the database address. Example: xxxxxxxxxxxxxxx.hologres.aliyuncs.com.
See Endpoint.
Database
The name of the database that is customized when you deploy the Hologres database.
Log on to the Hologres console, and in Database Management, obtain the Database Name.
Time zone
The time zone of the Hologres instance.
Schema
The name of the schema in the Hologres database.
Username and Password
The username and password corresponding to the database. You can fill in the AccessKey ID or a custom account. Ensure that this username has create, insert, update, and delete permissions on tables in the database.
VPC Data Source
It is recommended to use the specified VPC network of Hologres to connect to Hologres. Please select VPC data source and configure the parameters below.
Purchaser AccessId and Purchaser AccessKey: AccessKey ID and AccessKey Secret with access privileges to the target database. Ensure that this account has Read permission on the destination instance. For related operation instructions, see Create a Custom Policy.
You can log on to the RAM console to obtain the AccessKey ID and AccessKey Secret. For related operation instructions, see Obtain AccessKey.
Instance ID and Area: The instance ID and area where the Hologres database is located.
Log on to the Hologres console to get the instance ID from the Network Information section of the instance details page. For more information, see View instance details.
SSL
If the target data source is configured with SSL, you can select the security protocol SSL to protect data security.
Initialize SQL
After selecting, you can set the initialization SQL.
The SQL statement executed after each data source connection initialization. Only SET statements are allowed, and statements are separated by periods.
Enable File Upload Entry
After enabling, file upload is supported.
Click Connection Test to verify the data source's connectivity.

Once the test is successful, click OK to finalize the data source addition.
What to Do next
With the data source in place, proceed to create datasets and conduct data analysis.
To import data tables from the Hologres database or use custom SQL in Quick BI, refer to Create and Manage Datasets.
For adding visualization charts and data analysis, see Create a Bashboard and Overview of Visualization Charts.
To delve deeper into data analysis, consult Drill Settings and Display.