Data Management (DMS) allows you to add resources such as instances, databases, and tables that have the same business attributes to a permission template and authorize one or more users to manage the resources in the permission template. The permission template feature implements centralized management. By using a permission template, you no longer need to find the required users and resources one by one from a large number of users and resources and perform repeated operations to authorize the users to manage the resources.
Prerequisites
You are a database administrator (DBA) or a DMS administrator. For more information about how to view the role of a user, see View owned permissions.
Procedure
- Log on to the DMS console V5.0.
Move the pointer over the
 icon in the upper-left corner and choose . Note
If you use the DMS console in normal mode, choose in the top navigation bar.
On the Permission template page, click Create Permission Template.
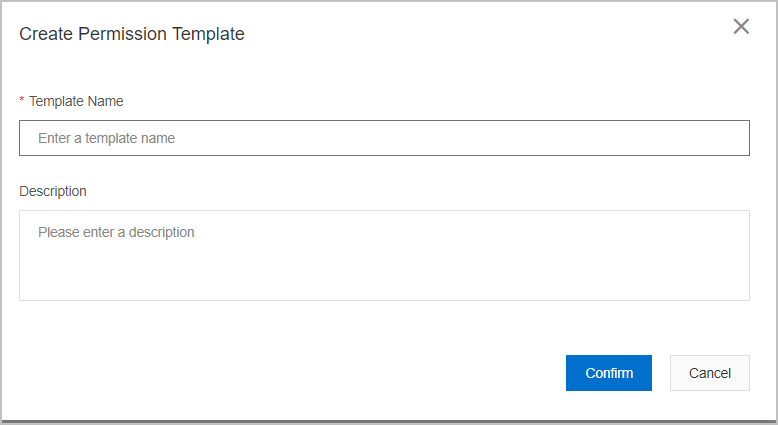
In the Create Permission Template dialog box, set the Template Name and Description parameters and click Confirm.

Add resources to the created permission template.
You can use one of the following methods to add resources to the permission template:
On the details page of the permission template, click the Resource management tab. On the right side of the tab, click Add Resource. In the dialog box that appears, search for and select one or more instances, databases, and tables, specify permissions on the selected resources, and then click Confirm.
NoteYou must select a database before you can select tables.
Add resources to the permission template on the Instances page. To do so, perform the following operations:
In the top navigation bar, click . In the left-side navigation pane, click Instances.
Search for and select one or more instances or databases, and then click Add to Permission Template.
In the dialog box that appears, select the permission template to which you want to add the instances or databases and click Save.
NoteTo remove a resource from the permission template, go to the Resource management tab of the permission template, find the resource, and then click Remove in the Operation column.
Authorize one or more users to manage the resources in the permission template.
You can use one of the following methods:
On the details page of the permission template, click Authorize. In the dialog box that appears, select one or more users who you want to authorize, specify the validity period of the authorization, and then click Confirm.
NoteOn the Authorization Records tab, you can view the authorization information such as the authorized users and the validity period of the authorization.
Authorize users on the Users page. To do so, perform the following operations:
In the top navigation bar, click . In the left-side navigation pane, click Users.
Select one or more users who you want to authorize and click Authorize User.
Select Authorize Permission Template from the drop-down list. In the dialog box that appears, select a permission template, specify the validity period of the authorization, and then click OK.
Related operations
Modify the basic information about a permission template
On the details page of a permission template, click Edit to modify the name and description of the permission template.
NoteIf you modify the basic information about a permission template, authorized users of the permission template can still manage resources in the permission template.
Create a similar permission template
NoteDMS allows you to create a similar permission template based on an existing permission template. The number of resources in the new permission template is the same as that in the original permission template.
On the Permission template page, find the permission template based on which you want to create a similar permission template and click Create As in the Operation column.
In the Create As dialog box, set the Template Name and Description parameters.
Click Confirm.
Delete a permission template
On the Permission template page, find the permission template that you want to delete and click Delete in the Operation column.