This topic describes how to configure single sign-on (SSO) from Alibaba Cloud Identity as a Service (IDaaS) to CloudSSO.
To simplify the configuration, IDaaS provides a pre-integrated application template for Alibaba Cloud CloudSSO. You can create an Alibaba Cloud CloudSSO application in IDaaS and upload the metadata configuration file from IDaaS to Alibaba Cloud CloudSSO to complete the setup.
Application overview
CloudSSO provides unified identity management and access control for multiple accounts based on Alibaba Cloud Resource Directory (RD). With CloudSSO, you can centrally manage your enterprise's Alibaba Cloud users, configure SSO between your corporate identity system and Alibaba Cloud, and set user access permissions for accounts in your RD.
Procedure
1. Create an application
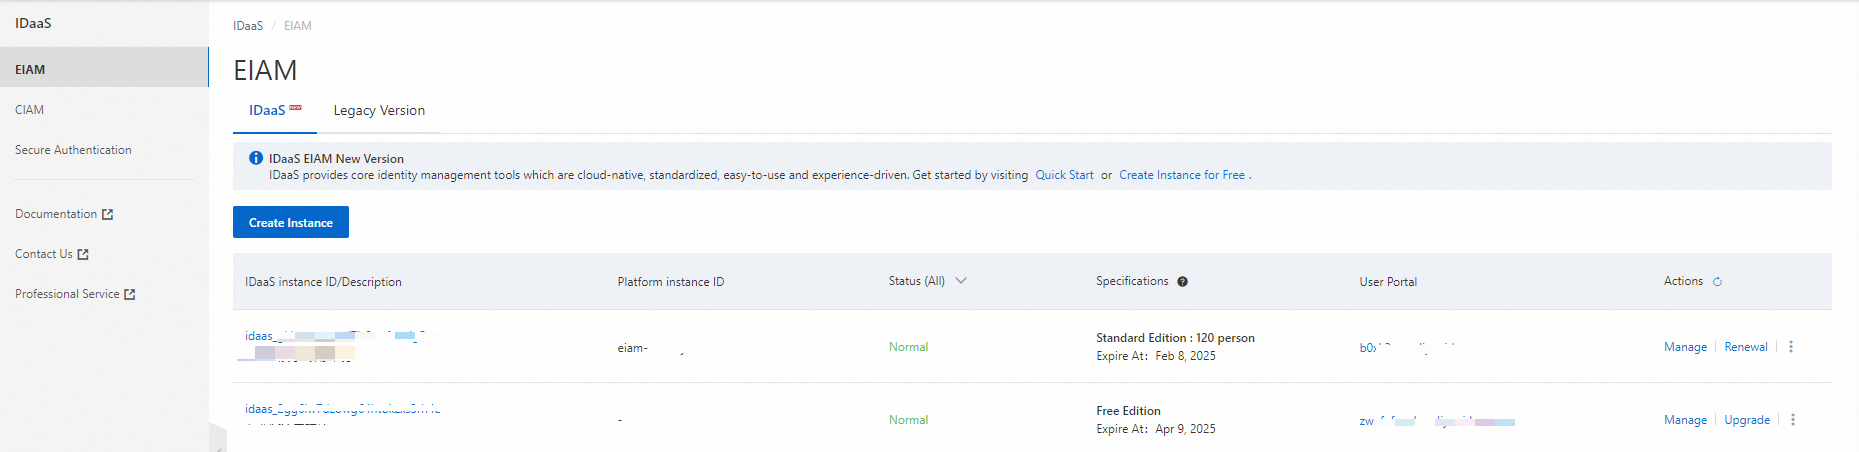
Log on to the Alibaba Cloud IDaaS console.
Select an IDaaS instance and click Manage in the Actions section.
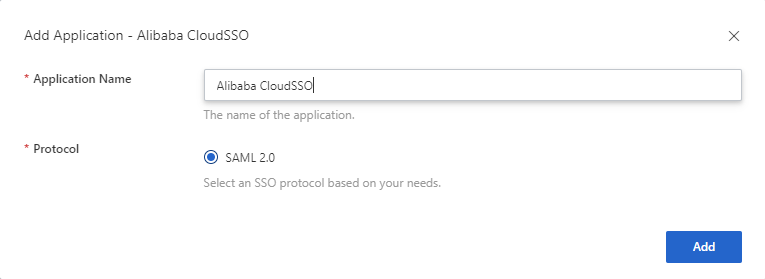
In the navigation pane on the left, choose . On the Applications page, click Add Application. In the application marketplace, search for the Alibaba Cloud - CloudSSO application template. Click Add Application.

Confirm the application name and click Add Now.
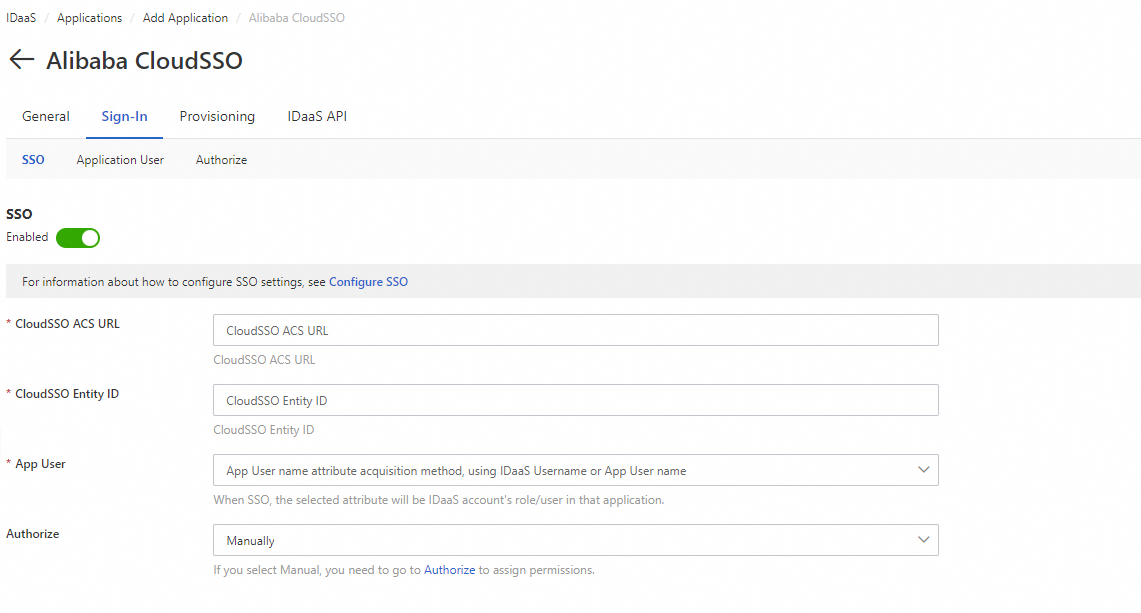
2. Configure application SSO
After you add the application, you are automatically redirected to the SSO page.
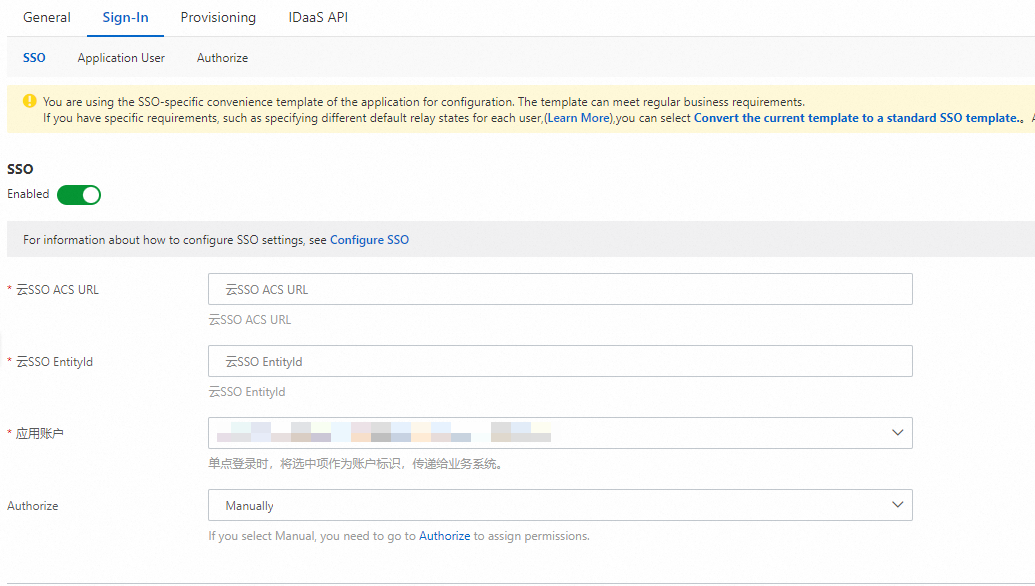
For ease of testing, temporarily set the Authorize to All Users.
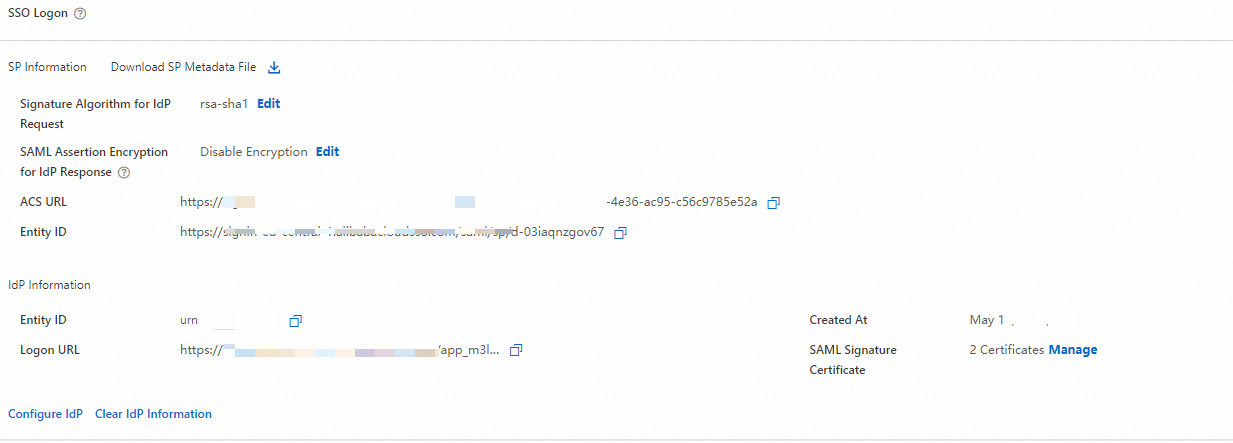
CloudSSO ACS URL: Obtain the ACS URL from the SSO logon configuration in CloudSSO. For more information, see Configure user-based SSO in CloudSSO.
CloudSSO Entity ID: Obtain the EntityId from the SSO logon configuration in CloudSSO. For more information, see Configure user-based SSO in CloudSSO.
Application Username: By default, the IDaaS account name is used as the logon identity for the application. For SSO to work, the username in the application must match the IDaaS account name. To configure a flexible account mapping, see SAML application account configuration.
Authorize: To specify which IDaaS accounts can access the application, see Application authorization.
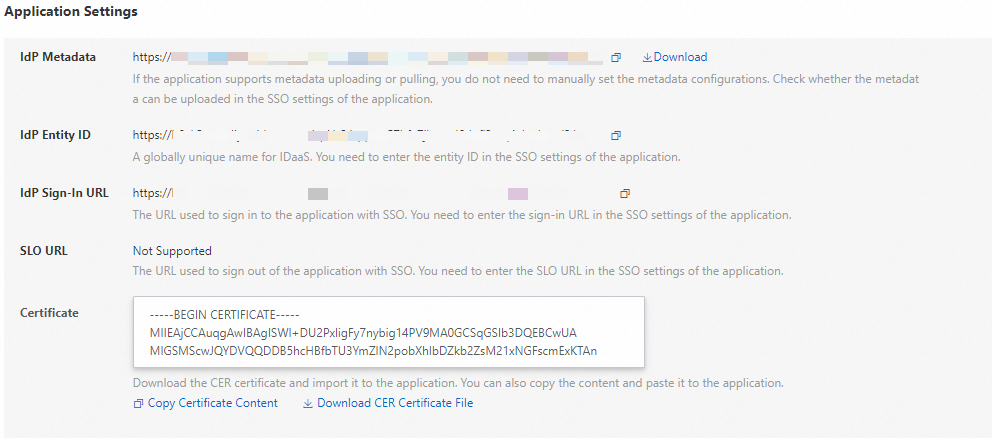
In the Application Settings section, click Download to save the Security Assertion Markup Language (SAML) metadata configuration file to your computer. You will upload this file to Alibaba Cloud CloudSSO in the next step.
3. Configure user-based SSO in CloudSSO
Log on to the CloudSSO console.
In the navigation pane on the left, choose .
Click Configure IdP.
After you upload the configuration file, the identity provider information is automatically populated. Click Enable SSO Logon.
Copy the values of ACS URL and EntityId, and paste them into the SSO Configuration page from Step 2.
Click Save. The SSO configuration is now complete.
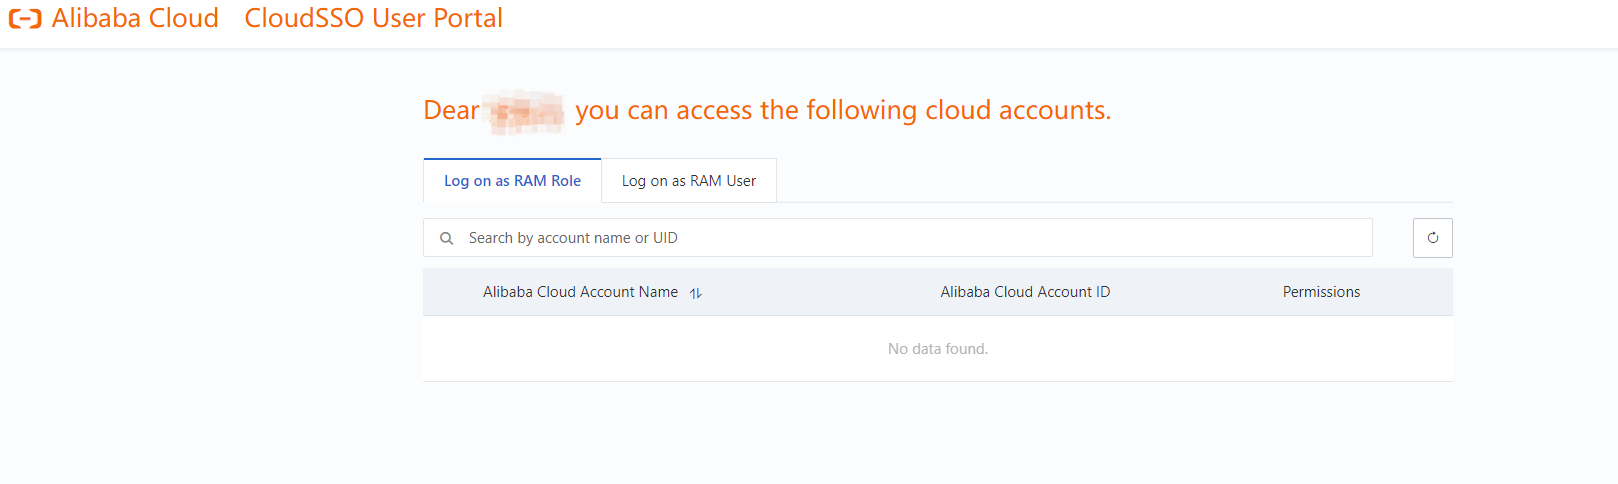
4. Test the SSO logon
Access the Logon URL from your CloudSSO configuration.
Because the IDaaS identity source is enabled, you are redirected to the IDaaS logon page. On this page, you can complete the logon process using the authentication methods and identity security capabilities that IDaaS provides.

After the logon is successful, you can use the service.