This topic describes how to configure the Send a WhatsApp Message component. This component sends WhatsApp messages that support replies using specific WhatsApp features.
Component information
Component icon
![]()
Component name
Send a WhatsApp Message
Prerequisites
Navigate to the orchestration canvas of a new or existing flow.
To open the orchestration canvas for an existing flow:
In the tab. Click the Flow Name of the flow that you want to edit to open its orchestration canvas.

To create a new flow and open its orchestration canvas, see Create a flow.
Procedure
Click the Send a WhatsApp Message component icon on the canvas. The component configuration panel appears on the right.
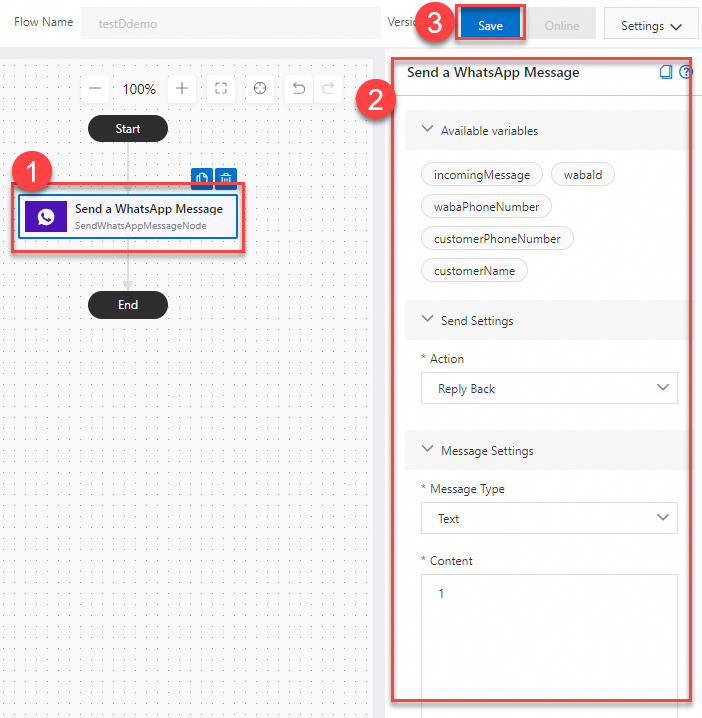
Configure the component as needed. For more information about the configuration items, see Configuration items.
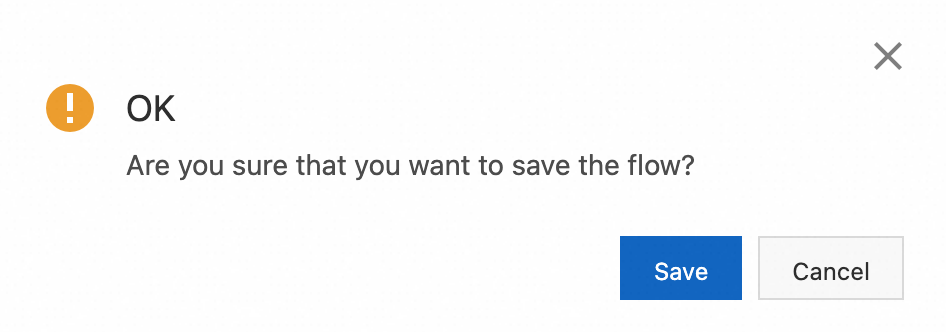
After you complete the configuration, click Save. In the dialog box that appears, click Save.
Configuration items
Available variables
The Available variables area contains common variables that you can use during flow orchestration. On the settings page, you can click the insert variable button to add custom variables. The new variables then appear in the available variables list. For more information about how to use available variables, see How to use available variables.
Send settings
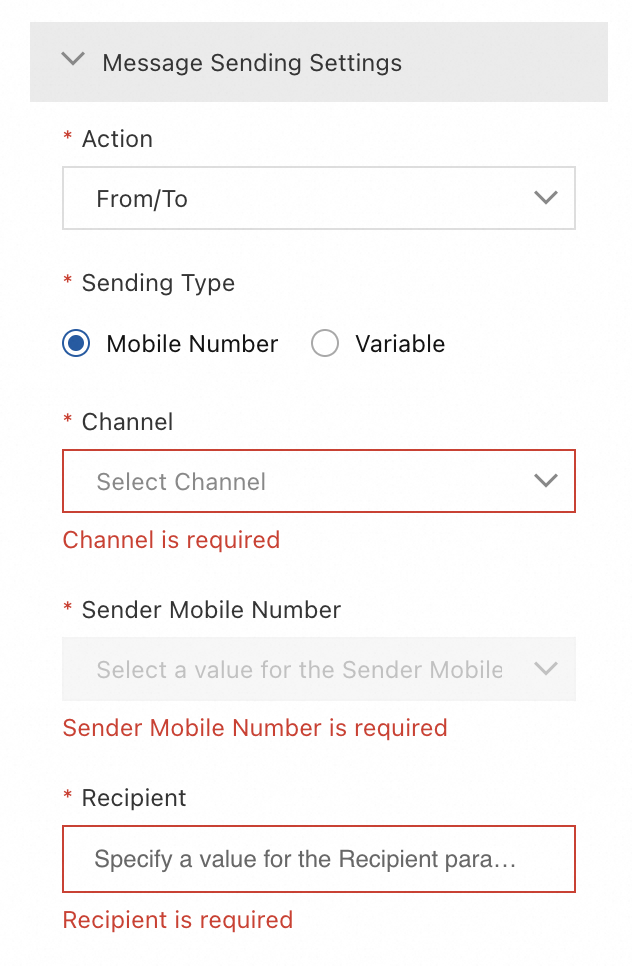
For the send settings, you can select one of two actions: From/To or Reply Back.
Fixed Sending
If the trigger method is set to Manual, the send setting must be Fixed Send.
Send Type | Description | Example |
When Send Type is Phone Number | If you set Send Type to Phone Number, select the channel and the sender's phone number. The selected channel must be approved and the phone number must be active. For the recipient number, enter a fixed number or click Insert Variable to select a defined variable or add a new one. |
|
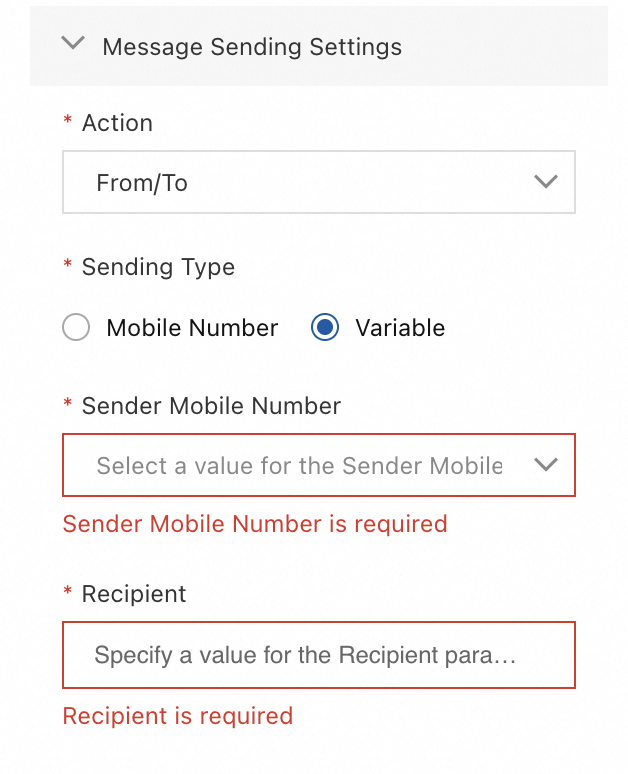
When Send Type is Variable | If you set Send Type to Variable, select the sender's phone number from the drop-down list. For the recipient number, enter a fixed number or click Insert Variable to select a defined variable or add a new one. |
|
Reply Back
Select this action to use the WhatsApp Business Account (WABA) and phone number attached to the current flow to reply to a user's mobile-originated (MO) message. No additional settings are required.
Message settings
Message settings determine the type of message to send. Supported types include the following: Text, Media, Interactive Message, Product Message, and Template Message.
Text
Select Text to send a plain text message. You must set the message content, which can include variables.
Media
Select Media to send a multimedia message. Supported media types are image, audio, video, file, and location. For location messages, you must enter the longitude and latitude. For all other media messages, you must enter the media file URL.
WhatsApp media types and size limits:
Media | Supported types | Size limit |
Audio | AAC, MP4, MPEG, AMR | 16 MB |
Document | TXT, PDF, PPT, DOC, XLS, DOCX, PPTX, XLSX | 100 MB |
Image | JPEG, PNG | 5 MB |
Video | MP4, 3GP
| 16 MB |
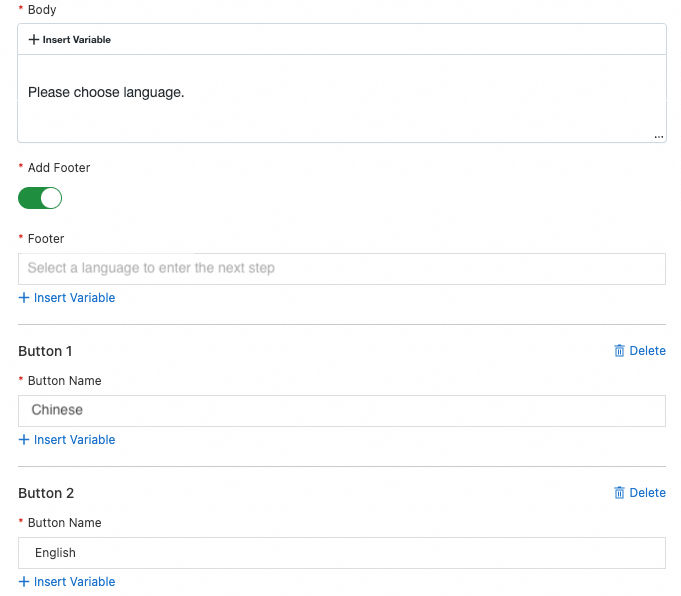
Interactive Messages
Interactive messages support two types: Reply Button and List.
Message | Description | Example |
Reply Buttons |
|
|
List |
|
|

Product Messages
Product messages include Single Product and Multiple Products messages. A single product message supports one product ID. A multi-product message supports multiple product IDs and lets you create product groups.
The catalogue ID and Retail ID are product management IDs from Meta Commerce Manager. To obtain these IDs, go to the Meta Commerce Manager. Select your account and the shop that you want to use. Then, click Catalog > Items to view the required IDs.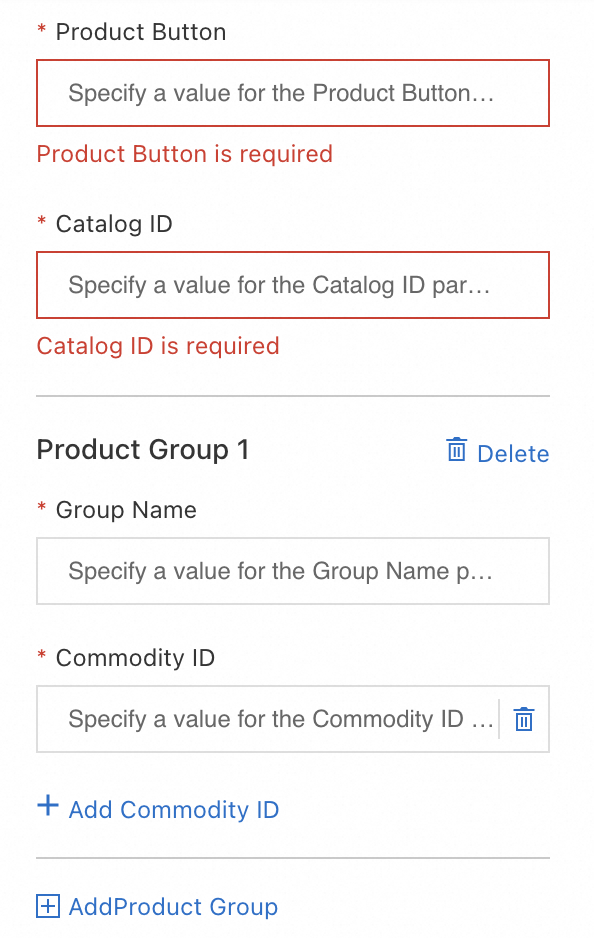
Template Message
To send a template message, select a channel and a template. The WABA for the channel and the message template must be approved. Click Preview to view the template content.
Timeout settings
You can enable timeout branches for undelivered and unread messages. After you enable these branches, you can set a custom timeout period. Then, you can configure components in the branches to handle these messages. For example, if a message is not delivered before the timeout period expires, you can use the Send Text Message component to send a text message as a fallback.
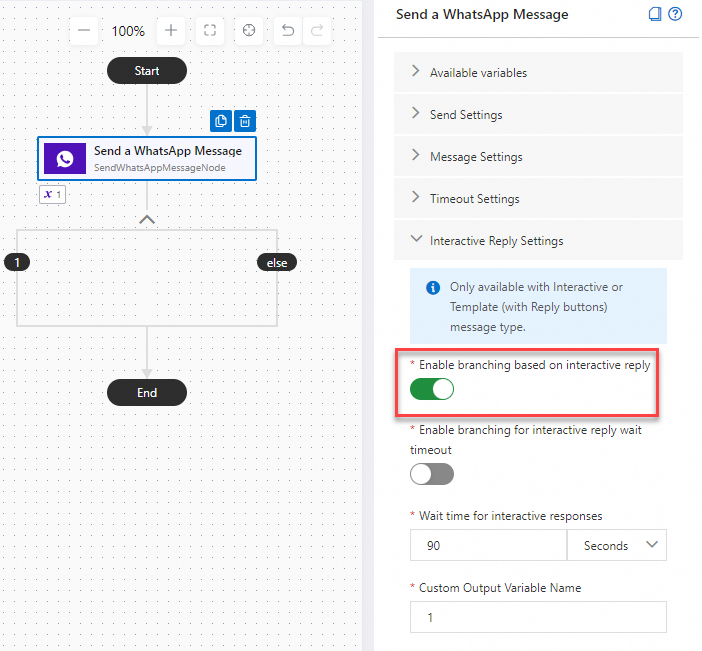
Interactive reply settings
These settings apply only to the Interactive Message type.
Configuration | Description | Example |
Enable branch based on interactive reply | Enable this to create branches based on the buttons or items in the interactive message. You can then configure each branch. |
|
Enable branch for interactive reply wait timeout | Enable this to create a "Not Replied" branch to handle timeouts. You must set a custom timeout period in the "Wait time for interactive reply" setting. If the timeout branch is enabled and no other components are configured in it, the flow proceeds to the next step after the timeout. |
|
Wait time for interactive reply | Set the timeout period. You can use seconds, minutes, or hours. When the timeout period is reached, the configuration in the "Not Replied" branch takes effect. | - |
Custom output variable name | Set a custom variable to receive the user's selection. The new variable appears in the list of available variables and can be called in subsequent steps of the flow. | - |

Advanced settings
Configuration item | Description |
Allow status reports | After you enable status reports, you must enter the URL to receive status requests. |
Track ID | Used to mark and track a specific message. |