Disclaimer: This topic may be contributed by a community or contain information about third-party products. We recommend that you visit the official website of the community or the third-party products for help and support. The third-party products are not supported by Alibaba Cloud after-sales service. This topic is for reference only. Alibaba Cloud does not make guarantees or warranties, express or implied.
Overview
This article mainly introduces the method of configuring Alibaba Mail in the mail client of Windows 10 system.
Detailed Information
Before setting, please make sure that the POP3/SMTP and IMAP/SMTP services are turned on. For details about how to enable the services, please check How to Turn-off /Open the POP3 or IMAP Protocol for Accounts?
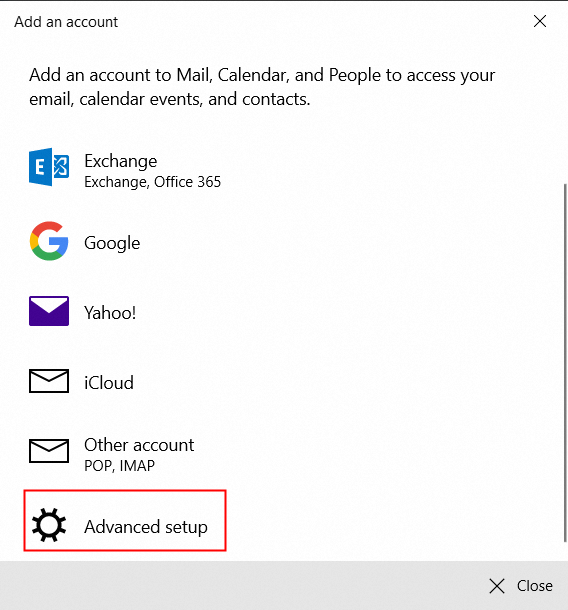
1. Start the email client of Windows 10. On the Add an account page, click Advanced setup.
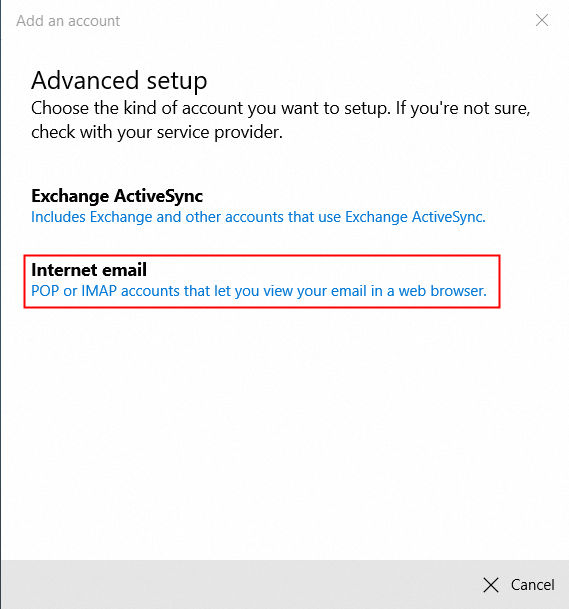
2. Click Internet email;
3. On the Internet email account page, enter the email address, username, and password;
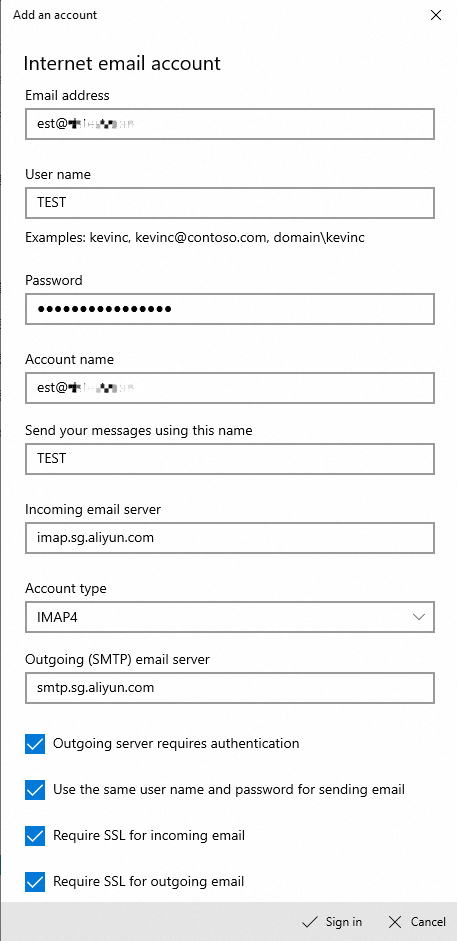
We recommend that you use SSL encryption for security. The detailed configuration of the server information is as follows:
Protocol | Mail Server | Port (normal) | Port (encrypted) |
POP3 | pop.sg.aliyun.com | 110 | 995 |
IMAP | imap.sg.aliyun.com | 143 | 993 |
SMTP | smtp.sg.aliyun.com | 25 | 465 |
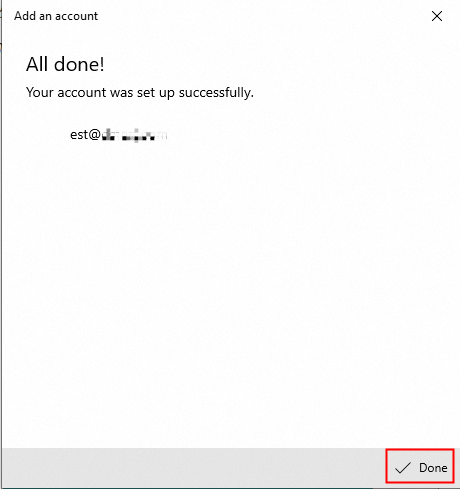
4. Click Sign in to complete and click Done to finish configuration.