You can generate kubeconfig files and logon tokens for newly added users in AI Dashboard. You can also query, delete, and modify users in AI Dashboard. This topic describes how to manage users in AI Dashboard.
Prerequisites
The cloud-native AI component set is installed. For more information, see Install the cloud-native AI suite.
The credentials of the Resource Access Management (RAM) user that is specified as the administrator of AI Dashboard are obtained.
A user group is added and associated with a quota group. For more information, see Manage user groups and Manage quota groups.
Generate the kubeconfig file and logon token of the newly created user
For more information about how to manage users by using the CLI, see Best practices for using Arena in multi-tenant scenarios.
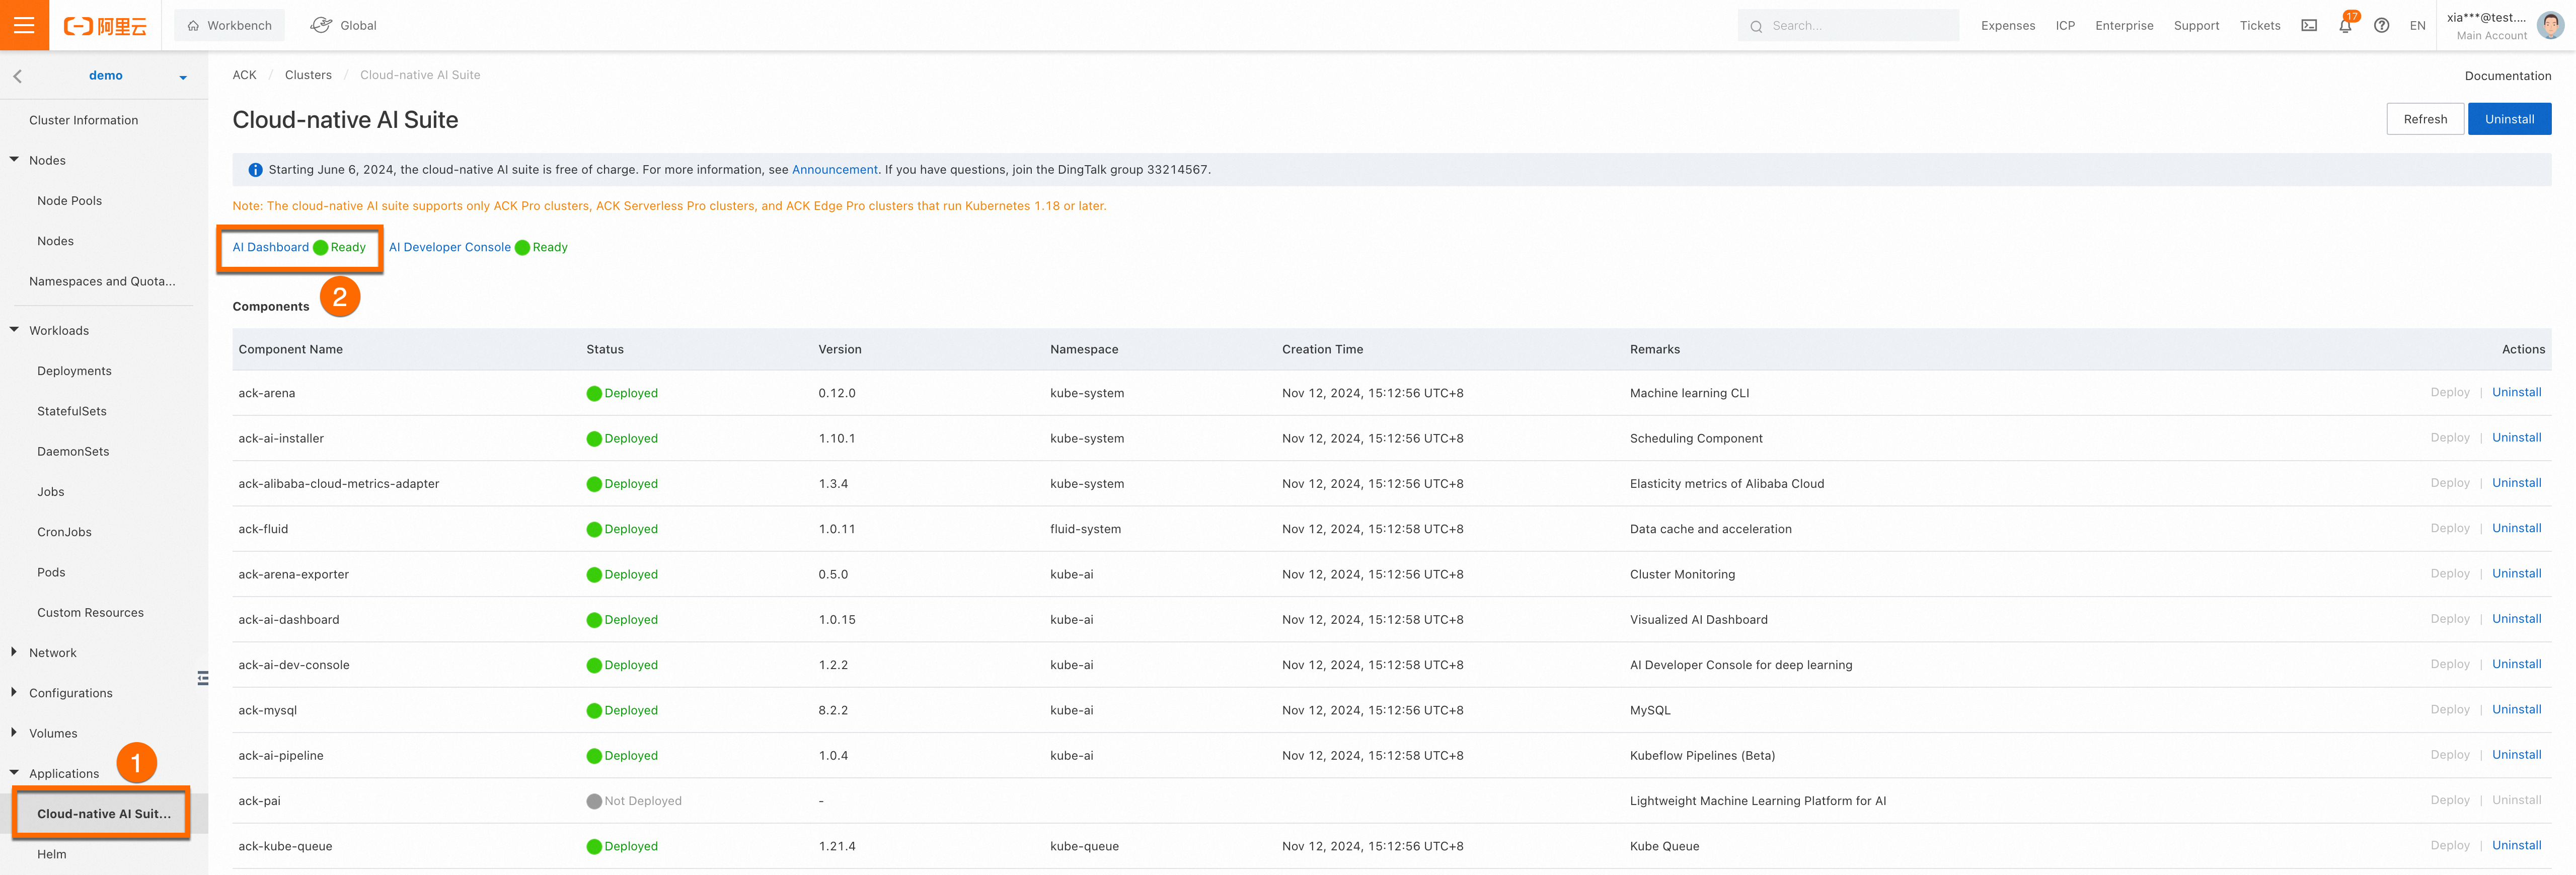
After AI Dashboard and AI Developer Console are installed in the cluster, you can find two hyperlinks on the Cloud-native AI Component Set page, as shown in the following figure. Then, click AI Dashboard.

In the left-side navigation pane of AI Dashboard, choose User > User List.
On the User List page, click Add.
In the Add User dialog box, set the parameters:
Select or enter a user name, select a user type, and select one or more user groups.
Optional: To grant the user namespace-scoped permissions, select a namespace for the Quota parameter.
Click Save.

After the user is created, you can download the kubeconfig file of the user on the Users page. You can also copy the Token that is used to log on to AI Developer Console.
Manage users in AI Dashboard
You can query, update, and delete users in AI Dashboard.
Before you delete a user group, or delete a namespace, make sure that no task that belongs to the user is running.