This post is from Tech Share Indonesia contributor
Written by Regi Apriandi, Alibaba Cloud Tech Share Author
Pandemic has hit our country for almost two years, there are so many effects that has devastated the country's economy and turned off education directly or face to face in almost all aspects of education in our country.
Concentration of learning that interferes with students' learning at home is the main challenge for parent and student in the learning process to achieve their goals. As a student, the spirit of learning is the most important in this current pandemic, taking advantage of the available time and being disciplined with time can produce great benefits for ourselves.
Looking for learning new things. A few months ago, I wanted to learn something new, namely about cloud computing which is the basis of my lectures and I found Alibaba Cloud computing where they provide free learning courses for students. In addition to providing learning courses, they also provide free cloud hosting for students.
I use cloud hosting provided free by Alibaba Cloud to build a small project about networking that may be useful for friends who are learning networking, where I used Ubuntu 20.04.3 LTS for this cloud server in building this project.
I'm here building a free cloud storage project from nextcloud.com which is a client-server software for creating and using a file hosting service. Nextcloud is installed using docker and docker compose. Firstly we install docker and docker compose in the cloud. We log into the cloud using ssh with the public ip address, default username (i.e., “root”), and with the predefined password.
After we enter the cloud server, we must update all existing packages with the command:sudo apt update sudo apt full-upgrade
After all the packages have been updated, then we install docker and docker compose to be able to build nextcloud on our cloud server. To install docker, we can use the command:sudo apt install docker
and to install docker compose, we can use the command:sudo apt install docker-compose
after successfully installing docker and docker compose, then we will install portainer which is a web UI that serves to manage docker easily. To install portainer, we can use the command:docker volume create portainer_data
To run portainer on the docker in cloud server, you can use the command below through ports 8000 and 9000.
docker run -d -p 8000:8000 -p 9000:9000 --name=portainer --restart=always -v /var/run/docker.sock:/var/run/docker.sock -v portainer_data:/data portainer/portainer-ceAfter successfully installing the portainer, we can access it using port 9000 with the ip address of the cloud server. After successfully logging in to the portainer there are options that can be adjusted by selecting Docker as the environment and continued by specifying a user and password for admin login.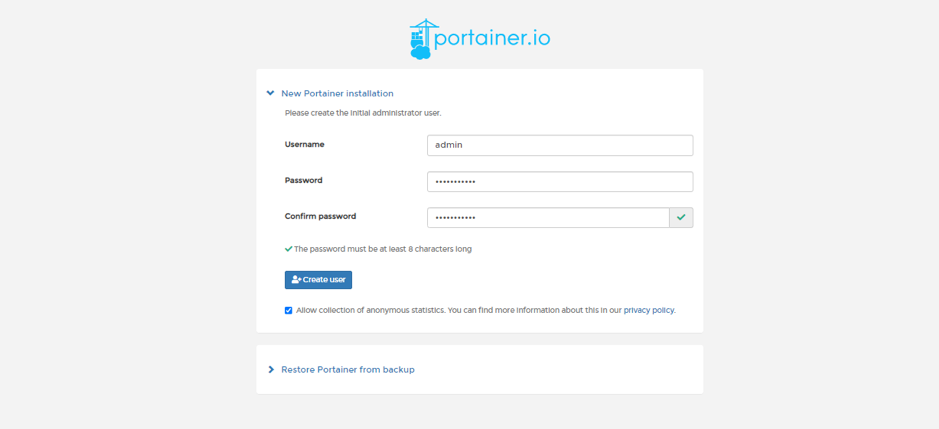
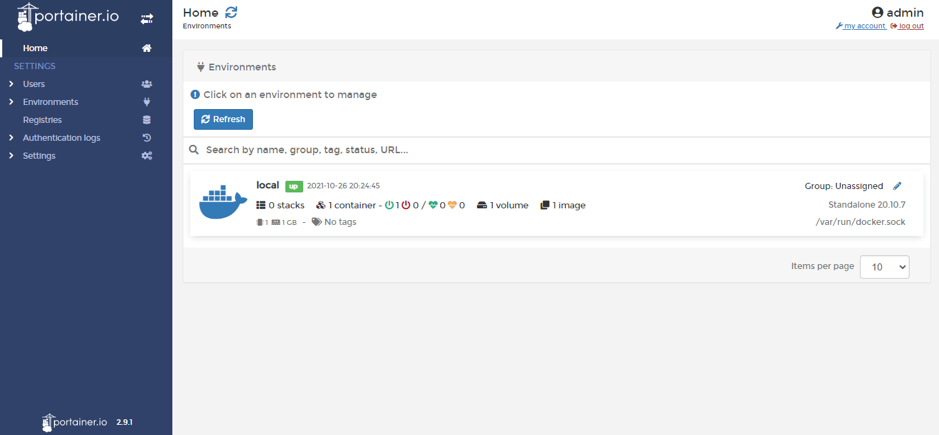
After completing some required installations, then we enter the main installation: nextcloud. So that we can enter nextcloud using the domain we have, we can take free domains at namecheap.com and name.com with registered github student with a college account. we can use nginx proxy manager, which serves to direct the nextcloud application to the domain we have.
Here we can install nextcloud and nginx proxy manager simultaneously using the docker compose file. We can use the command:
sudo nano docker-compose.ymlAfter entering the edit text file, we can enter the configuration to install nextcloud and nginx proxy manager simultaneously. We can copy this config to terminal.
version: '3'

volumes:
  nextcloud-data:
  nextcloud-db:
  npm-data:
  npm-ssl:
  npm-db:

networks:
  frontend:
  backend:

services:

  nextcloud-app:
    image: nextcloud
    restart: always
    volumes:
      - nextcloud-data:/var/www/html
    environment:
      - MYSQL_PASSWORD=nextcloud
      - MYSQL_DATABASE=nextcloud
      - MYSQL_USER=nextcloud
      - MYSQL_HOST=nextcloud-db
    networks:
      - frontend
      - backend

  nextcloud-db:
    image: mariadb
    restart: always
    command: --transaction-isolation=READ-COMMITTED --binlog-format=ROW
    volumes:
      - nextcloud-db:/var/lib/mysql
    environment:
      - MYSQL_ROOT_PASSWORD=nextcloud
      - MYSQL_PASSWORD=nextcloud
      - MYSQL_DATABASE=nextcloud
      - MYSQL_USER=nextcloud
    networks:
      - backend

  npm-app:
    image: jc21/nginx-proxy-manager:latest
    restart: always
    ports:
      - "80:80"
      - "81:81"
      - "443:443"
    environment:
      - DB_MYSQL_HOST=npm-db
      - DB_MYSQL_PORT=3306
      - DB_MYSQL_USER=npm
      - DB_MYSQL_PASSWORD=npm
      - DB_MYSQL_NAME=npm
    volumes:
      - npm-data:/data
      - npm-ssl:/etc/letsencrypt
    networks:
      - frontend
      - backend
  npm-db:
    image: jc21/mariadb-aria:latest
    restart: always
    environment:
      - MYSQL_ROOT_PASSWORD=npm
      - MYSQL_DATABASE=npm
      - MYSQL_USER=npm
      - MYSQL_PASSWORD=npm
    volumes:
      - npm-db:/var/lib/mysql
    networks:
      - backend
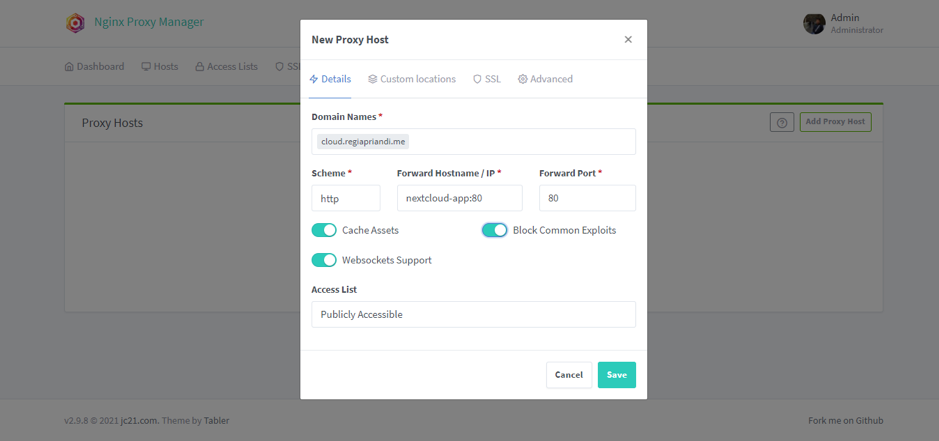
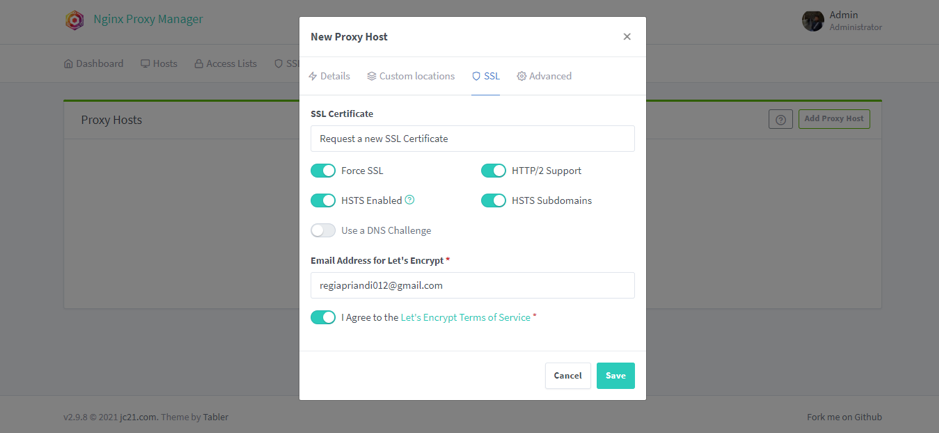
After copying everything, press control + x on the keyboard then presses y. then we go to the nginx proxy manager to set up the domain for nextcloud, first go to browser and type your ip address with port 81 (i.e., 192.168.1.1:81), next to the “proxy hosts” menu and then select “Add proxy host”. for more details can be seen in the screenshot.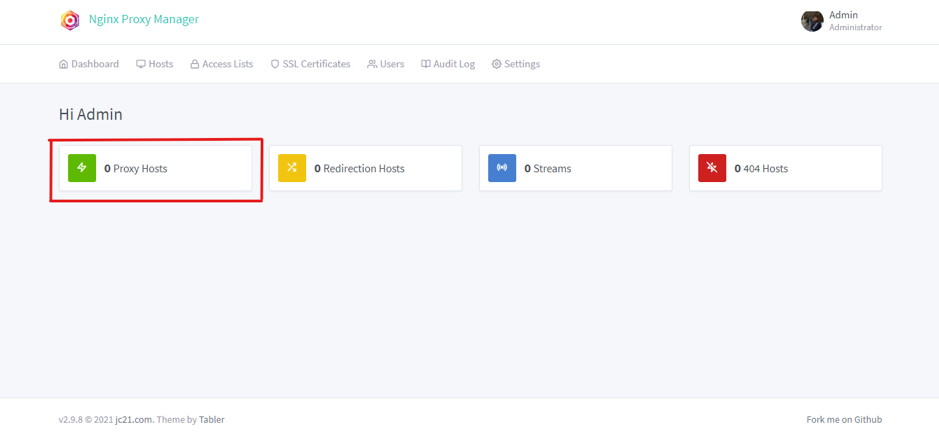
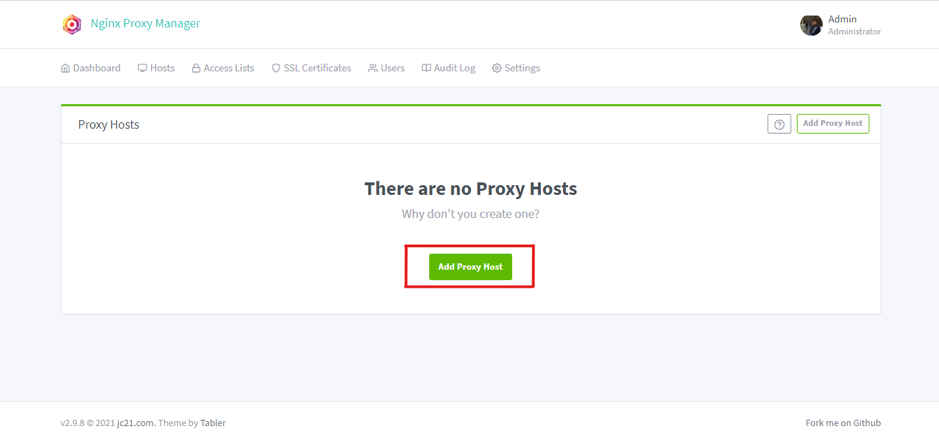
Enter with the ip address of the cloud server with port 81. Then go to the proxy host menu, and add a proxy host, enter the domain we have (i.e., cloud.regiapriandi.me) and then enter "nextcloud-app" into the ip field and 80 into the forward port field, then go to the ssl menu, select "Request a new SSL certificate" then select save. for more details can be seen in the screenshot.
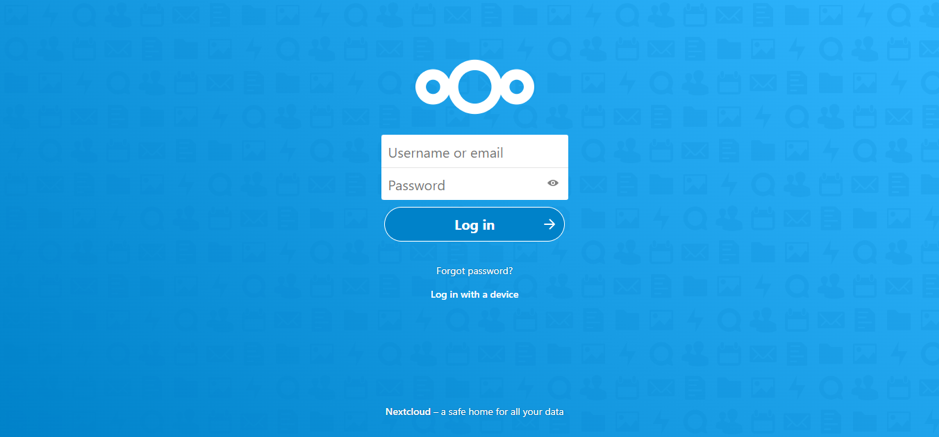
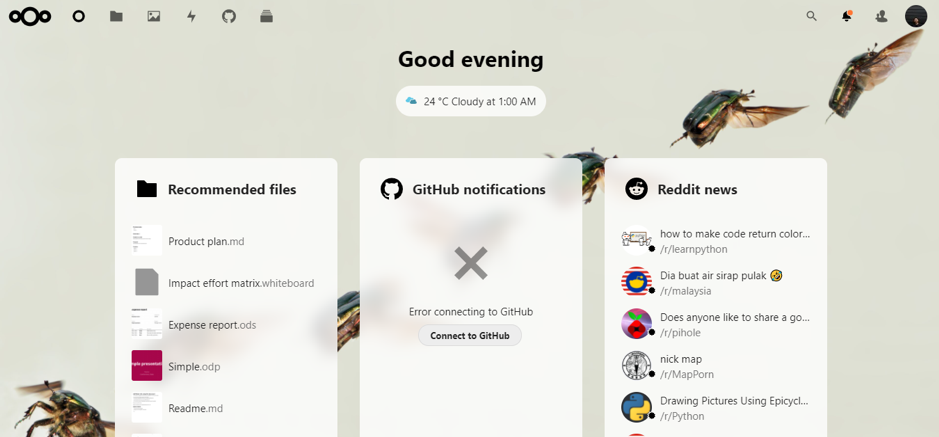
Done, we already have free file hosting using a cloud server from Alibaba Cloud, we can access it through the domain that has been inputted in the nginx proxy manager before. To be able to enter nextcloud, we can enter the domain that was previously added in the nginx proxy manager (i.e., cloud.regiapriandi.me). after logging into nextcloud, we can complete the setup by setting a username and password to enter nextcloud, the following is the login menu on nextcloud and the nextcloud home page.
There are so many things that can be done by the nextcloud server that we have created, as free cloud storage that is very safe, can access storage anywhere and anytime. A very good feature of nextcloud is that it can automatically sync files on our devices which can be done by installing nextcloud on windows, mac os, or linux.
100 posts | 17 followers
FollowAlibaba Clouder - January 25, 2018
Alibaba Clouder - May 13, 2019
Alibaba Clouder - May 15, 2019
Alibaba Clouder - June 11, 2019
Alibaba Clouder - April 26, 2019
GhulamQadir - January 1, 2020
100 posts | 17 followers
Follow Web Hosting Solution
Explore Web Hosting solutions that can power your personal website or empower your online business.
Learn More Function Compute
Alibaba Cloud Function Compute is a fully-managed event-driven compute service. It allows you to focus on writing and uploading code without the need to manage infrastructure such as servers.
Learn More Gaming Solution
When demand is unpredictable or testing is required for new features, the ability to spin capacity up or down is made easy with Alibaba Cloud gaming solutions.
Learn More Alibaba Cloud Drive Solution
Build your cloud drive to store, share, and manage photos and files online for your enterprise customers
Learn MoreMore Posts by Alibaba Cloud Indonesia