By Bineli Manga, Alibaba Cloud Community Blog Author.
The rapid evolution of internet technologies empowers the scores of companies to take their business online. Moreover, the rising adoption of Cloud technologies in modern enterprises enables them to minimize the costs of procuring and managing IT systems. Therefore, organizations striving to meet their growth objectives can leverage the twofold benefits of cloud computing services and e-commerce platforms. This tutorial demonstrates how you can build your own e-commerce website using the Alibaba Cloud platform.
To make it more easy and cost-efficient for startups and small-and-medium businesses (SMBs) to kickstart their online businesses, Alibaba Cloud is relaunching its Starter Package Program with several affordable plans that cost you significantly less compared to Amazon AWS, Microsoft Azure and Google GCP.
Building your e-commerce platform on Alibaba Cloud offers the following advantages:
To build your e-commerce website, you should meet the following requirements:
Alibaba Cloud's Starter Package helps you get started instantly through simple, scalable, and cost-effective Elastic Compute Service (ECS) that caters to all your cloud hosting needs. The new SSD Cloud Server Packages provide easy-to-use, high-performance virtual machines with higher data transfer plans at hugely discounted rates for enabling you to start from as low as $2.50 a month. Since it is available across 14 global regions, you can easily choose the Datacenter Region for your servers to meet any specific requirements. It allows each user to have up to five ECS instances with the simultaneous Data Transfer Plans.
To help you understand the process better, this tutorial demonstrates a scenario where an e-commerce website is built using the Magento framework, Docker, Docker Compose and Alibaba Cloud Starter Package.
Magento is an open-source e-commerce platform written in PHP. It includes transaction options, multi-store functionality, loyalty programs, product categorization and shopper filtering, promotion rules, and more. Installing Magento without using Docker can be very complex, and will take a lot of time to complete as it requires multiple configurations. Docker eases a developer's life by enabling technology to get up and running in a very short time. For scalability purposes, you can run many containers at the same time, therefore Docker Compose helps with the process of running several containers simultaneously.
To implement the project mentioned in the previous section, you can use the Starter Package with the following options:
To choose the plan with the above-listed specifications, you have to follow the steps listed below:
Go to Alibaba Cloud's Website Homepage, and click on Login at the top right corner of the screen. on the next page, enter your account credentials - email address and password.
Once you are logged in, choose the Starter Package option from the following screen:
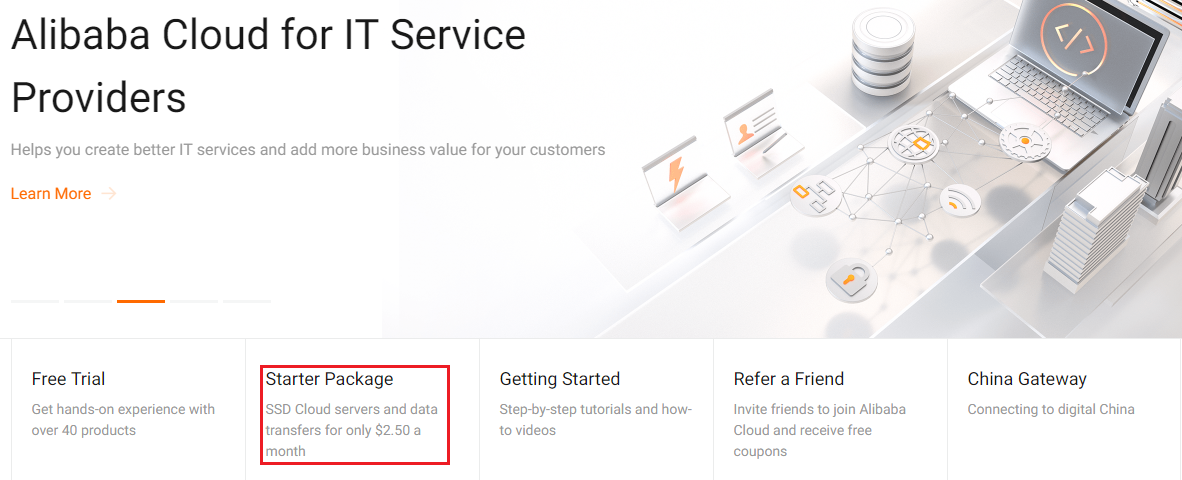
Step 2a. After selecting the Starter Package bundle, proceed to buy the package by clicking on Buy Now in the bottom left corner of your screen, as shown below:

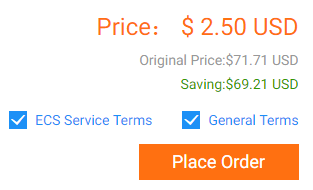
Step 2b. Now, you have to confirm the order by clicking on Place Order as shown below:
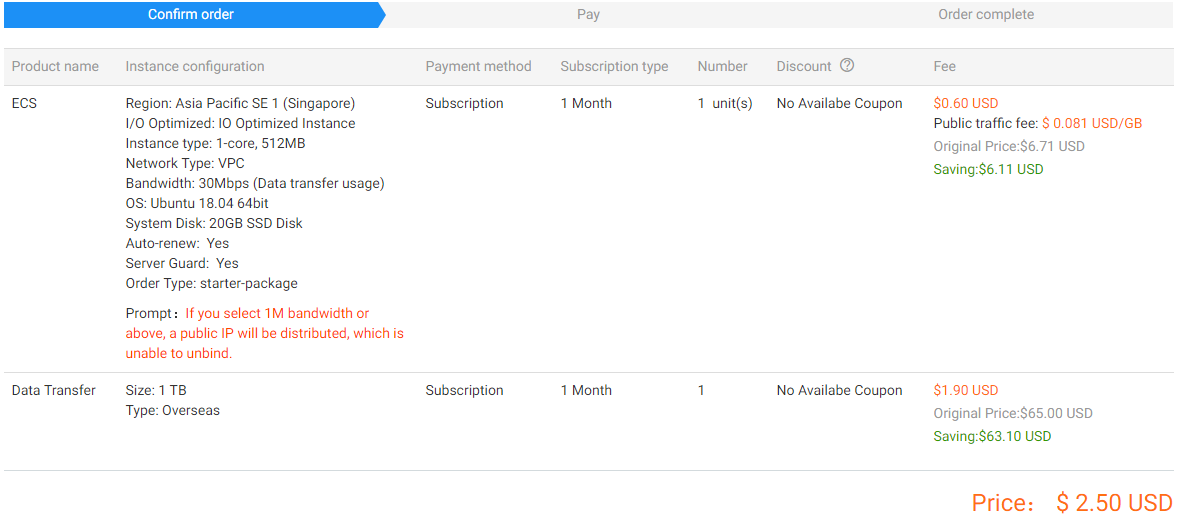
Step 2c. On the next screen, confirm your order and make the payment by clicking on Pay as shown below:
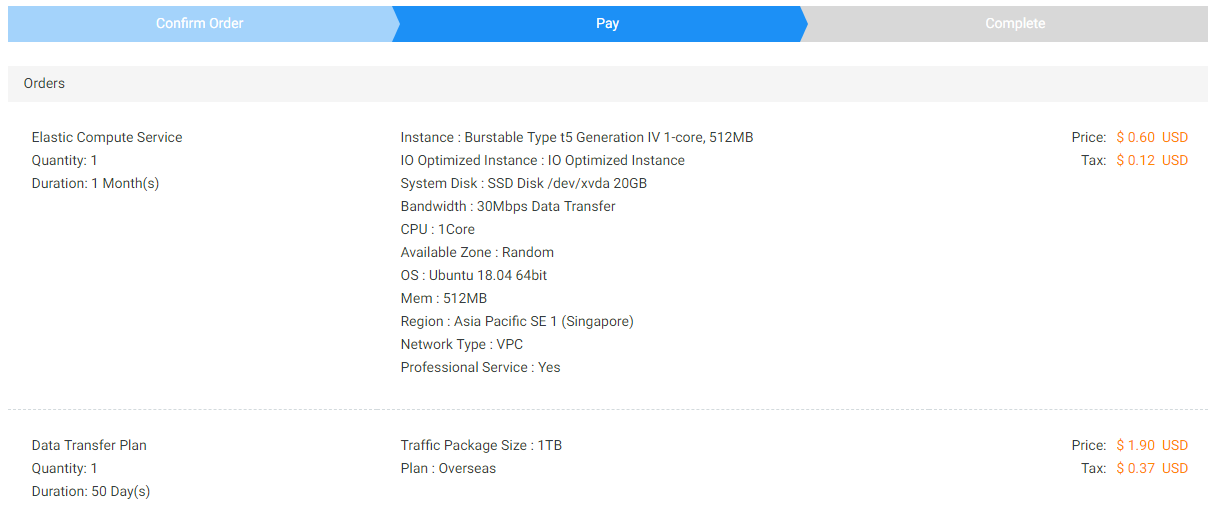

Once the payment transaction is processed, you will see a popup screen with a congratulations message.
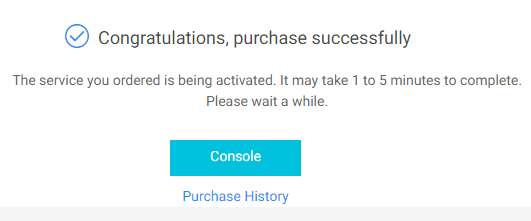
Now you will be able to run an instance you just bought to build, deploy and manage your applications or avail the services included in the plan.
After purchasing the Starter Package Elastic Computing Service (ECS) instance, you need to create and run an instance inside which you can run your Magento application in a containerized environment.
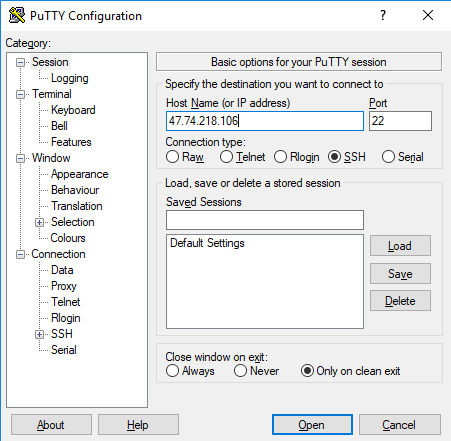
To do that, you have to go to your Billing Management section and see your Orders to check whether your ECS instance is running. You can click on the Manage link to get detailed information about your virtual machines such as Public IP address from which you can connect to via VNC or any SSH Client. The IP for this project's instance is 47.74.218.106.

After obtaining the IP address of your VM, connect back to your VM via SSH. Here, it is implemented with the help of a software called Putty. Below is the logon screen of Putty for quick reference:
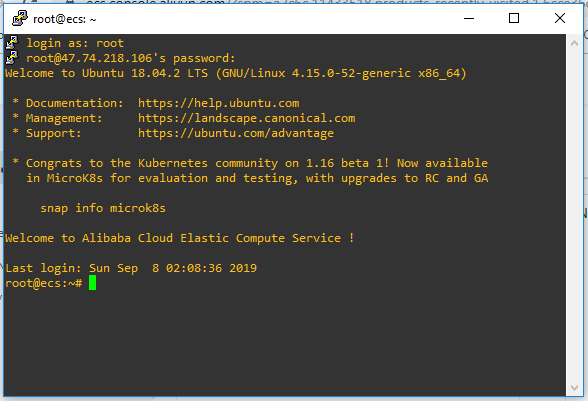
After a successful configuration to the remote VM via SSH, you will see the following screen and will be able to run all the commands necessary to run Magento CMS in your VM.
Installing Docker Compose is quite simple. First, you have to run the following command to get the packages from Docker's GitHub repository.
Step 1a. Install Docker
$ curl -fsSL https://download.docker.com/linux/ubuntu/gpg | apt-key add -
$ echo "deb [arch=amd64] https://download.docker.com/linux/ubuntu xenial stable" | sudo tee -a /etc/apt/sources.list.d/docker.list
$ apt-get update
$ apt-get install docker-ce -y
Step 1b. Install Docker Compose
To download and install Docker Compose's package, you have to run the following command:
$ sudo curl -L https://github.com/docker/compose/releases/download/1.18.0/docker-compose-`uname -s`-`uname -m` -o /usr/local/bin/docker-compose
Next, you have to install set /usr/local/bin/docker-compose as an executable file, by running the following command:

To check whether the installation was successful, you can run the command: $ docker-compose --version. This will display the installed version.

Instead of creating the YAML file by yourself, you can clone the one provided by Bitnami which can be found on Dockerhub by using the following command:
$ curl -sSL https://raw.githubusercontent.com/bitnami/bitnami-docker-magento/master/docker-compose.yml > docker-compose.yml
You can simply use the command below to run the images pulled from the .yml file.
$ docker-compose up -d
Tips:

Note:
Open Ports 80 and 443
By default, ports 80 and 443 are disabled for security reasons. To open these ports, you have to clone the configuration of port 22 on the default security group, with priority 1 as illustrated in the following screen:

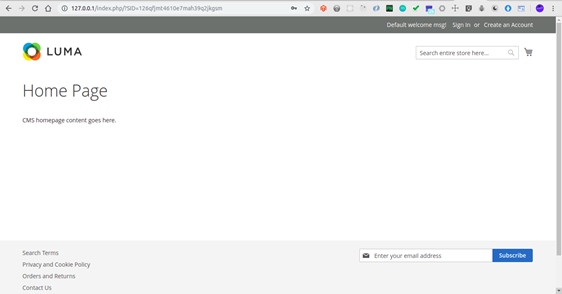
Now, containers are up and running and the ports 80 (http) and 443 (https) are open. This implies that you can now open your browser and visit http://47.74.218.106 and see the page below:

After successful launching the app, the following page should appear:
You may now want to visit the admin page of Magento so as to set up your own store. So, all you have to do is visit http://47.74.218.106/admin and use the following credentials to log in.
Username: user
Password: bitnami1
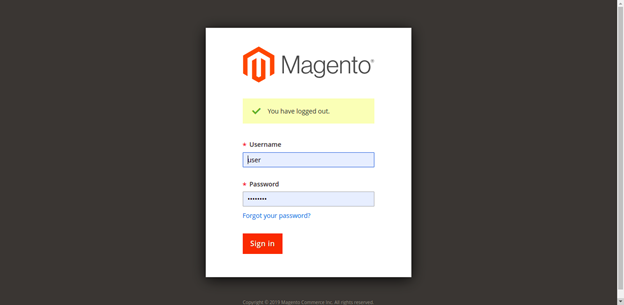
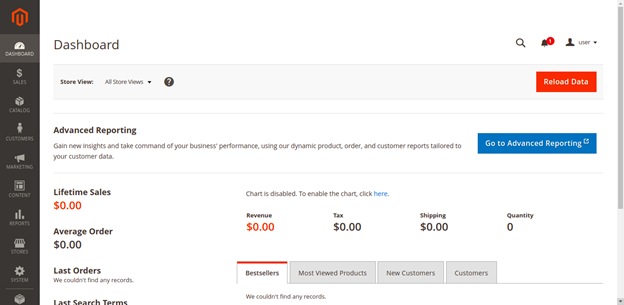
Once you are logged in, you can access the Magento admin dashboard.
N.B: You should notice that the IP address 47.74.218.106 is the public IP of the instance, and this is specific to the instance just bought for this project. Therefore, it will be different for the instance you will purchase.
There are many possible optimization options available, such as:
If you have followed all the steps outlined in this tutorial, then by now you understand how to install Docker Compose on your system, how to run multiple containers using Docker Compose and successfully install Magento CMS in a containerized environment.
Empower Deep Learning with GPU Sharing for Cluster Scheduling

2,598 posts | 769 followers
FollowAlibaba Clouder - June 2, 2020
Alibaba Cloud MVP - November 1, 2019
Alibaba Clouder - February 24, 2020
Alibaba Clouder - September 2, 2020
Alibaba Cloud Community - December 4, 2023
Alibaba Clouder - April 16, 2018

2,598 posts | 769 followers
FollowLearn More
 ECS(Elastic Compute Service)
Elastic and secure virtual cloud servers to cater all your cloud hosting needs.
Learn More Marketplace
Marketplace is an online market for users to search and quickly use the software as image for Alibaba Cloud products.
Learn MoreMore Posts by Alibaba Clouder