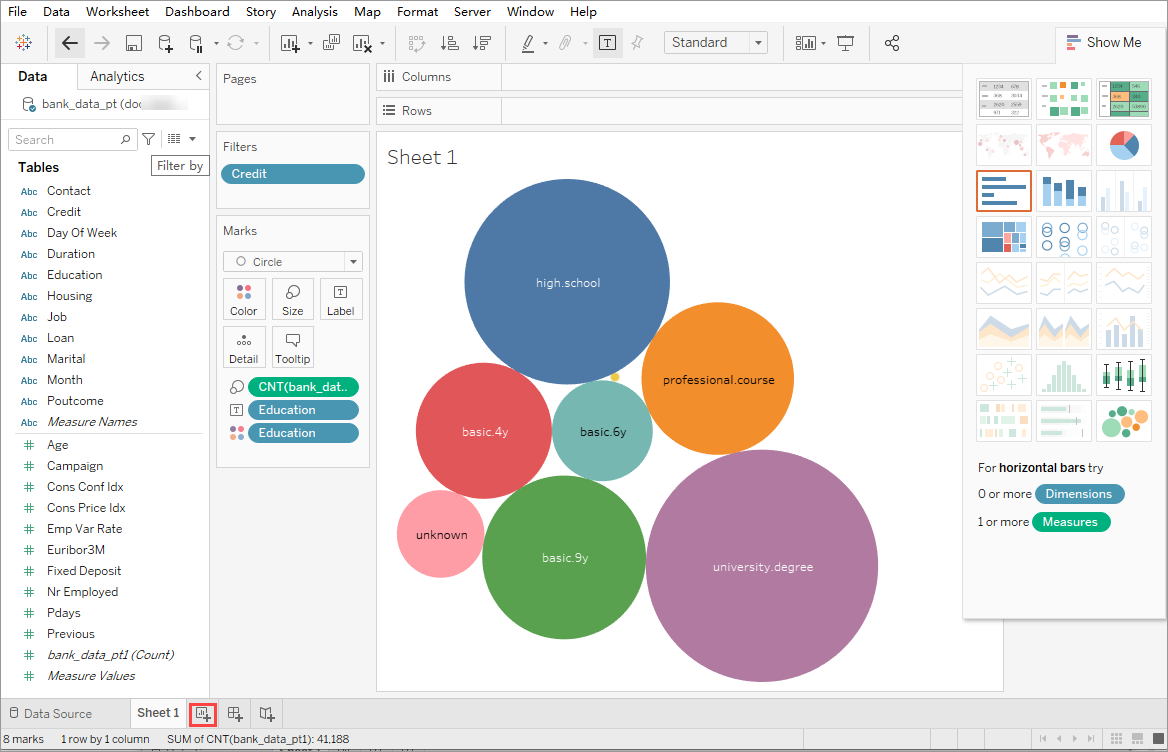
TableauをMaxComputeプロジェクトに接続し、ビジネス要件に基づいてTableauでビュー、レイアウト、シェイプ、カラーを設定して、MaxComputeデータを視覚化できます。 Tableau UIは、ドラッグアンドドロップ操作をサポートしています。 このトピックでは、MaxComputeが提供するJava Database Connectivity (JDBC) ドライバーを使用して、TableauをMaxComputeプロジェクトに接続し、Tableau UIでMaxComputeデータを視覚化する方法について説明します。
背景情報
Tableau Desktopは、スタンフォード大学の画期的な技術に基づいてTableauチームによって開発されたアプリケーションです。 Tableau Desktopを使用して、構造化データを分析し、数分でグラフ、座標グラフ、ダッシュボード、レポートを生成できます。 Tableau Desktopの詳細については、「Tableau Desktop」をご参照ください。
Tableau Desktopを使用してMaxComputeデータを分析するには、まずMaxCompute JDBCドライバーを使用してTableauをMaxComputeプロジェクトに接続する必要があります。 MaxCompute JDBCドライバーの詳細については、「MaxCompute JDBC」をご参照ください。
前提条件
次の条件が満たされていることを確認してください。
MaxComputeプロジェクトが作成されます。
MaxComputeプロジェクトの作成方法の詳細については、「MaxComputeプロジェクトの作成」をご参照ください。
MaxComputeプロジェクトへのアクセスに使用されるAccessKey IDとAccessKeyシークレットが取得されます。
AccessKeyペアページでAccessKey IDとAccessKey secretを取得できます。
MaxComputeコネクタが組み込まれたTableau Desktop 2019.4以降がインストールされています。
Tableau Desktopでサポートされているオペレーティングシステムの詳細については、「オペレーティングシステム」をご参照ください。
このトピックでは、Tableau Desktop 2021.1を使用します。
MaxCompute JDBCドライバーV3.0.1以降のJARパッケージがダウンロードされます。 名前に
JAR-with-dependenciesが含まれるjarパッケージが必要です。 他のパッケージは完全な依存関係を含まない。このトピックでは、MaxCompute JDBCドライバーV3.2.9を使用します。
手順
次の手順を実行して、TableauをMaxComputeプロジェクトに接続します。
手順1: MaxCompute JDBCドライバをドライバディレクトリに保存する
Tableau DesktopのドライバーディレクトリにMaxCompute JDBCドライバーを保存します。 ドライバは、Tableau DesktopがMaxComputeプロジェクトにアクセスするために使用されます。
手順2: TableauをMaxComputeプロジェクトに接続する
接続パラメーターを設定して、TableauをMaxComputeプロジェクトに接続します。
ステップ3: Tableauを使用してデータを照会および分析
Tableau DesktopのMaxComputeプロジェクトのデータにアクセスして視覚化します。
手順1: ドライバーディレクトリにMaxCompute JDBCドライバーを保存する
ダウンロードしたMaxCompute JDBCドライバーのJARパッケージをドライバーディレクトリに保存します。 ドライバーディレクトリは、オペレーティングシステムによって異なります。
Windows: C:\Program Files\Tableau\Drivers
macOS: ~ /ライブラリ /Tableau /ドライバ
Linux: /opt/tableau/tableau_driver/jdbc
MaxCompute JDBCドライバーの使用方法の詳細については、「JDBCの使用上の注意事項」をご参照ください。
ステップ2: TableauをMaxComputeプロジェクトに接続する
Tableauデスクトップを起動します。
左側のナビゲーションウィンドウで、で、サーバーへセクションにアクセスします。
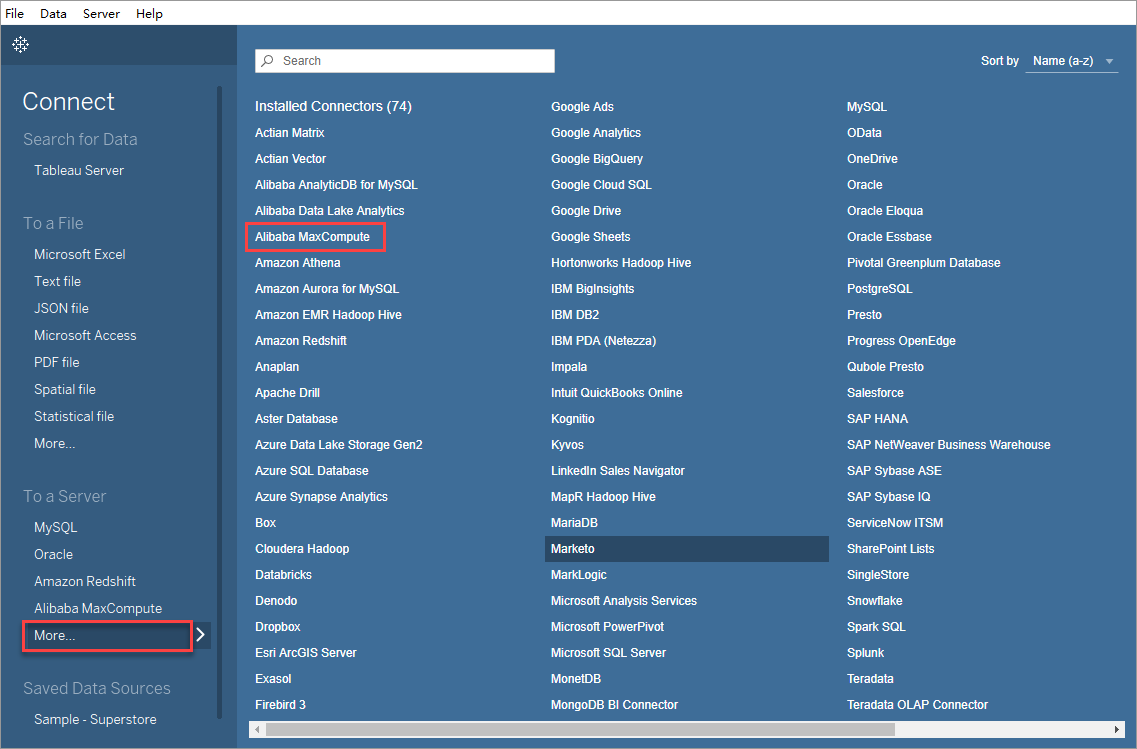
Alibaba MaxComputeダイアログボックスの [全般] タブで、パラメーターを設定します。

パラメーター
説明
サーバー
MaxComputeプロジェクトのURL。 このパラメーターは、https://<MaxCompute_endpoint>?project=<MaxCompute_project_name>[&interactiveMode={true | false}] の形式で設定する必要があります。
<MaxCompute_endpoint>: 必須です。 MaxComputeのエンドポイント。 MaxComputeプロジェクトが存在するリージョンに基づいて、このパラメーターを設定します。
異なるリージョンのMaxComputeのエンドポイントの詳細については、「エンドポイント」をご参照ください。
<MaxCompute_project_name>: 必須です。 MaxCompute プロジェクトの名前を設定します。
このパラメーターには、MaxComputeプロジェクトが対応するDataWorksワークスペースではなく、MaxComputeプロジェクトの名前を指定します。 MaxComputeコンソール
で、上部のナビゲーションバーでMaxComputeプロジェクトが存在するリージョンを選択し、[プロジェクト管理] タブでMaxComputeプロジェクトの名前を表示します。
interactiveMode: オプション。 このパラメーターは、MaxCompute Query Acceleration (MCQA) 機能を有効にするかどうかを指定します。
MCQA機能を有効にする場合は、URLの末尾に
&interactiveMode=trueを追加します。 MCQA機能の詳細については、「クエリの高速化」をご参照ください。
ユーザー名
MaxComputeプロジェクトへのアクセスに使用されるAccessKey ID。
AccessKeyペアページでAccessKey IDを取得できます。
Password
AccessKey IDに対応するAccessKeyシークレット。
AccessKeyペアページでAccessKey secretを取得できます。
説明Tableau Desktop 2019.4は、等号 (=) で終わるAccessKeyシークレットをサポートしていません。 AccessKey IDまたはAccessKey secretに等号 (=) が含まれている場合は、AccessKey IDとAccessKey secretの新しいペアを生成することを推奨します。
サインインをクリックして、Tableau Desktopの操作ページに移動します。
左側のナビゲーションウィンドウで、[データベース] ドロップダウンリストからMaxComputeプロジェクトを選択します。 Tableau Desktopは、MaxComputeプロジェクトに自動的に接続します。
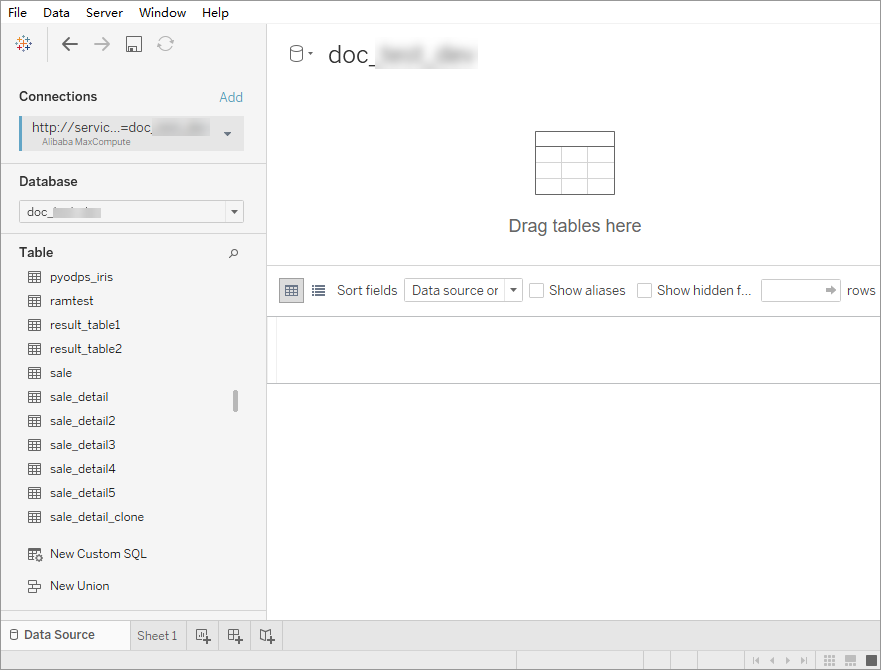
ステップ3: Tableauを使用してデータを照会および分析する
Tableau Desktopの操作ページでは、次の操作を実行できます。 詳細については、「Tableau help」をご参照ください。
MaxComputeプロジェクトのすべてのテーブルを表示する
左側のナビゲーションウィンドウで、[データベース] ドロップダウンリストからMaxComputeプロジェクトを選択します。 Tableau Desktopは、MaxComputeプロジェクト内のすべてのテーブルに関する情報を自動的に読み込みます。
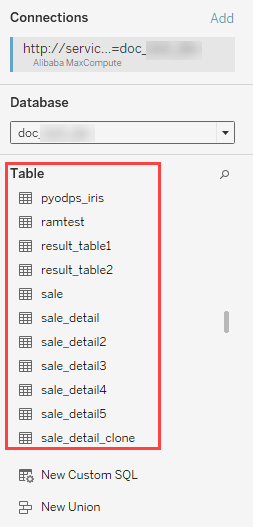
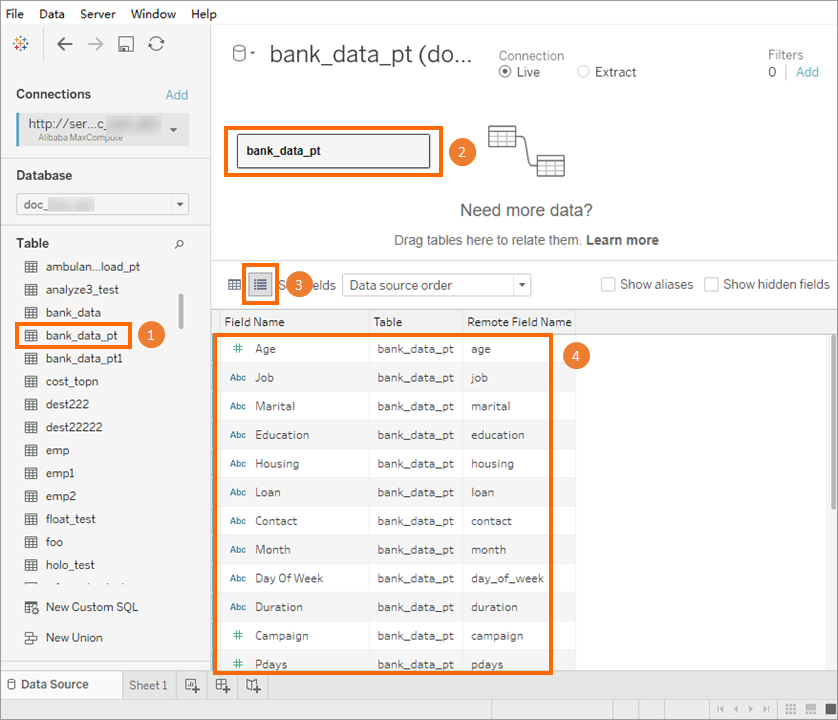
テーブルのスキーマの表示
[テーブル] セクションで、スキーマを表示するテーブルを右側の上部にドラッグし、
 アイコンをクリックしてテーブルのスキーマを表示します。
テーブル内のデータの表示
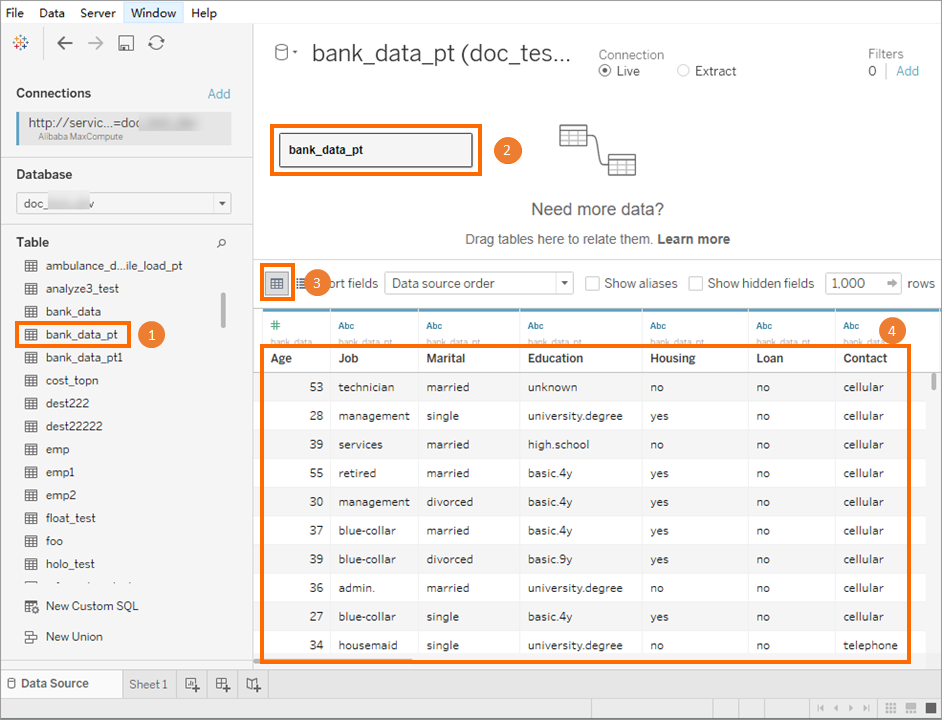
[テーブル] セクションで、データを表示するテーブルを右側の上部にドラッグし、
 アイコンをクリックしてテーブル内のデータを表示します。
データの可視化
操作ページ下部のアイコンをクリックし
 ます。 次に、表示されるページでパラメーターを設定し、ビジネス要件に基づいてデータを視覚化します。