Flink プロジェクトで複数のユーザーが共同作業し、開発コンソールでジョブ開発や運用保守 (O&M) などのタスクを実行できるようにするには、ユーザーをメンバーとして追加し、ロールをアタッチします。このトピックでは、権限付与のシナリオ、ロールの種類、および権限付与の手順について説明します。
権限付与のシナリオ
シナリオ | インターフェイス | 説明 |
現在のプロジェクトにアクセスできない |
| これは、このプロジェクトに対するアクセス権限がないことを示します。オーナーロールを持つメンバー、またはメンバー管理権限を持つユーザーに連絡して、ビューワーロール以上のロールを割り当ててもらってください。詳細については、「権限付与の手順」をご参照ください。権限が付与されたら、ページを更新するか、再度アクセスしてください。 |
特定の機能や操作を使用できない |
| これは、ご利用のアカウントにこの操作に必要な権限がないことを示します。オーナーロールを持つメンバー、またはロール管理権限を持つユーザーに連絡してください。運用ニーズを満たすように、カスタムロールの権限を変更するよう依頼してください。 |


ロールの種類
ロールはアクセス権限のコレクションです。リアルタイムコンピューティング開発コンソールには、システムロールとカスタムロールの 2 種類のロールがあります。次の表に、これらの違いを示します。
ロールの種類 | ロールの説明 | 注意事項 |
システムロール | Flink には、オーナー、エディター、ビューワーの 3 つの組み込みシステムロールがあります。システムロール間の権限の違いについては、「詳細な権限リスト」をご参照ください。 |
|
カスタムロール | システムロールが詳細な権限付与の要件を満たさない場合は、カスタムロールを作成できます。ビューワーまたはエディターロールの権限に基づいて、必要な権限を迅速に拡張および追加できます。 |
|
前提条件
「権限付与に関する説明」をお読みください。
権限付与の手順
1. (任意) カスタムロールの作成
必要に応じて、特定の権限を持つカスタムロールを作成できます。デフォルトのシステムロールを使用する場合は、このステップをスキップできます。
オーナーロールまたはロール管理権限を持つメンバーとして、リアルタイムコンピューティング開発コンソールにログインします。
ページの上部で、対象のプロジェクトを選択します。
左側のナビゲーションウィンドウで、 をクリックし、ロール管理 タブをクリックします。
ロールを追加 をクリックし、必要な情報を入力します。
パラメーター
説明
ロール名
カスタムロールの名前。名前は文字で始まる必要があり、数字、文字、ハイフン (-) のみを含めることができ、長さは 64 文字以内である必要があります。
ロールの説明
ロールに関する説明または追加情報。これにより、管理者や他のメンバーがロールの目的と権限範囲を理解しやすくなります。説明は 256 文字以内で入力できます。
ロールの権限
権限の完全性を確保するために、一部の権限ポイントは他の必須の権限ポイントに依存しています。システムはこれらの依存関係を自動的に選択します。権限の依存関係の詳細については、「詳細な権限リスト」をご参照ください。
OK をクリックします。その後、追加したカスタムロールの表示、編集、削除ができます。

権限の表示:ロールの権限を表示します。
メンバーの表示:ロールにアタッチされているメンバーを表示します。
権限の編集:ロール編集権限を持つメンバーは、必要に応じて権限を追加または削除できます。
カスタムロールの削除:ロールを削除する前に、セキュリティリスクを考慮してください。ロールからすべてのメンバーを削除するか、別のロールを割り当てる必要があります。ロールにアタッチされているメンバーがいなくなったら、ロール削除権限を持つメンバーがロールを削除できます。
2. メンバーへのロールのアタッチ
メンバーに必要な権限があることを確認するために、メンバーにロールをアタッチします。
オーナーロールを持つメンバーなど、メンバーを作成する権限を持つメンバーとして、リアルタイムコンピューティング開発コンソールにログインします。
ページの上部で、対象のプロジェクトを選択します。
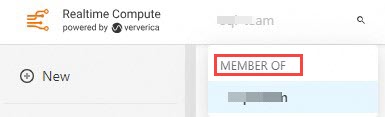
左側のナビゲーションウィンドウで、 をクリックし、メンバー管理 タブをクリックします。
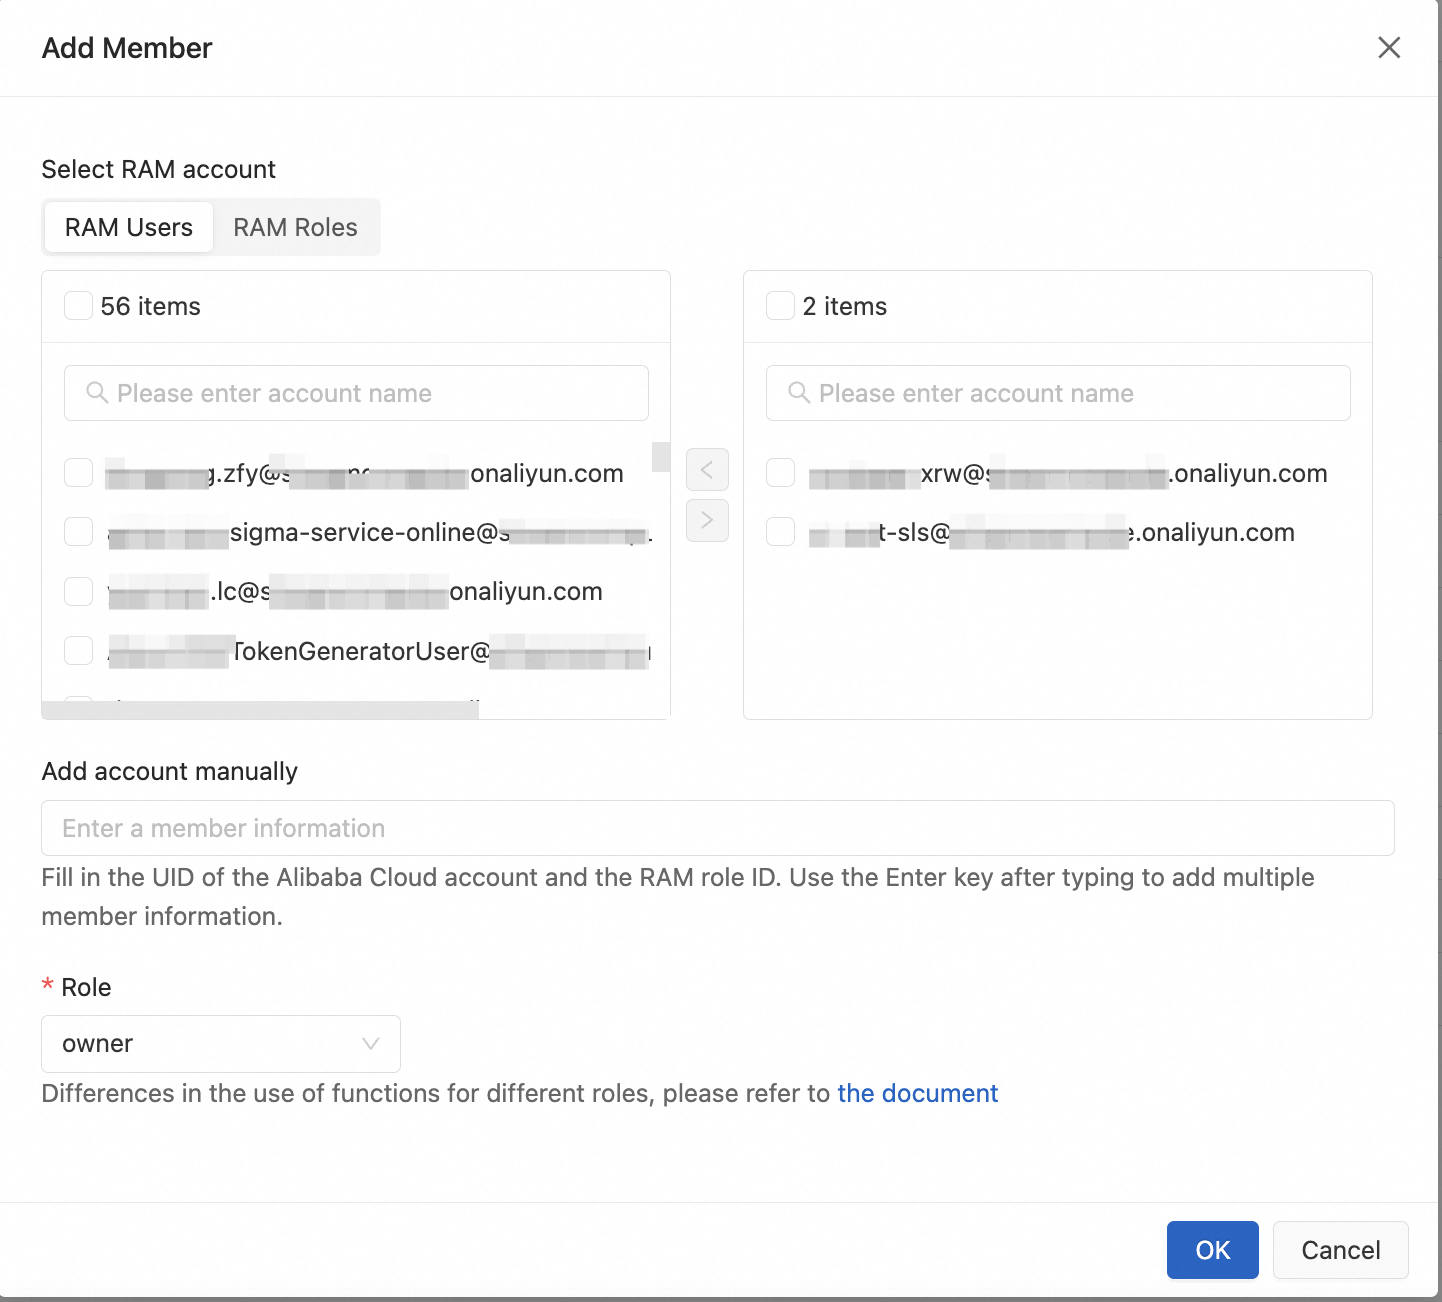
メンバーを追加 をクリックしてメンバーを追加し、メンバーの ロール を選択します。
設定項目
詳細
RAM アカウントの選択
プロジェクトの Alibaba Cloud アカウントで作成された Resource Access Management (RAM) ユーザーと RAM ロールが表示されます。複数のユーザーとロールを選択して権限を付与できます。
アカウントを手動で追加
他の Alibaba Cloud アカウント ID、RAM ユーザー ID、または RAM ロール ID を手動で入力して権限を付与します。ID の表示方法は次のとおりです:
Alibaba Cloud アカウント ID:コンソールの右上隅にあるプロファイル画像をクリックします。アカウントセンター で、セキュリティ設定 ページに移動して、アカウント ID を表示します。
RAM ユーザー ID (UID):詳細については、「RAM ユーザー情報の表示」をご参照ください。
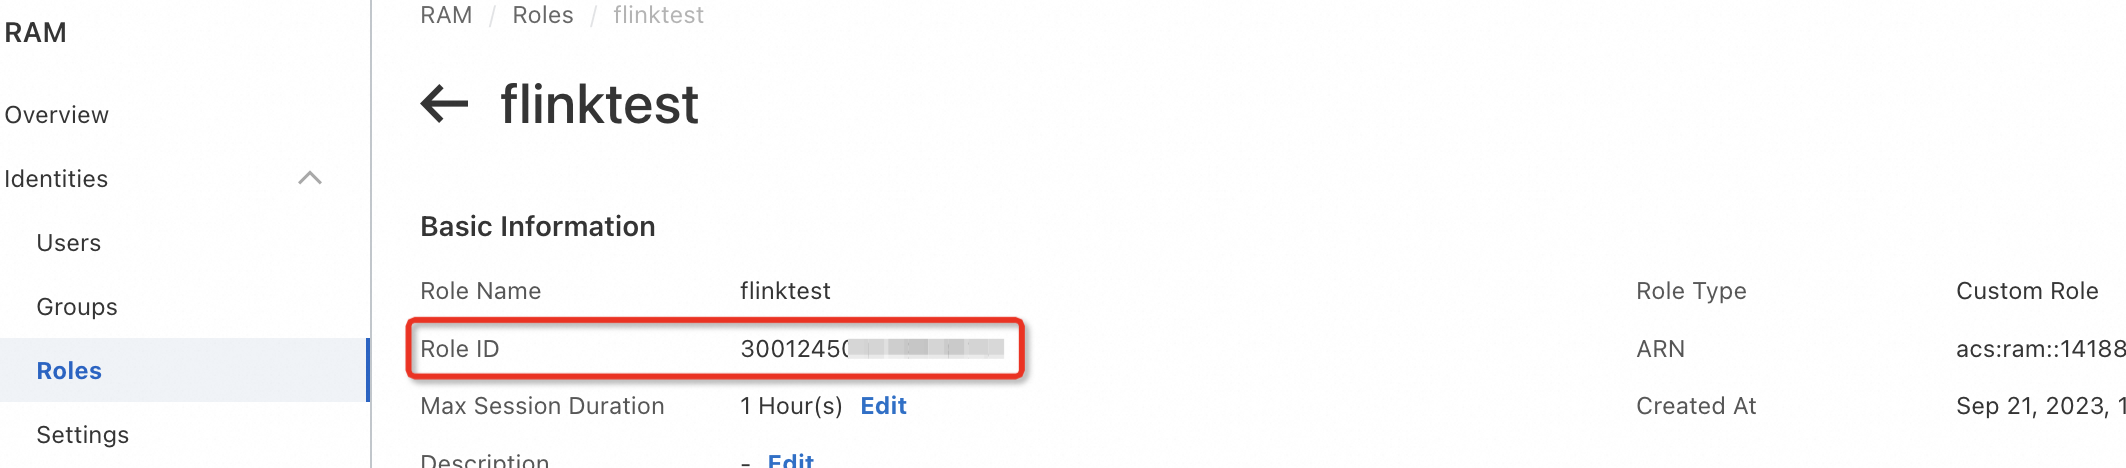
RAM ロール ID:詳細については、「RAM ロール情報の表示」をご参照ください。
ロール
システムロールまたはカスタムロールを選択できます。対象のロールを選択する前に、ロール管理 タブに移動し、対象のロールの 操作 列にある 権限の表示 をクリックして、その権限を表示できます。
OK をクリックします。
3. 権限付与後のコンソールへのログインと使用
権限付与が完了すると、新しく追加されたメンバーはリアルタイムコンピューティング開発コンソールにログインして、その機能を使用できます。
メンバーがすでにログインしている場合:権限が付与された後、メンバーはページを更新して対象のプロジェクトにアクセスする必要があります。
メンバーがログインしていない場合:権限が付与された後、メンバーはプロジェクトの URL を使用して対象のプロジェクトにアクセスできます。
詳細な権限リスト
第一レベルの権限 | 第二レベルの権限 | オーナー | エディター | ビューワー |
ETL/データ取り込み | SQL/YAML ジョブドラフトのリスト表示 | √ | √ | √ |
SQL/YAML ジョブドラフトの開発 (作成、編集) | √ | √ | ||
SQL ジョブドラフトのデバッグ | √ | √ | ||
SQL/YAML ジョブドラフトの詳細チェック | √ | √ | ||
SQL/YAML ジョブドラフトの削除 | √ | √ | ||
SQL/YAML ジョブドラフトのデプロイ | √ | √ | ||
データクエリ | データクエリスクリプトの表示 | √ | √ | √ |
データクエリスクリプトの編集 (作成、編集、削除) | √ | √ | ||
データクエリスクリプトの実行 | √ | √ | ||
ジョブの運用保守 | 運用保守デプロイメントのリスト表示 | √ | √ | √ |
JAR および Python ジョブのデプロイ | √ | √ | ||
運用保守デプロイメント設定の更新 | √ | √ | ||
運用保守デプロイメントの削除 | √ | √ | ||
ジョブインスタンスの開始/停止 | √ | √ | ||
データ管理 | マテリアライズドテーブルの表示 | √ | √ | √ |
メタデータの表示 | √ | √ | √ | |
テーブルの表示 | √ | √ | √ | |
マテリアライズドテーブルの作成 | √ | √ | ||
カタログの作成 | √ | √ | ||
テーブルの作成 | √ | √ | ||
マテリアライズドテーブルの削除 | √ | √ | ||
カタログの削除 | √ | √ | ||
テーブルの削除 | √ | √ | ||
マテリアライズドテーブルの編集 | √ | √ | ||
ファイル管理 | リソースの表示 | √ | √ | √ |
リソースのアップロード | √ | √ | ||
リソースの削除 | √ | √ | ||
リソースのダウンロード | √ | √ | ||
セッション管理 | セッションクラスターの削除 | √ | √ | |
セッションクラスターの表示 | √ | √ | √ | |
セッションクラスターの作成 | √ | √ | ||
セッションクラスター設定の更新 | √ | √ | ||
セッションクラスターの開始/停止 | √ | √ | ||
セキュリティセンター | メンバーリストの表示 | √ | √ | √ |
メンバーの作成 | √ | √ | ||
メンバーの編集 | √ | |||
メンバーの削除 | √ | |||
ロールリストの表示 | √ | √ | √ | |
ロールの作成 | √ | |||
ロールの編集 | √ | |||
ロールの削除 | √ | |||
変数リストの表示 | √ | √ | √ | |
変数の作成 | √ | √ | ||
変数の削除 | √ | √ | ||
設定管理 | ジョブテンプレートの表示 | √ | √ | √ |
ジョブテンプレートの編集 | √ | √ | ||
Git 設定 | Git リポジトリのアタッチ | √ | ||
コード変更のプル | √ | √ | ||
コード変更のプッシュ | √ | √ | ||
Git リポジトリのデタッチ | √ |
関連ドキュメント
RAM ユーザーまたは RAM ロールを使用してリアルタイムコンピューティング管理コンソールにアクセスし、ワークスペースの購入、表示、削除などの操作を実行するには、必要な権限を付与する必要があります。詳細については、「管理コンソールの権限付与」をご参照ください。