Container Service for Kubernetes (ACK) クラスターのコンピューティングにFPGAを使用する場合、ポッドをFPGA高速化ノードにスケジュールできます。 これにより、FPGAリソースを最大限に活用できます。 このトピックでは、ラベルを使用してポッドをFPGA高速化ノードにスケジュールする方法について説明します。
前提条件
FPGA高速化ノードを持つACKクラスターが作成されます。 詳細については、「FPGAアクセラレーションノードを使用したACKクラスターの作成」をご参照ください。
ACKクラスターに接続しています。 これにより、ノードに追加されたラベルを表示できます。 詳細については、「クラスターのkubeconfigファイルを取得し、kubectlを使用してクラスターに接続する」をご参照ください。
背景情報
ACKクラスターにFPGA高速化ノードをデプロイすると、FPGA関連の属性がノードラベルによって公開されます。 これには次の利点があります。
ラベルを使用して、FPGA高速化ノードをフィルタリングできます。
ラベルは、ポッドをスケジュールするための条件として使用できます。
ステップ1: FPGA高速化ノードのラベルを表示する
方法1: コンソールでFPGAアクセラレーションノードのラベルを表示する
ACKコンソールにログインします。 左側のナビゲーションウィンドウで、[クラスター] をクリックします。
[クラスター] ページで、管理するクラスターの名前をクリックします。 左側のナビゲーションウィンドウで、 を選択します。
On theノードページで、FPGA-acceleratedノードを見つけて、で、アクション列を作成します。
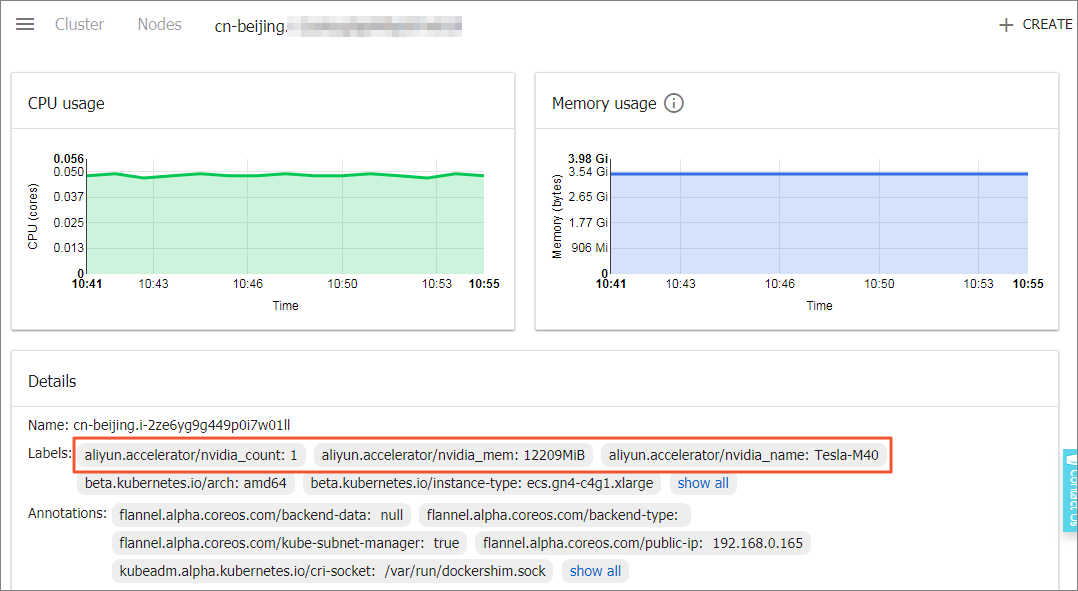
FPGA高速化ノードのラベルを表示します。

方法2: kubectlコマンドを実行して、FPGAアクセラレーションノードのラベルを表示します
次のコマンドを実行して、FPGA高速化ノードの詳細を表示します。
kubectl get nodes期待される出力:
NAME                       STATUS   ROLES    AGE     VERSION
cn-beijing.192.168.XX.X1   Ready    <none>   3h51m   v1.18.8-aliyun.1
cn-beijing.192.168.XX.X2   Ready    <none>   3h41m   v1.18.8-aliyun.1
FPGAアクセラレーションノードを選択し、次のコマンドを実行して、FPGAアクセラレーションノードのラベルを表示します。
kubectl describe node cn-beijing.192.168.XX.X2期待される出力:
Name:               cn-beijing.192.168.XX.X2
Roles:              <none>
Labels:             ack.aliyun.com=c05888610e***
                    alibabacloud.com/nodepool-id=npfda879b6***
                    beta.kubernetes.io/arch=amd64
                    beta.kubernetes.io/instance-type=ecs.f3-c4f1.xlarge
                    beta.kubernetes.io/os=linux
                    failure-domain.beta.kubernetes.io/region=cn-beijing
                    failure-domain.beta.kubernetes.io/zone=cn-beijing-h
                    fpga.k8s.aliyun.com=f3
                    kubernetes.io/arch=amd64
                    kubernetes.io/hostname=cn-beijing.192.168.XX.X2
                    kubernetes.io/os=linux
                    node.kubernetes.io/instance-type=ecs.f3-c4f1.xlarge
                    topology.diskplugin.csi.alibabacloud.com/zone=cn-beijing-h
                    topology.kubernetes.io/region=cn-beijing
                    topology.kubernetes.io/zone=cn-beijing-h
出力は、
fpga.k8s.aliyun.com=f3のラベルがFPGA高速ノードに追加されたことを示しています。 次の例では、ラベルを使用してポッドをスケジュールします。
ステップ2: FPGA高速化ノードへのポッドのスケジュール設定
ACKコンソールにログインします。 左側のナビゲーションウィンドウで、[クラスター] をクリックします。
[クラスター] ページで、管理するクラスターの名前をクリックします。 左側のウィンドウで、 を選択します。
On theデプロイメントページをクリックします。YAMLから作成する.
サンプルテンプレートのドロップダウンリストからカスタムテンプレートを選択し、次のコンテンツをテンプレートフィールドを選択します。
apiVersion: batch/v1 kind: Job metadata: name: fpga-run-task1 spec: backoffLimit: 0 completions: 1 parallelism: 1 template: spec: nodeSelector: fpga.k8s.aliyun.com: f3 containers: - image: <your image> imagePullPolicy: Always name: fpga-run-task1 resources: limits: xilinx.com/fpga-aliyun-f3: 1 securityContext: privileged: true説明<your image>の値をカスタムイメージのアドレスに置き換えます。クリック作成.
詳細ページの左側のナビゲーションウィンドウで、 を選択します。
ポッドのリストで、指定したポッドが必要なFPGAアクセラレーションノードにスケジュールされていることを確認できます。 ラベルを使用して、特定のFPGA高速化ノードにポッドを簡単にスケジュールできます。