This topic describes how to install Node.js on Windows.
Visit the official website of Node.js and click Download in the top navigation bar.
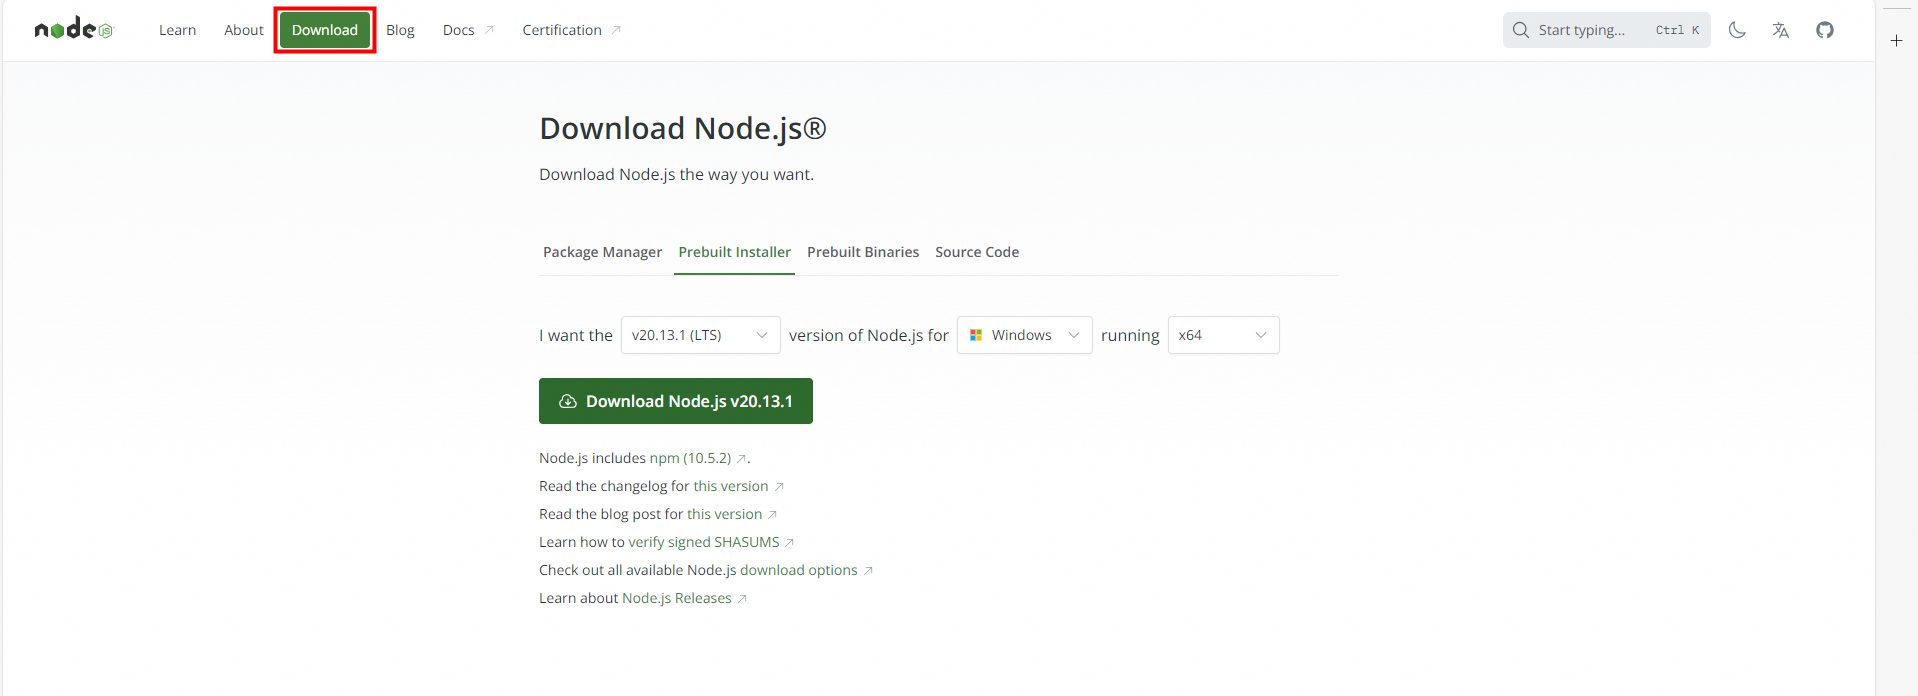
Download the installation package.
The download page provides a variety of installation methods. Each method is suitable for different needs and preferences. In this example, Prebuilt Installer is selected.
NoteSelect a version labeled with long-term support (LTS), which indicates that the version has been tested for a long period of time and is relatively stable.
Installation method
Description
Package Manager
Use the package manager on the operating system such as npm, apt, yum, or brew to install Node.js.
Prebuilt Installer
Use a pre-compiled installation package for your operating system to install Node.js, such as an .msi file for Windows or a .pkg file for macOS. Such a package contains the Node.js runtime and npm, and usually contains some necessary dependencies.
Prebuilt Binaries
Use a Node.js executable file compiled for your platform to install Node.js. No installation wizard is provided. You must manually decompress the package and configure environment variables.
Source Code
Use the source code to install Node.js. After you decompress the package, you must use specific commands or scripts to configure and compile the source code to install Node.js.
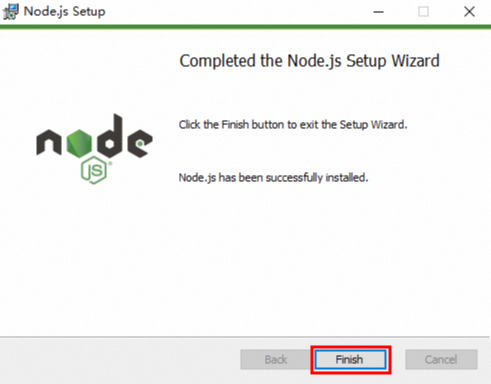
Double-click the downloaded installation package and follow the installation wizard to install Node.js.
Press
Win+Rto open the Run window. Entercmdand click OK.In the Command Prompt window, enter
node -vandnpm -vand press the Enter key. If the output is similar to that in the following figure, Node.js is installed.
Optional. Change the installation path and cache path of global modules for npm.
After Node.js is installed, you can use the npm package manager to install packages including modules and libraries. When you install Node.js, the default installation path and cache path of global packages are in the C Drive. You can perform the following steps to change the paths:
In the Node.js installation directory, create two folders:
node_globalandnode_cache.Set Write and Modify permissions on the two folders. Right-click a folder and select Properties. In the window that appears, click the Security tab. Select the group or username that you want to manage and click Edit. In the window that appears, select the check boxes in the Allow column for the Modify and Write permissions. Then, click OK.
In Command Prompt, enter the following commands:
npm config set prefix "D:\ide\nodejs\node_global" npm config set cache "D:\ide\nodejs\node_cache"ImportantD:\ide\nodejsis the Node.js installation directory. You must replace it with the directory in which you installed Node.js.Modify environment variables.
On the desktop, right-click the Computer icon and select Properties. Click Advanced system settings. On the Advanced tab of the System Properties window, click Environment Variables. In the Environment Variables window, find and select the Path variable and click Edit. Replace
C:\Users\<Username>\AppData\Roaming\npmwithD:\ide\nodejs\node_global.Check whether the paths are changed.
In Command Prompt, run the
npm install jquery -gcommand. If the jquery folder exists in theD:\ide\nodejs\node_global\node_modulespath, the installation path of global modules is changed.