Think of an ApsaraDB RDS for MySQL (RDS for MySQL) instance as a dedicated database server in the cloud. On this instance, you can create multiple databases to manage your business data. This quickstart guide will walk you through creating an RDS for MySQL instance, a database, and an account all from the console.
In this guide
You will learn how to:
Create an RDS for MySQL instance.
Create your first database in the instance.
Create a privileged account for the instance.
For a quick start or trial, use your Alibaba Cloud account to complete these steps to avoid permission issues.
1. Create an RDS for MySQL instance
Navigate to the RDS buy page.
Configure parameters for the instance.
Configure only parameters in the following table with the provided example values, and leave all other settings at their default values.
Billing Method (Example value: Pay-as-you-go)
Pay-as-you-go: For short-term use. Billed hourly and can be released at any time.
Subscription: For long-term use. Pre-paid model with lower overall costs.
Serverless: For unpredictable workloads. Automatically scales resources based on workloads.

Region (Example value: Singapore)
Connect from an Elastic Compute Service (ECS) instance: Select the region in which the ECS instance is located for faster connections over the internal network.
Connect from other sources: Select a region near the source to minimize network latency over the Internet.
NoteThe region of the instance cannot be changed after creation.
Database Engine (Example value: MySQL 8.0)
For compatibility: Match your application's database version (MySQL 5.6, 5.7, and 8.0 are supported).
For new projects: Select MySQL 8.0 for the latest features and performance improvements.
Edition and Storage Type (Example values: High-availability Edition, Premium ESSD)
For a trial with most of the key features at a cost-effective price, we recommend the following settings:
Edition: Select High-availability Edition.
Storage Type: Select Premium Local SSD or Premium ESSD.
NoteThe values of the two parameters affect the availability of instance features. For details, see Editions and Storage types.
VPC
Connect from an ECS instance: Select the same VPC as your ECS instance.
Other cases: Keep the default value.
Instance Type (Example value: mysql.n2.medium.2c )
Select an instance type that is suitable for your business.
You can easily change the instance type after the creation as needed.
Confirm instance settings and pay for the instance.
Review and confirm your instance settings on the right side of the page. Move your pointer over View Details to see a detailed cost breakdown.
NoteThe fees of an RDS instance vary with its parameter settings, such as the billing method, edition, instance type, storage type, and storage capacity.
Once you have confirmed that all settings are correct, click Confirm Order.
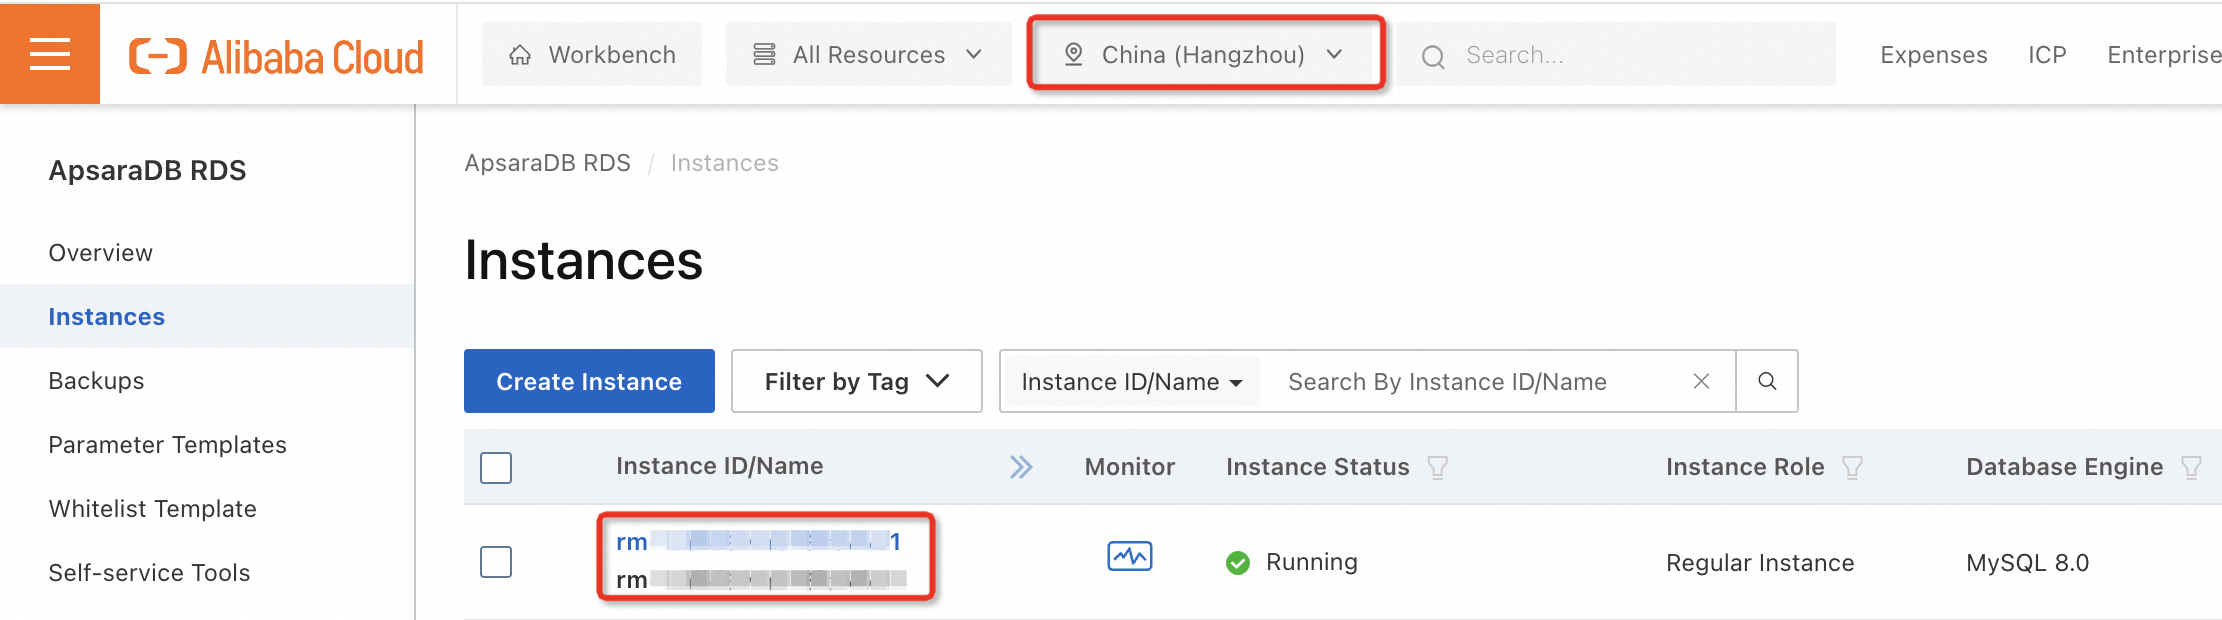
View your instance.
After the Payment Complete page appears, click Console to go back to the console and navigate to the Instances page.
Select the region of your instance from the top menu and wait 1 to 10 minutes for the instance to be created. The instance status appears as Creating.
The instance is ready to use when its Status changes to Running.
NoteThere might be a short delay before the new instance appears in the console. If you don't see it immediately, wait a moment and then refresh the page.
2. Create your first database in the instance
|
|
|
|
| |
|

3. Create a privileged account for the instance
|
|
| |
| |
|
|
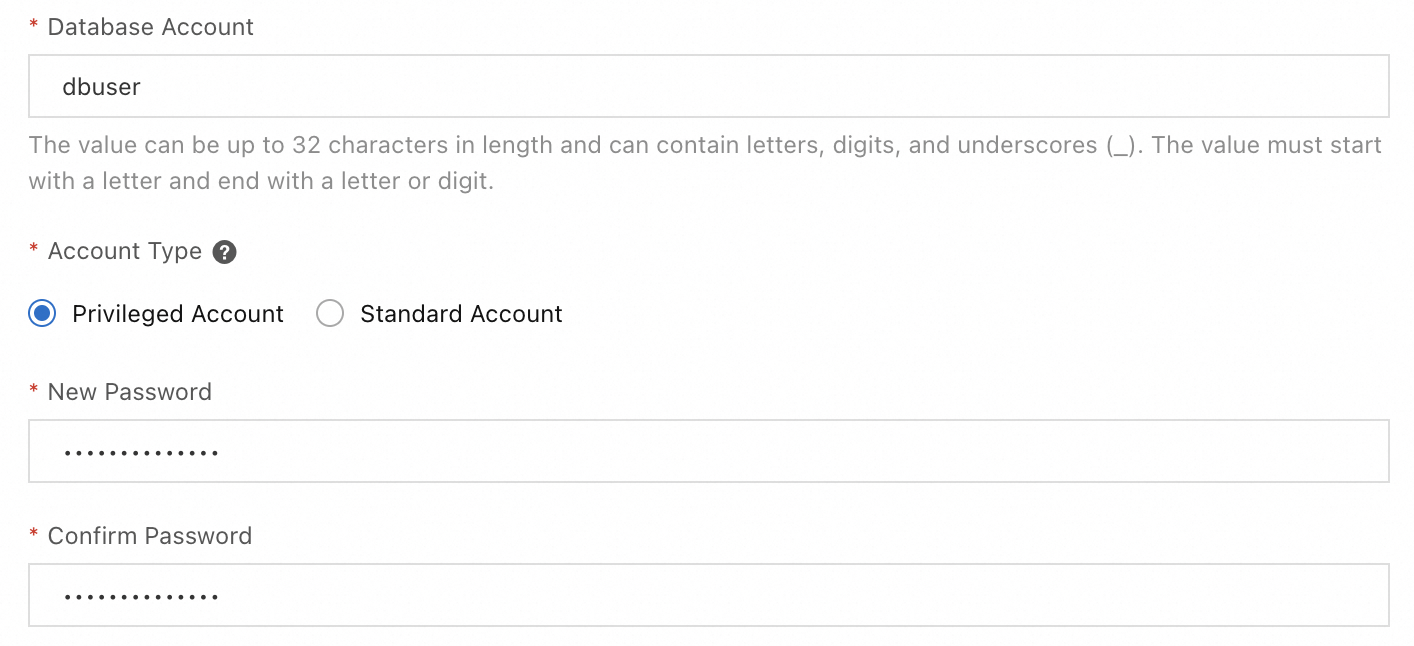
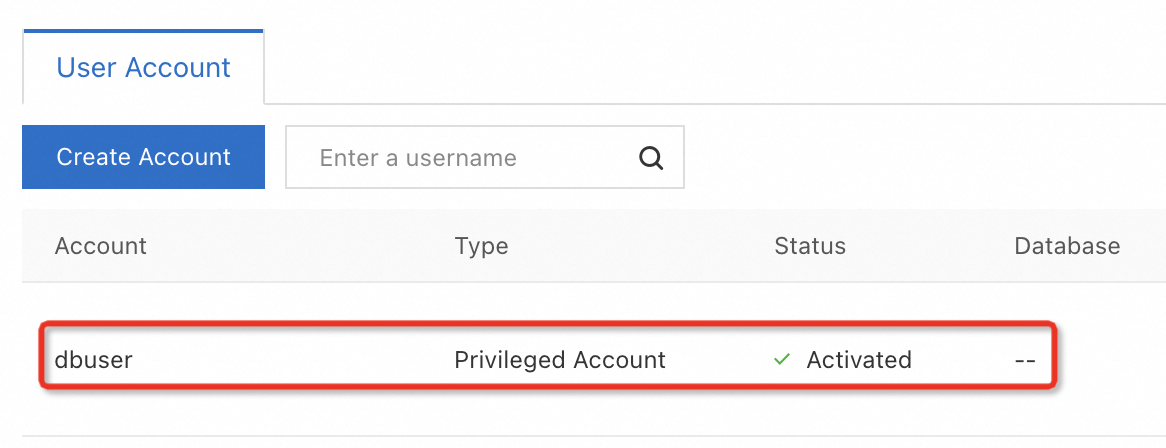
RDS for MySQL supports two types of accounts: Privileged and Standard. You can use the privileged account to create standard accounts for fine-grained access control in future use. For more information about account types and how to create standard accounts, see Create an account.
What to do next
FAQ
Instances
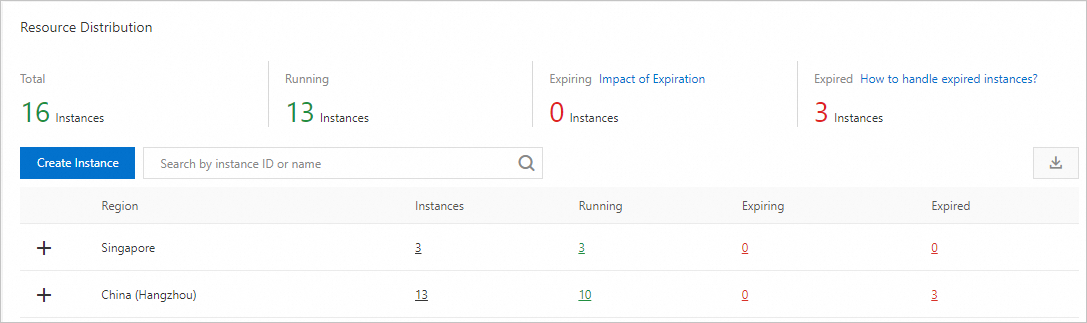
How can I see how many RDS instances I have in my Alibaba Cloud account and which ones are currently running?
Navigate to the Overview page of the RDS console. In the Resource Distribution section, view all and running RDS instances in your Alibaba Cloud account across different regions.
I just created a new instance, but I can't see it in the instance list. Why?
Possible cause
Description
Solution
Incorrect region
The instance you create is not in the current region.
Select the region of your instance from the top manu.
Creation failure due to insufficient resources in the specified zone
The instance creation failed due to insufficient resources in the specified zone.
In this case, you can see a refund on the My Order page.
Create the instance again in another zone.
Accounts & Permissions
How can I set up more fine-grained permissions for an account, such as limiting access to specific tables or restricting connections from certain IP addresses?
For more information, see Authorize an account to access its authorized databases from specified IP addresses or Authorize accounts to manage tables, views, and fields.
Does RDS for MySQL provide the
rootuser orSUPERprivilege, like a self-managed MySQL database?No, RDS for MySQL does not provide a
rootuser or accounts with theSUPERprivilege. This is by design, as a security measure to ensure the stability and security of your instance. It prevents accidental operations or misconfigurations that could lead to irreversible damage, such as data loss or service disruption.
References
Call an API to create an RDS instance: CreateDBInstance
Create RDS instances running other engines:
Create databases and accounts for RDS instances running other engines: