This topic describes how to create and manage a global database network (GDN).
Create a GDN
Log on to the PolarDB for Xscale console.
In the top navigation bar, select the region where the target instance is located.
On the Instances page, click the PolarDB-X 2.0 tab.
Find the target instance and click its ID.
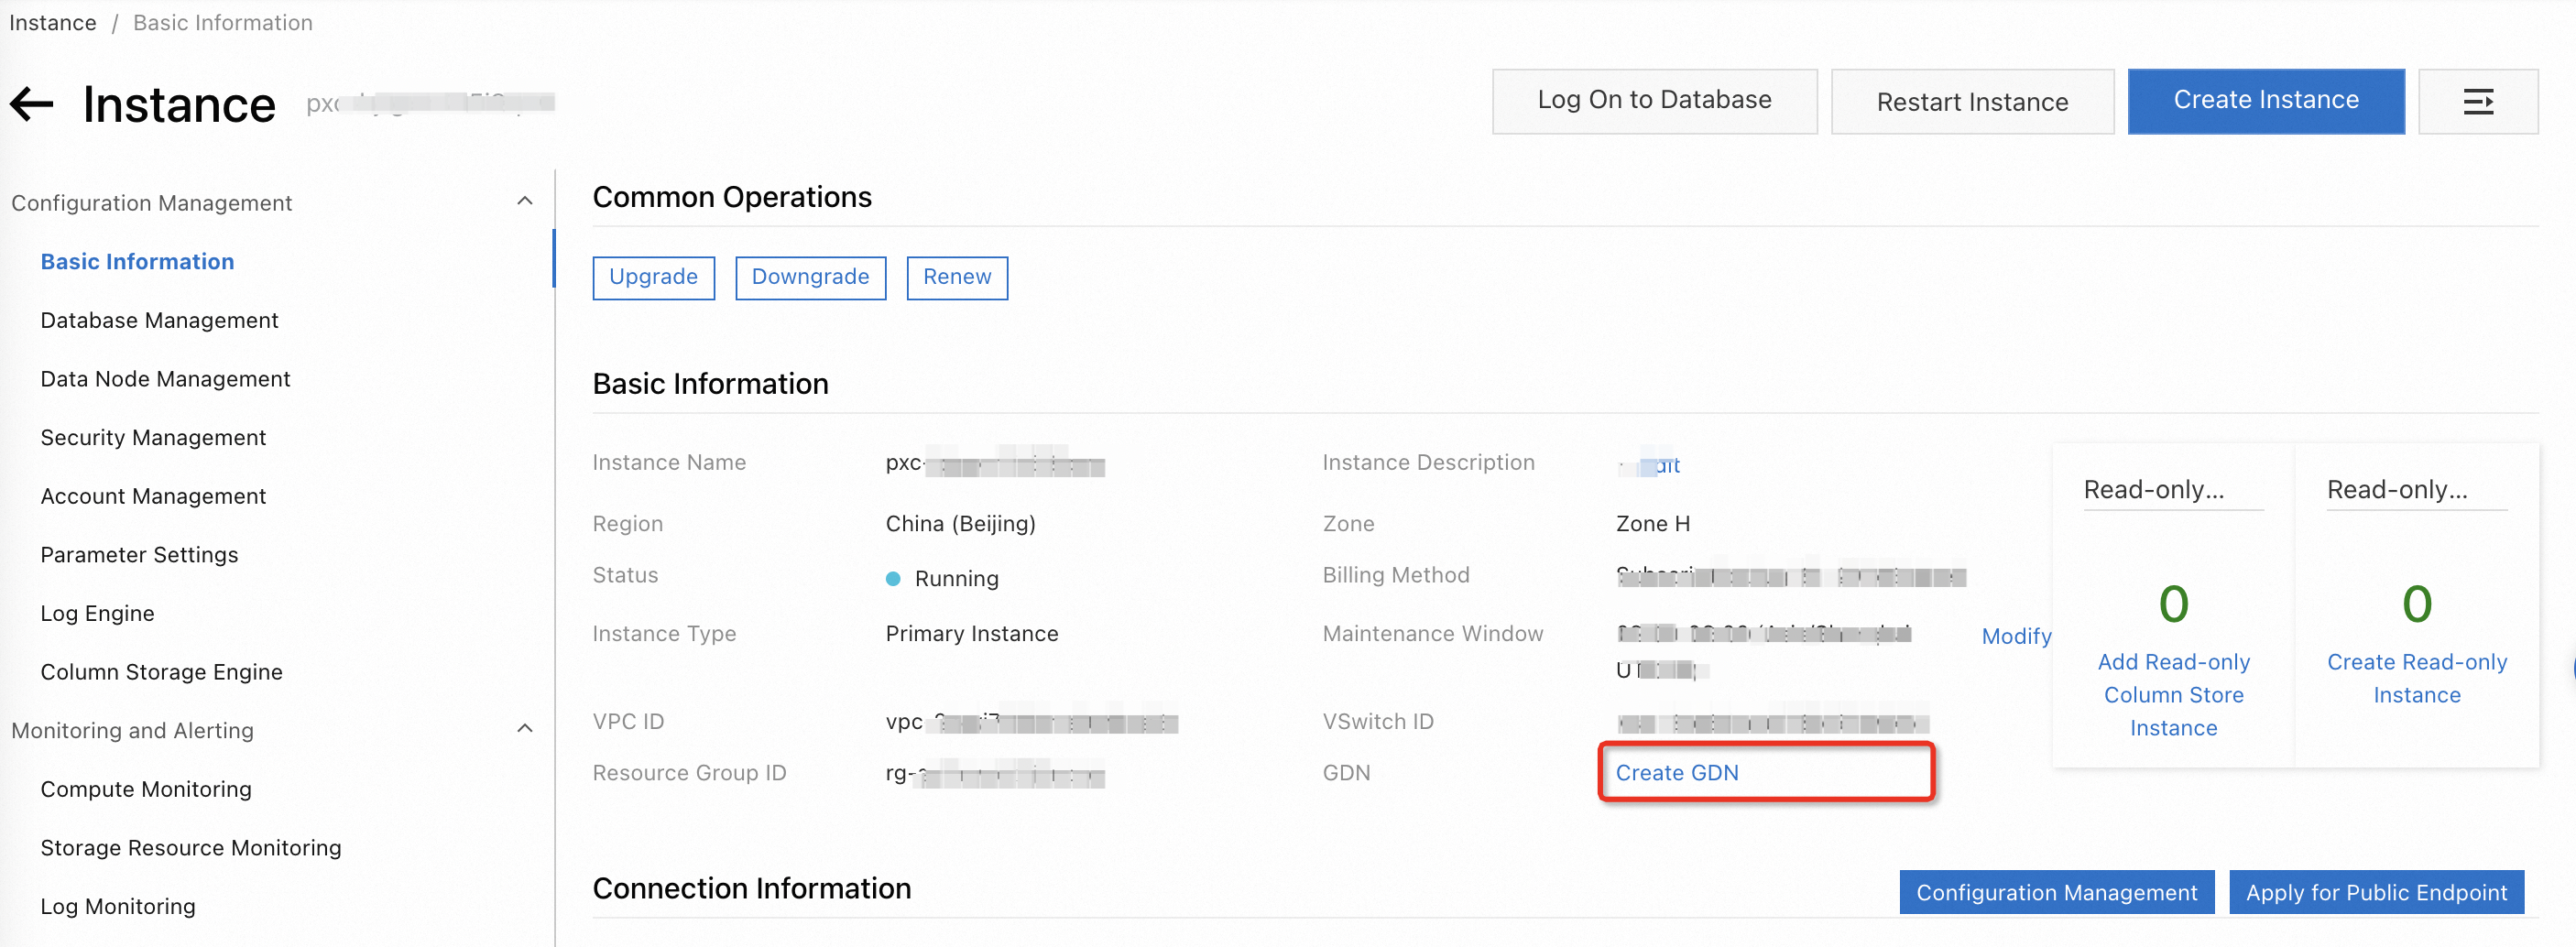
On the Basic Information page of the instance, click Create GDN.

In the Create GDN dialog box, configure the parameters. The following table describes the parameters.
Parameter
Description
Name
The name of the GDN. We recommend that you specify an easily identifiable name for the GDN. The name does not need to be unique.
Region
The region in which the primary instance resides.
NoteFirst determine the primary instance that you want to use for the GDN. Then, select the region in which the primary instance resides.
Primary Instance
Select an existing instance as the primary instance.
Click OK.
Manage a GDN
Log on to the PolarDB for Xscale console.
In the left-side navigation pane, click GDN to go to the GDN list page. Find the GDN that you want to manage, and click the name or ID of the GDN. Then, manage the GDN.
Add a secondary instance
Log on to the PolarDB for Xscale console.
In the left-side navigation pane, click GDN to go to the GDN List page.
Find the GDN that you want to manage and click the ID or name of the GDN.
On the information page of the GDN, click Add Secondary Instance in the upper-right corner of the Instances section.

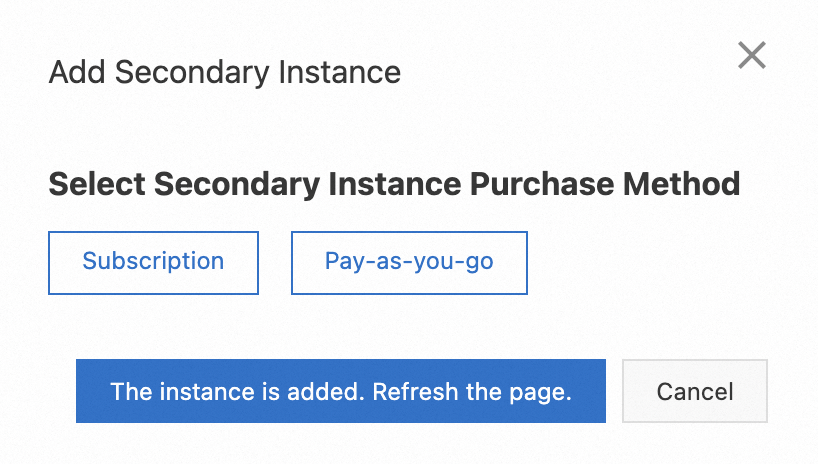
In the Add Secondary Instance dialog box, set the secondary instance purchase method to Subscription or Pay-As-You-Go.
NoteYou cannot add an existing instance as a secondary instance in a GDN.
If you select the subscription billing method, you are charged for the resource usage of your PolarDB-X instance when you purchase the instance. This billing method is suitable for long-term usage because subscription PolarDB-X instances are more cost-effective than pay-as-you-go PolarDB-X instances.
If you select the pay-as-you-go billing method, you are charged for the resource usage of your PolarDB-X instance on an hourly basis. This billing method is suitable for short-term usage. If you no longer require specific pay-as-you-go instances, you can release the instances to reduce costs.

On the instance purchase page, configure the parameters. The following table describes some of the parameters. For parameters that are not described in the following table, see Create a PolarDB-X instance.
Parameter
Description
Backup Set Region
The region where the backup set of the secondary instance resides.
GDN
The value is fixed to Secondary Instance. You do not need to configure this parameter.
Region
The region in which you want to deploy the secondary instance.
NoteYou can select only the region in which the primary instance resides. For more information, see Region mappings between primary and secondary instances.
Database Engine
The database engine of the secondary instance, which must be the same as that of the primary instance.
Click Buy Now.
Return to the information page of the GDN. Click The instance is added. Refresh the page or refresh the page. Then, you can see the newly added secondary instance.