This topic describes how regular users can create, view, cancel, and manage external sharing using My Share Links.
Prerequisites
A super administrator or a drive administrator has enabled external sharing for the enterprise. For more information, see Enable internal and external sharing.
Usage notes
If the Share Link button does not appear on the user interface after an administrator enables the sharing feature, refresh the web page or restart the desktop client.
You can create and access up to 500 shares per day. If a share link is not set to Only enterprise users can access it, you cannot download APK and IPA files from the share. To remove this restriction, ask an administrator to complete the custom domain name configuration.
ImportantStarting from 10:00:00 on February 24, 2025 (UTC+8), downloading APK and IPA files from newly created external share links will be prohibited.
If you cannot view content shared by others, it may be because you do not have the required permissions, the share has expired, the original file has been deleted, or the share has been canceled. To access the content, contact the person who shared it and ask for a new share link.
Feature description
Create a share
In the enterprise drive, select one or more files and click Share Link.
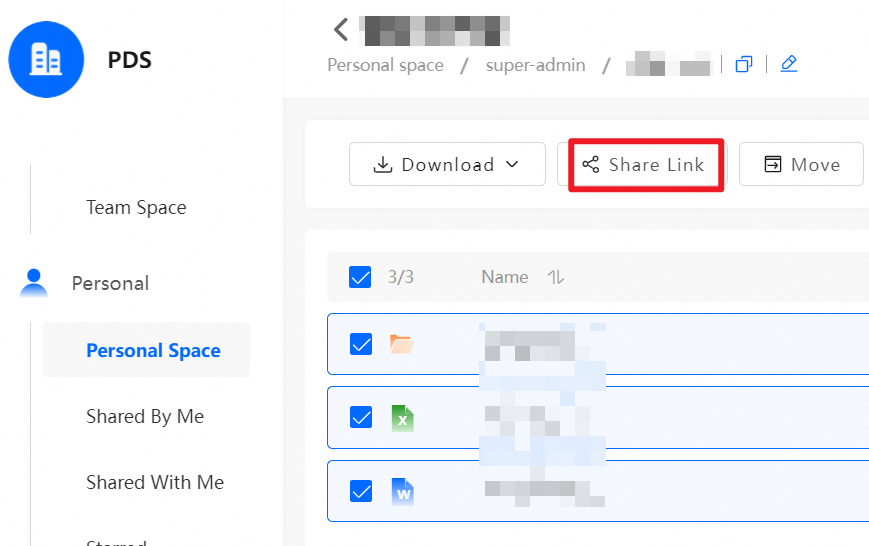
When you create a share, configure the following settings:
Access control: Select Allow The Preview, Allow saving or downloading, Allow upload, or Allow document editing to grant the required permissions.
Access scope: Set the access scope to Only enterprise users can access it to improve file security.
Operation limits: Limit the total number of operations on the share link to prevent misuse.
Security settings: Set an access password (for example, "200201") and an expiration period (for example, 7 days). The link automatically becomes invalid after it expires.
Convenience features: Enable Auto Fill access code in share link to allow recipients to access the share directly.
Message: Add a message to provide information to the recipient.
After you configure the settings, click Create to generate a share link for secure and controlled file sharing.

After you create the share, the system automatically generates an access link and a QR code. The QR code expires after 7 days. Copy the link or download the QR code and send it to the recipient to securely share the file or folder.

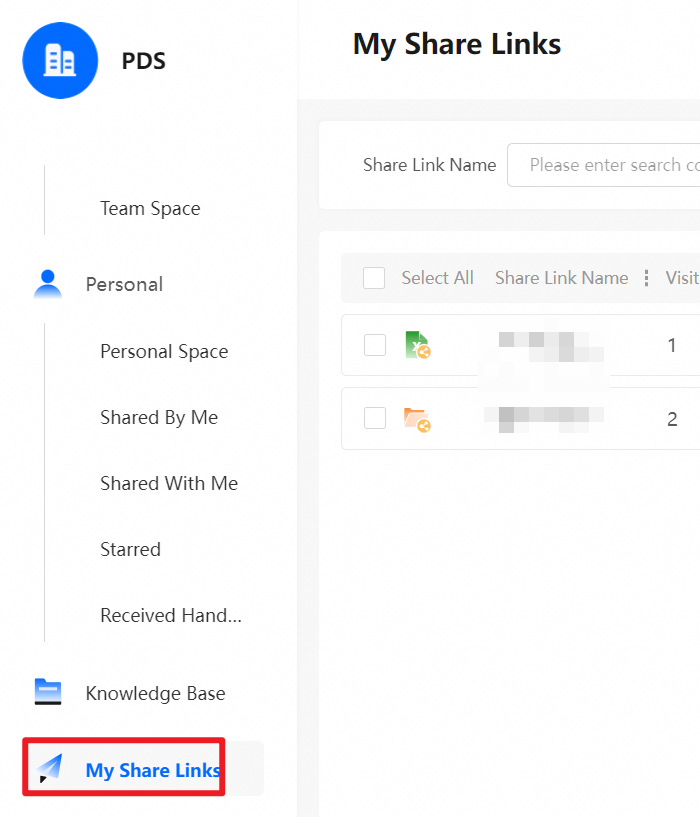
View my shares
Click My Share Links in the navigation pane on the left to view and manage your shared files and folders.
At the top of the My Share Links page, search for shares by Share Link Name or Creation Time.
Cancel a share
On the My Share Links page, select the files whose sharing you want to cancel. Click Cancel Share. In the confirmation message, click OK.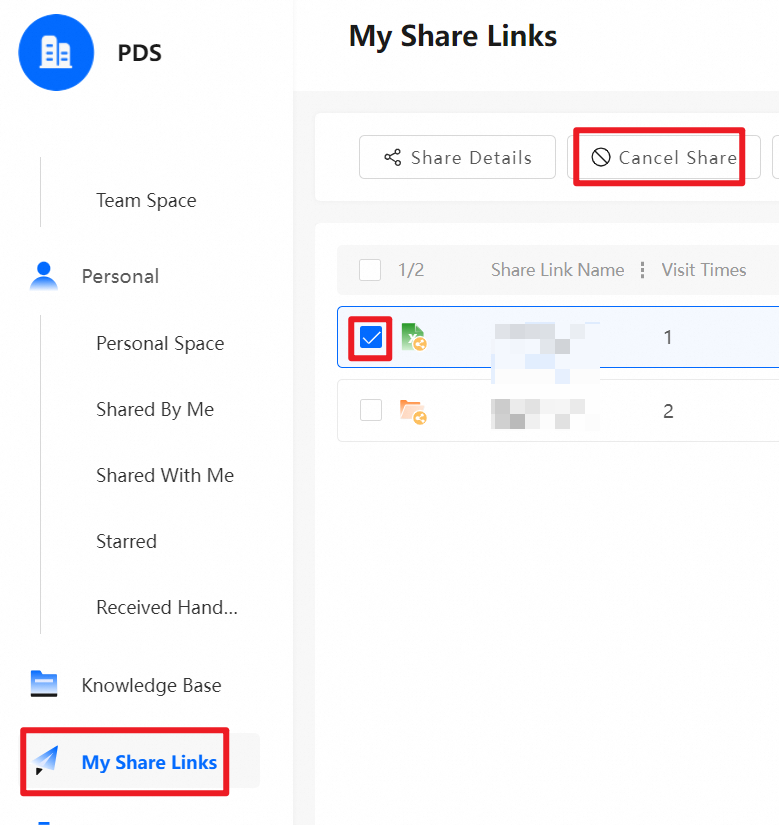
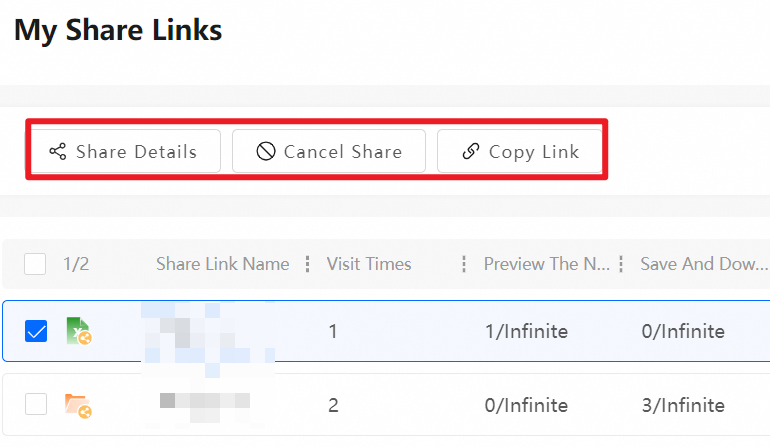
Manage my shares
Share Details: Select a file and click Share Details to open the share configuration page. On this page, view and modify settings such as permissions, password, expiration period, and remarks. You can also download the QR code or view access statistics.
Cancel Share: Select a file and click Cancel Share. Confirm the action to stop sharing the file.
Copy Link: Select a file and click this button to obtain a shareable link.
These features allow you to flexibly manage your shared files and adjust permissions or stop sharing at any time.
FAQ
References
If you want to share files only with internal teams or colleagues, use the internal sharing feature. For more information, see Share files.
If the sharing feature is not enabled for your enterprise, contact your enterprise's super administrator or drive administrator to enable it. For more information, see Enable sharing and collaboration/authorization settings.