All Products
Search
Document Center

Platform For AI:Stable Diffusion web UI tutorial and practices

Last Updated:Aug 22, 2024

This topic describes how to use Stable Diffusion web UI.

Background Information

Stable Diffusion is a text-to-image AI model developed by Stability AI that can generate and modify images based on text prompts. Stable Diffusion WebUI is a browser interface for Stable Diffusion developed by AUTOMATIC1111 that help you use Stable Diffusion through intuitive interactions.

The web UI provides an intuitive operating experience and allows customization with different plugins and models. You can use the web UI to create more controllable visual works.

User interface

image

No.

Section

Model selection

Features

Parameters

Result preview

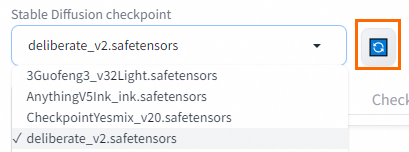
Model selection

Upload your models to a directory in Object Storage Service (OSS) and refresh the web UI. Then, you can select the model that you want to use in this section. We recommend that you download models from Civitai.

image

Features

txt2img

Prompt syntax

  • General tips

    Prompts generally include the following types of keywords: prefixes (image quality, painting style, lens effects, and lighting effects), subjects (person or object, posture, clothing, and property), and scenes (environment and details).

    • If you want to increase or decrease the weight of a keyword, use parentheses ((),{},[]) to enclose the keyword, which is followed by a colon (:) and a weight value. Example: (beautiful:1.3). We recommend that you use a weight value that ranges from 0.4 to 1.6. Keywords with lower weights are more likely to be ignored, and keywords with higher weights are prone to deformation due to overfitting. You can also use multiple pairs of parentheses ((),{},[]) to superimpose the weight of a keyword. An additional pair of parentheses indicates that the weight is increased or decreased to 1.1, 1.05 or 0.952 times. Example: (((cute))).

    • Weight calculation rules:

      (PromptA:weight value): You can use this format to increase or decrease the weight of a keyword. If the weight value is greater than 1, the weight is increased. If the weight value is less than 1, the weight is decreased.

      (PromptB) indicates that the weight of PromptB is increased to 1.1 times, which is equivalent to (PromptB:1.1).

      {PromptC} indicates that the weight of PromptC is increased to 1.05 times, which is equivalent to (PromptC:1.05).

      [PromptD] indicates that the weight of PromptD is decreased to 0.952 times, which is equivalent to (PromptD:0.952).

      ((PromptE)) is equivalent to (PromptE:1.1*1.1).

      {{PromptF}} is equivalent to (PromptF:1.05*1.05).

      [[PromptG]] is equivalent to (PromptG:0.952*0.952).

    • You can use angle brackets (<>) to invoke Low-Rank Adaptation (LoRA) and Hypernetwork models. Formats: <lora:filename:multiplier> and <hypernet:filename:multiplier>.

  • Common prompts

    Positive prompts

    Negative prompts

    Positive prompt

    Description

    Negative prompt

    Description

    HDR,UHD,8K,4K

    Improves the quality of the image.

    mutated hands and fingers

    Prevents mutated hands or fingers.

    best quality

    Vivifies the image.

    deformed

    Prevents deformation.

    masterpiece

    Makes the image look like a masterpiece.

    bad anatomy

    Prevents bad anatomy.

    Highly detailed

    Adds details to the image.

    disfigured

    Prevents disfigurement.

    Studio lighting

    Applies studio lighting to make the image textured.

    poorly drawn face

    Prevents poorly drawn faces.

    ultra-fine painting

    Applies ultra-fine painting.

    mutated

    Prevents mutation.

    sharp focus

    Brings the image into sharp focus.

    extra limb

    Prevents extra limbs.

    physically-based rendering

    Adopts physical rendering.

    ugly

    Prevents ugly elements.

    extreme detail description

    Focuses on the details.

    poorly drawn hands

    Prevents poorly drawn hands.

    Vivid Colors

    Makes the image vivid in colors.

    missing limb

    Avoids missing limbs.

    (EOS R8, 50mm, F1.2, 8K, RAW photo:1.2)

    Incorporates professional photographic styles.

    floating limbs

    Prevents floating limbs.

    Boken

    Blurs the background and highlights the subject.

    disconnected limbs

    Prevents disconnected limbs.

    Sketch

    Uses sketch as the drawing method.

    malformed hands

    Prevents deformed hands.

    Painting

    Uses painting as the drawing method.

    variant

    Prevents out-of-focus.

    -

    -

    long neck

    Prevents long necks.

    -

    -

    long body

    Prevents long bodies.

txt2img showcase

  • Simple prompts: Enter the positive and negative prompts. The positive prompt specifies the elements that you want to appear in the generated image, whereas the negative prompt specifies the elements that you want to prevent from appearing in the generated image. The more keywords you provide, the more the generated image will meet your expectations.

  • Complex prompts:

    • Positive prompt: 8k portrait of beautiful cyborg with brown hair, intricate, elegant, highly detailed, majestic, digital photography, art by artgerm and ruan jia and greg rutkowski surreal painting gold butterfly filigree, broken glass, (masterpiece, sidelighting, finely detailed beautiful eyes: 1.2), hdr

    • Negative prompt: canvas frame, cartoon, 3d, ((disfigured)), ((bad art)), ((deformed)),((extra limbs)),((close up)),((b&w)), wierd colors, blurry, (((duplicate))), ((morbid)), ((mutilated)), [out of frame], extra fingers, mutated hands, ((poorly drawn hands)), ((poorly drawn face)), (((mutation))), (((deformed))), ((ugly)), blurry, ((bad anatomy)), (((bad proportions))), ((extra limbs)), cloned face, (((disfigured))), out of frame, ugly, extra limbs, (bad anatomy), gross proportions, (malformed limbs), ((missing arms)), ((missing legs)), (((extra arms))), (((extra legs))), mutated hands, (fused fingers), (too many fingers), (((long neck))), Photoshop, video game, ugly, tiling, poorly drawn hands, poorly drawn feet, poorly drawn face, out of frame, mutation, mutated, extra limbs, extra legs, extra arms, disfigured, deformed, cross-eye, body out of frame, blurry, bad art, bad anatomy, 3d render

    • Prompt source: Civitai

    • The higher a keyword is ranked, the higher the weight of the keyword. You can adjust the order of keywords based on your needs. For example, you can arrange keywords in the following order: subject, medium, style, artist, website, resolution, additional details, color, and lighting. In actual use, you do not need to specify all types of the preceding keywords. Select and arrange the keywords based on your needs. Different from basic models, trained models often have hidden settings to use some fixed styles or discard some keywords in the prompts.

img2img

The img2img feature allows you to generate a new image from an existing image based on the prompts that you provide. For example, you can use this feature to convert a photo of a real person into an animation image. You can also color a sketch drawing. The img2img feature also allows you to modify parameters and redraw specific parts without affecting other parts. You can use the brush tool to modify the input image and generate a new image based on the modified image.

The generated image can be used as the input for the next img2img creation or partial re-editing, and can also be used in other features. In addition, the system can automatically generate keywords for the input image by using interrogation based on the CLIP and DeepBooru models. CLIP is suitable for realistic images and DeepBooru is suitable for cartoon images.

The following sections describe the procedures for using the img2img feature.

img2img

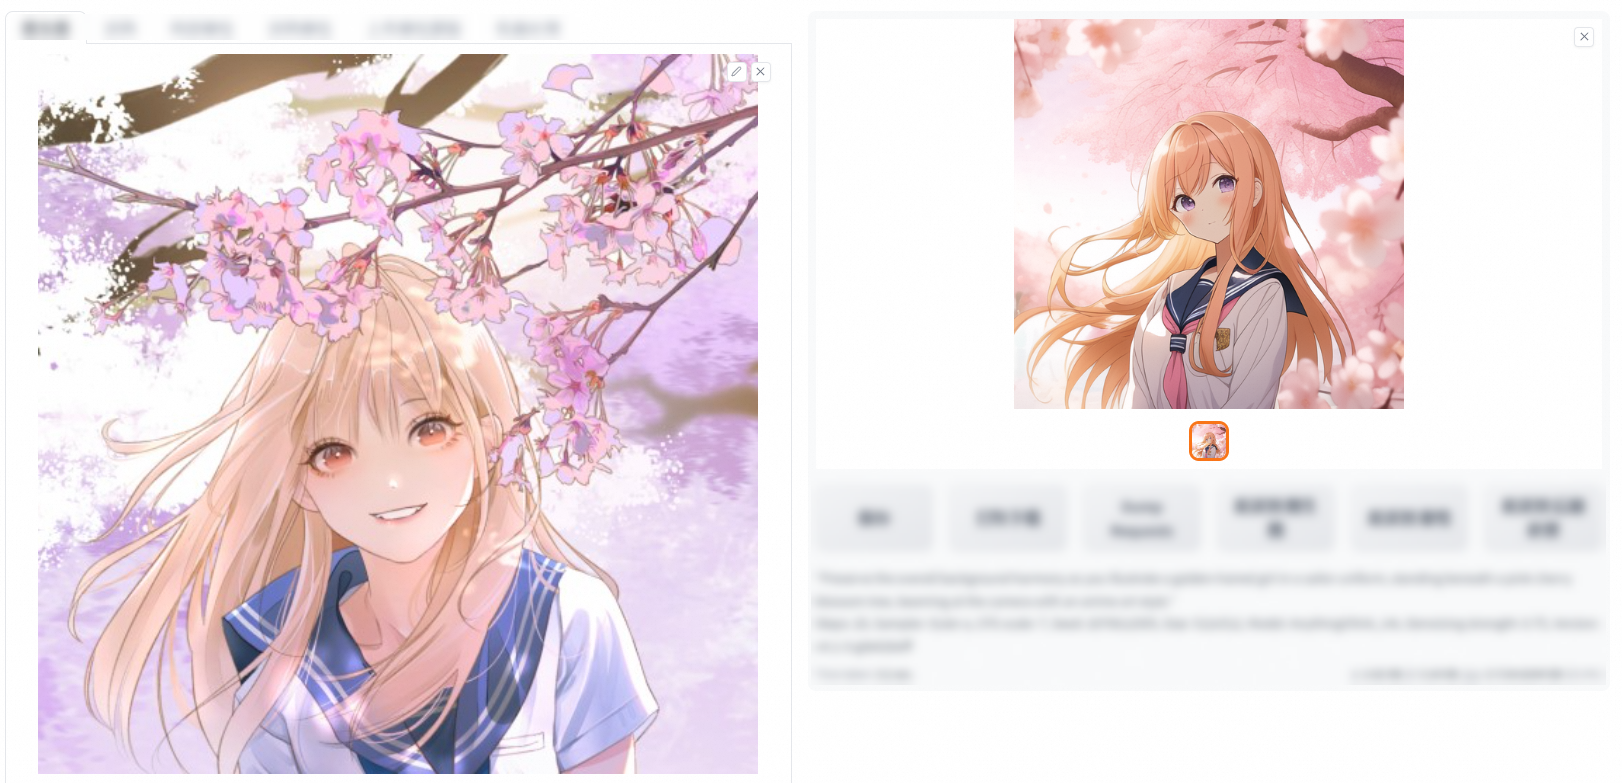
  1. Upload an image that you want to use. The aspect ratio of the image must be consistent with the specified height and width. For example, if you want to generate an image of 512 × 512 pixels, you must upload an image whose aspect ratio is 1:1.

  1. Use CLIP or DeepBooru interrogation to automatically generate keywords, or manually enter the positive and negative prompts, and then click Generate. A new image is generated based on the image that you upload.

    image

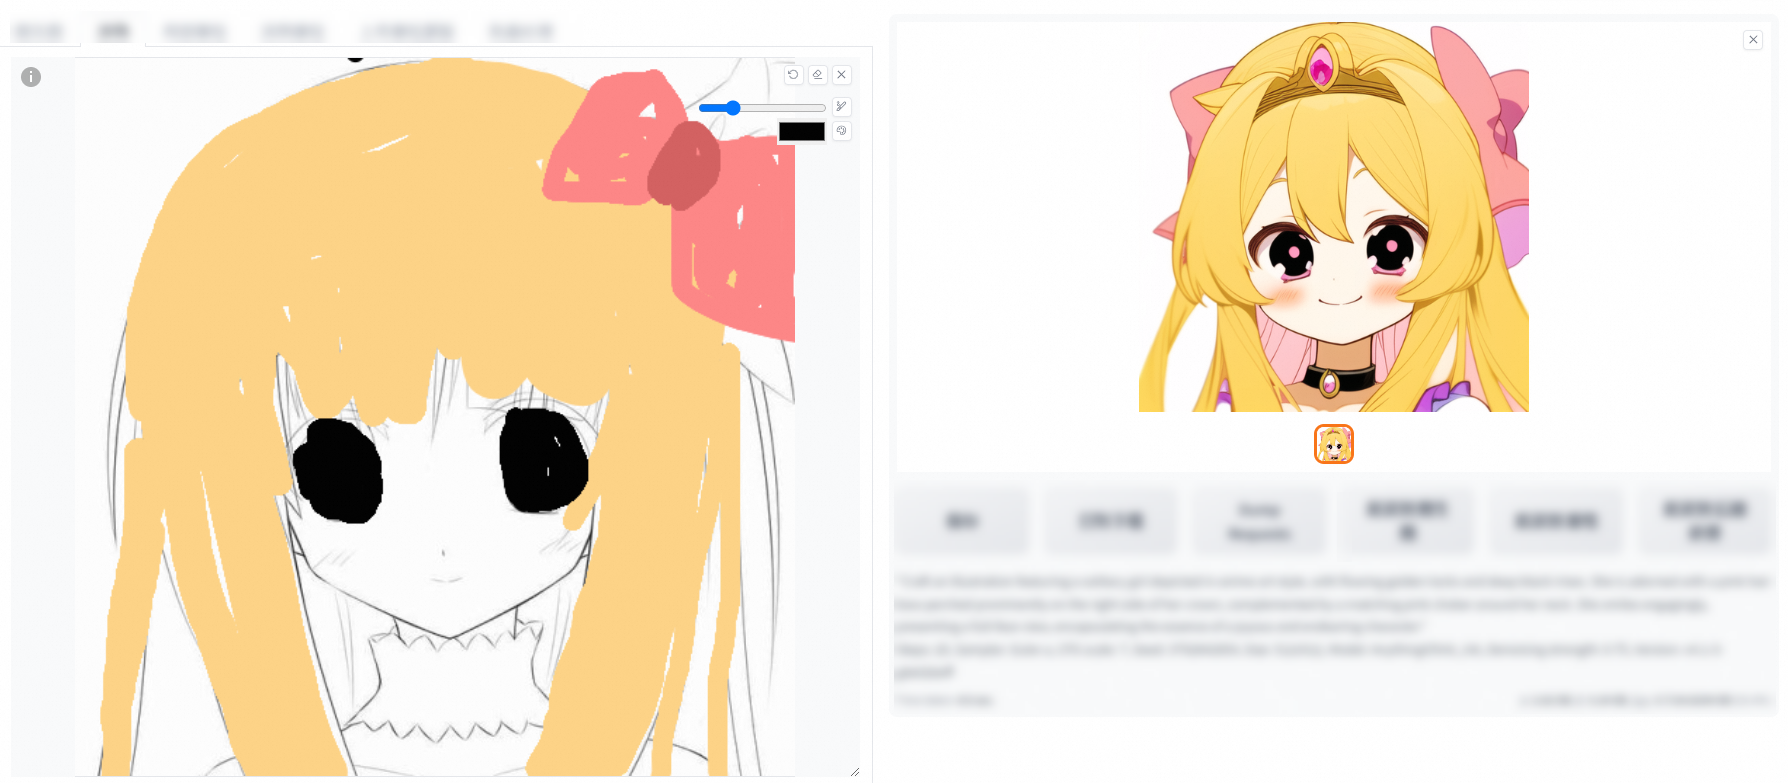
Sketch

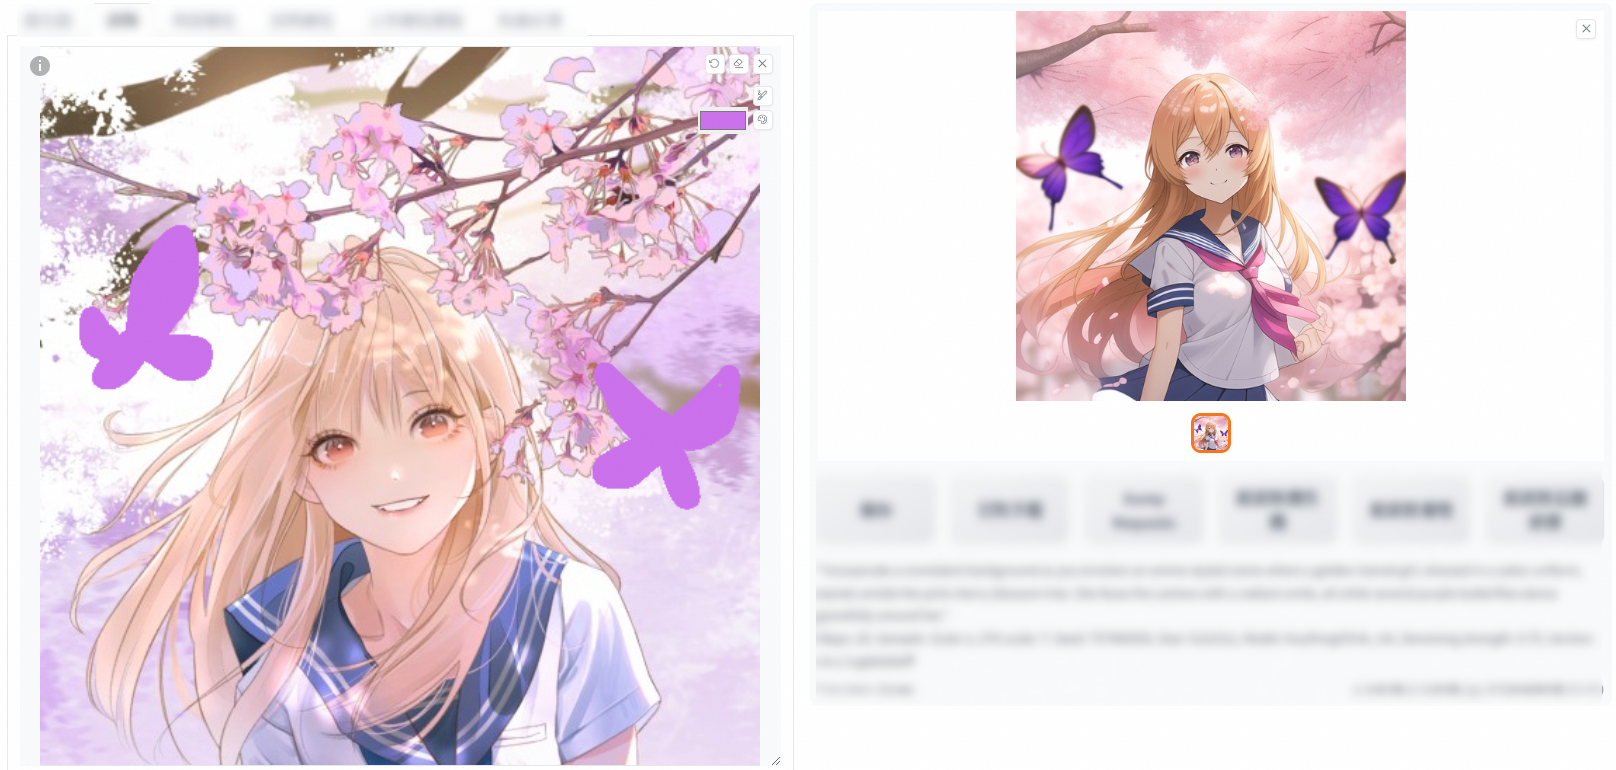
  • Upload an image that you want to use.

    Use the brush tool to draw on the image and modify some of the prompts based on your needs. Then, click Generate. A new image is generated based on the input image and your drawing.

    image

  • Upload a line draft.

    You can manually color the image and modify the prompts based on your needs to generate images in different styles.

    image

    The Sketch feature helps improve the efficiency and creativity of your image creation. Even if you do not possess superb drawing skills, you can convert creative ideas into high-quality visual images as long as you have a rich imagination.

Inpaint

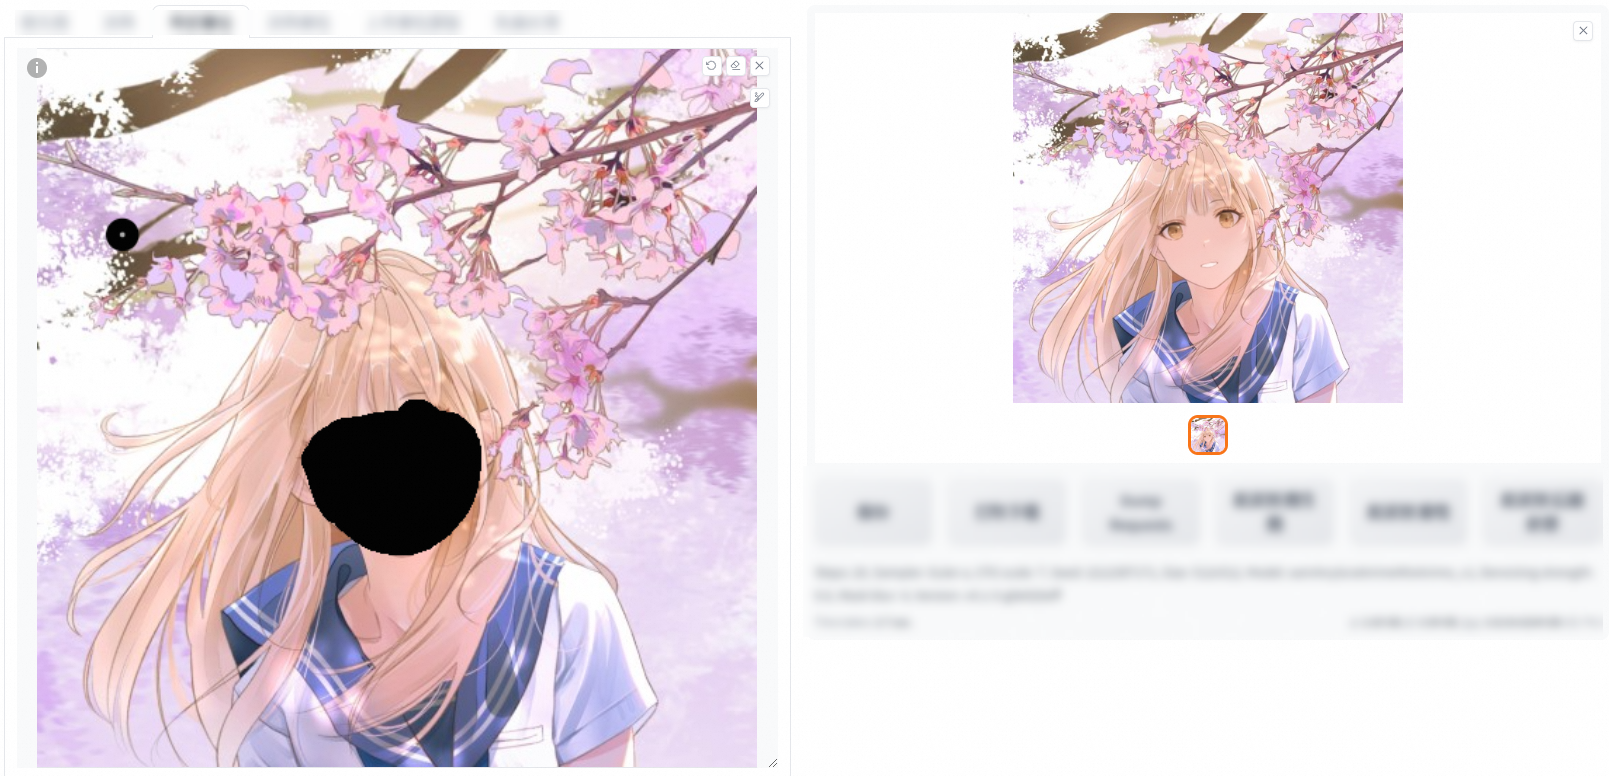
This feature allows you to add a mask to the original image, and inpaint the masked or non-masked part.

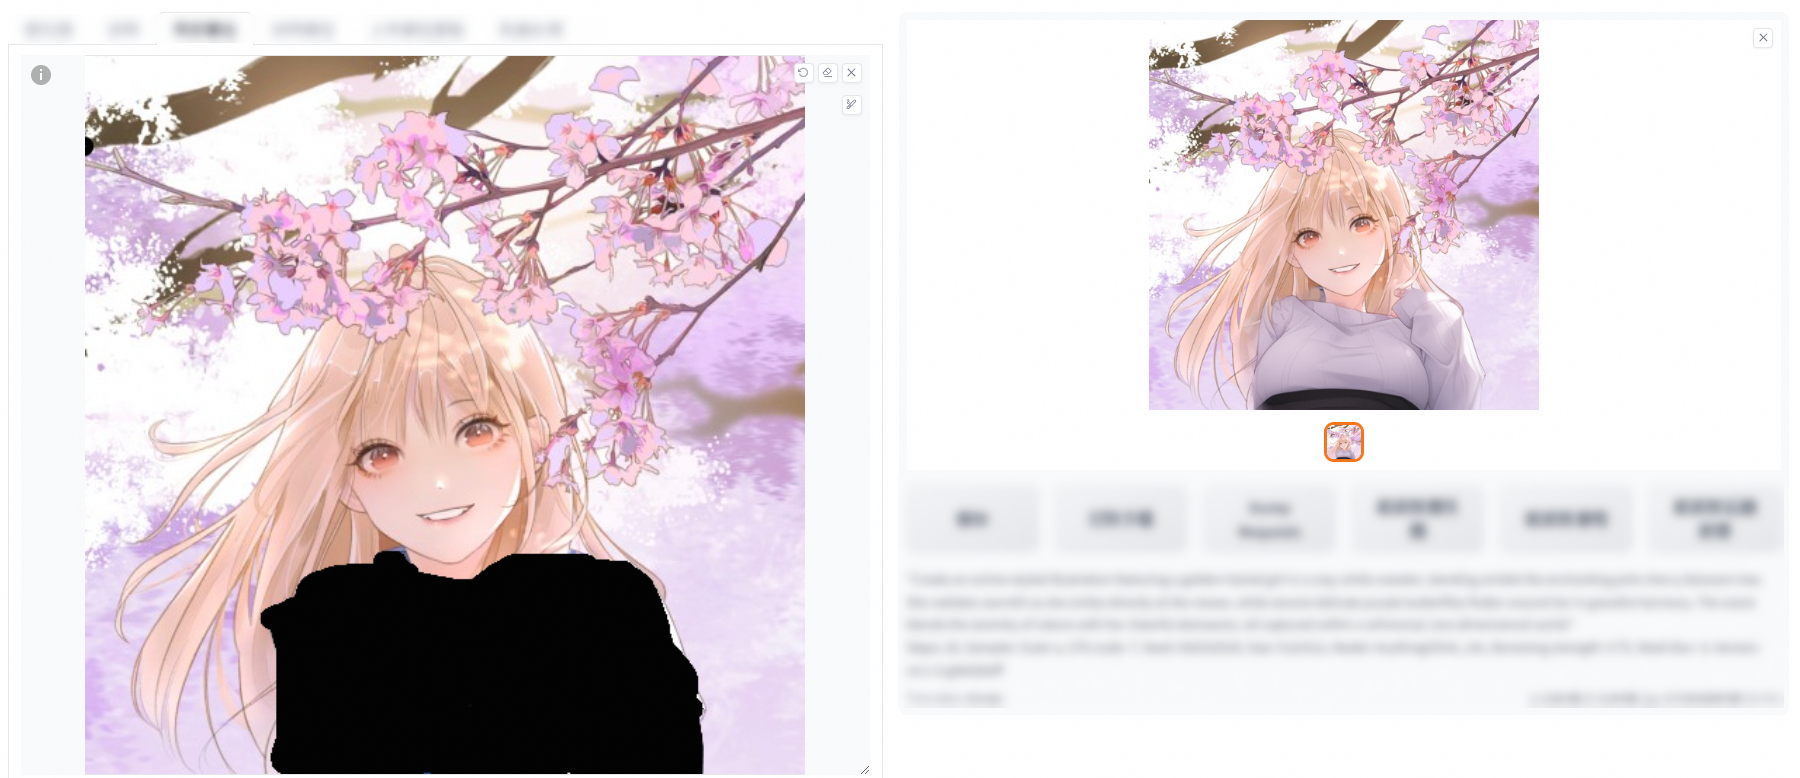
  • Inpaint the masked part

    Add the required elements to the positive prompt and click Generate. In the following example, "wears sweater" is added to the positive prompt.

    image

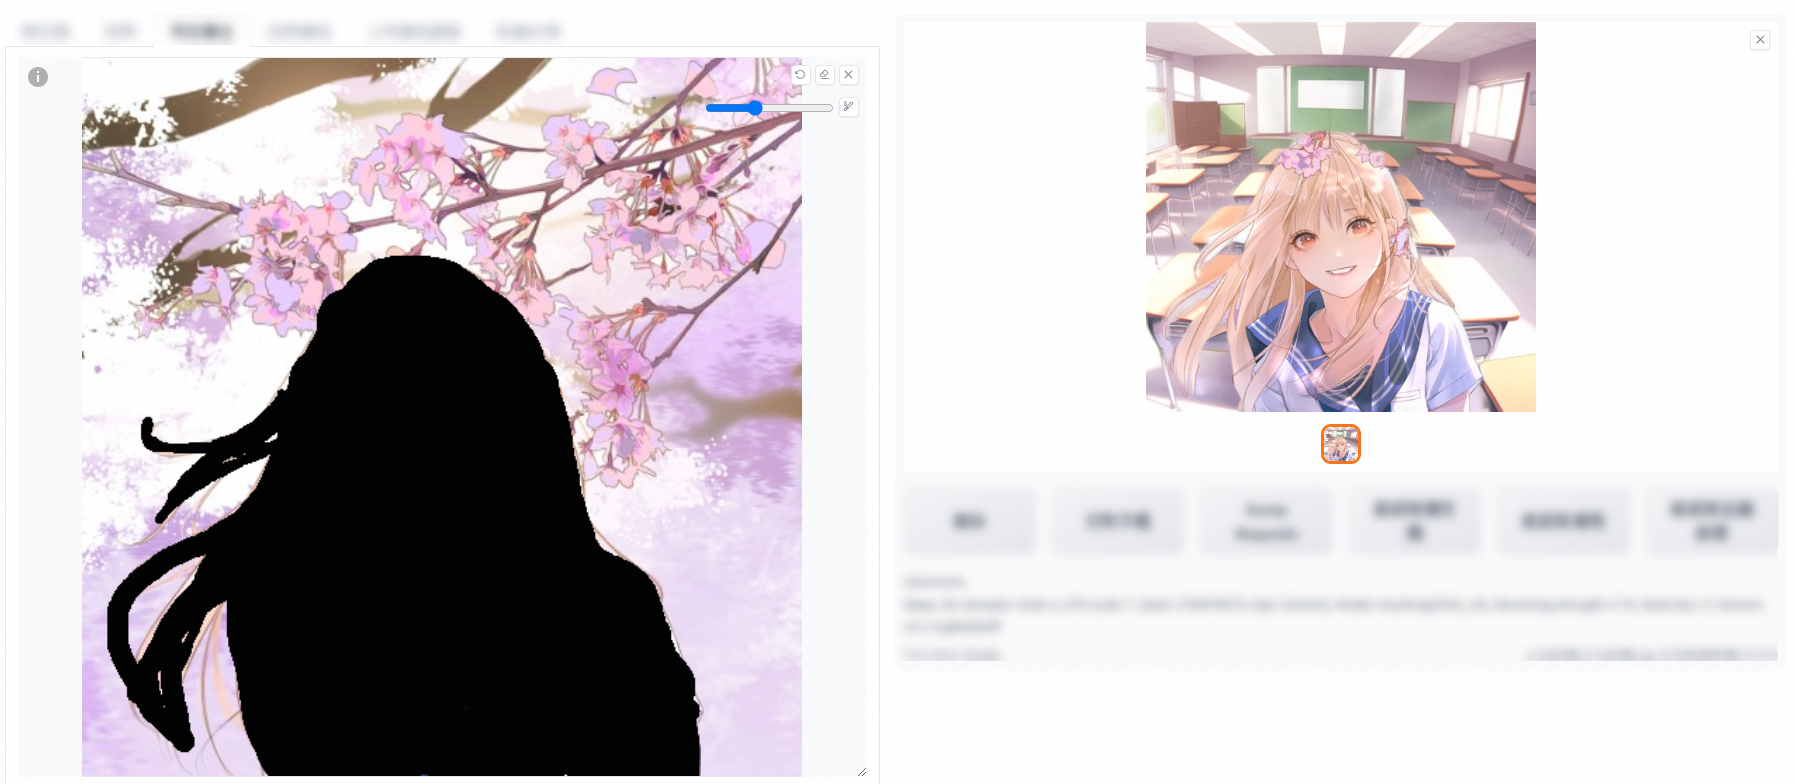
  • Inpaint the non-masked part

    Add the required elements to the positive prompt and click Generate. In the following example, "classroom" is added to the positive prompt.

    image

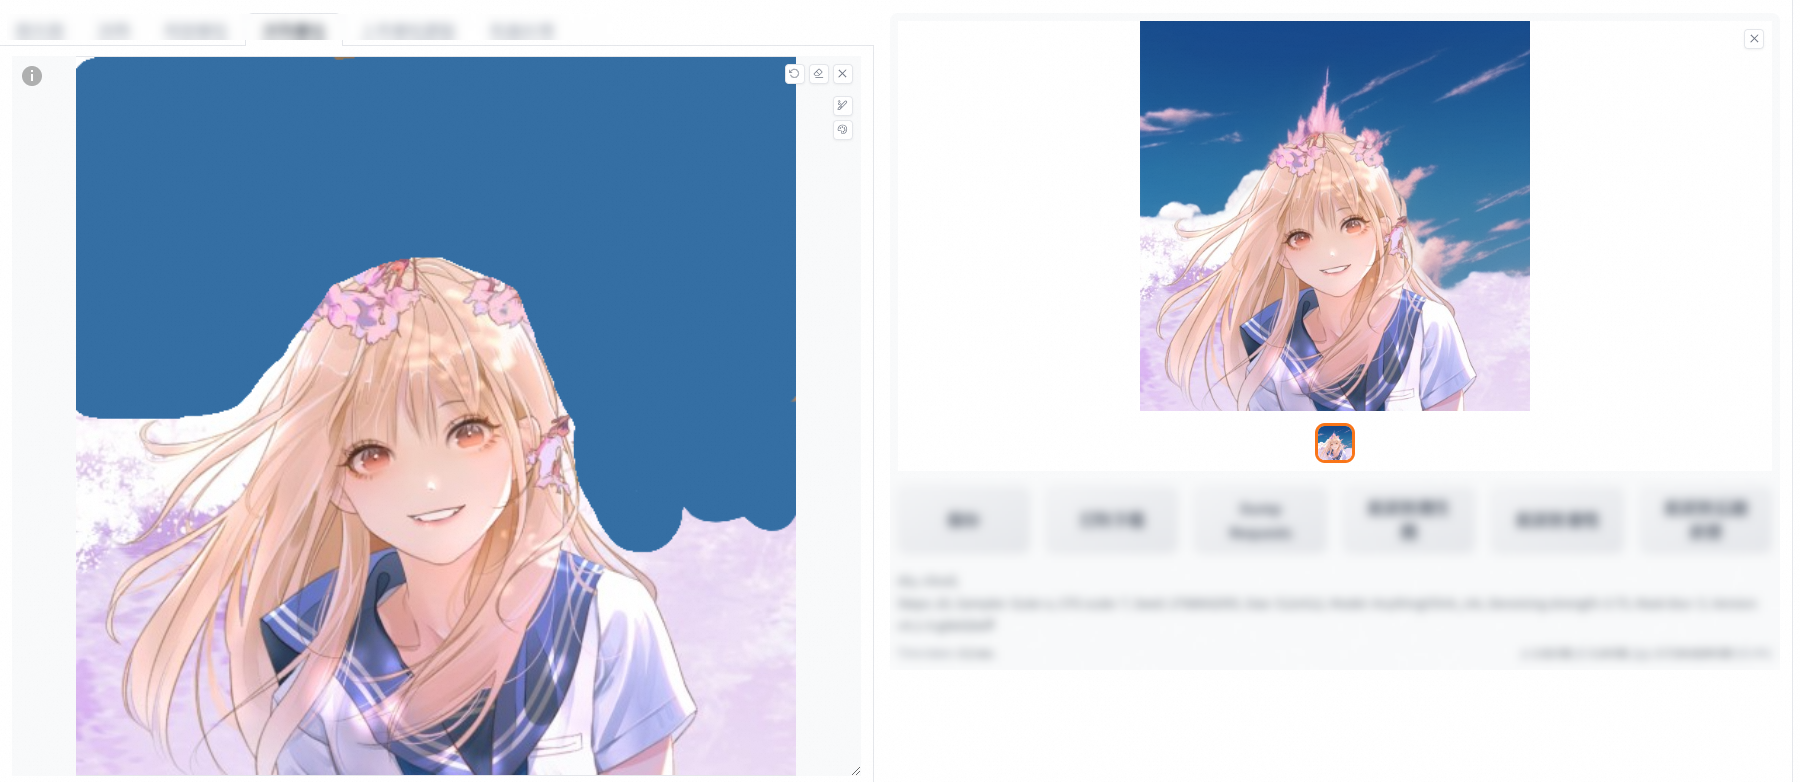
Inpaint sketch

This feature adds the color palette tool to the Inpaint feature. During the AI generation, the color of the mask is used for reference.

image

Inpaint upload

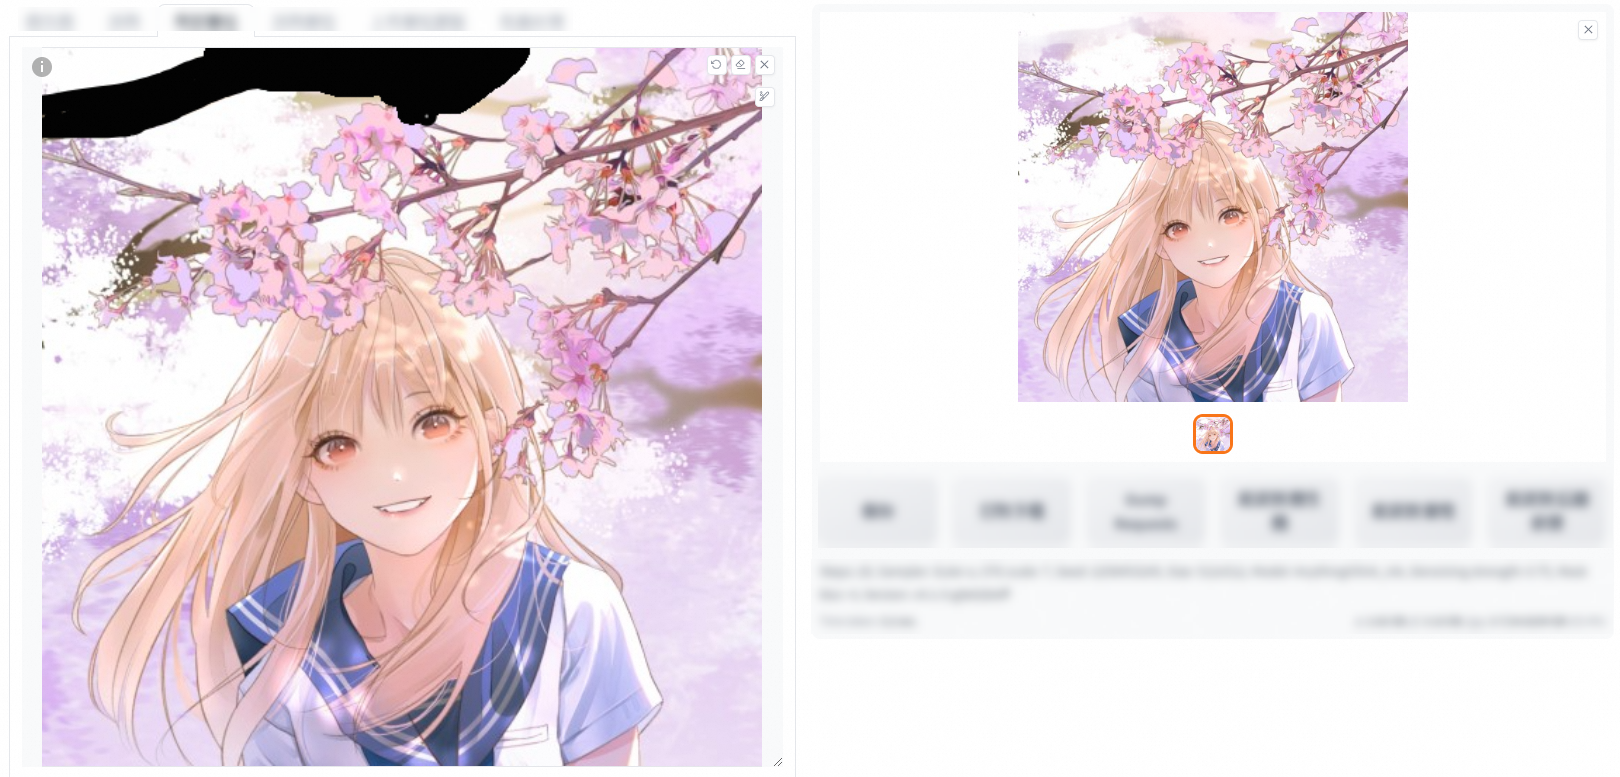
This feature allows you to upload a mask image that is produced in external tools such as Photoshop. If you have high requirements for the refinement of the masked part, you can use the Inpaint upload feature. To use this feature, you must click the Mask section to upload the refined mask image that you prepared.

Batch

Before you batch process images in a specific directory, you must create the following three directories: input directory, output directory, and inpaint batch mask directory.

  1. The input directory is used to store the original images that you want to use, and the output directory is used to save the images that are generated.

  2. If you want to use a mask for inpainting, you can set the path of the inpaint batch mask directory. If you do not set the path, the system inpaints the images in full.

  3. You can use the same name for an original image and a mask image to establish correspondence. For example, if the original image is named ali_sd.png, set the name of its mask image also to ali_sd.png.

  4. If an original image does not have a corresponding mask image, the first image in the inpaint batch mask directory is used as the mask for inpainting. Therefore, you can set the first image in the inpaint batch mask directory to an all-white image for full image inpainting. If you do not require full-image inpainting, you can set the mostly used mask image as the first image in the inpaint batch mask directory.

The following sections describe the parameters that are available for different features.

img2img and Sketch

  • Interrogate CLIP and Interrogate DeepBooru:

  • Generate prompts based on the image that you upload.

  • CLIP describes prompts in the same way that humans speak.

  • DeepBooru uses tags such as beautiful woman, river, and afternoon.

  • Compared with CLIP, DeepBooru provides a more detailed description.

  • Resize mode: determines the conversion effect.

  • Just resize: simply resizes the image. The image after conversion may be stretched or compressed. As a result, some details may be lost or distorted.

    image.png

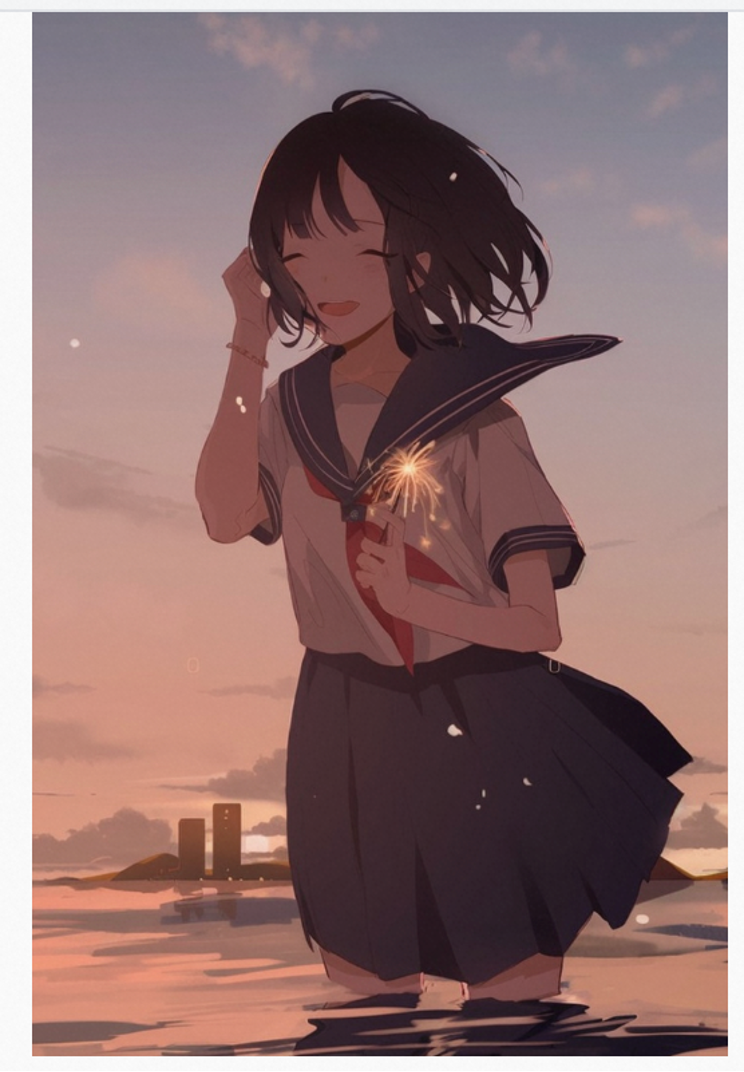
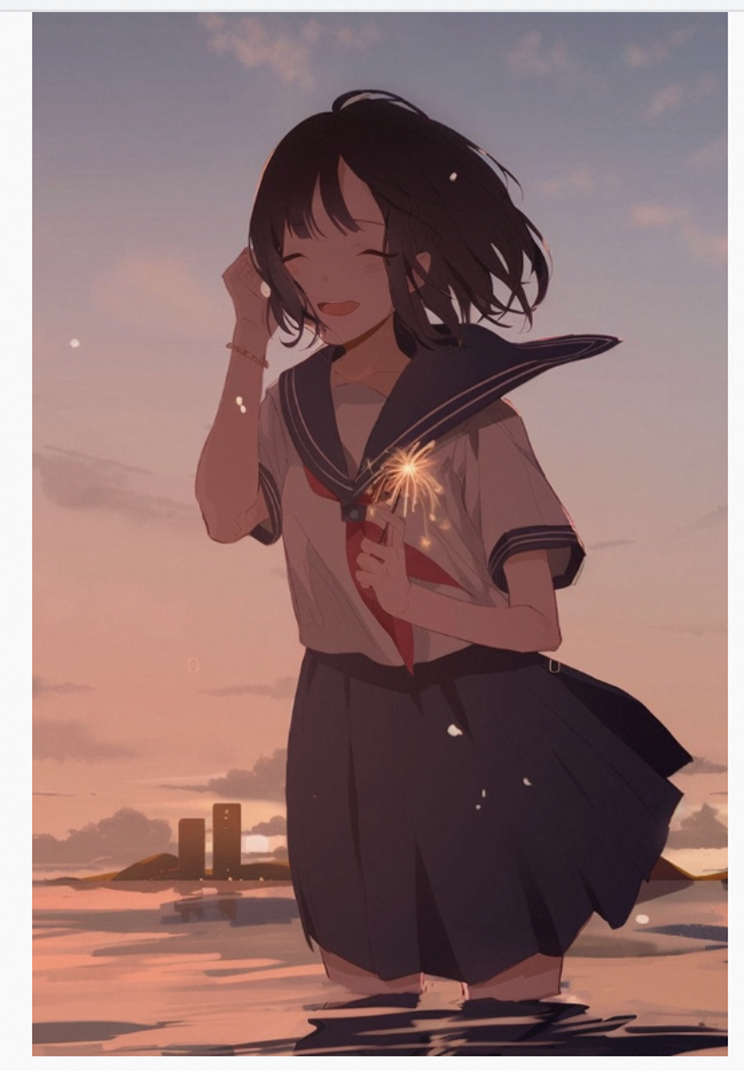
  • Crop and resize: crops the original image and then resizes it. This minimizes image distortion and retains more details. However, after an image is cropped and resized, some parts of the image are discarded. In this case, some details may not be displayed in the generated image.

    image.pngimage.png

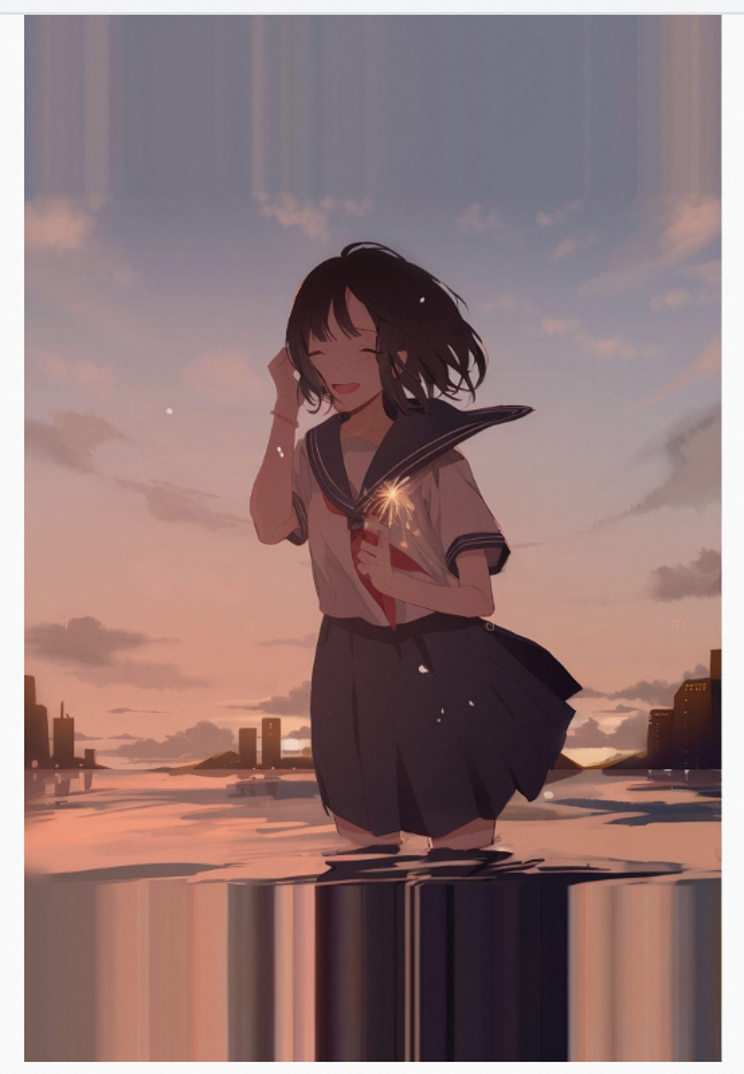
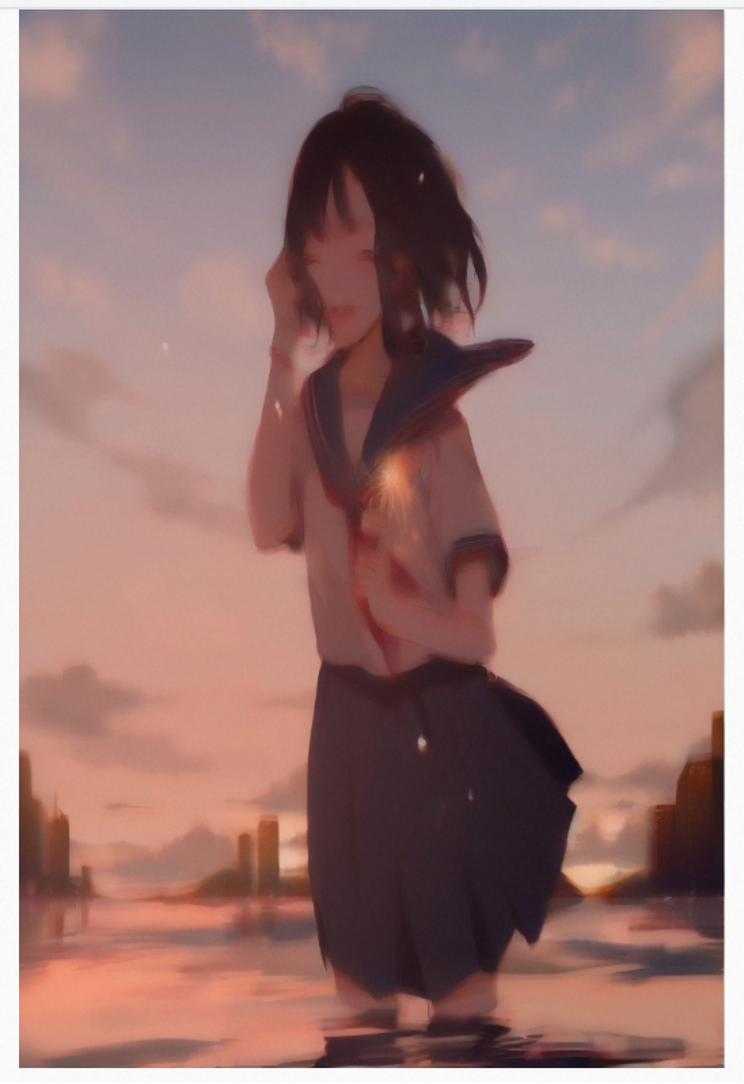
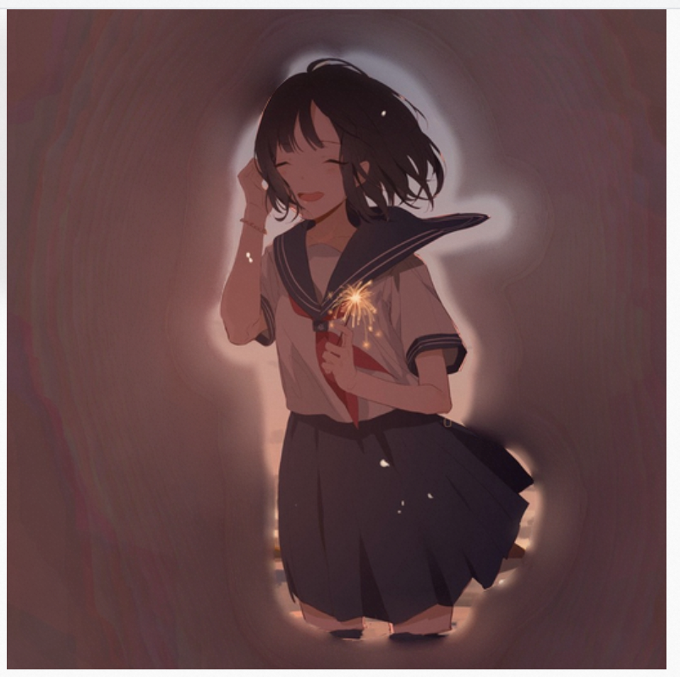
  • Resize and fill: resizes the original image and then fills it. You can use colors or patterns to fill the image. This resize mode preserves the overall proportion and details of the original image, but the elements used for filling may compromise the visual effect.

    image.png

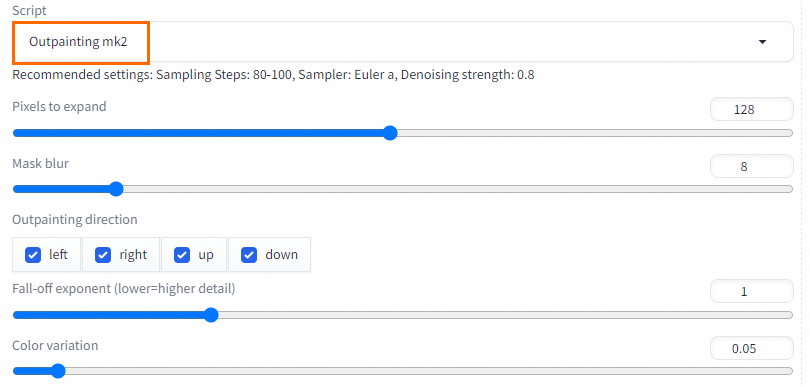
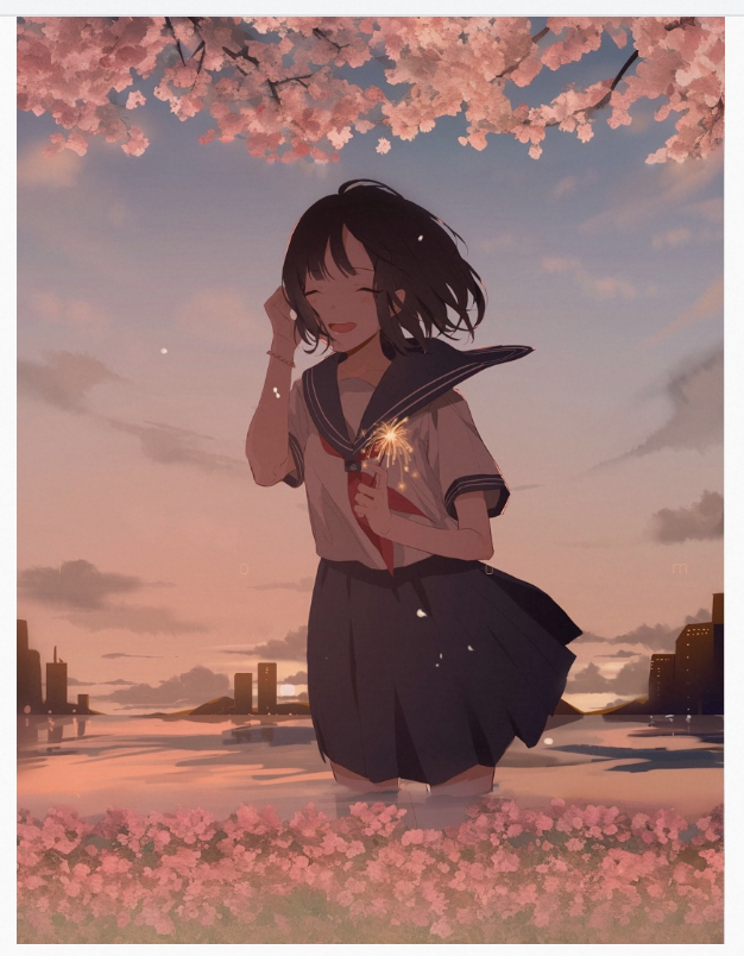
    You can use the outpainting mk2 script by appropriately adjusting the denoising strength.

    image

    image.png

  • Just resize (latent upscale): resizes the image only during forward propagation. The shrink operation is faster and more stable, but may not precisely restore the details of the original image.

    image.png

  • Denoising strength: the degree of image denoising. This parameter affects the smoothness of the output image by controlling the average pixel drift during diffusion. If the denoising strength is higher, the average pixel drift is larger and as a result, a smoother image is generated but the details of the image are compromised. If the denoising strength is lower, the average pixel drift is smaller and more details of the original image can be retained. An excessively high or low denoising strength can result in an unsatisfactory output image. Therefore, you must set an appropriate denoising strength.

    The following images show the results of different denoising strengths.

    image.png

Inpaint

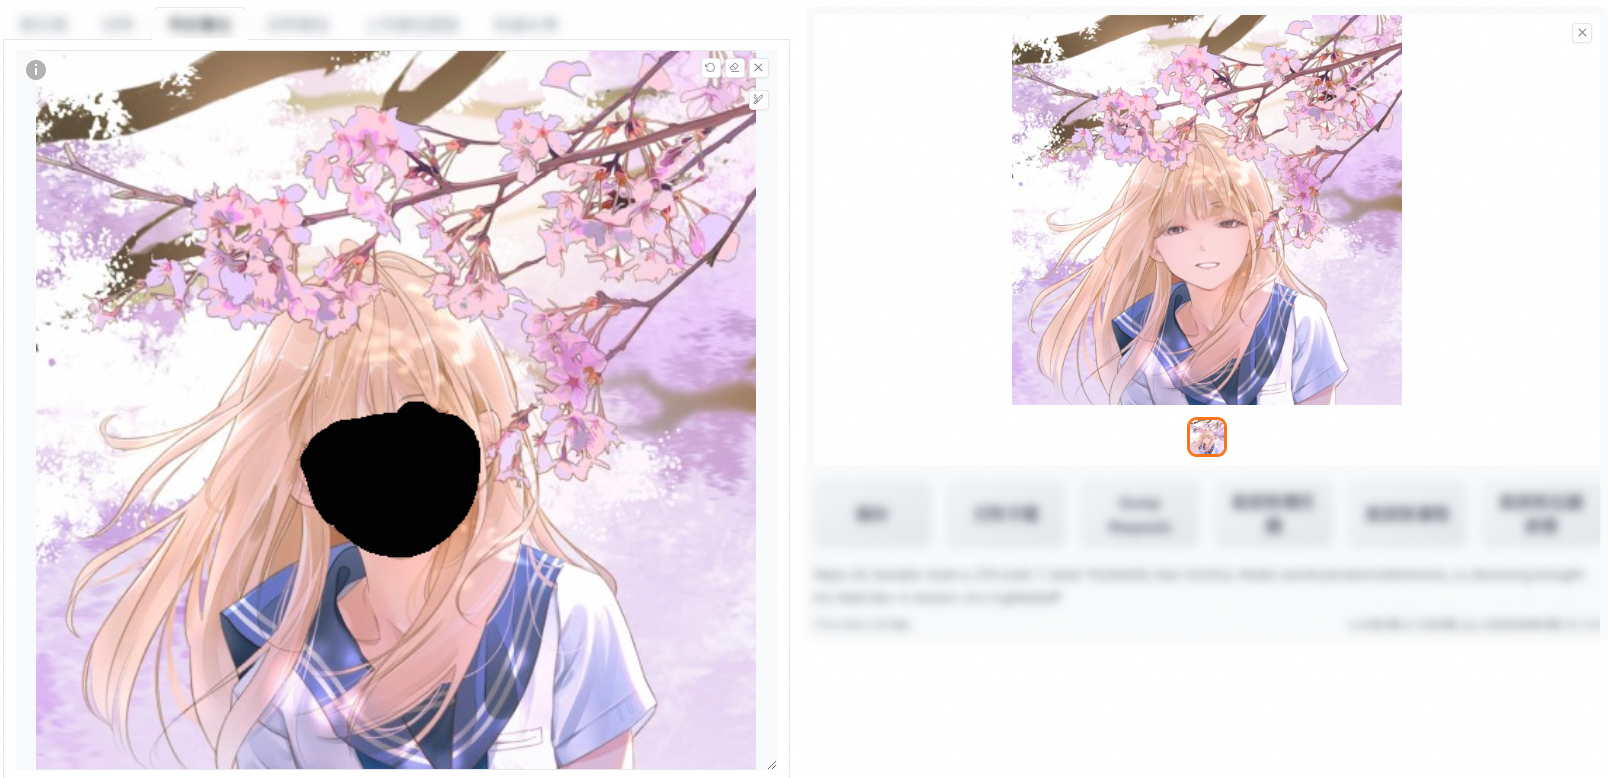
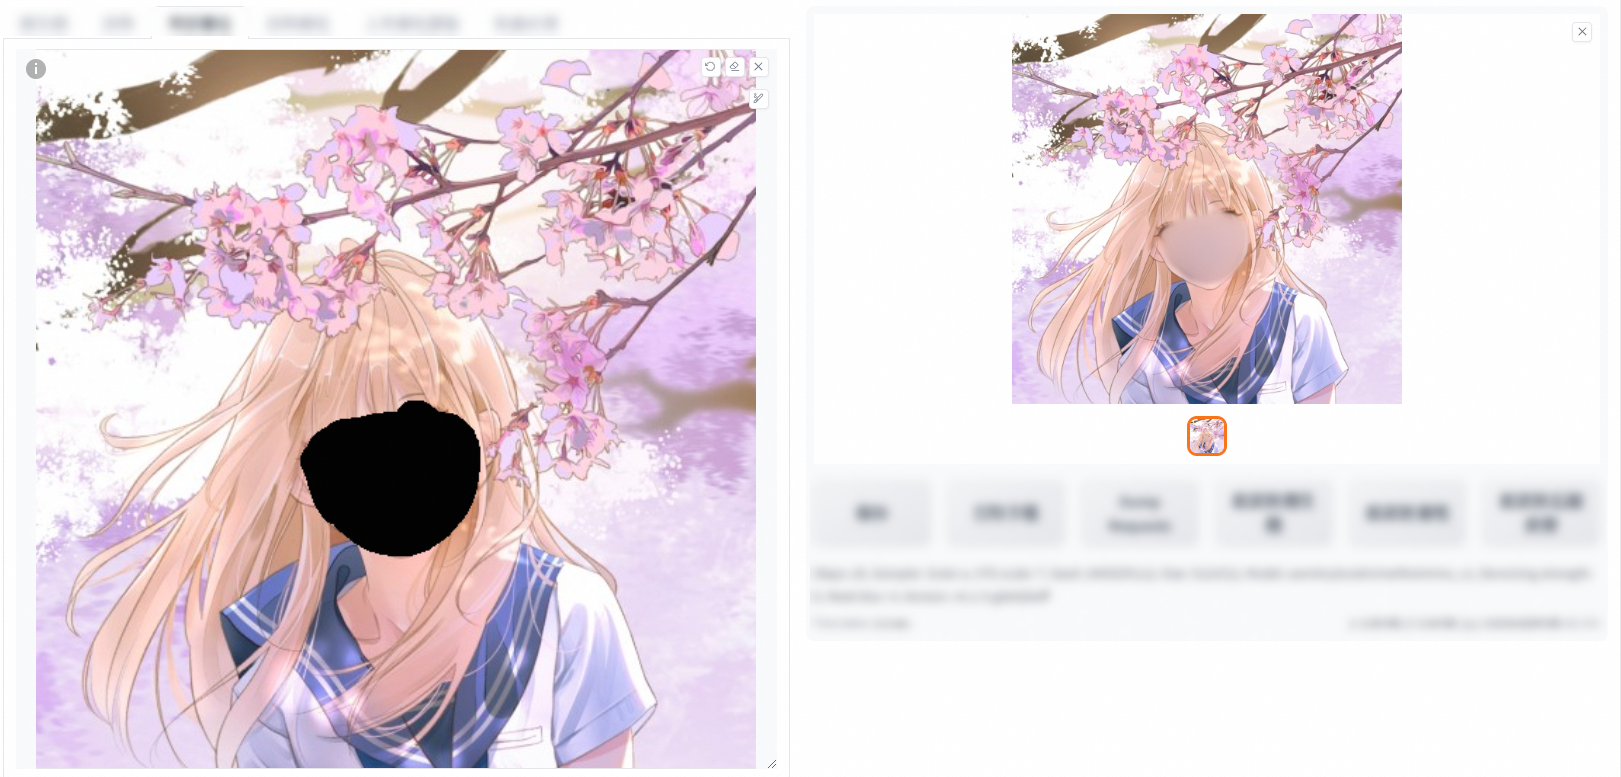
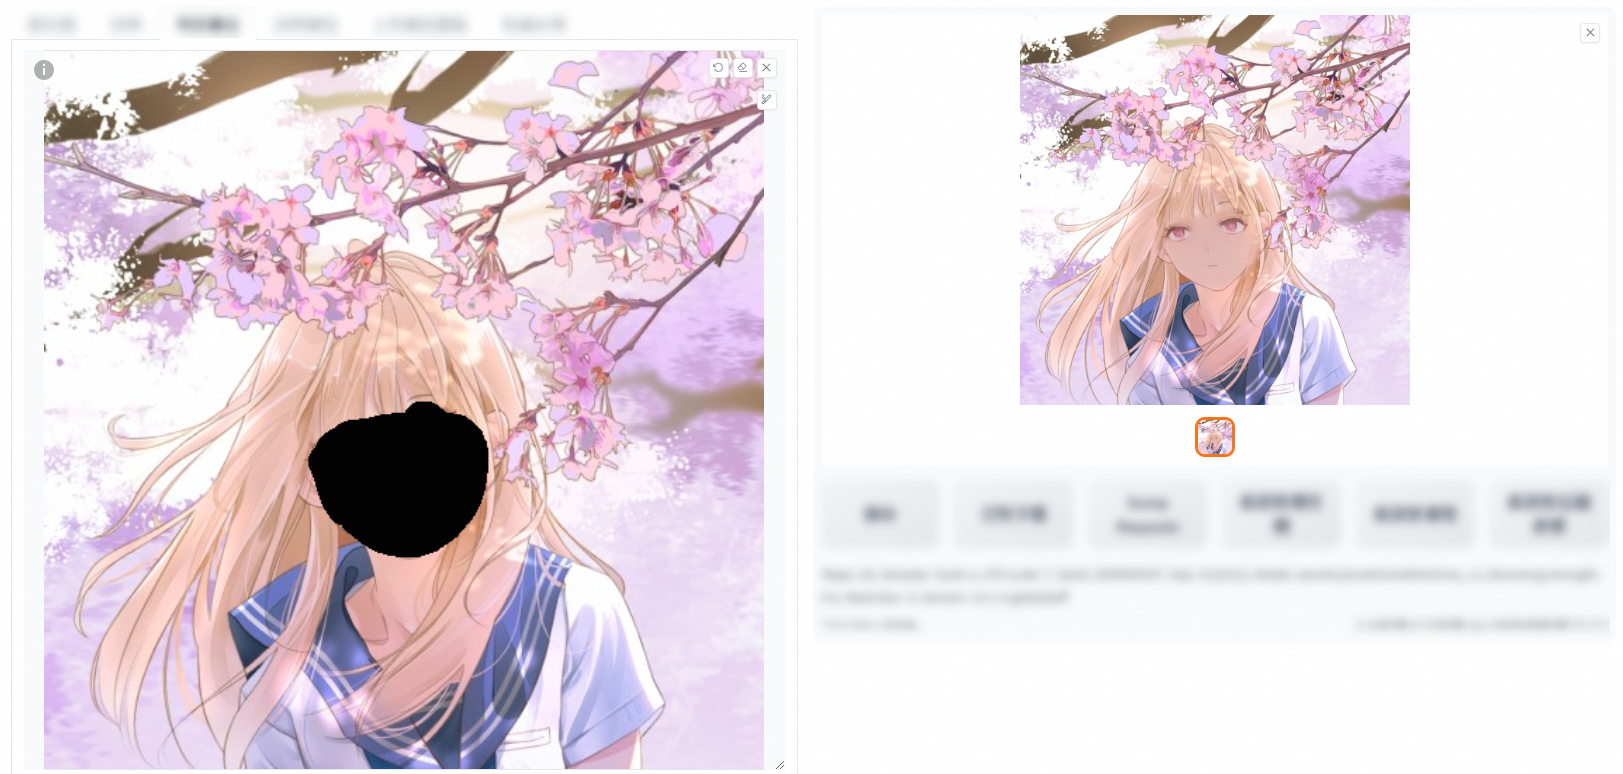
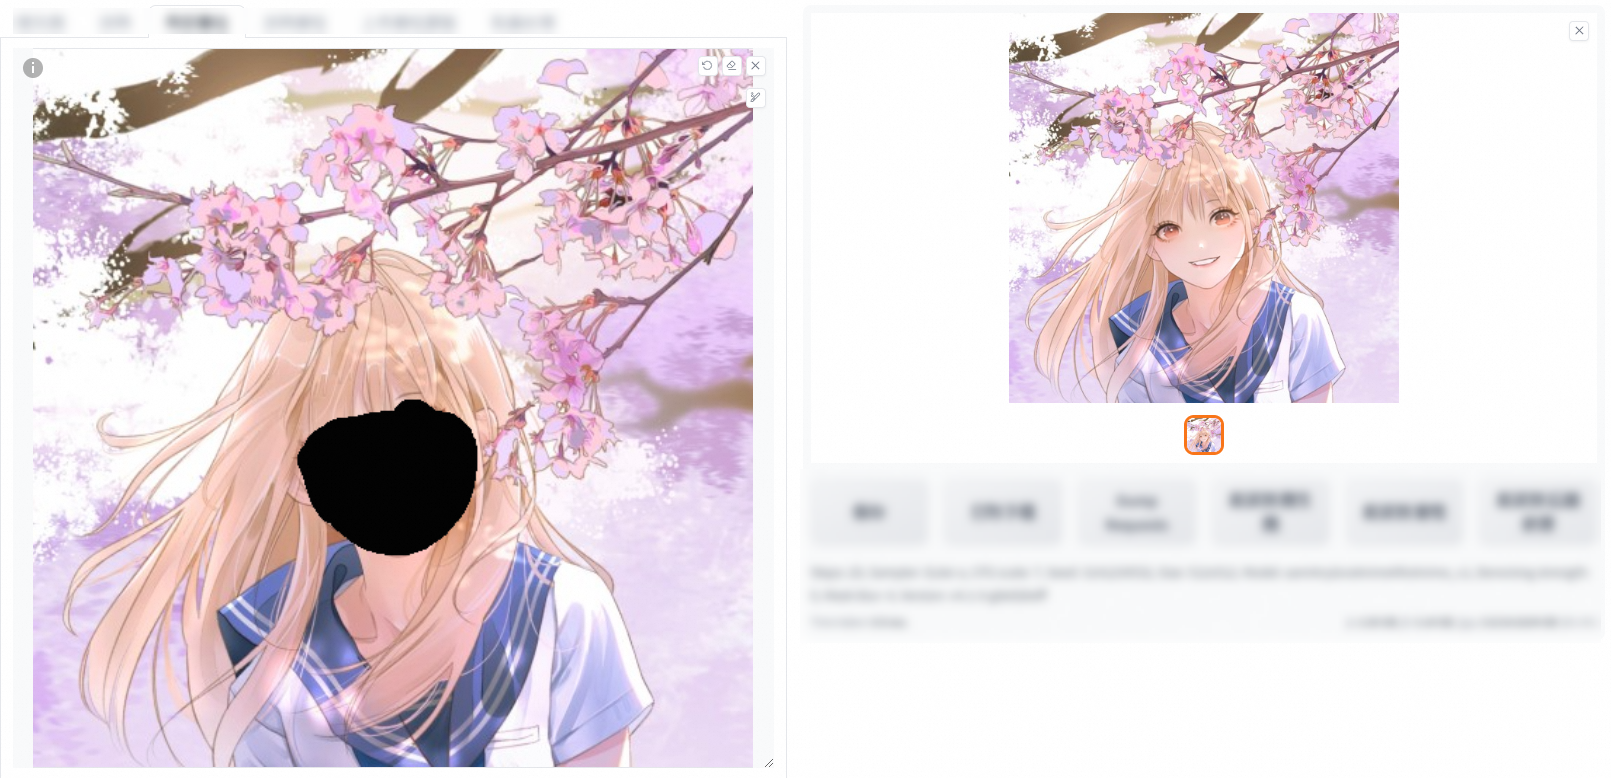
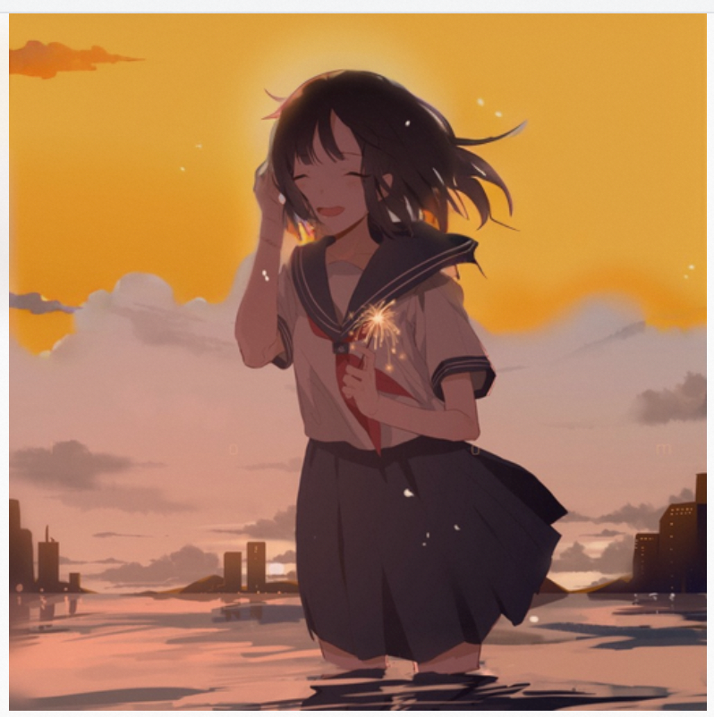
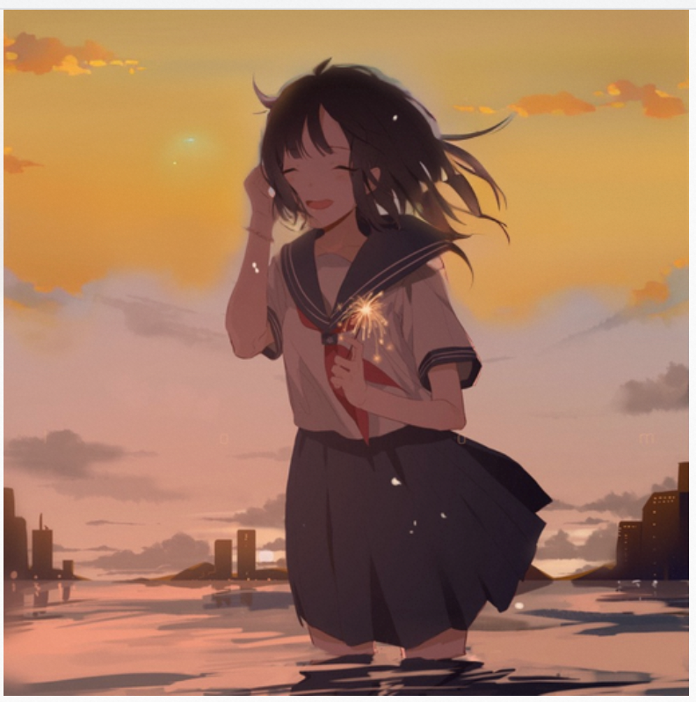
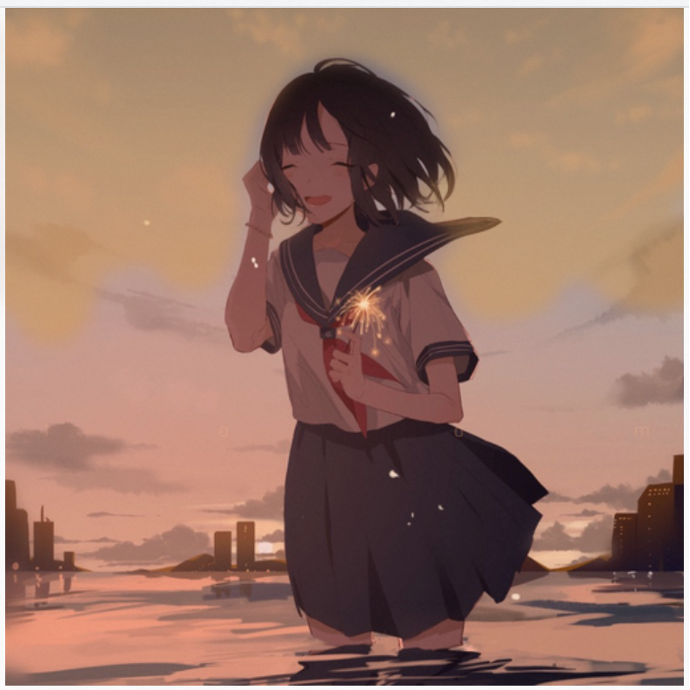
  • Mask blur

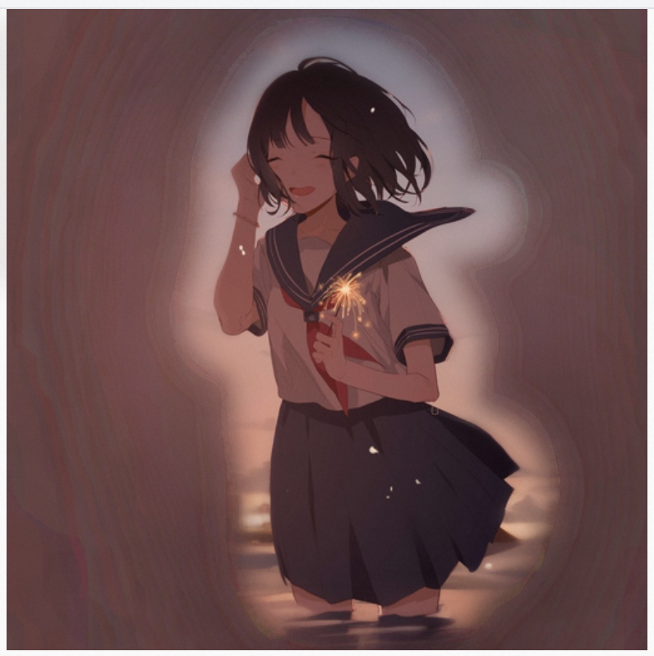
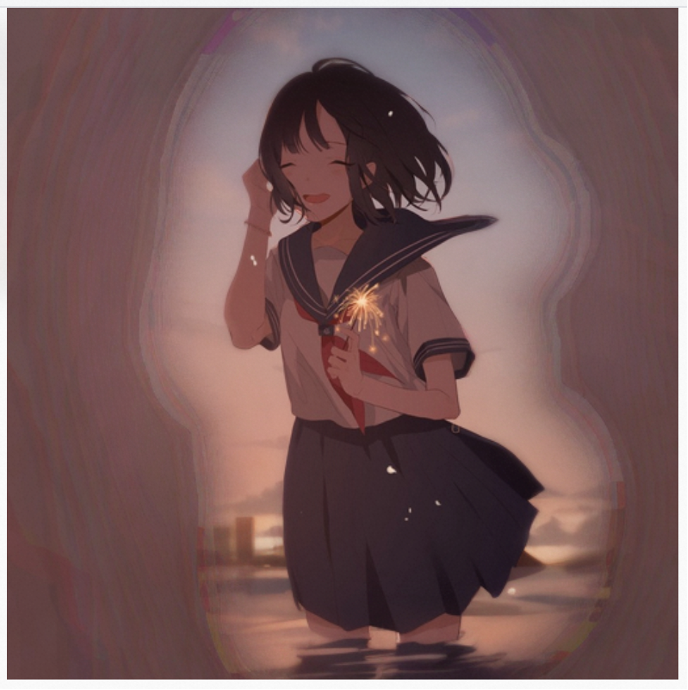
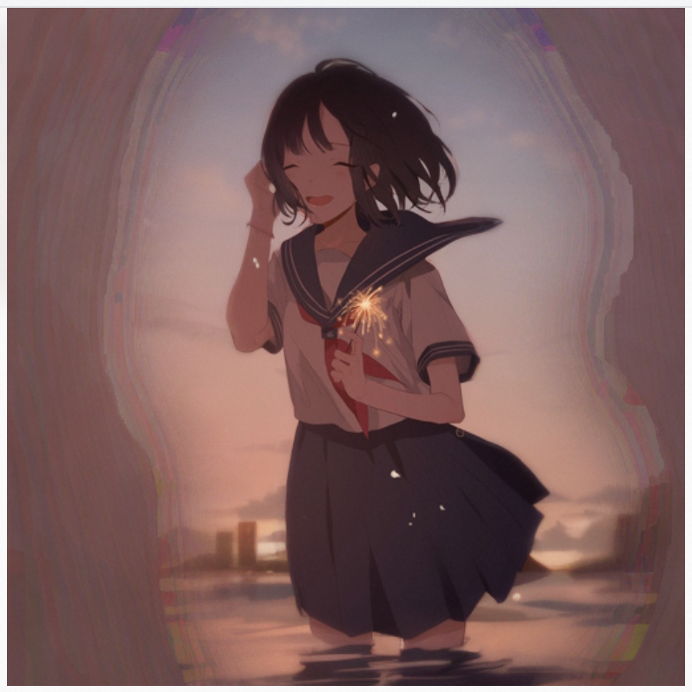
    Mask blur is an image processing technology that is used to blur pixels around missing parts. This can minimize fringe effects and make the image more natural. The larger the mask blur value, the more transparent the edge.

    The following images show a comparison of the mask blur values 0, 20, 40, and 60.

    image.pngimage.pngimage.pngimage.png

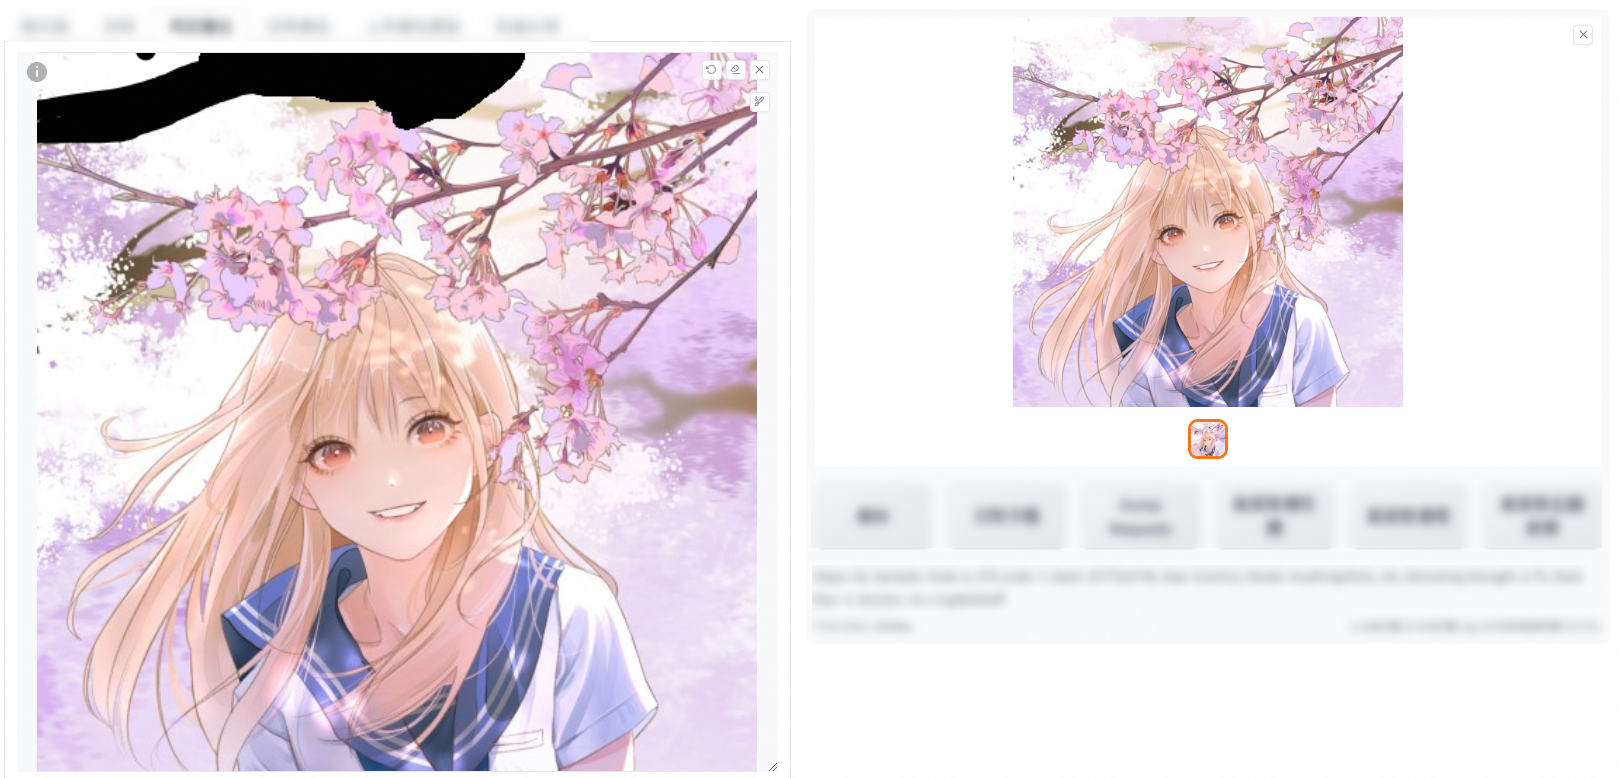
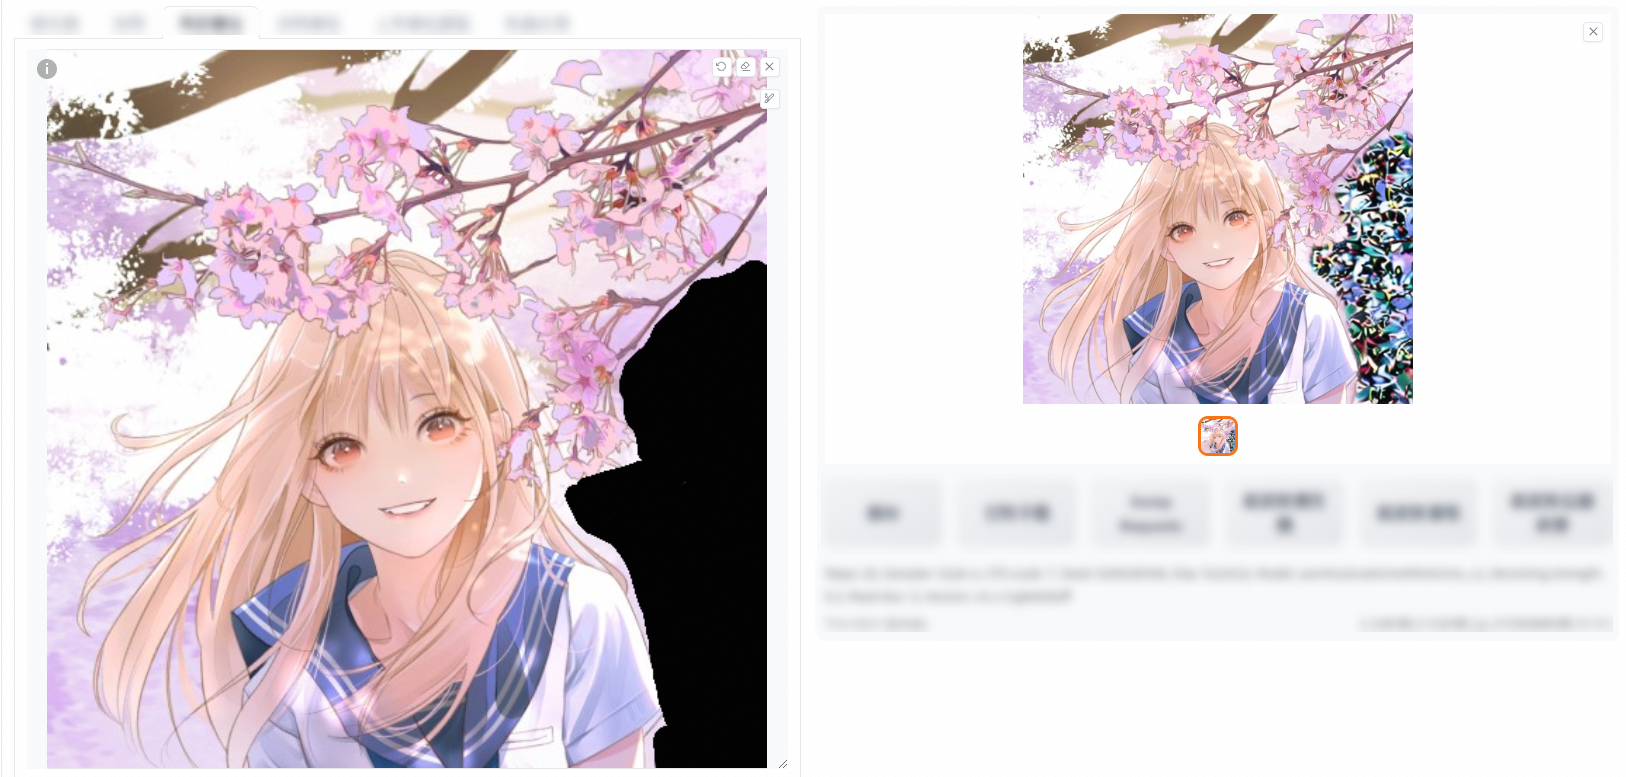
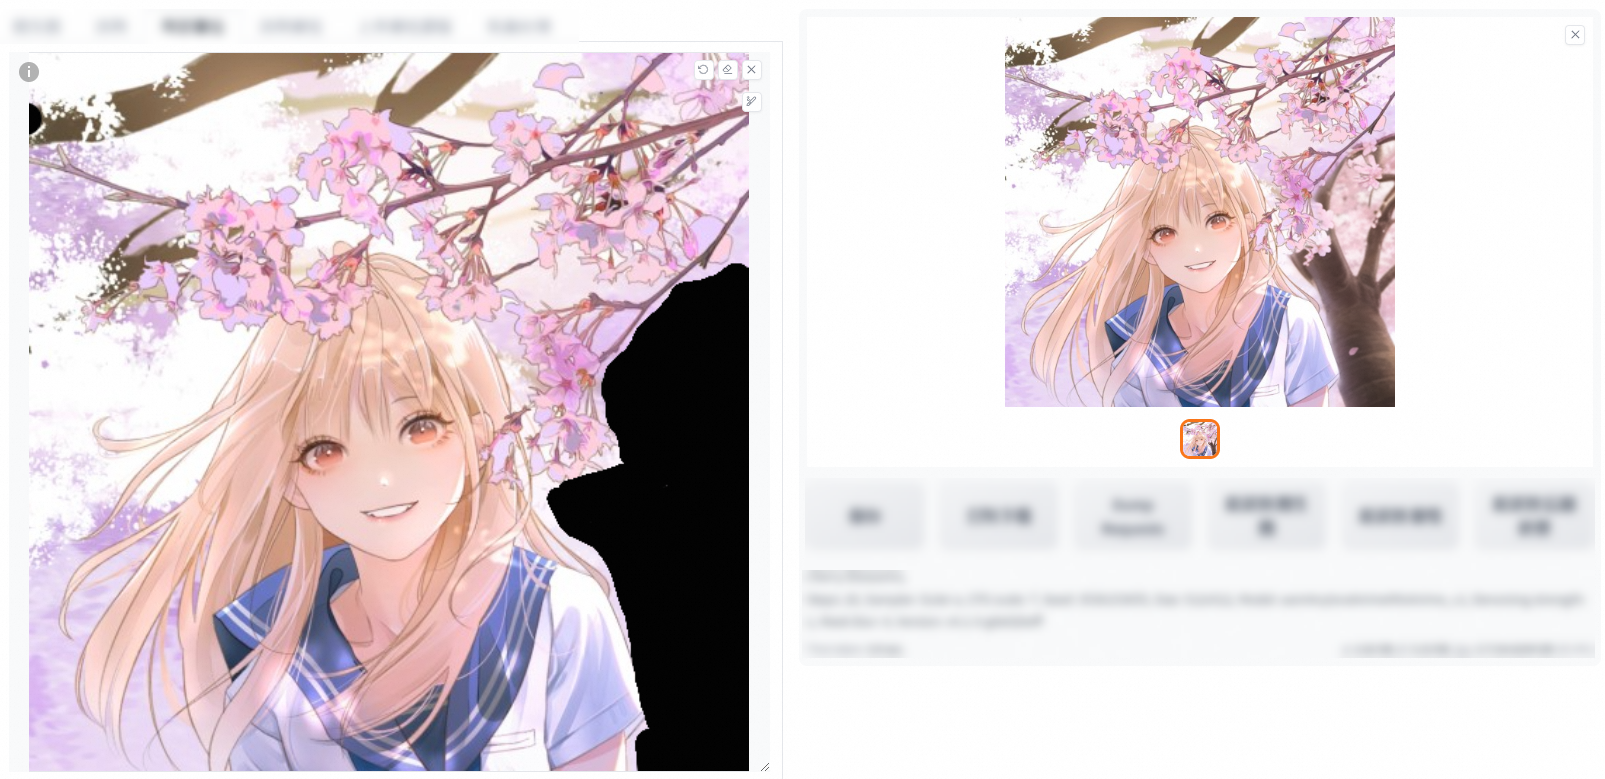
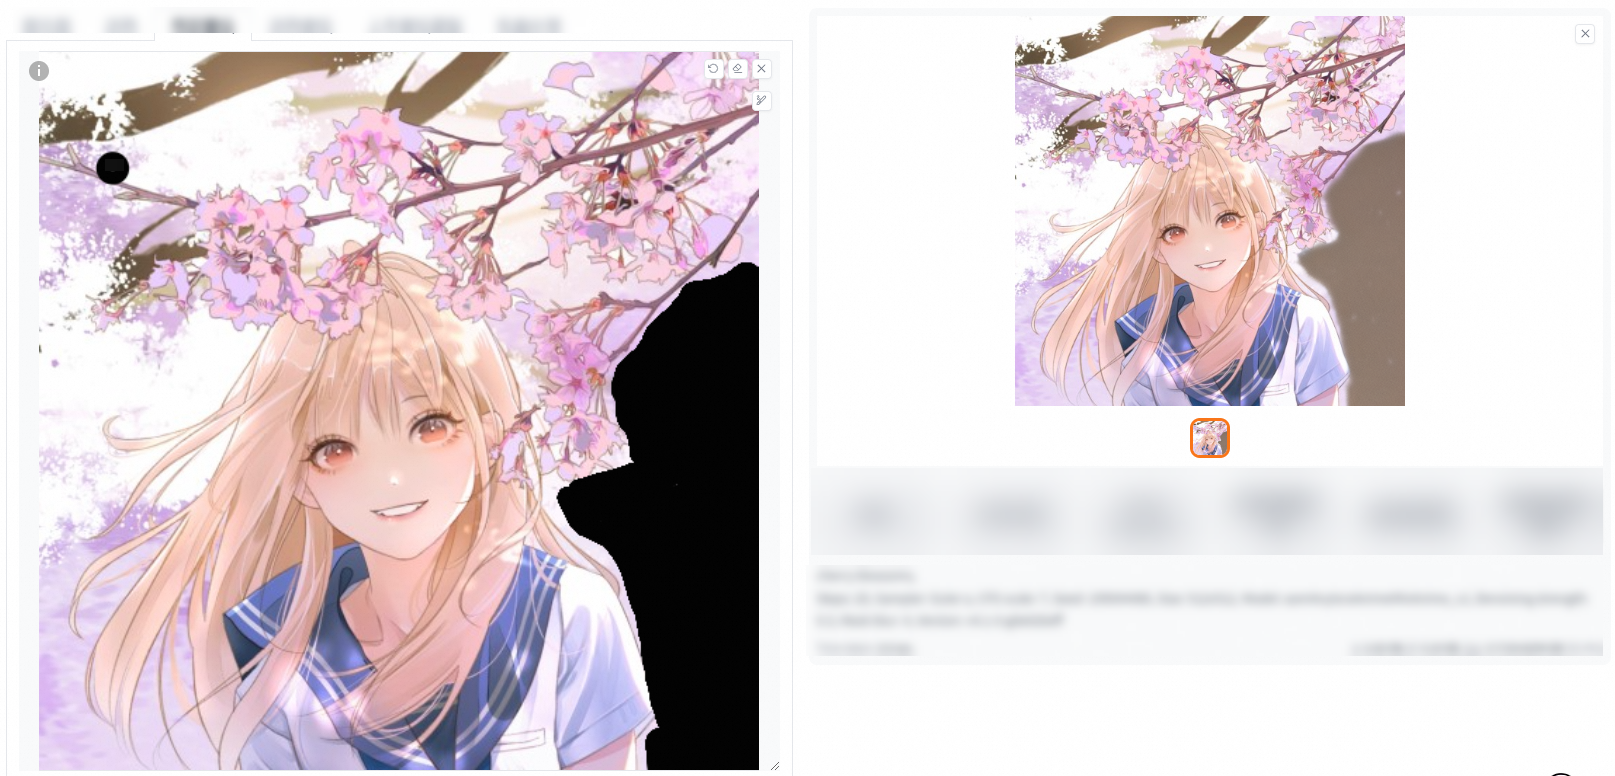
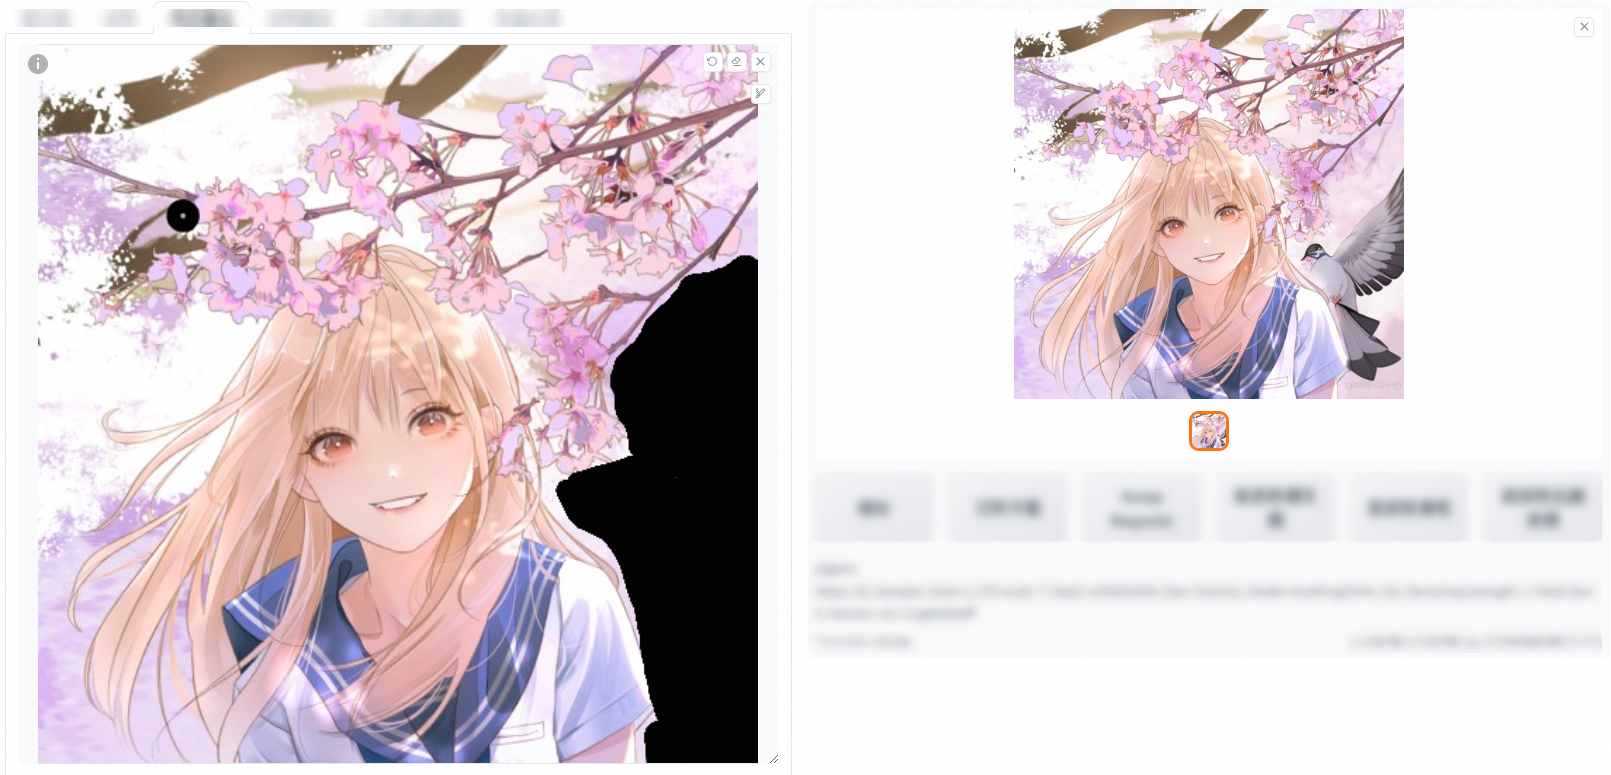
  • Mask mode

    image.png

  • Masked content

  • fill: fills the part to be repaired. This method is often used to remove unnecessary content in an image. In the following example, the tree trunk in the original image is removed in the output image.

    image

  • original: fills the part to be repaired by using the content of the original image. This method is often used to repair defects in the original image, such as scratches, cracks, and stains. In the following example, the tree trunk in the original image is replaced with flowers in the output image.

    image

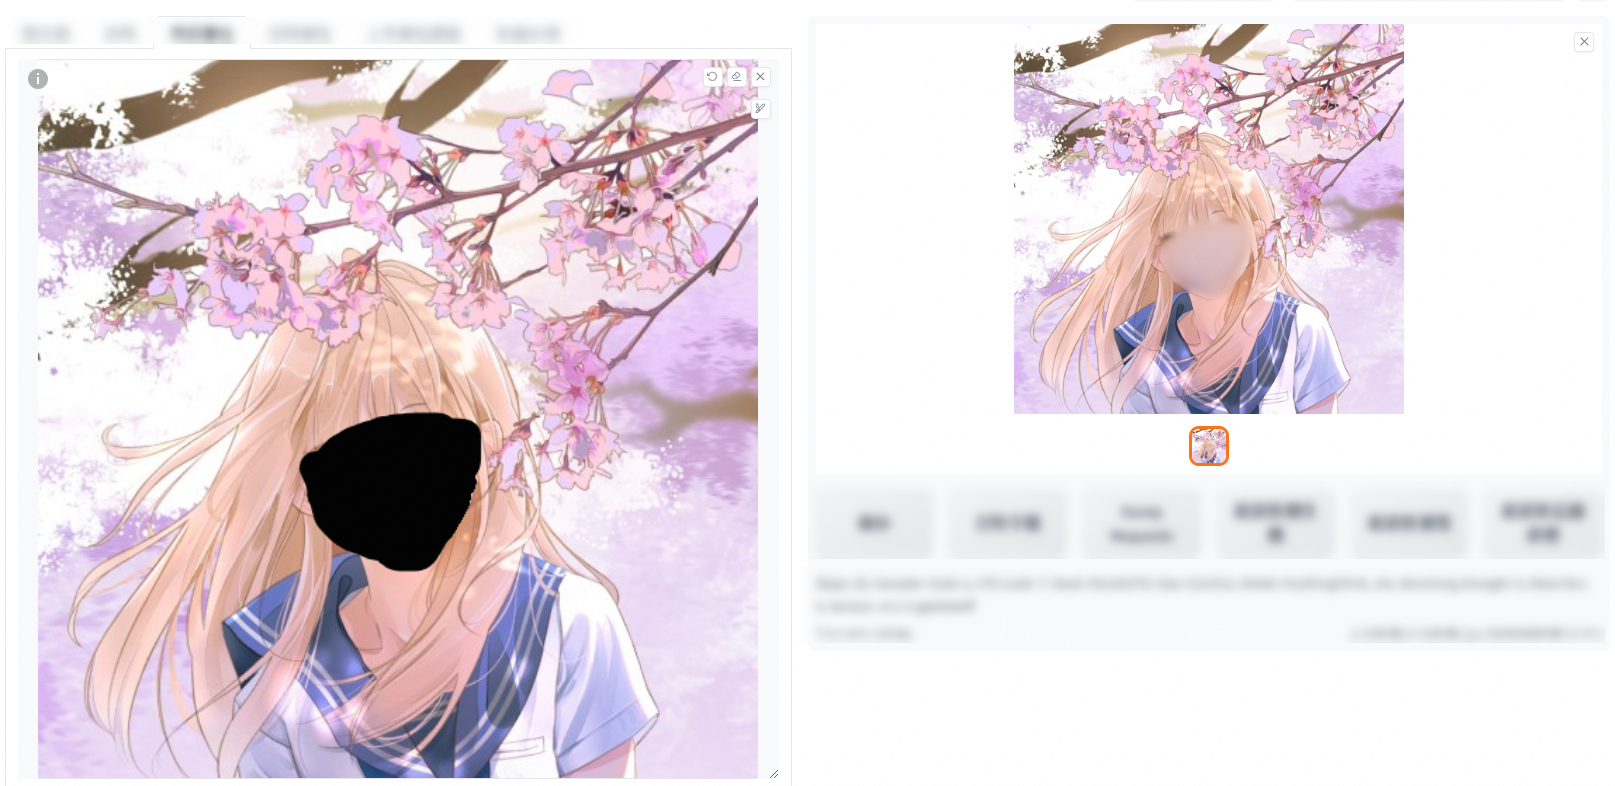
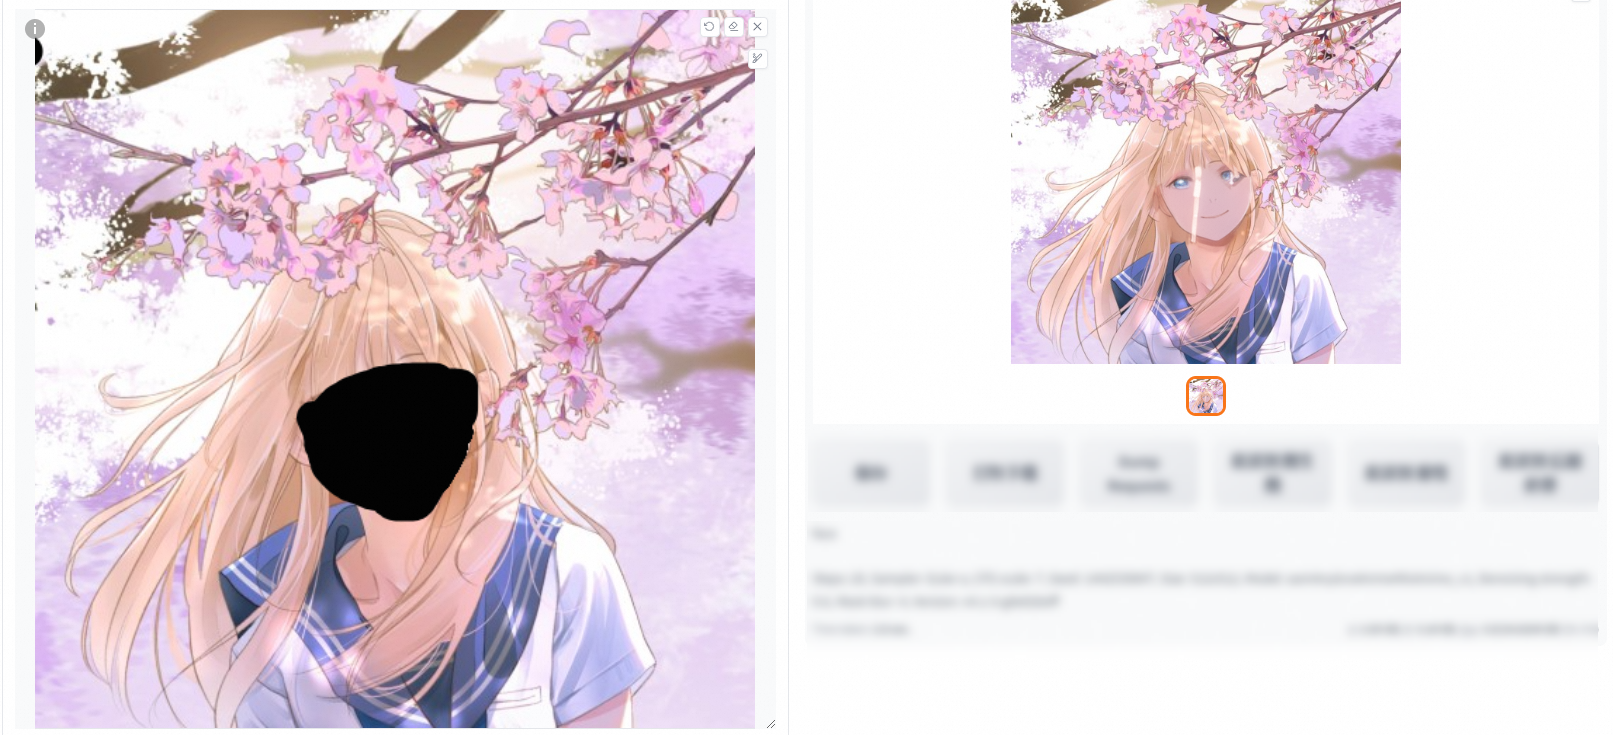
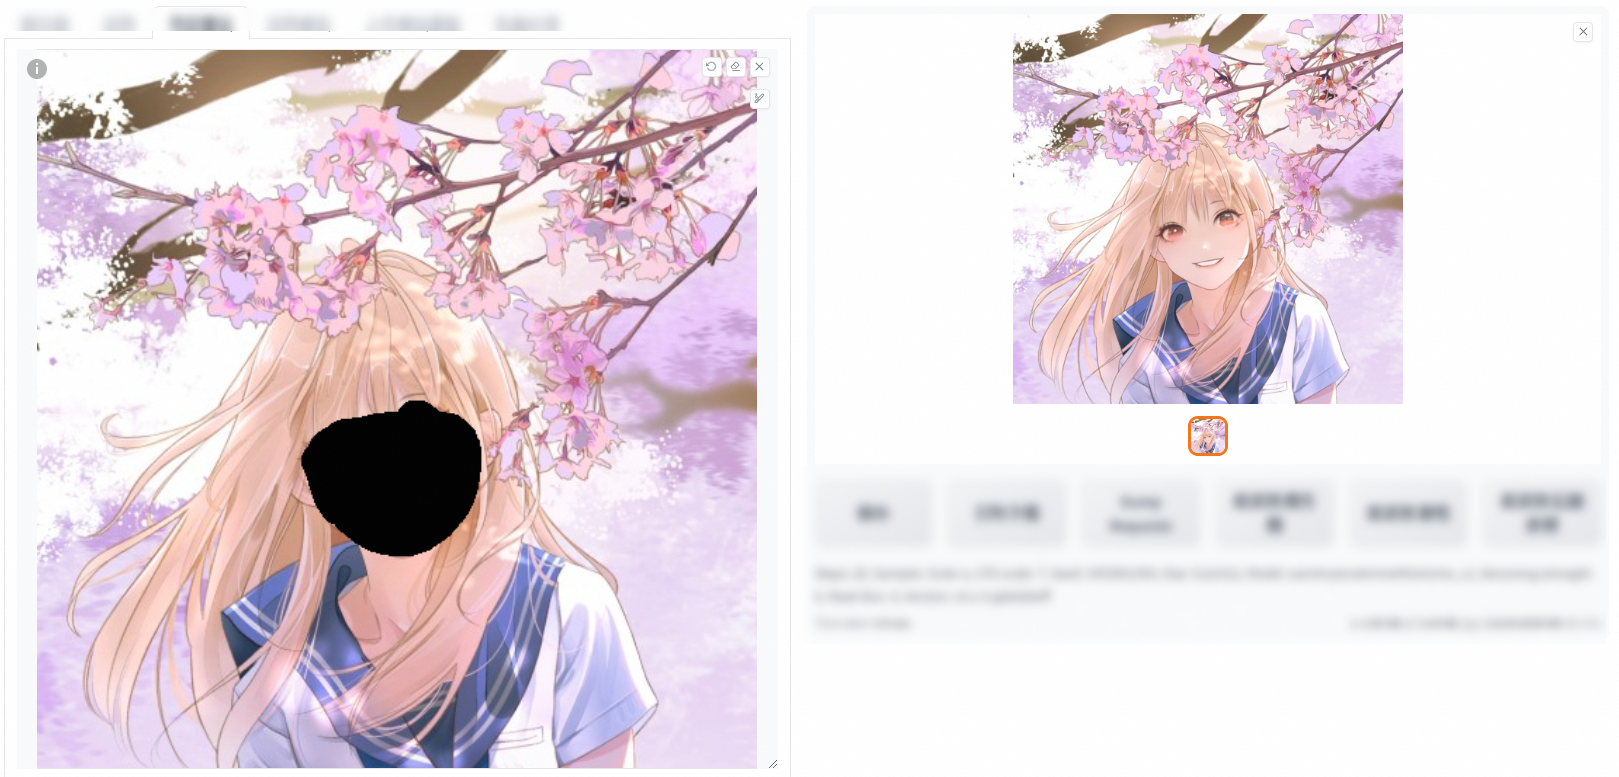
  • latent noise: adds random noise to the part that needs to be filled to deliver an artistic effect. This method is usually used for artistic processing in a specific part of an image to enhance the aesthetic effect of the image.

    • Low denoising strength

    image

    • High denoising strength

      image

  • latent nothing: adds blank pixels to maintain the original appearance of the image. This method is usually used to leave white space or add borders to specific parts of an image to maintain the overall aesthetic of the image.

    • Low denoising strength

      image

    • High denoising strength

      image

  • Whole picture (comparison of denoising strengths 0 and 0.6 for fill and original)

    • fill

      • Denoising strength: 0

        image

      • Denoising strength: 0.6

        image

    • original

      • Denoising strength: 0

        image

      • Denoising strength: 0.6

        image

  • Only masked (comparison of denoising strengths 0 and 0.6 for fill and original)

    • fill

      • Denoising strength: 0

        image

      • Denoising strength: 0.6

        image

    • original

      • Denoising strength: 0

        image

      • Denoising strength: 0.6

        image

  • Only masked padding, pixels: You can configure this parameter only if you set the Inpaint area parameter to Only masked. This parameter does not affect the whole image. If the masked area is a human face, the whole image is less affected and latent noise can deliver a better artistic effect.

Inpaint sketch

Mask transparency

image.png

The following four images show a comparison of the mask transparency values 0, 30, 60, and 90. The value of mask transparency ranges from 0 to 100. The larger the value, the more visible the mask is to the retained contour, which also affects the denoising strength.

image.pngimage.pngimage.pngimage.png

Image information

After you upload an image that is generated by Stable Diffusion, you can view the prompts and parameters of the image.

image

However, the screenshot of the original image or an image that is saved from another application cannot be identified in Stable Diffusion.

image

Parameters

image

Parameter

Description

Recommended value

Sampling method

The sampling mode of the diffusion denoising algorithm. Different sampling methods deliver different effects. Select an appropriate sampling method based on your needs.

Euler a, DPM++ 2s a, and DPM++ 2s a Karras are similar in the overall composition of the image. Euler, DPM++ 2m and DPM++ 2m Karras are similar in the overall composition of the image. DDIM differs from other sampling methods in the overall composition of the image.

Euler a

Sampling steps

The sampling steps of the generated image. This parameter determines the AI optimization effect. With each iteration, the system compares the prompts with the current image and accordingly makes fine adjustments.

If you increase the value of sampling steps, more time and computing resources are consumed but better results cannot be guaranteed.

In actual use, an increasing value of sampling steps indicates that more details are displayed in the generated image, which is also closely related to the sampling method. For example, the sampling steps of Euler a range from 30 to 40. The image generated by using Euler a tends to be stable, and no details are added if you increase the value of sampling steps.

The default number of sampling steps on the web UI is 20. The LMS, DPM fast, and PLMS sampling methods require a larger value of sampling steps, which is from 30 to 50. You can adjust the value of sampling steps based on the actual effect.

Restore faces

Specifies whether to refine the human face in an image.

If you want to refine the face in a panorama, you can select this option to optimize the details of the face. For a close-up image, we recommend that you do not select this option. Otherwise, overfitting may occur.

Tiling

Specifies whether to generate an image that can be tiled.

If you select this option, the image may not be generated as expected but video memory consumption is reduced. We recommend that you do not select this option.

Hires. fix

Specifies whether to use the high resolution for fixing. This parameter affects the resolution of the generated image.

An AI image is generated in the following way: The system creates an image by using a low resolution, and then improves the details of the image without changing the composition of the image. If you select this option, you must configure the Hires steps and Denoising strength parameters.

If you select this option, the image may have more details but may not meet your expectations.

Width and Height

The size and resolution of the generated image. The higher the resolution, the more details the image has but more video memory is consumed. We recommend that you do not set an excessively high resolution.

512 × 512. This is the default value.

Batch count

The total number of batches. This parameter affects the details of the image to be generated. The larger the value, the longer it takes to calculate.

1. This is the default value.

Batch size

The number of images that are generated in each batch at a time. A larger value causes higher video memory consumption.

1 to 4

CFG Scale

A larger value indicates that the AI generation is more compliant with the prompts that you provide. A smaller value indicates that the AI generation is more creative.

7. This is the default value.

Seed

A value of -1 indicates that each generation is random. If you set a value other than -1, and do not change the model, GPU, and other parameters, the same image is generated every time.

-1. This is the default value.

Model overview

For more information, see Models of ArtLab.

ControlNet plug-in

Note

The MistoLine-SDXL-ControlNet plug-in that is provided by all versions of Stable Diffusion WebUI and ComfyUI in PAI ArtLab is developed by TheMisto.ai.

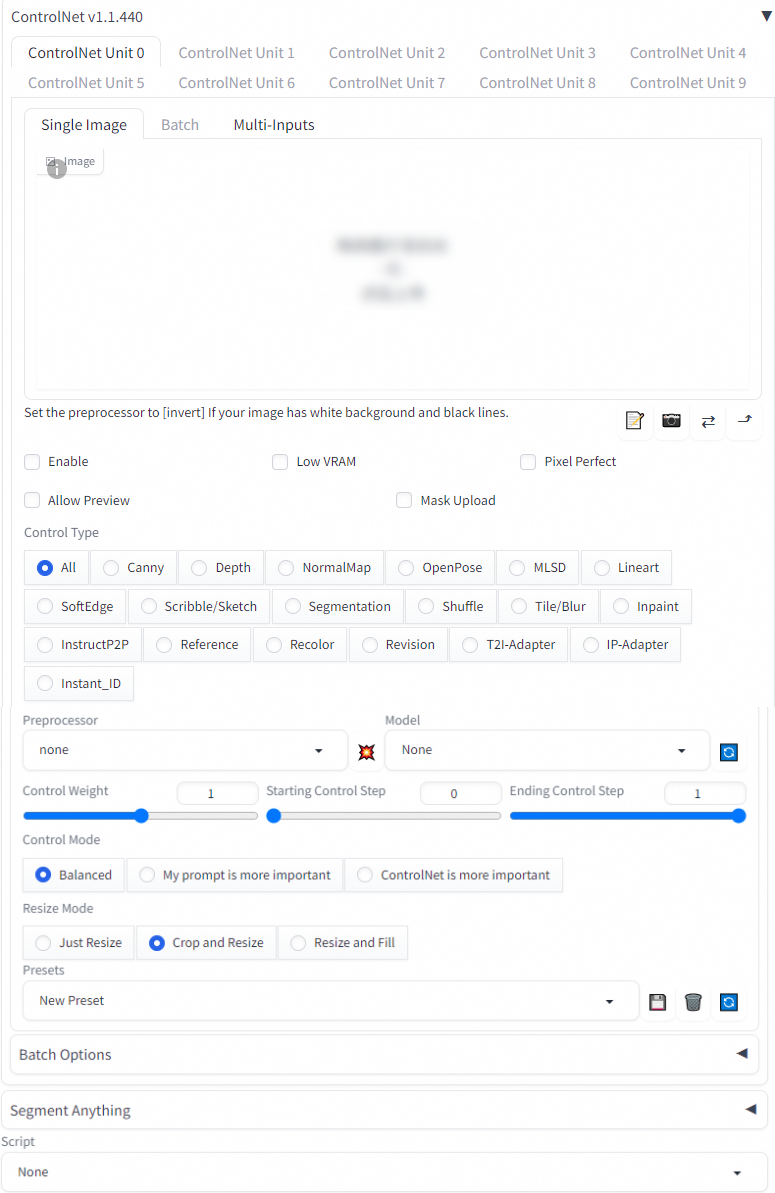
Parameters

image

Parameter

Description

Enable

Specifies whether to enable ControlNet.

Low VRAM

If the video memory is smaller than 4 GB, you can select this option.

Preprocessor

The preprocessing effect varies based on the preprocessor. Each preprocessor has a corresponding model. You can use a preprocessor together with the corresponding model.

Model

A model can be used together with a preprocessor. You must manually download a model and upload it to the corresponding directory in OSS.

Control Weight

The weight of CnotrolNet in the AI generation. In the process of img2img generation, a low denoising strength in combination with a high control weight can change the filter and style of an image without changing the details of the image, and a high denoising strength in combination with a low control weight can modify the details of an image.

Starting Control Step

The value is a percentage value that ranges from 0 to 1. This parameter indicates where ControlNet starts control. A value of 0 indicates that ControlNet starts control from the first step, and a value of 1 indicates that ControlNet starts control from the last step. A larger value indicates that CnotrolNet has less effect on the AI generation.

For example, if you set the Sampling steps parameter to 20 and the Starting Control Step parameter to 0.3, ControlNet starts control from the sixth step based on the following formula: 20 × 0.3 = 6.

Ending Control Step

The value is a percentage value that ranges from 0 to 1. This parameter indicates where CnotrolNet ends control.

Control Type

  • Canny: generates a line draft. This control type can detect the detailed lines in an image, such as contours, movements, clothes folds, and expressions. However, the generated image is less creative and subject to the background. This control type is not suitable for images with complex backgrounds or images where the subject is highly intersected with the background. In most cases, this control type is used together with the control_sd15_canny model.

  • Depth: estimates the distances of the objects in an image. This control type can control the spatial positioning of objects in the image by using gray-scale values. Light gray indicates that the object is at a relatively short distance, and dark gray indicates that the object is at a relatively long distance. However, this control type falls short in identifying the details of an image. For example, human expressions in an image may be compromised. In most cases, this control type is used together with the control_sd15_depth model.

  • NormalMap: uses the normal map technology. The generated normal map is completely based on the input image rather than built by 3D modeling software. This control type pinpoints the roughness and smoothness of the object by using three colors: red, green, and blue. It can retain more details of an image, and process complex details, contours, and distances in an image. It is suitable for character modeling. In most cases, this control type is used together with the control_sd15_normal model.

  • OpenPose: generates a basic skeleton drawing based on the pose of the person in the image. Joints are provided in the skeleton drawing to generate an image with the same theme as the input image. In most cases, this control type is used together with the control_sd15_openpose model.

  • MLSD: detects straight lines in an image to generate clear contours. This control type is mainly used to process objects with straight contours, such as buildings. In most cases, this control type is used together with the control_sd15_mlsd model.

  • Scribble/Sketch: generates an image from a simple black-and-white drawing or a sketch. You can directly upload a sketch drawing. If the input image is composed of a white background and black lines, you need to select Invert Input Color. In most cases, this control type is used together with the control_sd15_scribble model.

  • Segmentation: segments the objects in the input image based on the category of the objects. In most cases, this control type is used together with the control_sd15_seg model.

ControlNet showcase

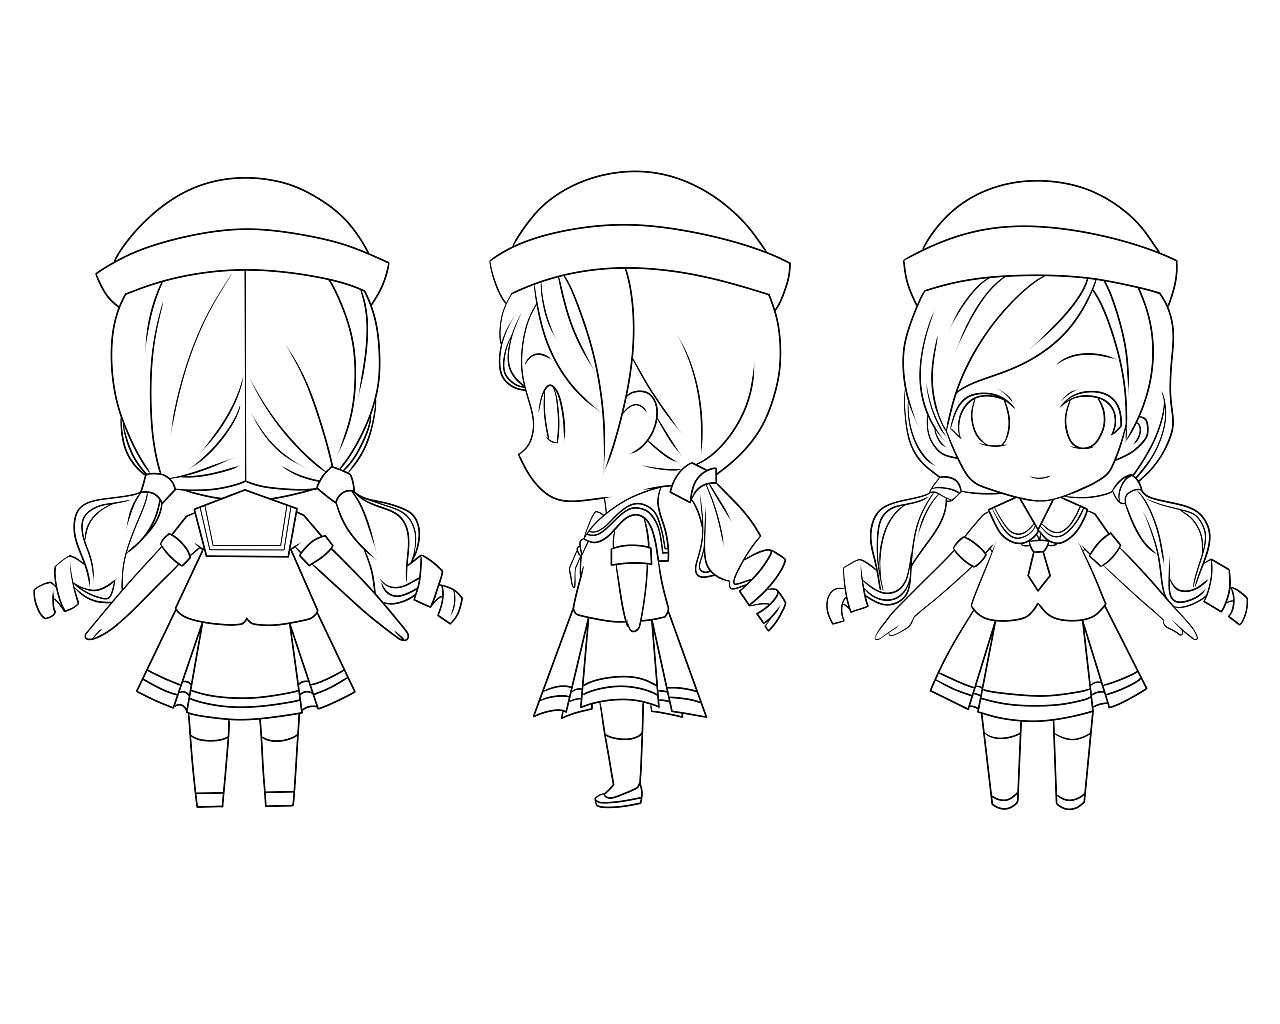
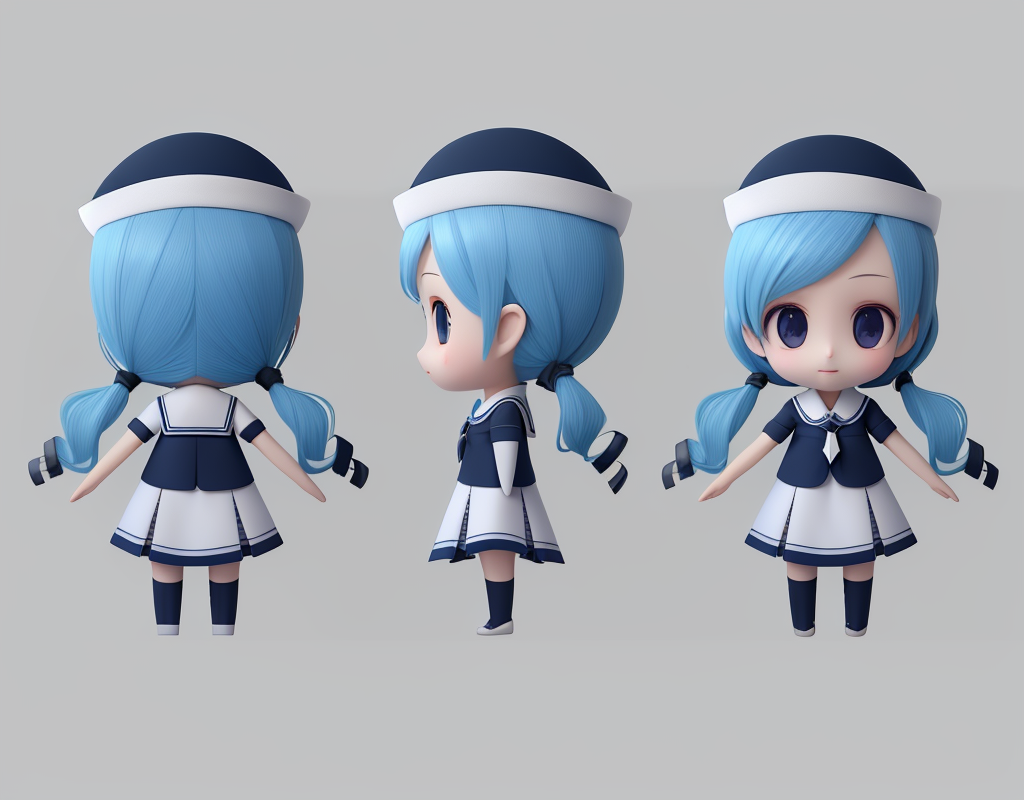
Images of three views

  • Recommended models: Checkpoint and LoRA

  • Prompt settings

    • Positive prompt: JinxLol,mature female,1girl, solo,looking at viewer, navel, gloves, fingerless gloves, character name, midriff, bare shoulders, looking at viewer, gun, crop top, belt,outdoors

    • Negative prompt: (low quality, worst quality:1.3), (lowres), blurry,text,watermark,signature,artist name,letterboxed, female pubic hair,realism

  • Parameter settings

    Sampling method: Select DPM++2M Karras from the drop-down list. Use default values for other parameters or make an appropriate adjustment based on your needs.

  • ControlNet parameters

    Upload a line draft with views from different visual angles. Set the Control Type parameter to Canny. Use default values for other parameters or make an appropriate adjustment based on your needs.

  • Result

    1682578796063-dc37f288-bb24-4c7c-9fe0-8c4138cd6cc8

    image

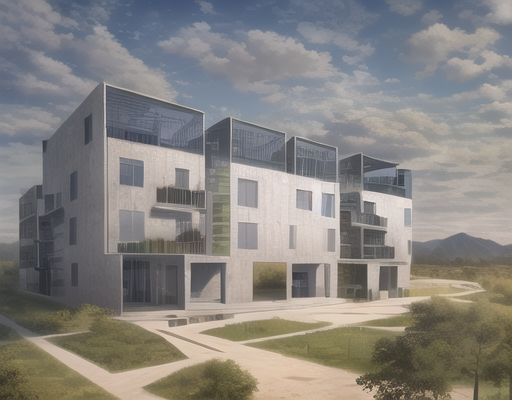
Outdoor building

  • Recommended models: Checkpoint and LoRA

  • Prompt settings

    • Positive prompt: XSWB,architecture,autumn,bench, blue_sky, building,cloudy_sky, day, fence,forest, garden, grass, house, mountain, nature, no_humans, outdoors, palm_tree, path, pavement, plant, road, scenery, sky,tree, water,wooden_fence,triangular top,masterpiece,ultra-fine painting,sharp focus,HDR,UHD,8K,4K <lora:xsarchitectural3aerial_xsarchitectural3:0.9>

    • Negative prompt: soft line,Distorted, fuzzy

  • Parameter settings

    Sampling method: Select Eular a from the drop-down list. Use default values for other parameters or make an appropriate adjustment based on your needs.

  • ControlNet parameters

    Upload a line draft of a building. Set the Control Type parameter to MLSD. Use default values for other parameters or make an appropriate adjustment based on your needs.

  • Result

    image

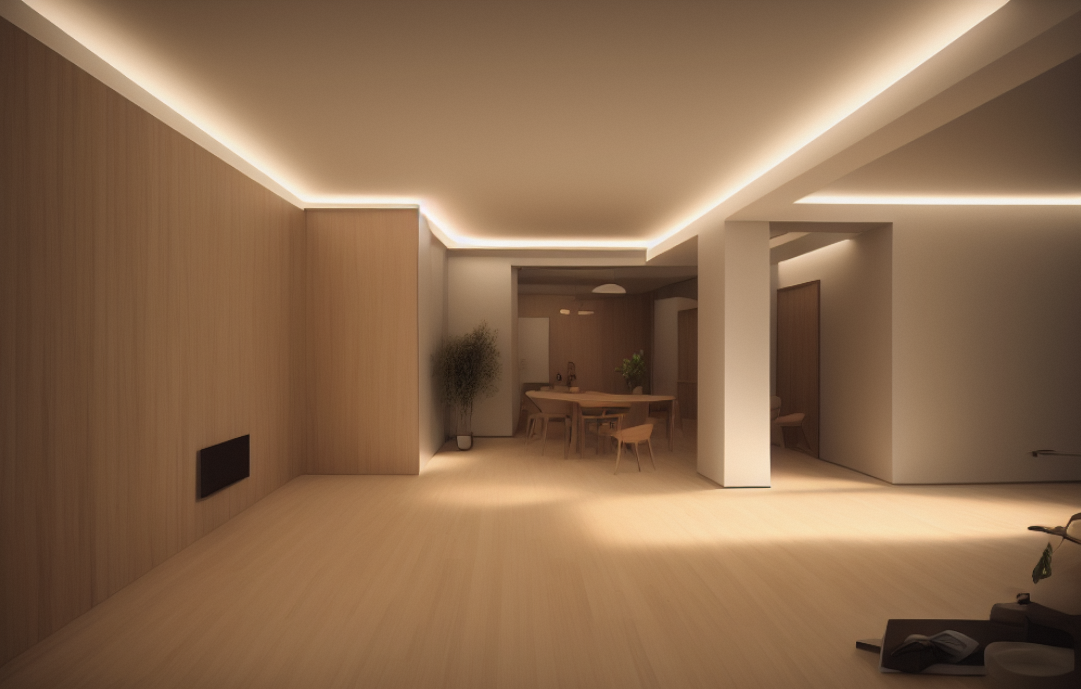
Interior finish

  • Recommended models:

    v1-5-pruned-emaonly.safetensors and LoRA

  • Prompt settings

    Positive prompt: Interior advanced Design<lora:xsarchitectural9advanced_xsarchitectural:1>

  • Parameter settings

    Sampling method: Select Eular a from the drop-down list. Use default values for other parameters or make an appropriate adjustment based on your needs.

  • ControlNet parameters

    Upload an image of a blank room. Set the Control Type parameter to MLSD and the Batch size parameter to 4. Use default values for other parameters or make an appropriate adjustment based on your needs.

  • Result

    image.png

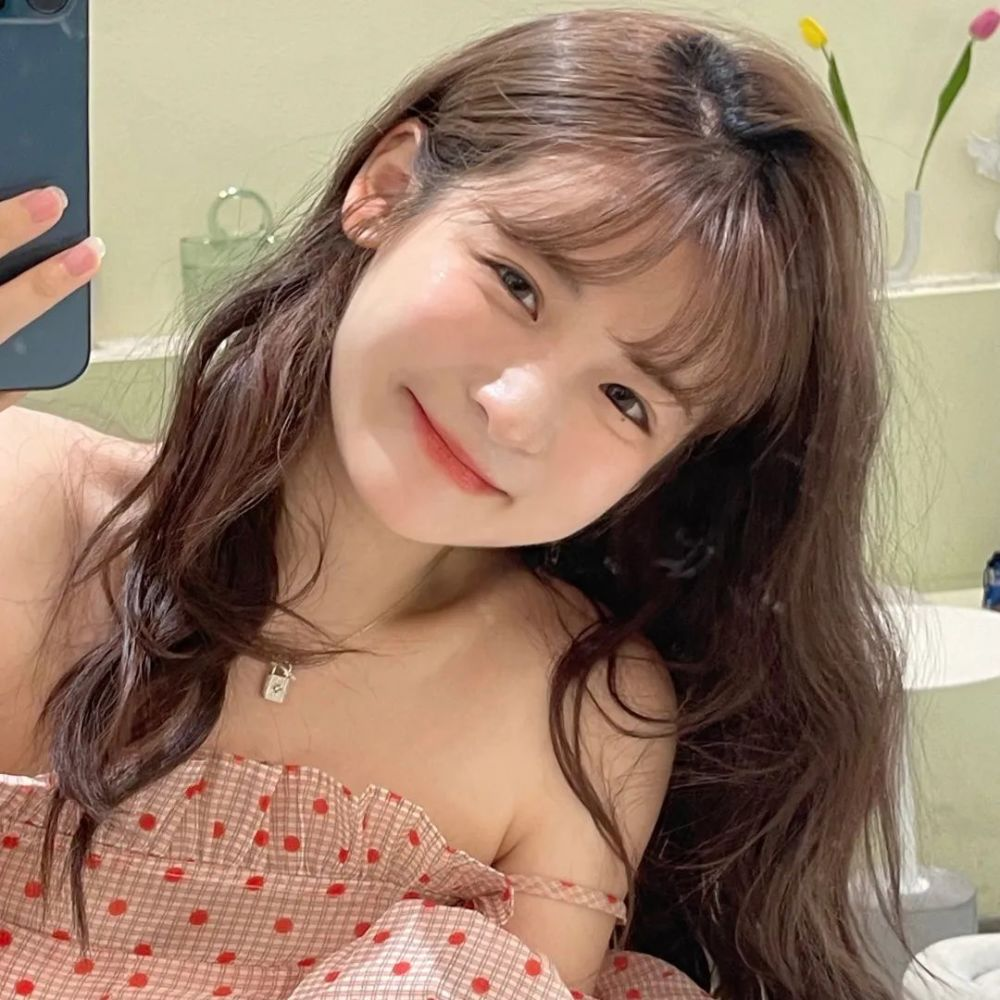
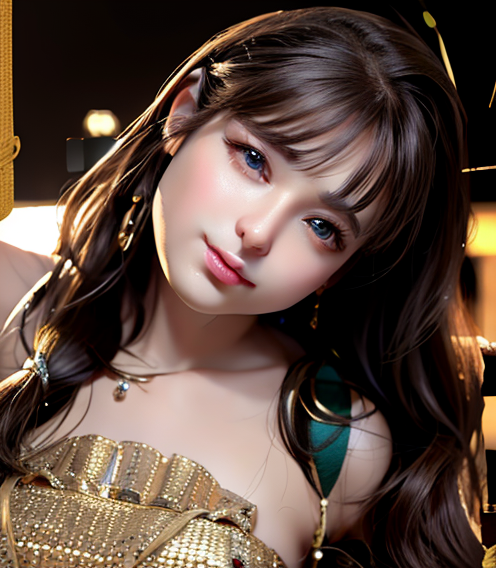
Animated profile picture

  • Prompt settings

    • Positive prompt: best quality, masterpiece, (realistic:1.2), 1 girl, brown hair, brown eyes,Front, detailed face, beautiful eyes <lora:hanfu_v29 Lora:1>

    • Negative prompt: (low quality, worst quality:1.4),nsfw

  • Parameter settings

    Sampling method: Select Eular a from the drop-down list. Use default values for other parameters or make an appropriate adjustment based on your needs.

  • ControlNet parameters

    Upload an image of a face. Set the Control Type parameter to Canny. Use default values for other parameters or make an appropriate adjustment based on your needs.

  • Result

    image

    image

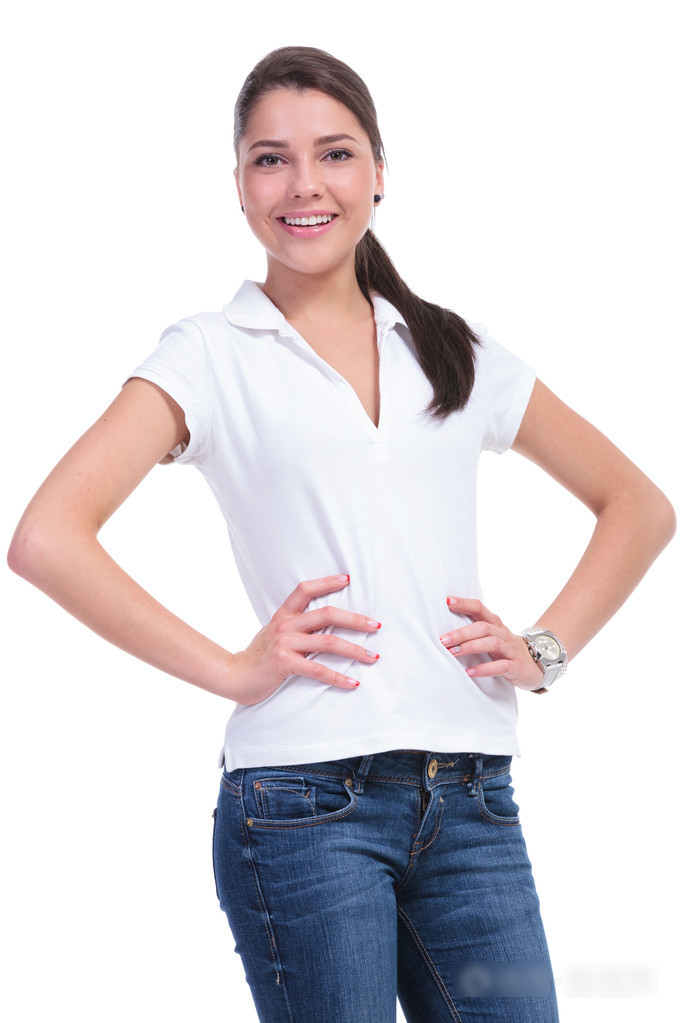
Change of dress

  • Recommended model: Civitai

  • Prompt settings

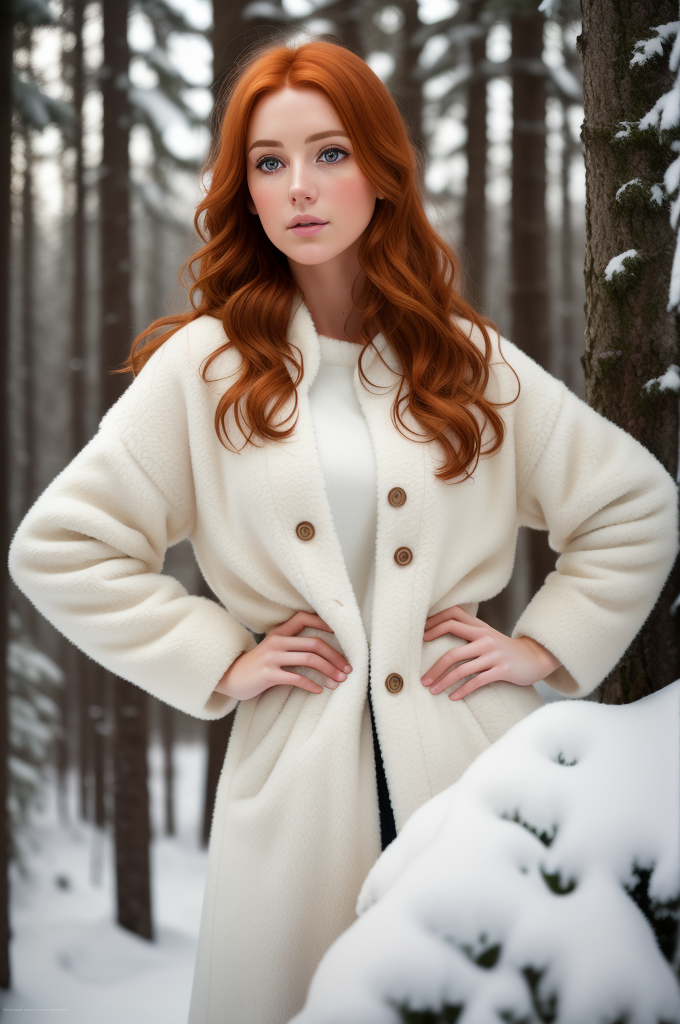
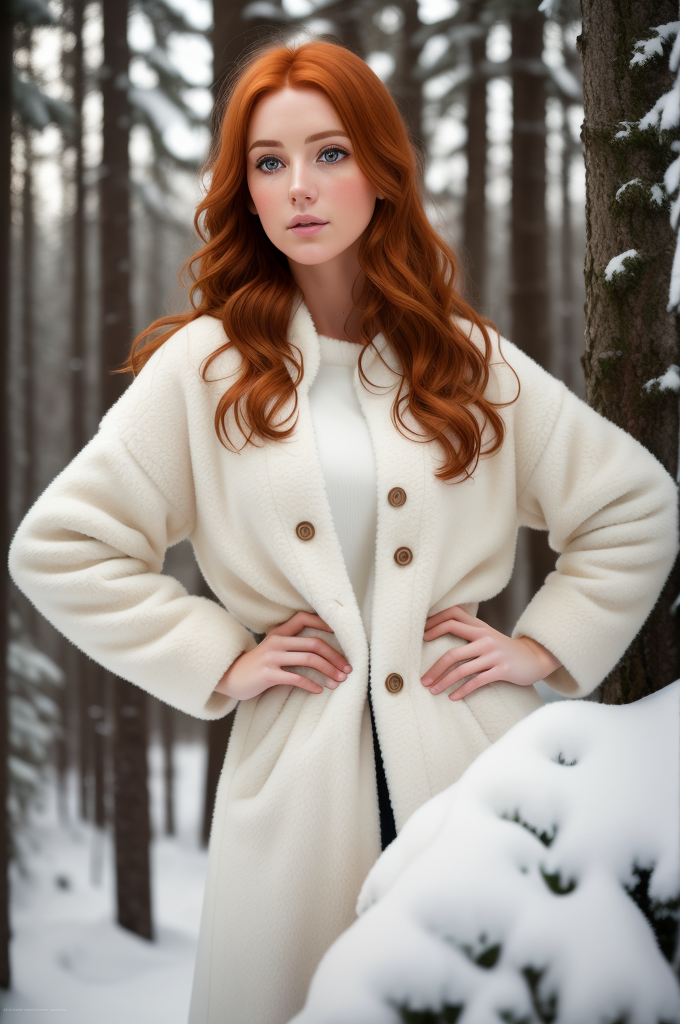
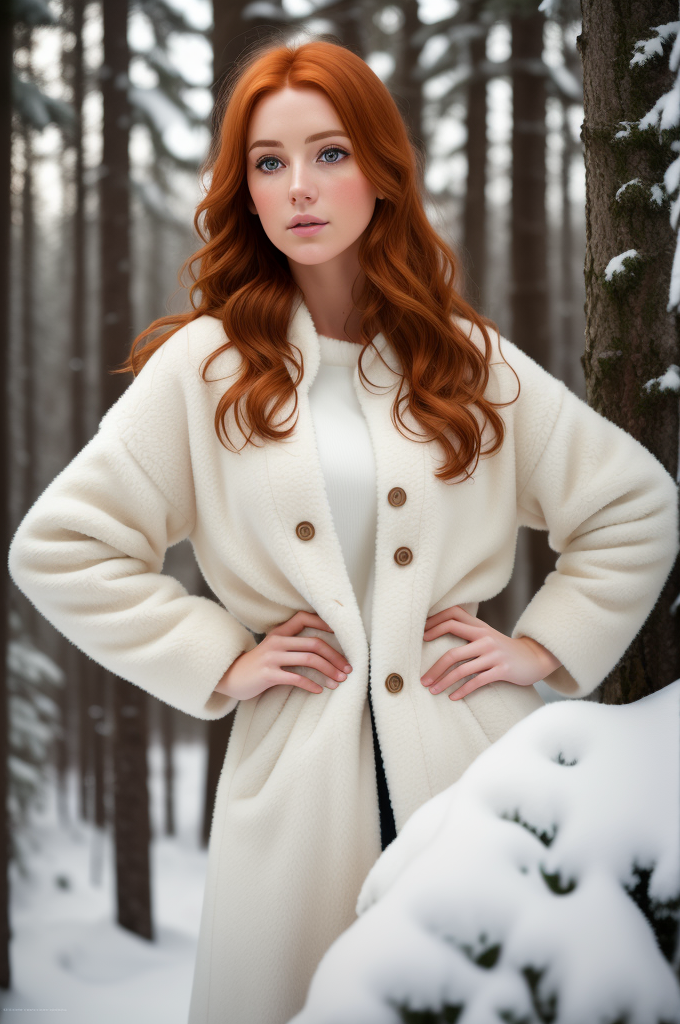
    • Positive prompt: close up of a european woman, ginger hair, winter forest, natural skin texture, 24mm, 4k textures, soft cinematic light, RAW photo, photorealism, photorealistic, intricate, elegant, highly detailed, sharp focus, ((((cinematic look)))), soothing tones, insane details, intricate details, hyperdetailed, low contrast, soft cinematic light, dim colors, exposure blend, hdr, faded

    • Negative prompt: (deformed, distorted, disfigured:1.3), poorly drawn, bad anatomy, wrong anatomy, extra limb, missing limb, floating limbs, (mutated hands and fingers:1.4), disconnected limbs, mutation, mutated, ugly, disgusting, blurry, amputation,nsfw

  • Parameter settings

    Sampling method: Select Eular a from the drop-down list. Use default values for other parameters or make an appropriate adjustment based on your needs.

  • ControlNet parameters

    Upload an image of a figure. Set the Control Type parameter to OpenPose. Use default values for other parameters or make an appropriate adjustment based on your needs.

  • Result

    image

    image

Change of hair color

  • Prompt settings

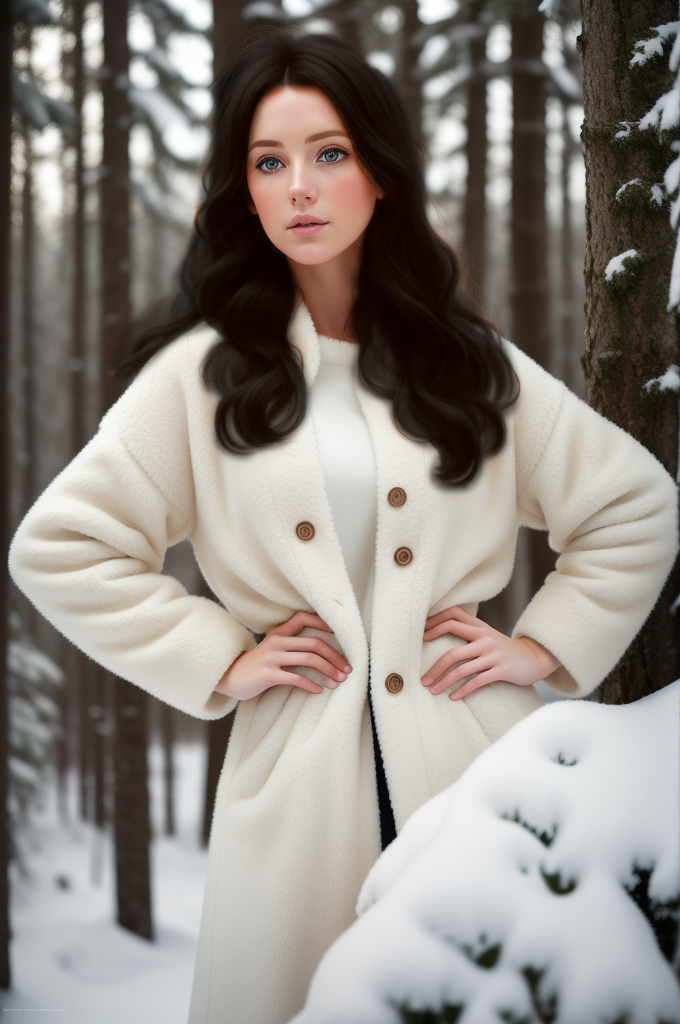
    You can add the following tag: black hair.

  • Parameter settings

    To change the hair color, you can use the Inpaint feature. Manually draw a mask, set the Denoising strength parameter to 0.6, and use default values for other parameters.

  • Result

    image.pngimage.png

Background inpainting

  • Prompt settings

    You can add the following tags and use parentheses to adjust the weight: green trees,((beach)),((sea)),((blue sky)),black hair.

  • Parameter settings

    Manually draw a mask and modify parameters such as Mask mode and Denoising strength based on the scope of the masking.

  • Result

    image.pngimage.png