To allow multiple users to access resources in your enterprise at the same time, you can create multiple Resource Access Management (RAM) users and grant permissions to the RAM users based on the principle of least privilege. This prevents multiple users from sharing the password or AccessKey pair of an Alibaba Cloud account and reduces security risks for your enterprise. This topic describes how to execute a CloudOps Orchestration Service (OOS) template as a RAM user.
Scenarios
A company purchased several Elastic Compute Service (ECS) instances. Two ECS instances are tagged with TagKey:TagValue and added to a group. Staff A needs to be assigned the RAM user subUser1ForOOS to execute Template T in OOS. Template T is used to run shell commands on ECS instances tagged with TagKey:TagValue. Staff A needs to be granted the permissions to read and execute Template T and the permissions to call the API operations, such as RunCommand, that are specified in Template T to manage ECS instances tagged with TagKey:TagValue.
Policy descriptions
To meet the preceding requirements, the policies must include the permissions on OOS resources and ECS resources.
OOS-related permissions: the permissions to execute and query templates.
ECS-related permissions: the permissions to call the API operations specified in Template T to manage ECS instances tagged with
TagKey:TagValue.
After you create the preceding policies, attach the policies to the RAM user assigned to Staff A or a user group that has the same duties as Staff A.
Procedure
Step 1: Add tags to the ECS instance
In the left-side navigation pane, choose .
In the top navigation bar, select the region where the ECS instance resides.

Find the ECS instance and choose in the Actions column.
In the Configure Tags dialog box, set Tag Key and Tag Value, and click OK.
In this example, Tag Key is set to
TagKeyand Tag Value is set toTagValue.
Step 2: Create a RAM user and grant permissions to the RAM user
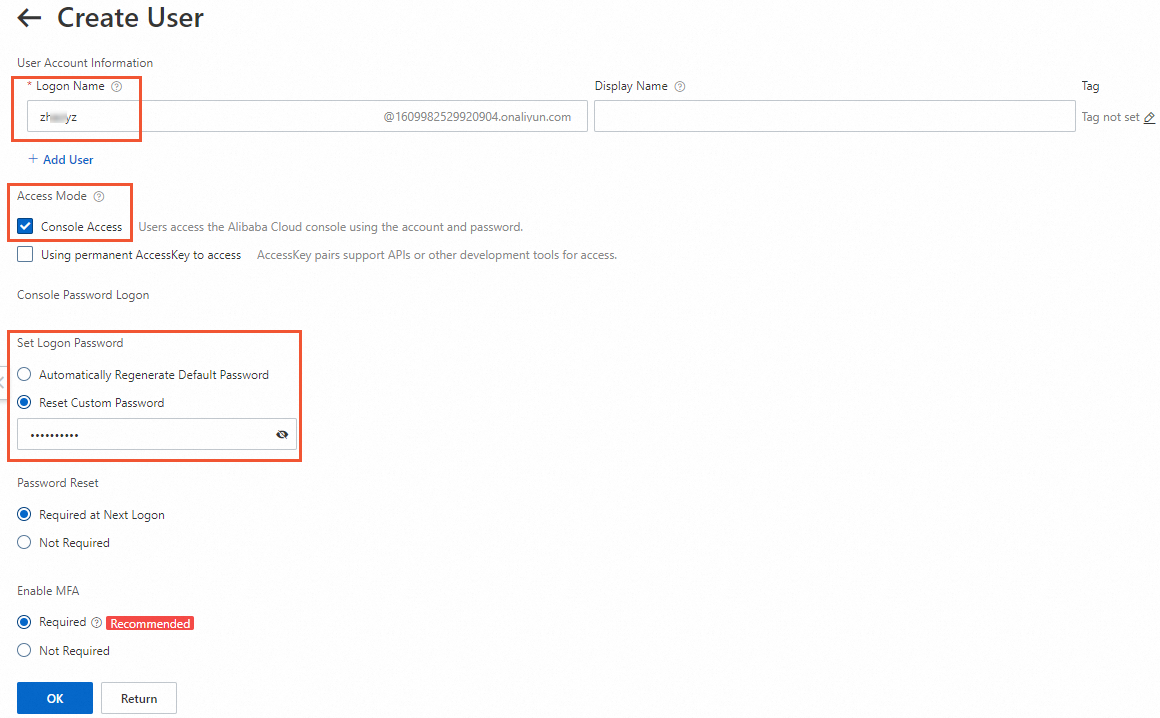
Log on to the RAM console and create a RAM user, such as
subUser1ForOOS.The following table describes the key parameters. For more information, see Create a RAM user.
Parameter
Description
Logon Name
Enter the name of the RAM user. The name can contain letters, digits, periods (
.), underscores (_), and hyphens (-). The name can be at most 64 characters in length.Access Mode
Select Console Access to access the Alibaba Cloud Management Console by using the password.
Set Logon Password
Select Reset Custom Password and specify a custom password.
Create a custom policy.
Choose to create a custom policy for OOS and a custom policy for ECS. For more information, see Create a custom policy.
NoteYou must replace
$AliyunMasterAccountID,$TagKey,$TagValue, and$RegionIDin the policy content with the ID of your Alibaba Cloud account, the tag key and value configured for the ECS instances, and the region ID.Grant the required permissions to the RAM user.
Choose to attach OOS custom policies and ECS custom policies to the RAM user. For more information, see Grant permissions to a RAM user.
Step 3: Execute the OOS template
Log on to the CloudOps Orchestration Service console by as the RAM user.
In the left-side navigation pane, choose .
On the Public Template page, search for the
ACS-ECS-BulkyRunCommandtemplate and click Create Execution.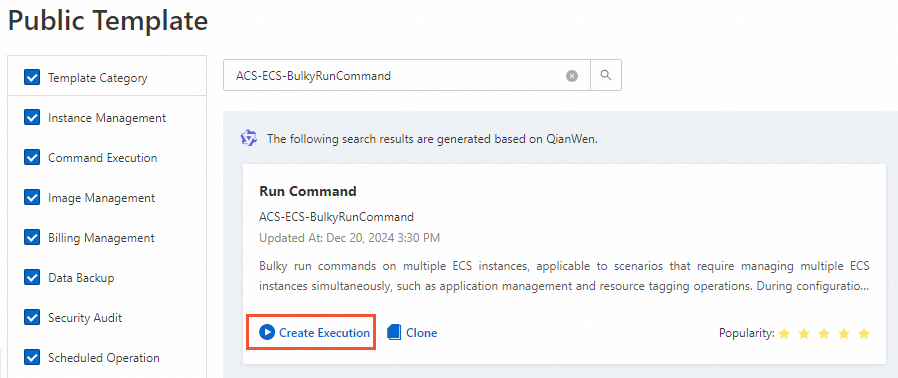
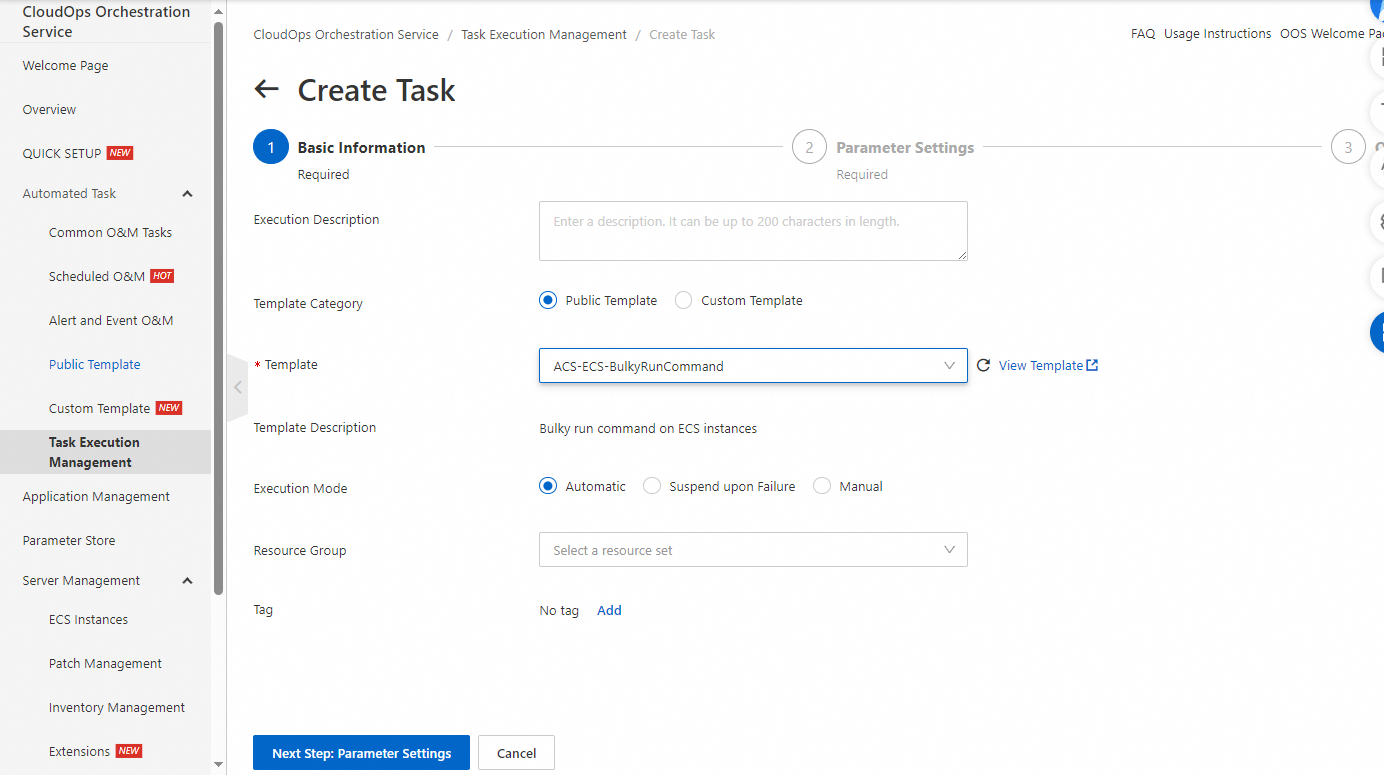
In the Basic Information step, confirm the template information and click Next Step: Parameter Settings.
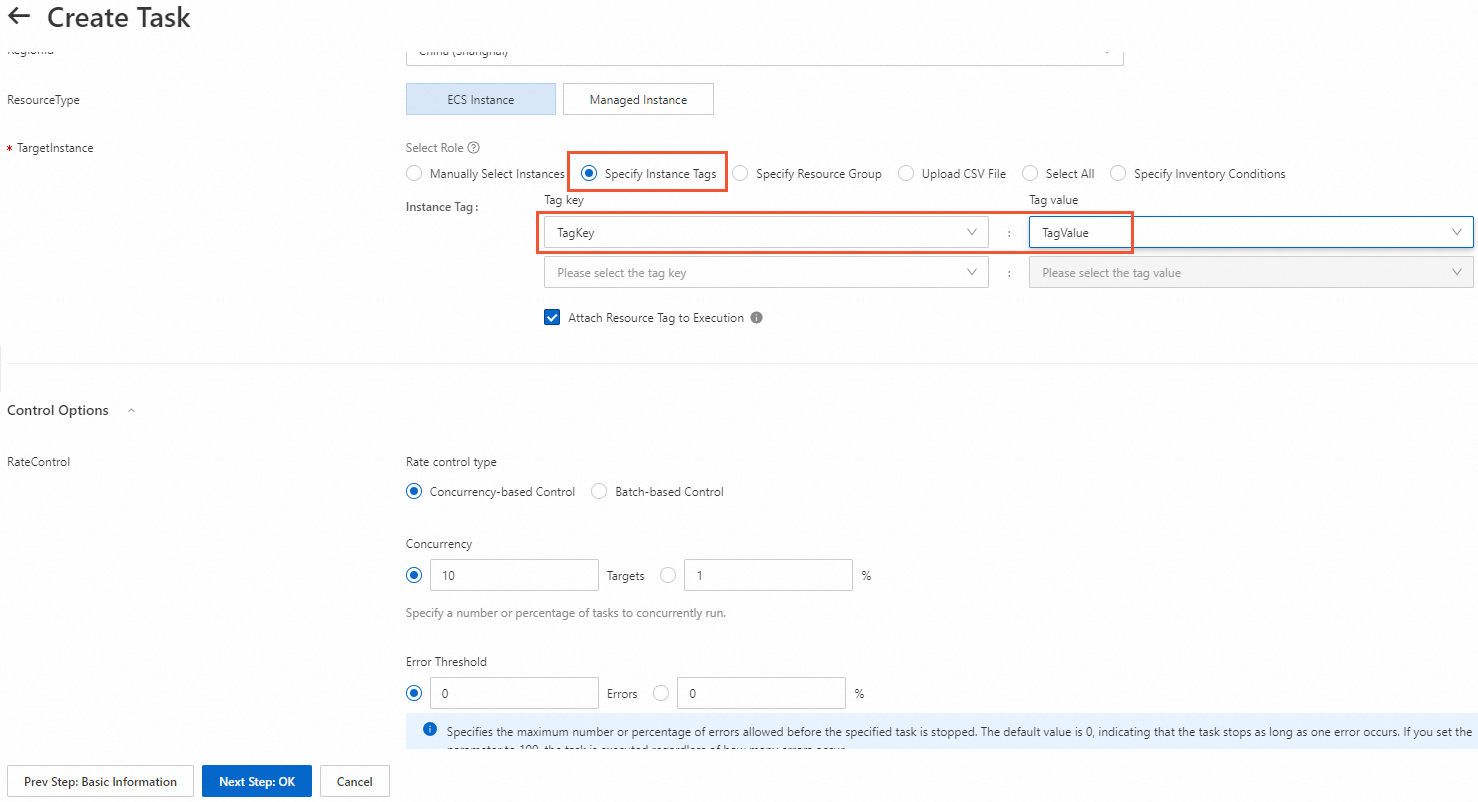
In the Parameter Settings step, set the parameters and click Next Step: OK.
Set TargetInstance to Specify Instance Tags and specify the tag key and tag value.
Confirm the settings and click Create.