When you use Elastic Compute Service (ECS), you are often faced with software update issues, such as version updates of backend services and security patching. The image creation or update feature in common O&M tasks provided by CloudOps Orchestration Service (OOS) can solve the above problems.
Procedure
OOS allows you to create an image from an existing ECS instance or update an image. Before you perform the following operations, make sure that an ECS instance is created. For more information, see Create an ECS instance.
Choose Automated Task> Common O&M Tasks> Create or Update Images and click Create.
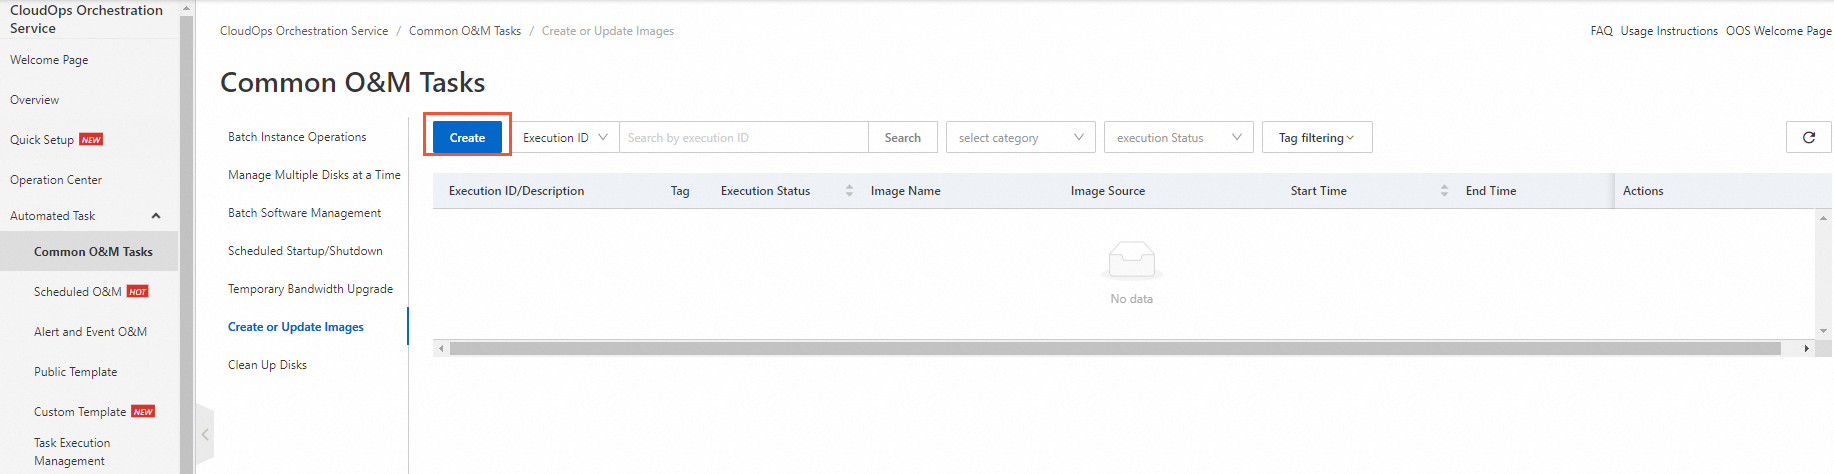
On the Create Task Create or Update Images page, select Create Image from Existing Instance or Update Image.
In this example, Create Image from Existing Instance is selected.
In the General Settings section, specify New Image Name and Permissions.
You can set Permissions to Use Existing Permissions of Current Account or Specify RAM Role and Use Permissions Granted to This Role. In this example, Specify RAM Role and Use Permissions Granted to This Role is selected and the OOSServiceRole permission is assumed by OOS.
NoteIf no RAM role is available, see Grant permissions to OOS. If you know how to create a RAM role for OOS, you can directly click Manual Authorization. For more information about the required permission policy, see the following JSON script:
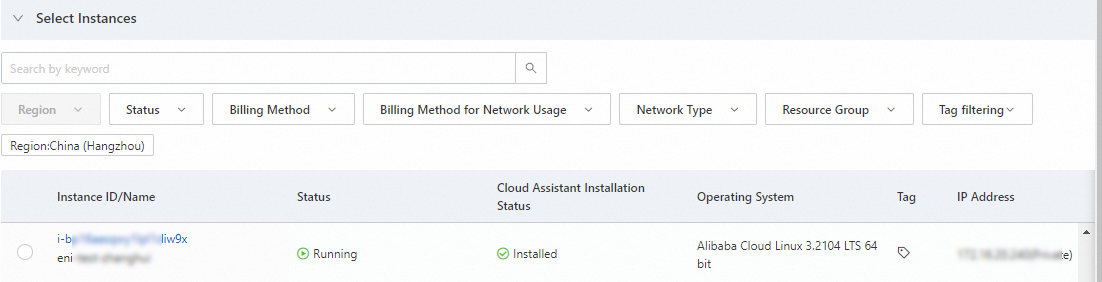
In the Select Instances section, select the ECS instance for which you want to create an image.
 Note
NoteIf you select Update Image, you must select an image and configure the intermediate instance. For more information, see the instructions on the page.
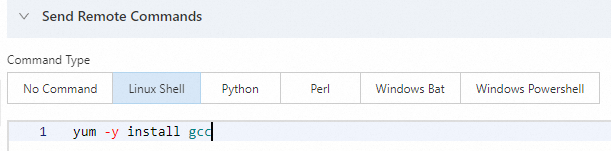
In the Send Remote Commands section, select a command type that matches the instance and enter the command content.
The Linux Shell type is selected in this example.
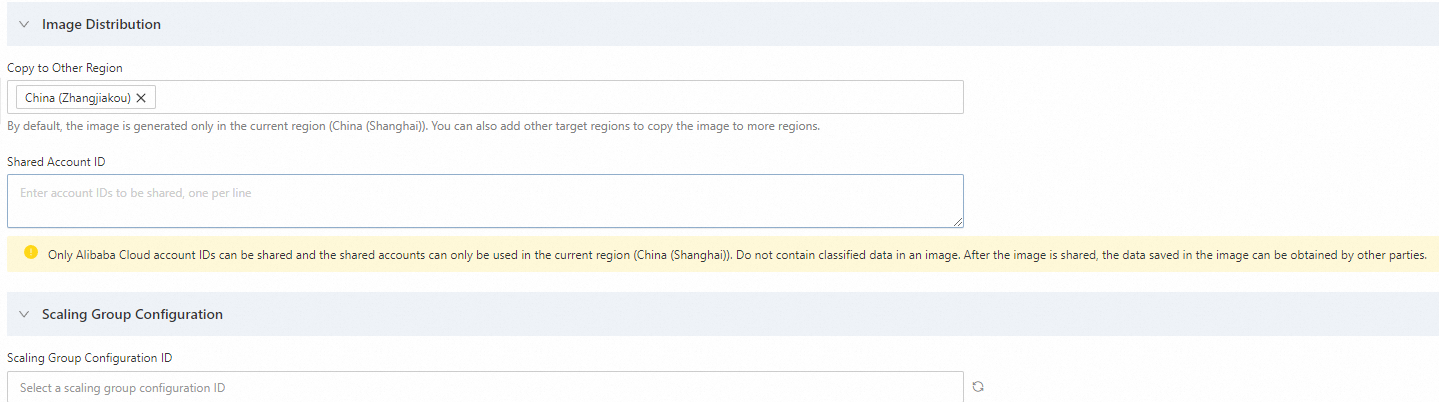
In the Image Distribution and Scaling Group Configuration sections, set Copy to Other Region, Shared Account ID, and Scaling Group Configuration ID as prompted.
Optional. Set the parameters in the Execution Settings section.
Select a tag, a resource group, and whether to save the task as a template for later use.
Click Create. In the Parameter Confirmation message, confirm the parameters and click OK.
After the task is created, you can click the task ID in the Execution ID column to view the details.