Check the following FAQ list, then click the specific questions to view the answer.
Camera cannot be turned on through the input file label in Huawei 10 System
How to fix 608 errors at runtime or native errors with libsgmain
Camera cannot be turned on through the input file label in Huawei 10 System
There are some differences between the implementations of Huawei 10 system URI and the standard Android. Thus, you may meet problems such as failing to turn on the camera in Huawei 10. You need to execute the following steps to solve this problem.
1. Upgrade baselines
If you are using 32 baselines, you need to upgrade the baseline to 10.1.32.18 or later.
If you are using 60 baselines, you need to upgrade the baseline to 10.1.60.9 or later.
If you are using 68 baselines, you need to upgrade the baseline to 10.1.68-beta.3 or later.
2. Configure FileProvider
You can reuse your current FileProvider or create a new FileProvider.
Create a new Java class to inherit the FileProvider.
import android.support.v4.content.FileProvider;
public class NebulaDemoFileProvider extends FileProvider {
}
Create a new nebula_fileprovider_path.xml in res/xml.
<?xml version="1.0" encoding="utf-8"?>
<paths xmlns:android="http://schemas.android.com/apk/res/android">
 <external-path name="external" path="."/>
</paths>
Add configurations in AndroidManifest.
<provider
 android:name="com.mpaas.demo.nebula.NebulaDemoFileProvider"
 android:authorities="com.mpaas.demo.nebula.provider"
 android:exported="false"
 android:grantUriPermissions="true">
 <meta-data
     android:name="android.support.FILE_PROVIDER_PATHS"
     android:resource="@xml/nebula_fileprovider_path" />
</provider>
Here the value of android:authorities, namely com.mpaas.demo.nebula.provider is an mPaaS sample code. You need to configure by yourself based on your applications. And the value cannot be configured as com.mpaas.demo.nebula.provider, which will have conflicts with other mPaaS applications.
3. Implement the H5NebulaFileProvider
Create a new Java class, then implement the H5NebulaFileProvider and the getUriForFile method. In this method, you can call the implemented FileProvider to generate URI.
public class H5NebulaFileProviderImpl implements H5NebulaFileProvider {
 private static final String TAG = "H5FileProviderImpl";

 @Override
 public Uri getUriForFile(File file) {
     try {
         return getUriForFileImpl(file);
     } catch (Exception e) {
         H5Log.e(TAG, e);
     }
     return null;
 }

 private static Uri getUriForFileImpl(File file) {
     Uri fileUri = null;
     if (Build.VERSION.SDK_INT >= 24) {
         fileUri = NebulaDemoFileProvider.getUriForFile(LauncherApplicationAgent.getInstance().getApplicationContext(), "com.mpaas.demo.nebula.provider", file);
     } else {
         fileUri = Uri.fromFile(file);
     }
     return fileUri;
 }
}
Register the
H5NebulaFileProvider.After you complete the mPaaS initialization, register the H5NebulaFileProvider before you start the off-line pack. Register once will take effect globally.
H5Utils.setProvider(H5NebulaFileProvider.class.getName(), new H5NebulaFileProviderImpl());
How to depend on and use mPaaS in library?
While using mPaaS, a module needs to be reused sometimes. The reuse is implemented by adding the module as a dependency. This section illustrates this method with an example of reusing scan module.
Prerequisites
The project has been accessed to mPaaS in native AAR mode.
Procedure
Create an Android Library type scan module in the project.

In the build.gradle file of the newly created scan module, add the following codes
api platform("com.mpaas.android:$mpaas_artifact:$mpaas_baseline"). The example is as follows:dependencies { …… //This line is necessary when using mPaaS in the module. api platform("com.mpaas.android:$mpaas_artifact:$mpaas_baseline") …… }Install scan component for scan module by Android Studio mPaaS plug-in. The directory is : mPaaS > Native AAR mode > Configure/Update component > Start configuration. After the installation, the scan component will automatically load.
Configure App main project.
 plugins {
     id 'com.android.application'

     ......
     // baseline.config (baseline) must be added in the build.gradle file of app module.
     id 'com.alipay.apollo.baseline.config'
 }
Call module.
Import scan module where it is used.
 dependencies {
     api platform("com.mpaas.android:$mpaas_artifact:$mpaas_baseline")

     ....
     api project(':scan')//scan module
 }
How to fix 608 errors at runtime or native errors with libsgmain
If an exception occurs during runtime, search for the keyword SecExcetpion in the Android Studio runtime log, and find that there is a 608 error code or a native error of libsgmain, you can follow the steps below to troubleshoot.
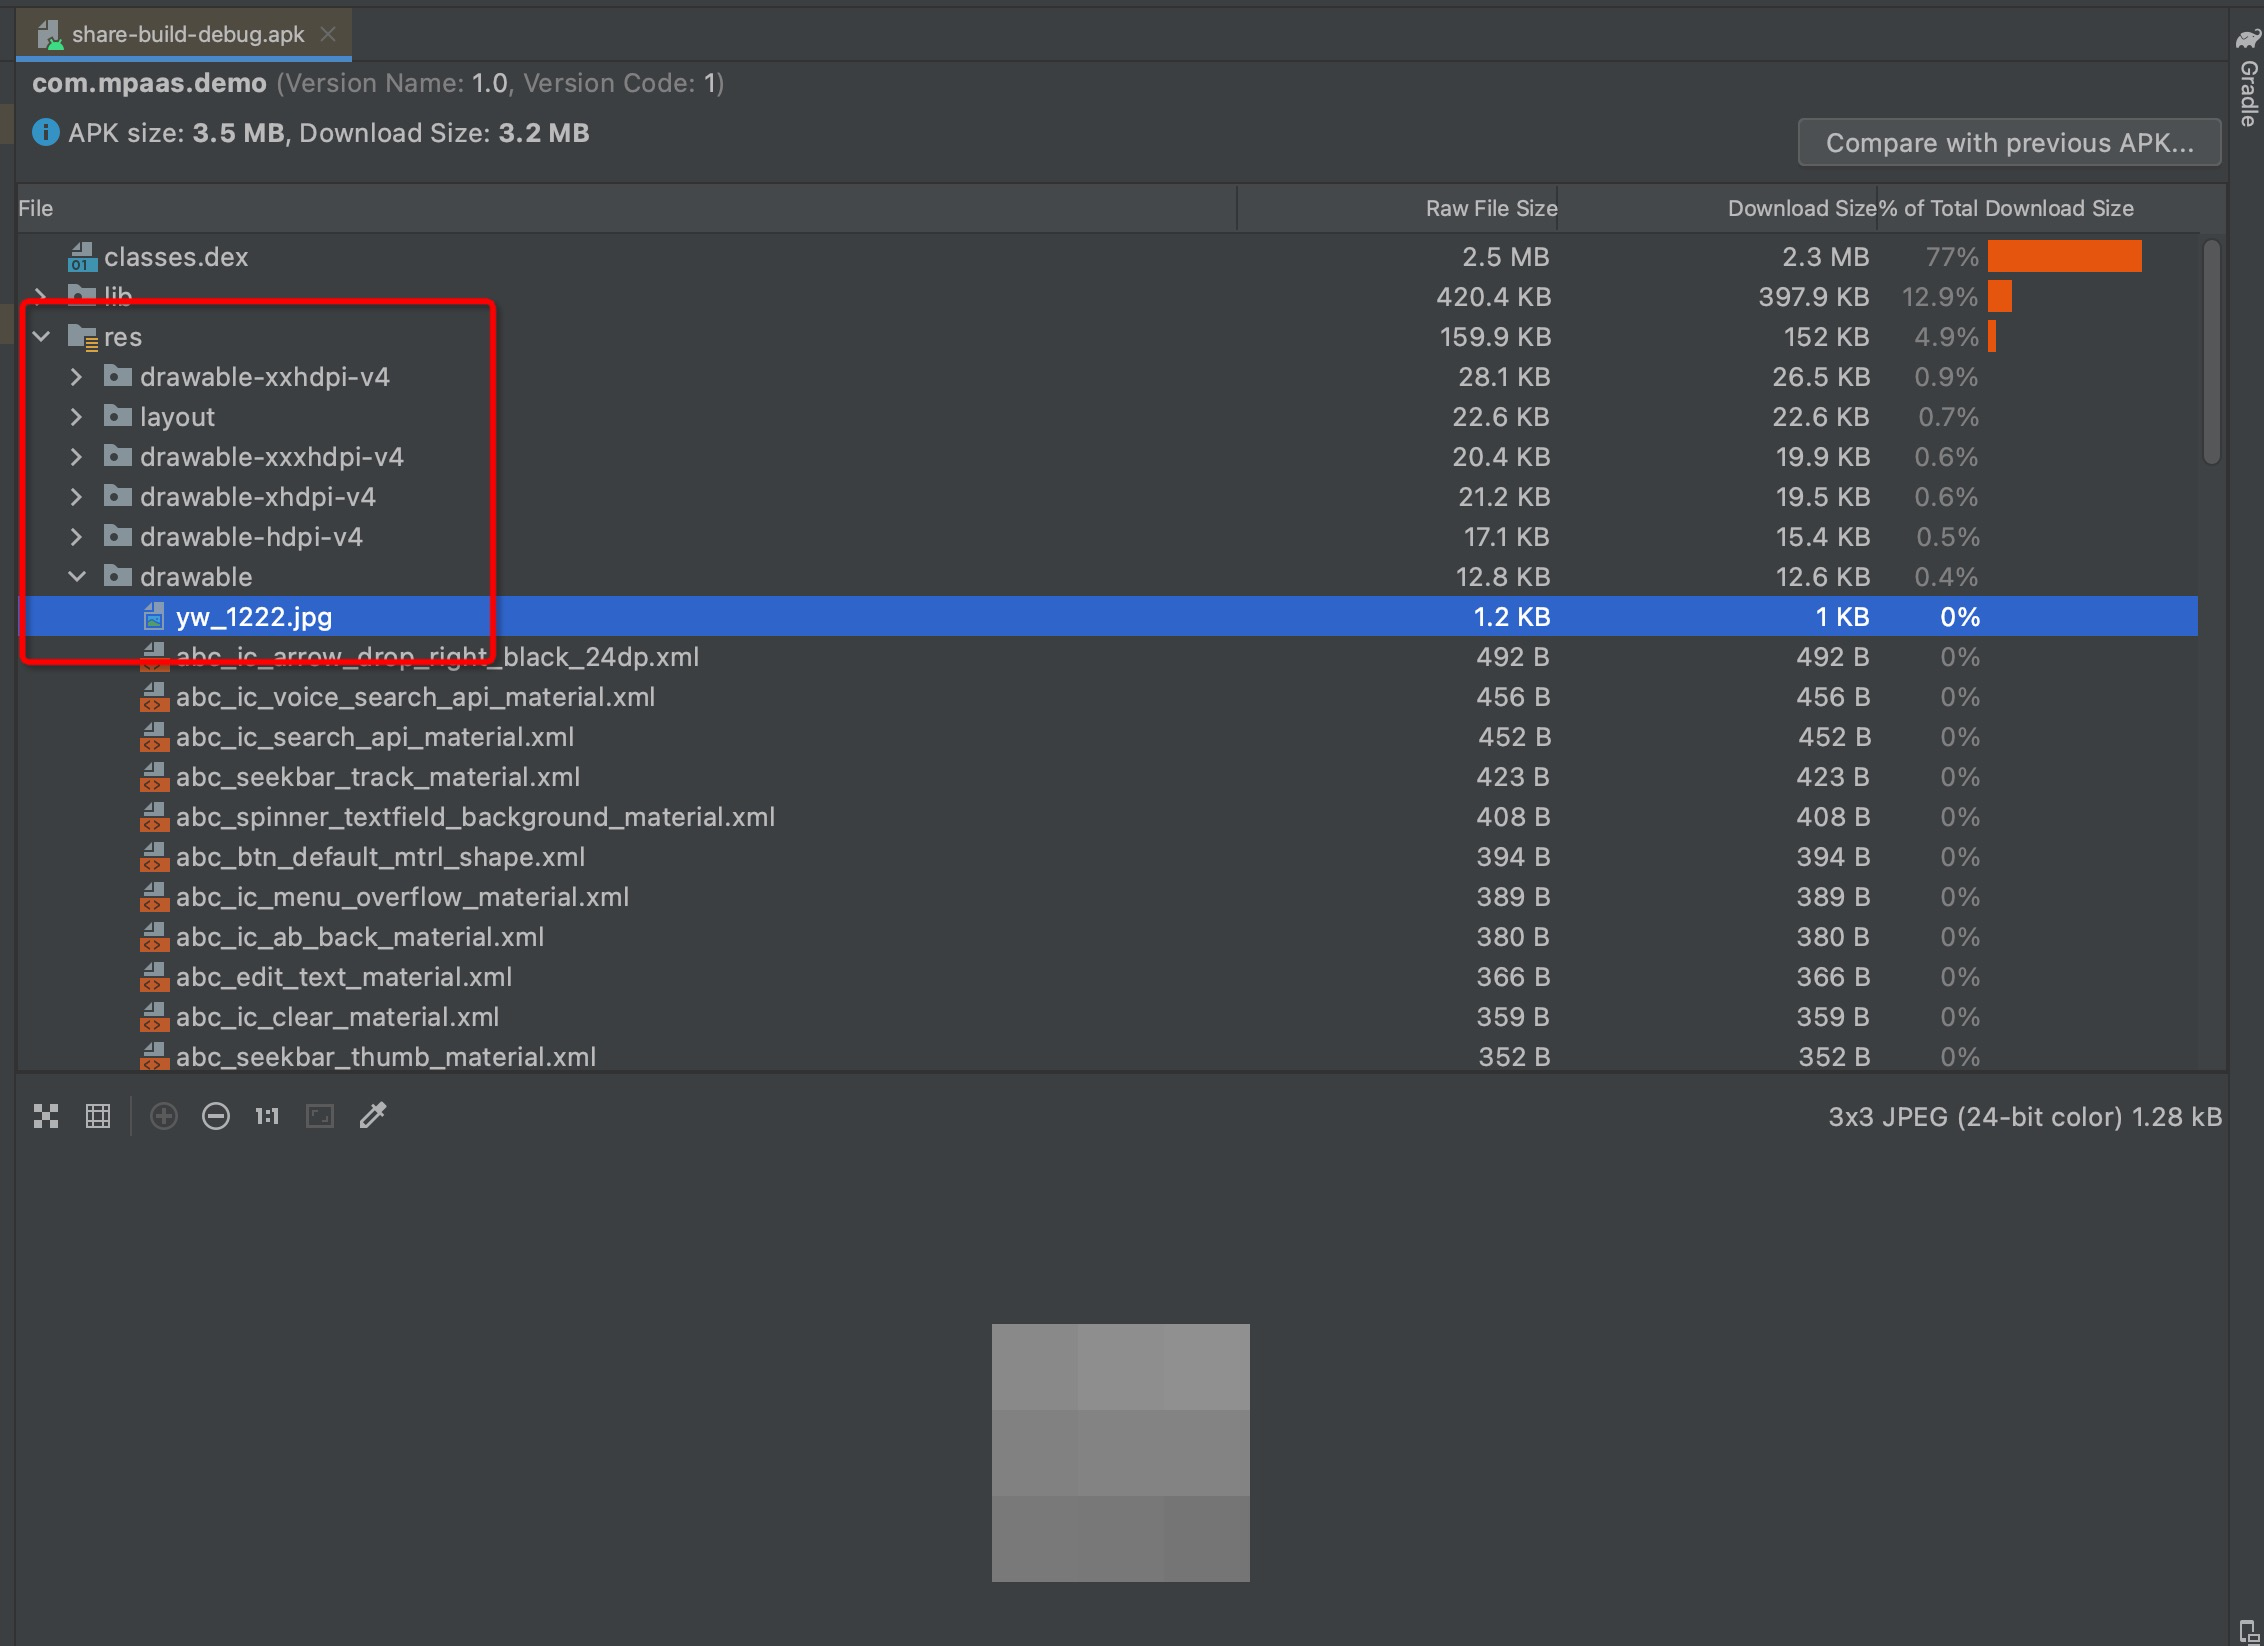
Check if the
res/drawable/yw_1222.jpgfile exists.Check the config file for Base64.
Check if the Gradle plugin baseline.update or baseline.config is applied.

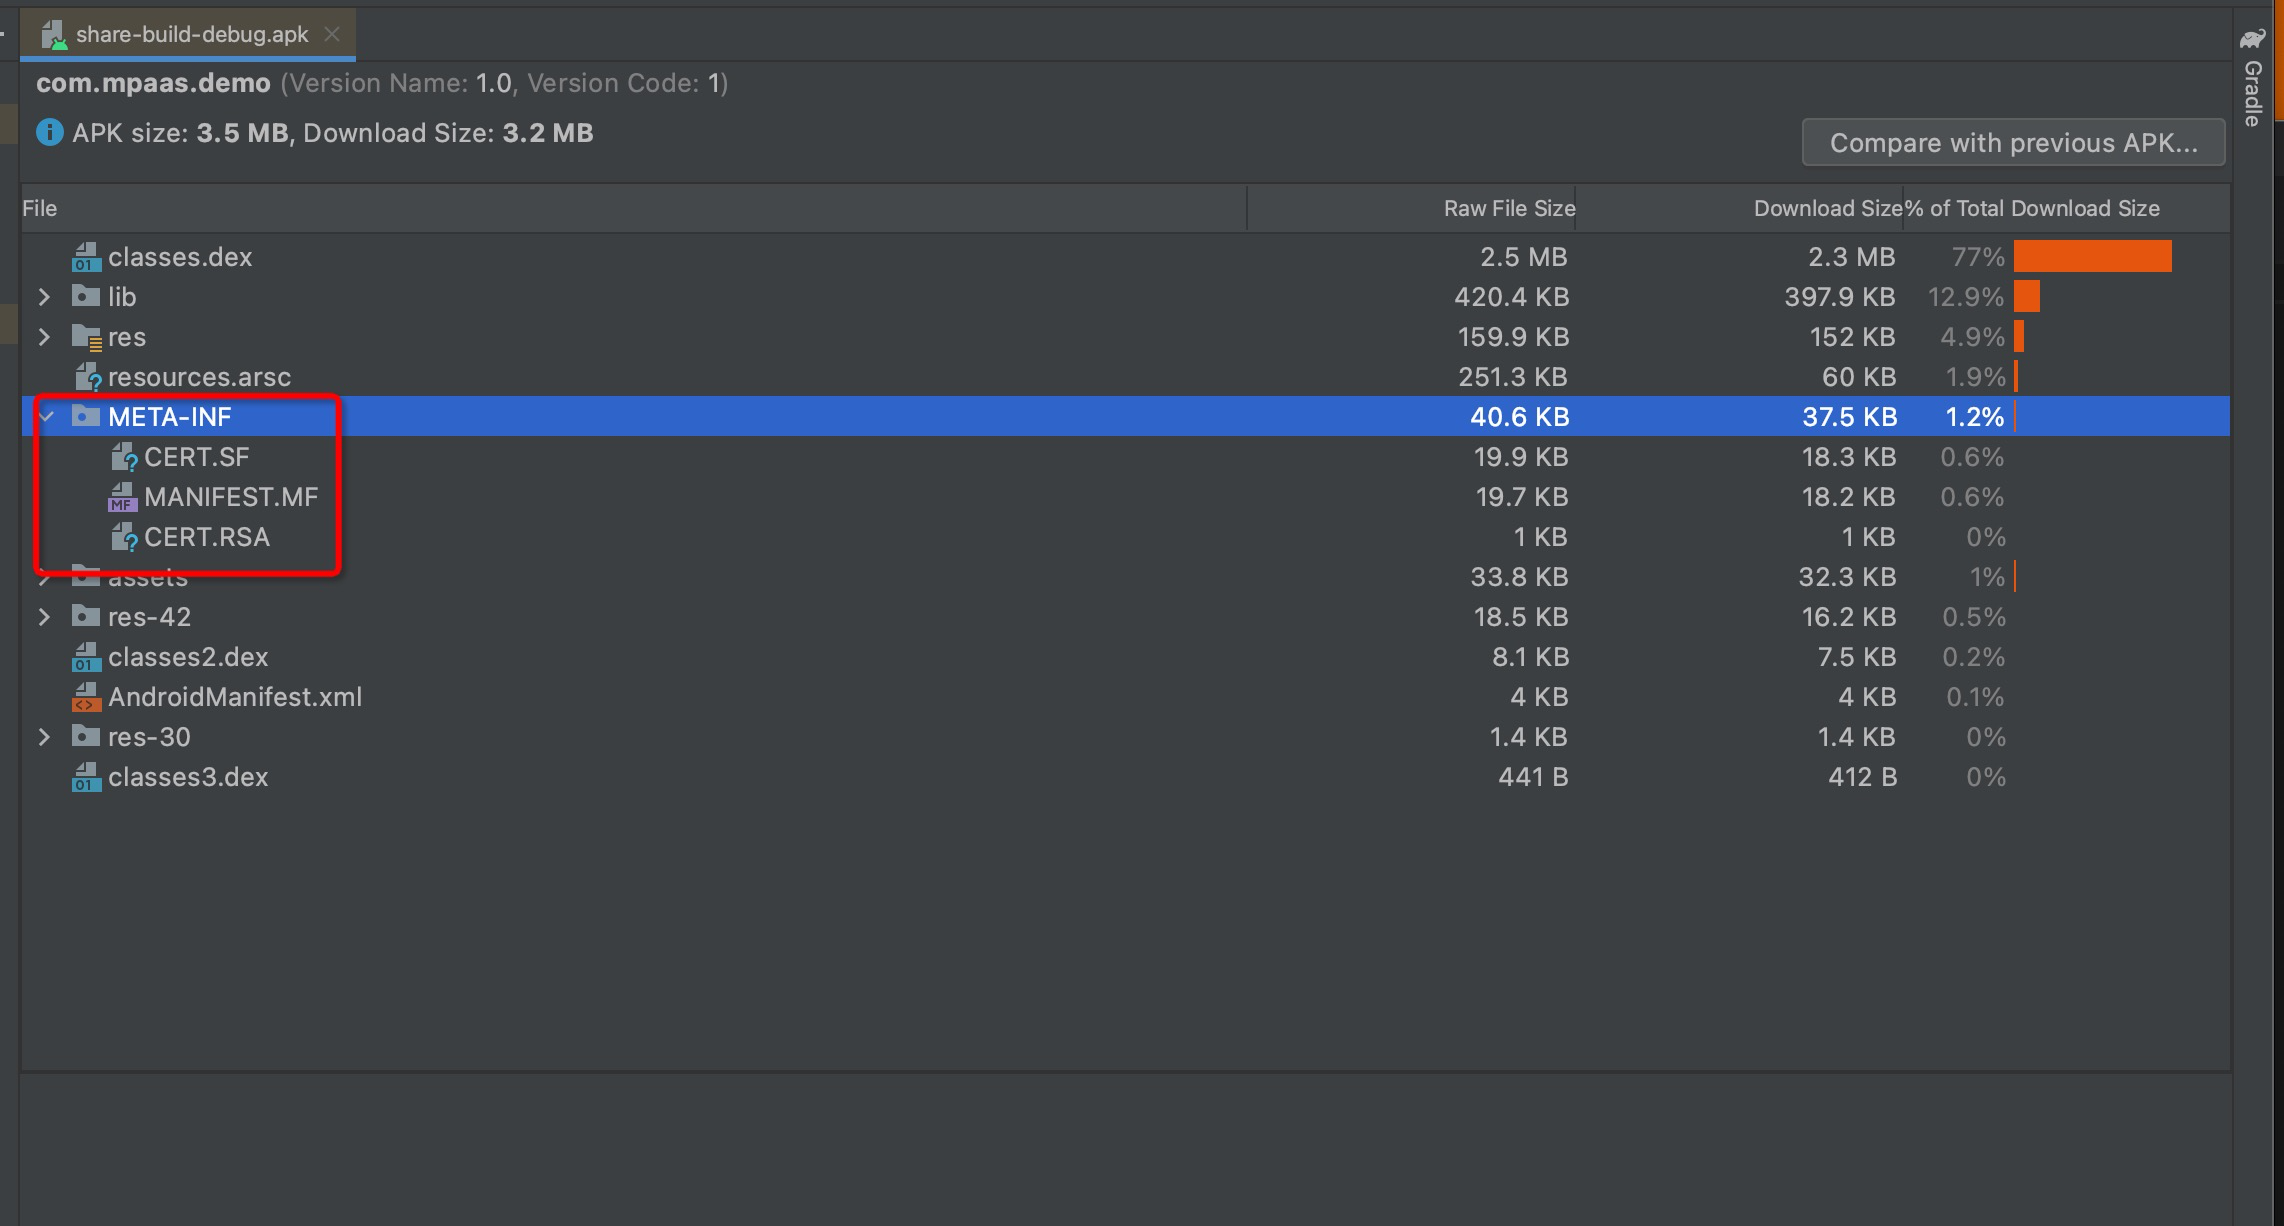
Check META-INF for three files, CERT.SF, MANIFEST.MF, and CERT.RSA.
Turn on v1SignEnabled in app/build.gradle.
Whether there is a
pply plugin: 'com.alipay.apollo.optimize'inbuild.gradlein the project root directory.
After performing the above check steps and confirming that the result is correct, it means that there is a problem with the signed APK package uploaded on the console. If the signature is incorrect, the APK package needs to be re-uploaded.