This topic describes how to use Link SDK for Android to connect a device to IoT Platform over Message Queuing Telemetry Transport (MQTT).
Prerequisites
IoT Platform is activated.
You are not charged for activating IoT Platform. After you activate IoT Platform, you can use free quotas. For more information, visit the IoT Platform free trial center.
Background information
In this topic, a device named LightSwitch is created and sample code that is run on Windows is written based on Link SDK for Android to simulate and connect a device to IoT Platform over MQTT. The device can submit data to IoT Platform by using custom topics.
For more information, see IoT Platform.
Create a product and a device
Log on to the IoT Platform console and click the Public Instance card.
In the left-side navigation pane, choose Devices > Products. On the page that appears, click Create Product.
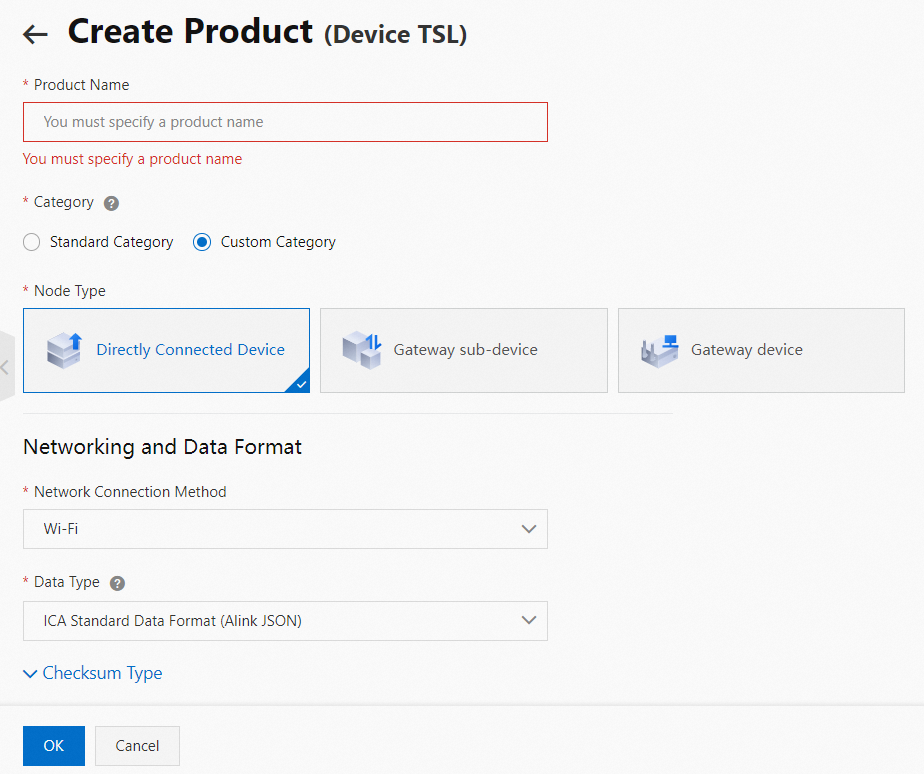
On the Create Product page, set the Product Name parameter to NightLightSwitch, set the Category parameter to Custom Category, use the default values for other parameters, and then click OK.

On the Create Product page, click Add in the Add Device section.
In the Add Device dialog box, enter a device name. Example: LightSwitch. Then, click OK.
In the The devices have been added. dialog box, click Copy Device Certificate. Then, save the device certificate information to an on-premises server.
The device certificate includes the ProductKey, DeviceName, and DeviceSecret. The device certificate is required when you connect the device to IoT Platform. For more information, see Device certificates.
On the Create Product page, click View Product Details.
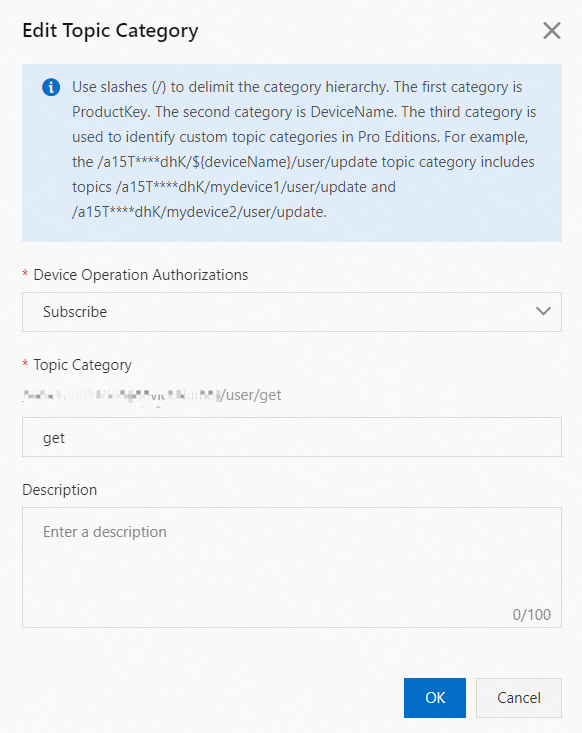
On the product details page, choose Topic Categories > Topic Category > Edit Topic Category. In the Edit Topic Category dialog box, configure the parameters and click OK to create a custom topic category.

Create a topic category named get and set the Device Operation Authorizations parameter to Subscribe for the topic category, as shown in the preceding figure. Repeat the preceding steps to create another topic category named update and set the Device Operation Authorizations parameter to Publish. Save the information that is displayed in the Edit Topic Category dialog box to the on-premises server. The information is required when you subscribe to a topic on a mobile phone.
Get: /a18wP******/${deviceName}/user/get
Update: /a18wP******/${deviceName}/user/updata
Click OK.
Prepare a development environment
In this example, Android Studio 4.1.1 is used as a development tool and the simulated device system is Android 10.0. For more information, see Project configurations.
Install Android Studio.
For more information, see Android Studio.
Create a simulated device.
For more information, see Create and manage simulated devices.
Configure the device SDK
Download the demo package to your development environment and decompress the package.
NoteBy downloading the package, you agree to the software license agreement.
For more information about Link SDK for Android, see Project configurations.
Open Android Studio, choose File > Open..., find the decompressed code files and configure the parameters. The following table describes the parameters.
File
Parameter
Example
Description
app/src/main/res/raw/deviceinfo
productKey
a18wP******
The device information for verification. Replace the values of the parameters with the device certificate information that you saved on the on-premises server.
deviceName
LightSwitch
deviceSecret
uwMTmVAMnGGHaAkqmeDY6cHxxB******
app/src/main/java/com/aliyun/alink/devicesdk/manager/InitManager.java
LinkKit.getInstance().init
MqttConfigure.mqttHost = "iot-060a****.mqtt.iothub.aliyuncs.com:8883"
The endpoint to which you want to connect the device.
Add the following code before
LinkKit.getInstance().init:MqttConfigure.mqttHost = "YourHostName:8883";Replace
YourHostNamewith the endpoint of your instance. To obtain the endpoint, perform the following steps:If you use an Enterprise Edition instance or a public instance of the new version, perform the following steps: On the Instance Details page, click View Development Configurations. In the Development Configurations panel, select MQTT in the Endpoint section to view the endpoint. Then, click Copy next to the endpoint.
If you use a public instance of the old version, you must construct the endpoint in the following format: Format:
${YourProductKey}.iot-as-mqtt.${YourRegionId}.aliyuncs.com:8883Example:
a18wP******.iot-as-mqtt.cn-shanghai.aliyuncs.com:8883
Click the
 icon to compile the project.
Result
After the project is compiled, click the
 icon to run the project.
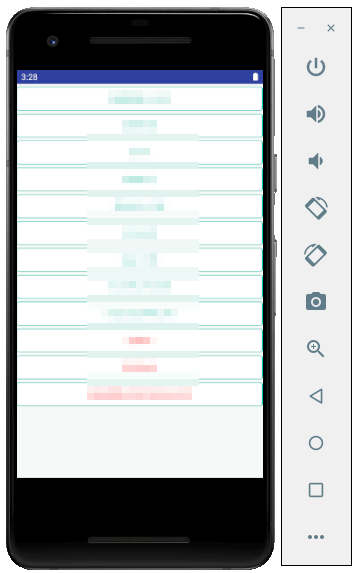
 The sample program runs in the simulated device, which indicates that the device is connected to IoT Platform, as shown in the following figure.

Click Mqtt Example.
On the Mqtt Example page, change the value of the Subscribe to Topic parameter to the topic category that you saved in the previous step and click Subscribe.
NoteExample: /a18wP******/${deviceName}/user/get. You must replace a18wP****** and deviceName with your product name and DeviceName.
After you subscribe to the topic for the device, the device can receive messages from IoT Platform. Before IoT Platform sends messages to the device, you can send messages to the device for testing.
On the Topic List tab of the device details page, click Publish Message next to the topic to which you subscribed. In the Publish Message dialog box, enter a message. Example: This is a test message from Alibaba Iot Platform. This simulates the scenario in which IoT Platform sends messages to a device. The device can receive this message.
On the Mqtt Example page, change the value of the Publish Topic parameter to the topic category that you saved in the previous step, configure other parameters, and click Publish.
On the Device Log page, click View in the Message Content column of a message that is sent by the device to IoT Platform to view the message body.
What to do next
After the device is connected to IoT Platform, you can manage and monitor the device. For more information about the features of IoT Platform, see Features.
For more information about how to configure advanced features by using Link SDK for Android, see Project configurations.