This topic describes how to obtain execution status information of asynchronous tasks in Intelligent Media Management (IMM) by using Simple Message Queue (SMQ).
Create SMQ resources
Step 1: Create an SMQ topic
Log on to the SMQ console.
In the left-side navigation pane, click Topics. On the page that appears, click Create Topic.
In the Create Topic panel, configure the parameters. In this example, a topic named tf-test-mns-topic is created.
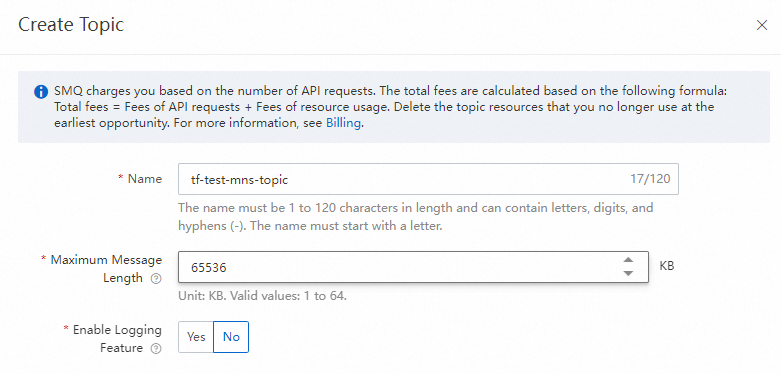
Click OK.
Step 2: Create an SMQ queue
Log on to the SMQ console.
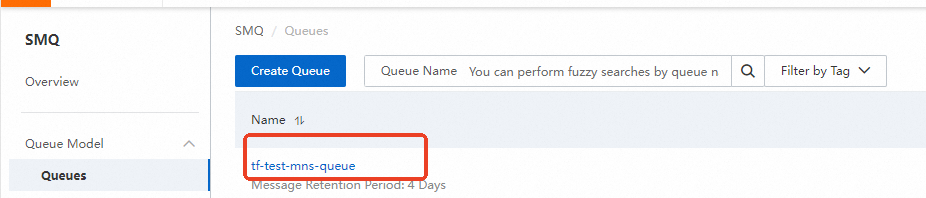
In the left-side navigation pane, click Queues. On the page that appears, click Create Queue.
In the Create Queue panel, configure the parameters. In this example, a queue named tf-test-mns-queue is created.
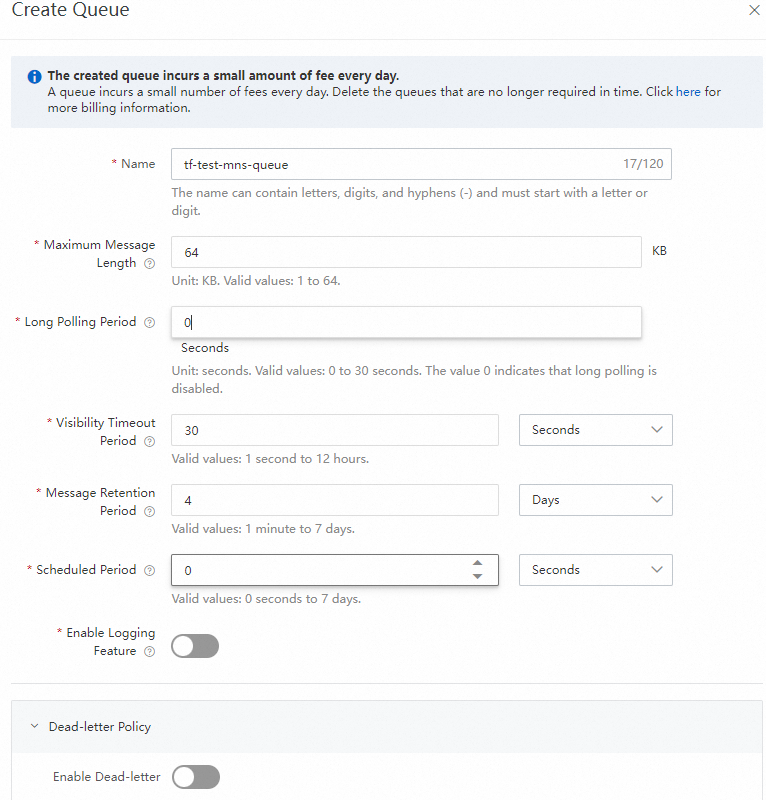
Click OK.
Step 3: Subscribe the queue to the topic
Log on to the SMQ console.
In the left-side navigation pane, click Topics. On the page that appears, click the name of the topic created in Step 1: Create an SMQ topic (tf-test-mns-topic in this example).
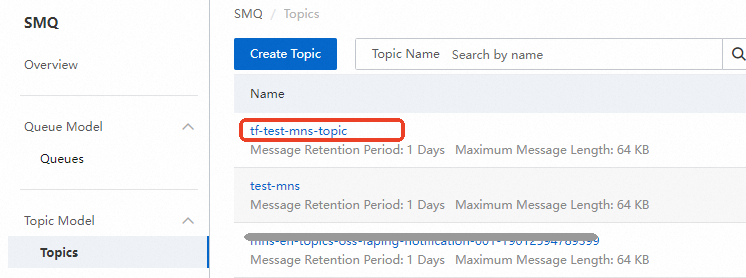
On the Topic Details page, click Subscriptions. On the page that appears, click Create Subscription.
In the Create Subscription panel, configure the parameters. In this example, a subscription named tf-test-mns-subscription is created.
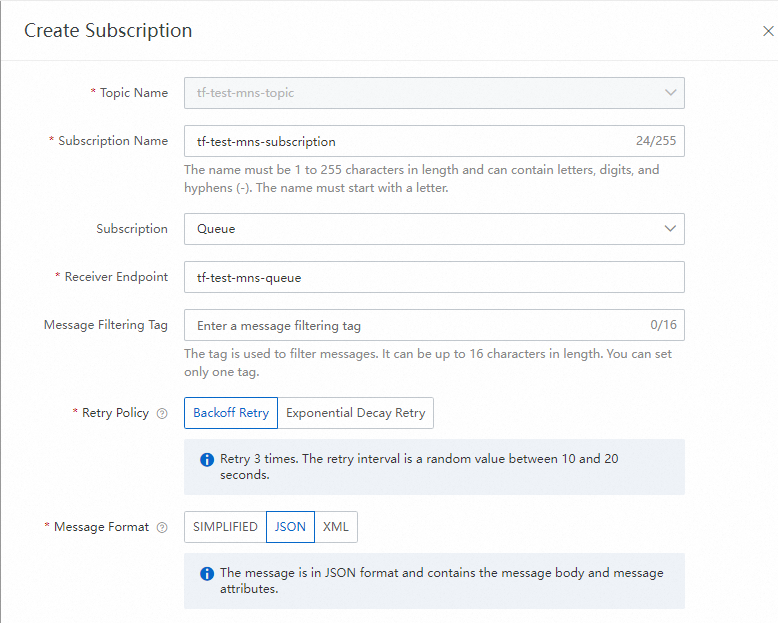
Subscription: the type of the subscription. Select Queue.
Receiver Endpoint: Select the tf-test-mns-queue queue that you created in Step 2: Create an SMQ queue.
Message Format: the message format. Select JSON.
Click OK.
(Optional) Create OSS resources
If you have available Object Storage Service (OSS) resources, you can skip to the next step to initiate a request to IMM.
Step 1: Create a bucket
Log on to the OSS console.
In the left-side navigation pane, click Buckets. On the Buckets page, click Create Bucket.
In the Create Bucket panel, create a bucket. In this example, a bucket named tf-test-oss-bucket is created.
Step 2: Upload a file
Log on to the OSS console.
In the left-side navigation pane, click Buckets. On the Buckets page, click the tf-test-oss-bucket bucket that you created in Step 1: Create a bucket.
On the Objects page, lick Upload Object to upload a file. In this example, a file named 1.docx is uploaded.
Initiate a request to IMM
Step 1: Create a project
Log on to the IMM console.
In the left-side navigation pane, click Project List. On the page that appears, click Create Project.
In the Create Project panel, specify a project name and a service-linked role. In this example, the project name is tf-test-imm-project and the service-linked role is the default role AliyunIMMDefaultRole.
ImportantYou can specify a custom service-linked role. For information about how to grant permissions to a role, see Configure a service role for a project.
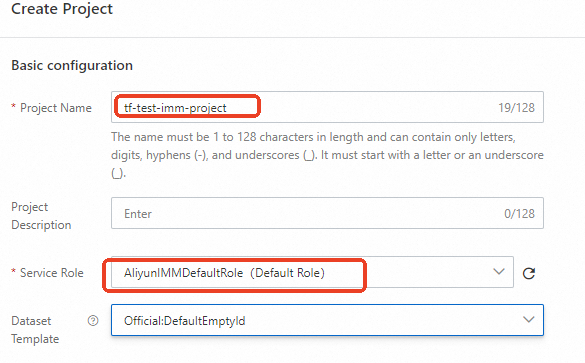
Click OK.
Step 2: Initiate a request to IMM
Log on to OpenAPI Explorer.
In the API navigation tree, choose Document Processing > CreateOfficeConversionTask.
Configure the parameters.
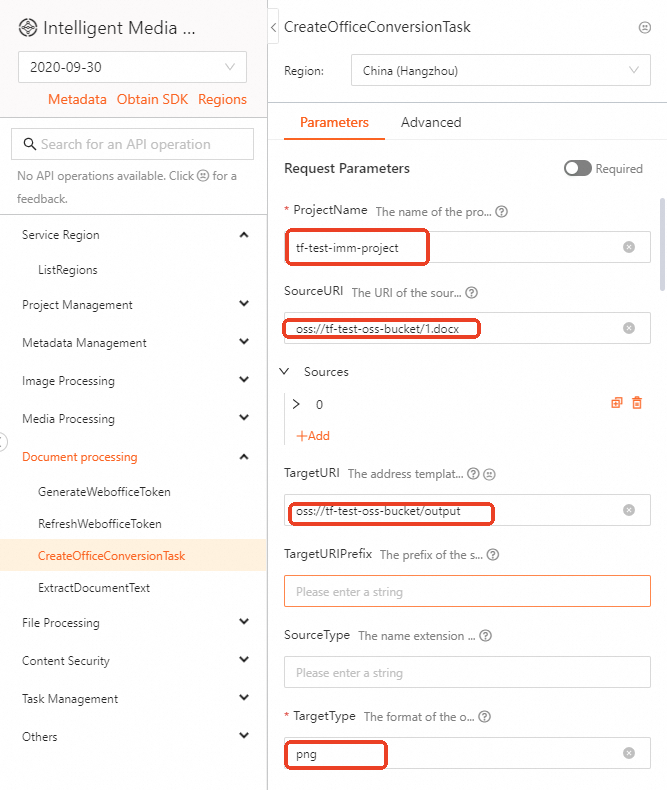
ProjectName: Specify the project that you created in Step 1: Create a project. In this example, the project is tf-test-imm-project.
SourceURI: Specify the path to the object uploaded in Step 2: Upload a file or the path to another document object in the bucket. In this example, the source path is oss://tf-test-oss-bucket/1.docx.
TargetURIPrefix: Specify the OSS path to which you want to store the output object. In this example, the path is oss://tf-test-oss-bucket/output.
TargetType: Specify the type of the output object. In this example, the type is png.
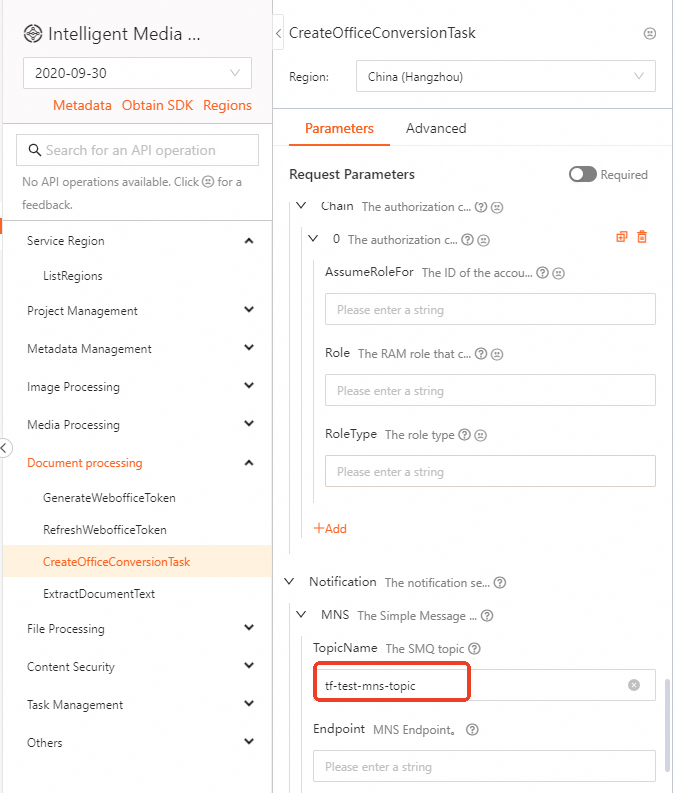
TopicName: Enter the SMQ topic that you created in Step 1: Create an SMQ topic. In this example, the topic is tf-test-mns-topic.
Click Initiate Call.
Receive SMQ messages
Log on to the SMQ console.
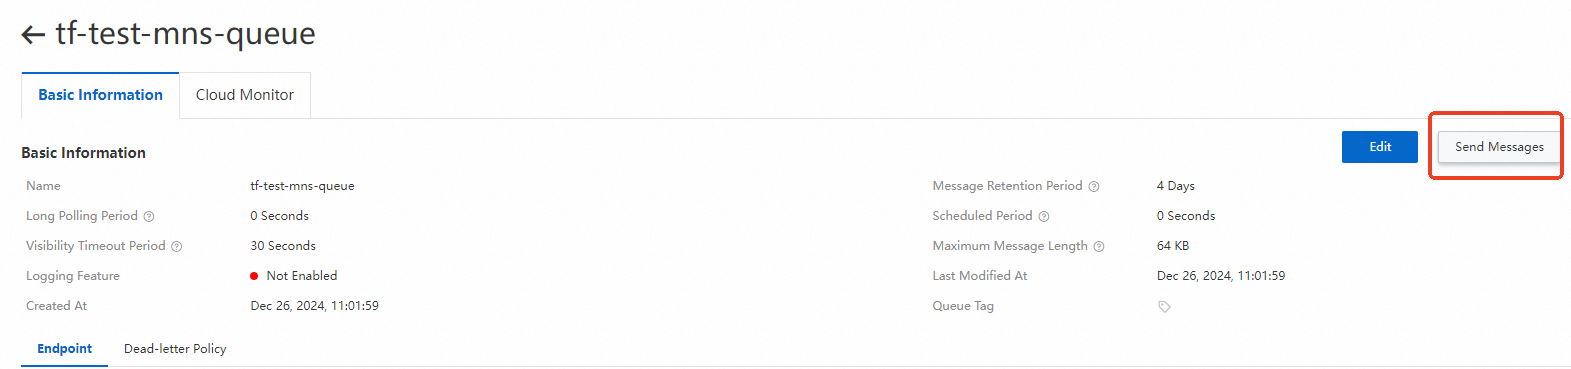
In the left-side navigation pane, click Queues. On the Queues page, click the name of the queue that you created in Step 2: Create an SMQ queue. In this example, the queue is tf-test-mns-queue.
In the upper-right corner of the Queue Details page, click Send Messages.

On the Send Messages page, click Receive Message. The message is received and appears in the message list.
Locate the message in the message list and click Details in the Actions column.

FAQ
How do I fix a failure in receiving SMQ messages?
If you fail to receive SMQ messages, perform the following checks:
Check whether the SMQ topic and IMM project reside in the same region.
Check whether the SMQ queue is subscribed to the topic and whether the Message Format parameter is set to JSON for the subscription.
Check whether multiple consumers are in the queue at the same time.
Check whether the role specified for the IMM project has the permission to send data to SMQ. For more information about role permissions, see Configure a service role for a project.