When an application deployed on Enterprise Distributed Application Service (EDAS) triggers an alert, you may need the notification to reach your team immediately. By adding a custom chatbot to a DingTalk group, you can route EDAS alert notifications directly to that group or a contact through a webhook URL.
The webhook URL follows this format:
https://oapi.dingtalk.com/robot/send?access_token=<your-access-token>The following steps walk through a 3-step process: create a custom chatbot, configure its security settings, and copy the webhook URL.
Prerequisites
Before you begin, make sure you have:
A DingTalk group designated for receiving alert notifications
The DingTalk desktop client installed on a PC
Add a custom chatbot to the DingTalk group
Open the DingTalk client on a PC and go to the DingTalk group where you want to receive alert notifications.
Click the Group Settings icon in the upper-right corner.
In the Group Settings panel, click Group Assistant.
In the Group Assistant panel, click Add Robot.
In the ChatBot dialog box, click the + icon on the Add Robot card, and then click Custom.
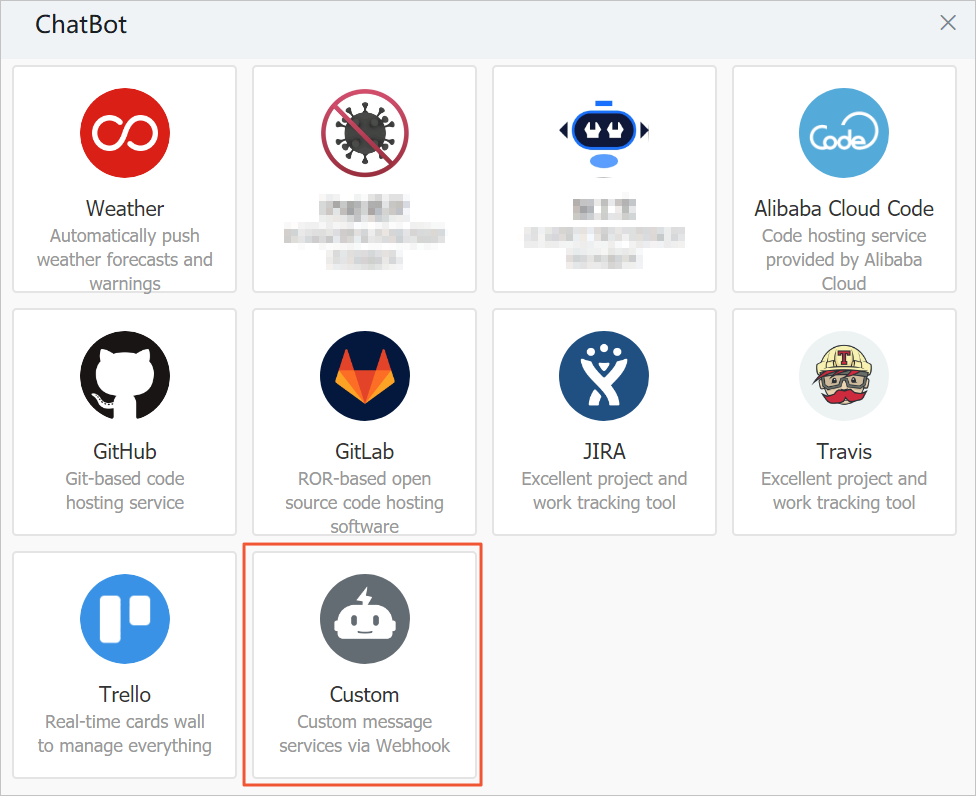
In the Robot details dialog box, click Add.
Configure the chatbot security settings
In the Add Robot dialog box, configure the following settings:
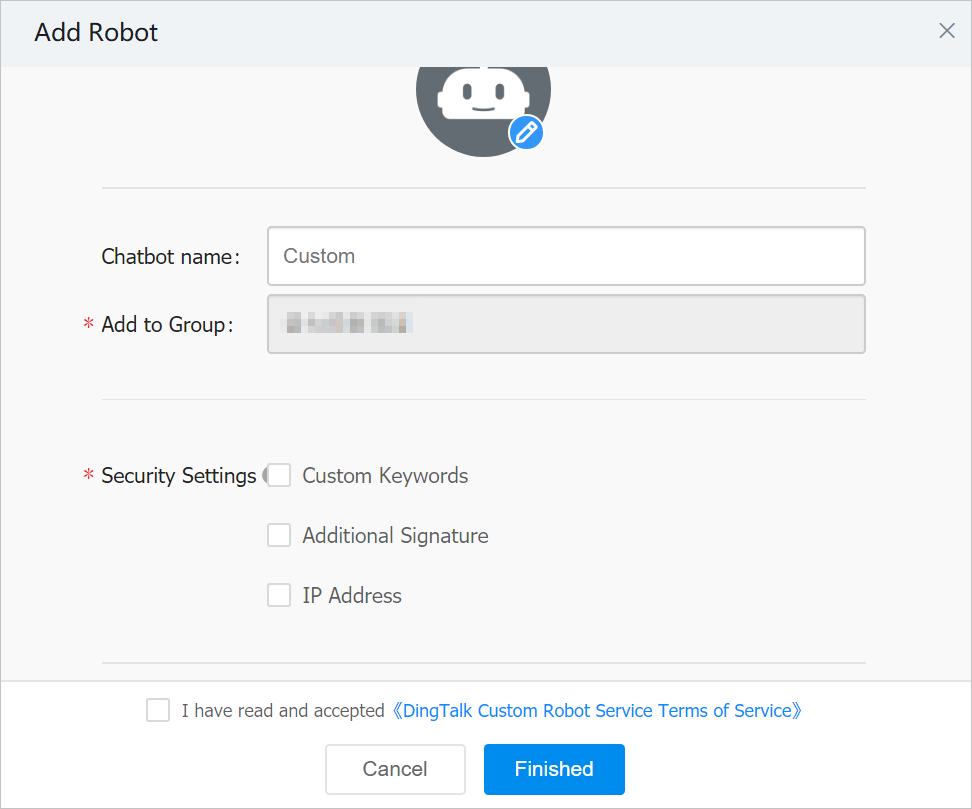
Set a profile picture and a name for the chatbot.
Under Security Settings, select Custom Keywords and enter
alertas the keyword.Read the terms of service and select I have read and accepted <<DingTalk Custom Robot Service Terms of Service>>.
Click Finished.
Copy the webhook URL
In the Add Robot dialog box, copy the webhook URL and click Finished.
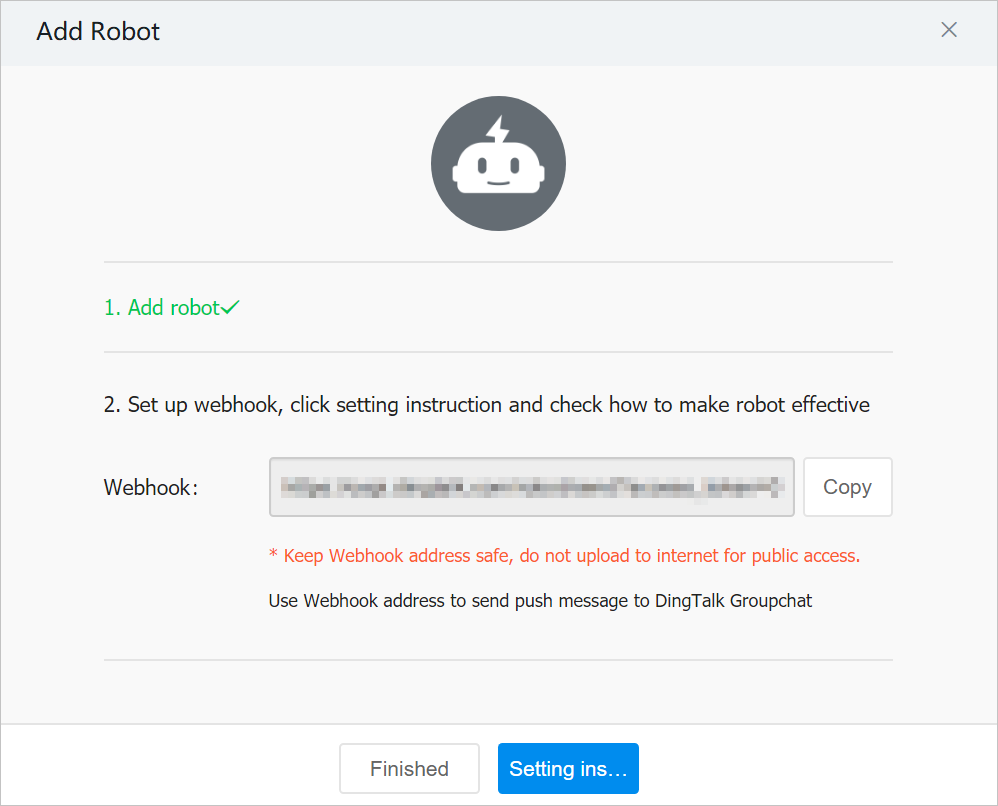
Keep the webhook URL confidential. Do not publish it in repositories, blogs, or any publicly accessible location. Anyone with the URL can send messages to the group.
What to do next
Use the webhook URL to configure alert notifications in EDAS. For more information about DingTalk chatbot operations, see Custom robot access.