This topic describes how to quick purchase and use cloud phones.
Prerequisites
An Alibaba Cloud account is created. For more information, see Create an Alibaba Cloud account.
A user account is created. For more information, see Create a user account.
Tutorial
If you are new to Cloud Phone, watch this tutorial to get familiar with it. For a better user experience, open the tutorial in a new window.
Configuration process

Step 1: Create an instance group
The quick purchase process is simple and suitable for customers who do not have special requirements.
Log on to the Cloud Phone console.
In the left-side navigation pane, choose .
On the Instance Group page, click Create Instance Group.
On the Create Instance Group page, configure the parameters and click Buy Now to complete the payment. The following table describes the parameters.
Parameter
Description
Billing Method
Select a billing method as prompted. In this example, Pay-as-you-go is selected.
Duration
If you set the Billing Method parameter to Subscription, specify a subscription duration based on your business requirements. In this example, this parameter is left empty.
Instance Group Name
Enter a name for the instance group.
Available Region
Select a region for cloud phones that you want to purchase. To reduce latency, we recommend that you select a region that is closest to end users.
Specifications
Select a specification for cloud phones. In this example, Lightweight is selected.
Image
Select an image for cloud phones. In this example, the latest system image (Android 12 System Image) is selected.
Quantity
Enter the number of cloud phones you want to purchase. In this example, 1 is entered.
Configure Network
Select a network type for the instance group. In this example, Shared Network is selected.
Attach
Select a policy that you want to attach to cloud phones. In this example, wuying_default_policy is selected.
Step 2: Install applications
Before you install applications on cloud phones, you must create the applications. For more information, see Create and manage apps.
Log on to the Cloud Phone console.
In the left-side navigation pane, choose .
On the Application page, find the application that you want to install and click Install Application in the Actions column.
In the Instance Groups section of the Install Application panel, select the desired instance group and click OK.
When the Status column displays Installed, the installation is complete.
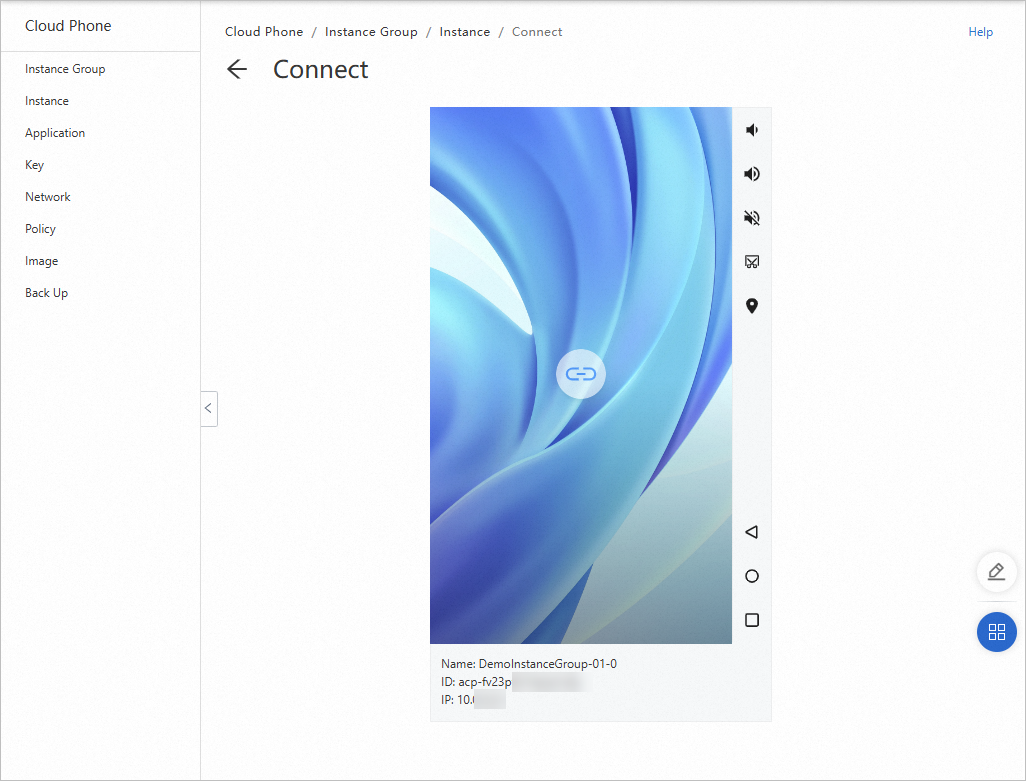
Step 4: Connect to cloud phones
Connect to cloud phones in the Cloud Phone console
As an administrator, you can directly connect to a cloud phone in the Cloud Phone console.
Log on to the Cloud Phone console.
In the left-side navigation pane, choose .
On the Instance page, find the cloud phone to which you want to connect and click Connect in the Actions column.
On the Connect page, click the connect icon in the center of the cloud phone card.
Connect to cloud phones by using an Alibaba Cloud Workspace client
After your administrator assigns cloud phones, you can log on to an Alibaba Cloud Workspace client by using the provided credentials to connect to the cloud phones.
Step 1: Assign a cloud phone to a user
Log on to the Cloud Phone console.
In the left-side navigation pane, choose .
On the Instances page, find the Cloud Phone instance that you want to assign. In the Actions column, click the ⋮ icon, and choose Assign User.
In the Selectable Users section of the Assign User panel, select a user account, and then click OK at the bottom of the panel.
NoteYou can click Go Now to navigate to the WUYING Workspace Enterprise Edition console and create a user account. After you create the account, click the icon in the upper-right corner of the Selectable Users area to refresh the user list.
After the assignment is successful, the logon credentials are sent to the user account's email address.
(Optional) After a successful assignment, you can unassign the Cloud Phone instance. To do this, find the target Cloud Phone instance on the Instances page. In the Actions column, click the ⋮ icon, and choose Unassign.
Step 2: Connect to the cloud phone
As an end user, you can connect to a cloud phone by using a desktop client, a web client, or a mobile client. In this example, a desktop client is used.
Open the Windows client, select Enterprise Edition in the upper part of the page, select the check box next to the privacy policy, enter an organization ID or office network ID from the received logon credentials, and then click the icon.

On the Account Sign-in tab, enter the username and password, and then click the icon.
NoteIf you log on to the client for the first time, use the initial password provided. You will then be prompted to specify a new password by following on-screen instructions. The initial password is valid for three days. If the initial password expires, click Forgot Password to obtain a new initial password.

After you log on to the client, cloud resources, such as cloud computers, that your administrator assigns to you are displayed.
On the cloud resource list, click the icon on a cloud resource card to use the resource.
Connect to cloud phones by using ADB
As a developer, you can connect to a cloud phone by using ADB. For more information, see Connect to cloud phones by using ADB.