This topic describes how to use DataWorks Data Integration to synchronize all data in a MySQL database to StarRocks in offline mode.
Prerequisites
An exclusive resource group for Data Integration or a general-purpose resource group is purchased. For more information, see Create and use an exclusive resource group for Data Integration and Create and use a general-purpose resource group.
A MySQL data source is added. For more information, see MySQL data source.
A StarRocks data source is added. For more information, see StarRocks data source.
Network connections are established between the resource group and the data sources. For more information, see Network connectivity solutions.
Procedure
Step 1: Select a synchronization type
Go to the Data Integration page.
Log on to the DataWorks console. In the top navigation bar, select the desired region. In the left-side navigation pane, choose . On the page that appears, select the desired workspace from the drop-down list and click Go to Data Integration.
In the left-side navigation pane of the Data Integration page, click Synchronization Task. In the upper part of the page that appears, select MySQL from the Source drop-down list and StarRocks from the Destination drop-down list, and click Create. In the Basic Settings section of the Create Data Synchronization Solution page, configure the following parameters:
New Node Name: Specify a name for the synchronization task based on your business requirements.
Synchronization Method: Select StarRocks Offline.
Step 2: Establish network connections
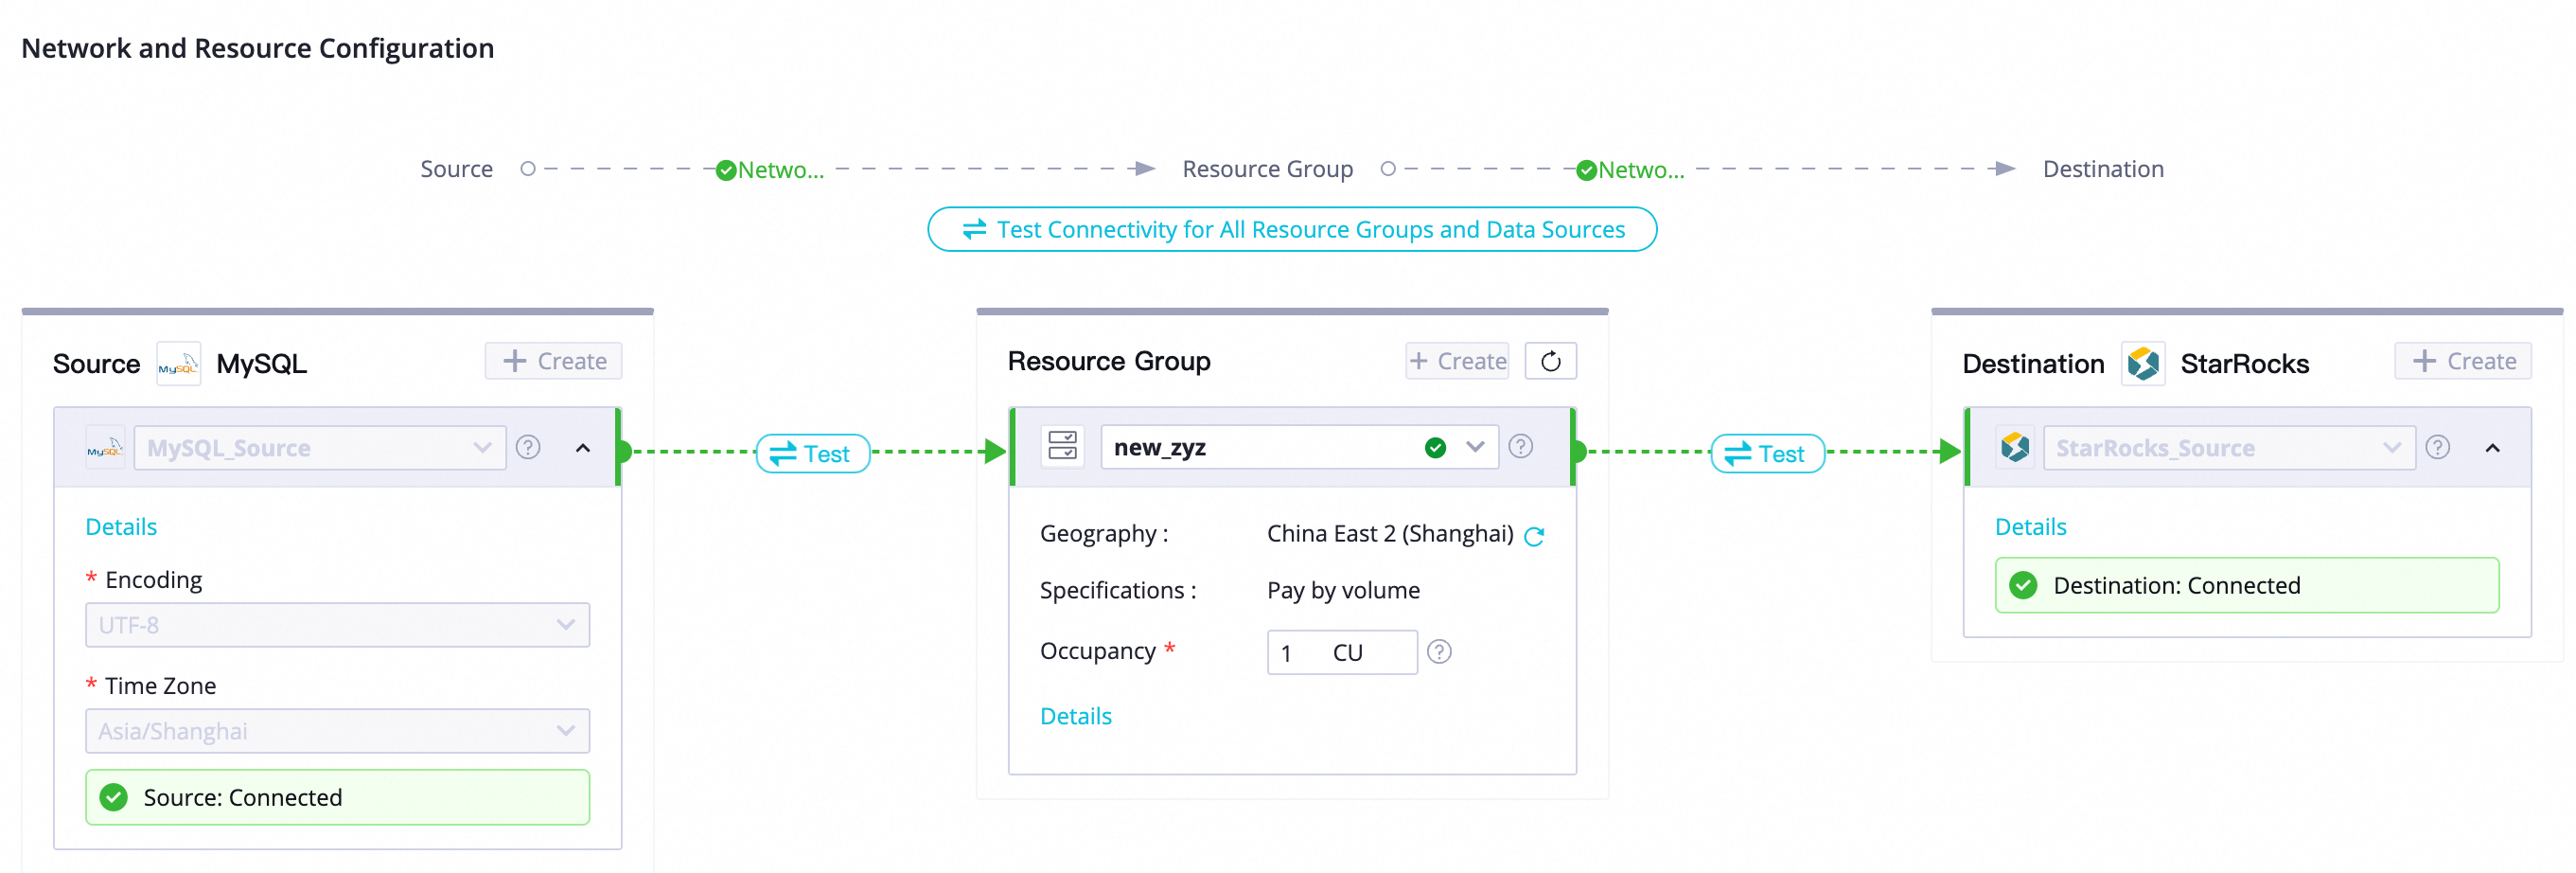
In the Network and Resource Configuration section, select the MySQL data source as the source, the StarRocks data source as the destination, and the resource group. Then, click Test Connectivity for All Resource Groups and Data Sources to test the connectivity between the resource group and the data sources.

Click Next.
Step 3: Select the tables from which you want to synchronize data
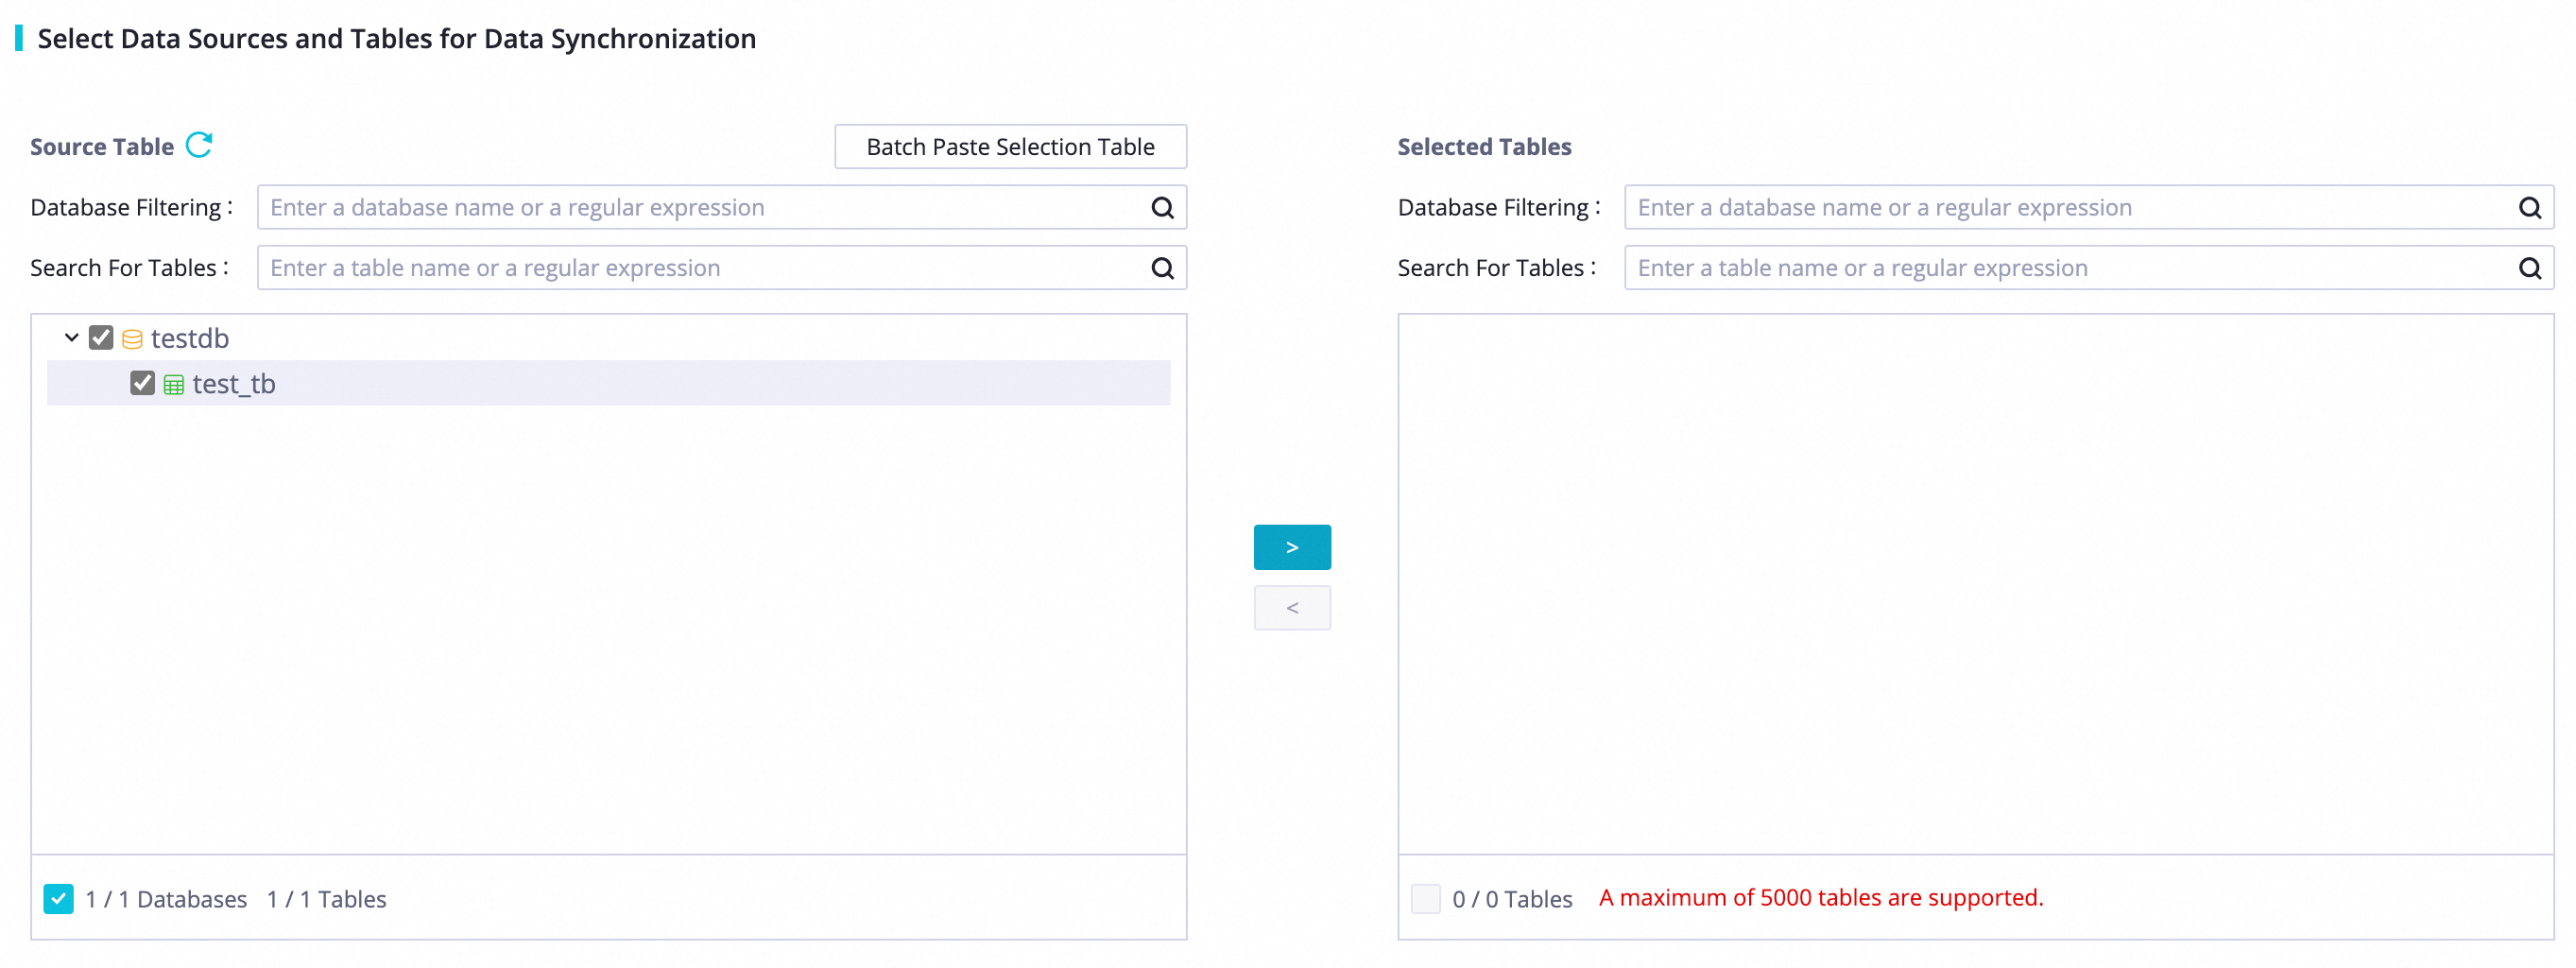
In this step, you can select the tables from which you want to synchronize data in the Source Table list and click the  icon to move the selected tables to the Selected Tables list.

Step 4: Configure settings related to destination tables
In the Mapping Rules for Destination Tables section, select all rows that are displayed and click Batch Refresh Mapping Results.
After you select the tables from which you want to synchronize data, the selected tables are automatically displayed in the Mapping Rules for Destination Tables section. The properties of the destination tables are waiting to be mapped. You must manually define mappings between the source tables and destination tables to determine the data reading and writing relationships. Then, you can click Refresh in the Actions column. You can directly refresh mappings between source tables and destination tables. You can also refresh mappings between source tables and destination tables after you configure settings related to destination tables.
You can also select specific items and click Batch Modify to modify the items based on your business requirements. The following table describes the options that you can select after you click Batch Modify.
Option | Description |
Value assignment | You can assign values to common fields or partition fields in the destination. |
Customize Mapping Rules for Destination Table Names | You can concatenate built-in variables and specified strings into a destination table name. You can edit built-in variables. For example, you can specify strings as the value of built-in variables. |
Destination Table Schema - Batch Modify and Add Field | You can perform one of the following operations on multiple destination tables at a time: modify schemas, add fields, and specify primary keys. |
Condition for Incremental Synchronization | The WHERE clause is used to filter the source data. You need to only specify the WHERE clause. You do not need to specify the WHERE keyword. If you configure settings for periodic scheduling for the synchronization task, you can use the system parameter variables. Example: |
Scheduling Configuration | You can configure items for the synchronization task, such as the scheduling cycle, rerun property, and resource group for scheduling.
|
Step 5: Modify data type mappings
If the destination StarRocks tables are in the to-be-created state, the system provides default mappings between data types of fields in MySQL tables and data types of fields in StarRocks tables. You can also click Edit Mapping of Field Data Types in the upper-right corner of the Mapping Rules for Destination Tables section to configure data type mappings based on your business requirements. After the configuration is complete, click Apply and Refresh Mapping.
Step 6: Configure advanced parameters
You can click Configure Advanced Parameters in the upper-right corner of the configuration page to perform finer-grained configurations for the source and destination for data synchronization. For example, you can configure the Maximum number of connections at the source of offline tasks and Offline Batch Write MB parameters.
Step 7: Configure a resource group
You can click Configure Resource Group in the upper-right corner of the page and change the exclusive resource group for Data Integration that you want to use to run the synchronization task.
Step 8: Run the synchronization task
After the configuration of the synchronization task is complete, click Complete in the lower part of the page.
In the Nodes section of the Data Integration page, find the created synchronization task and click Start in the Actions column.
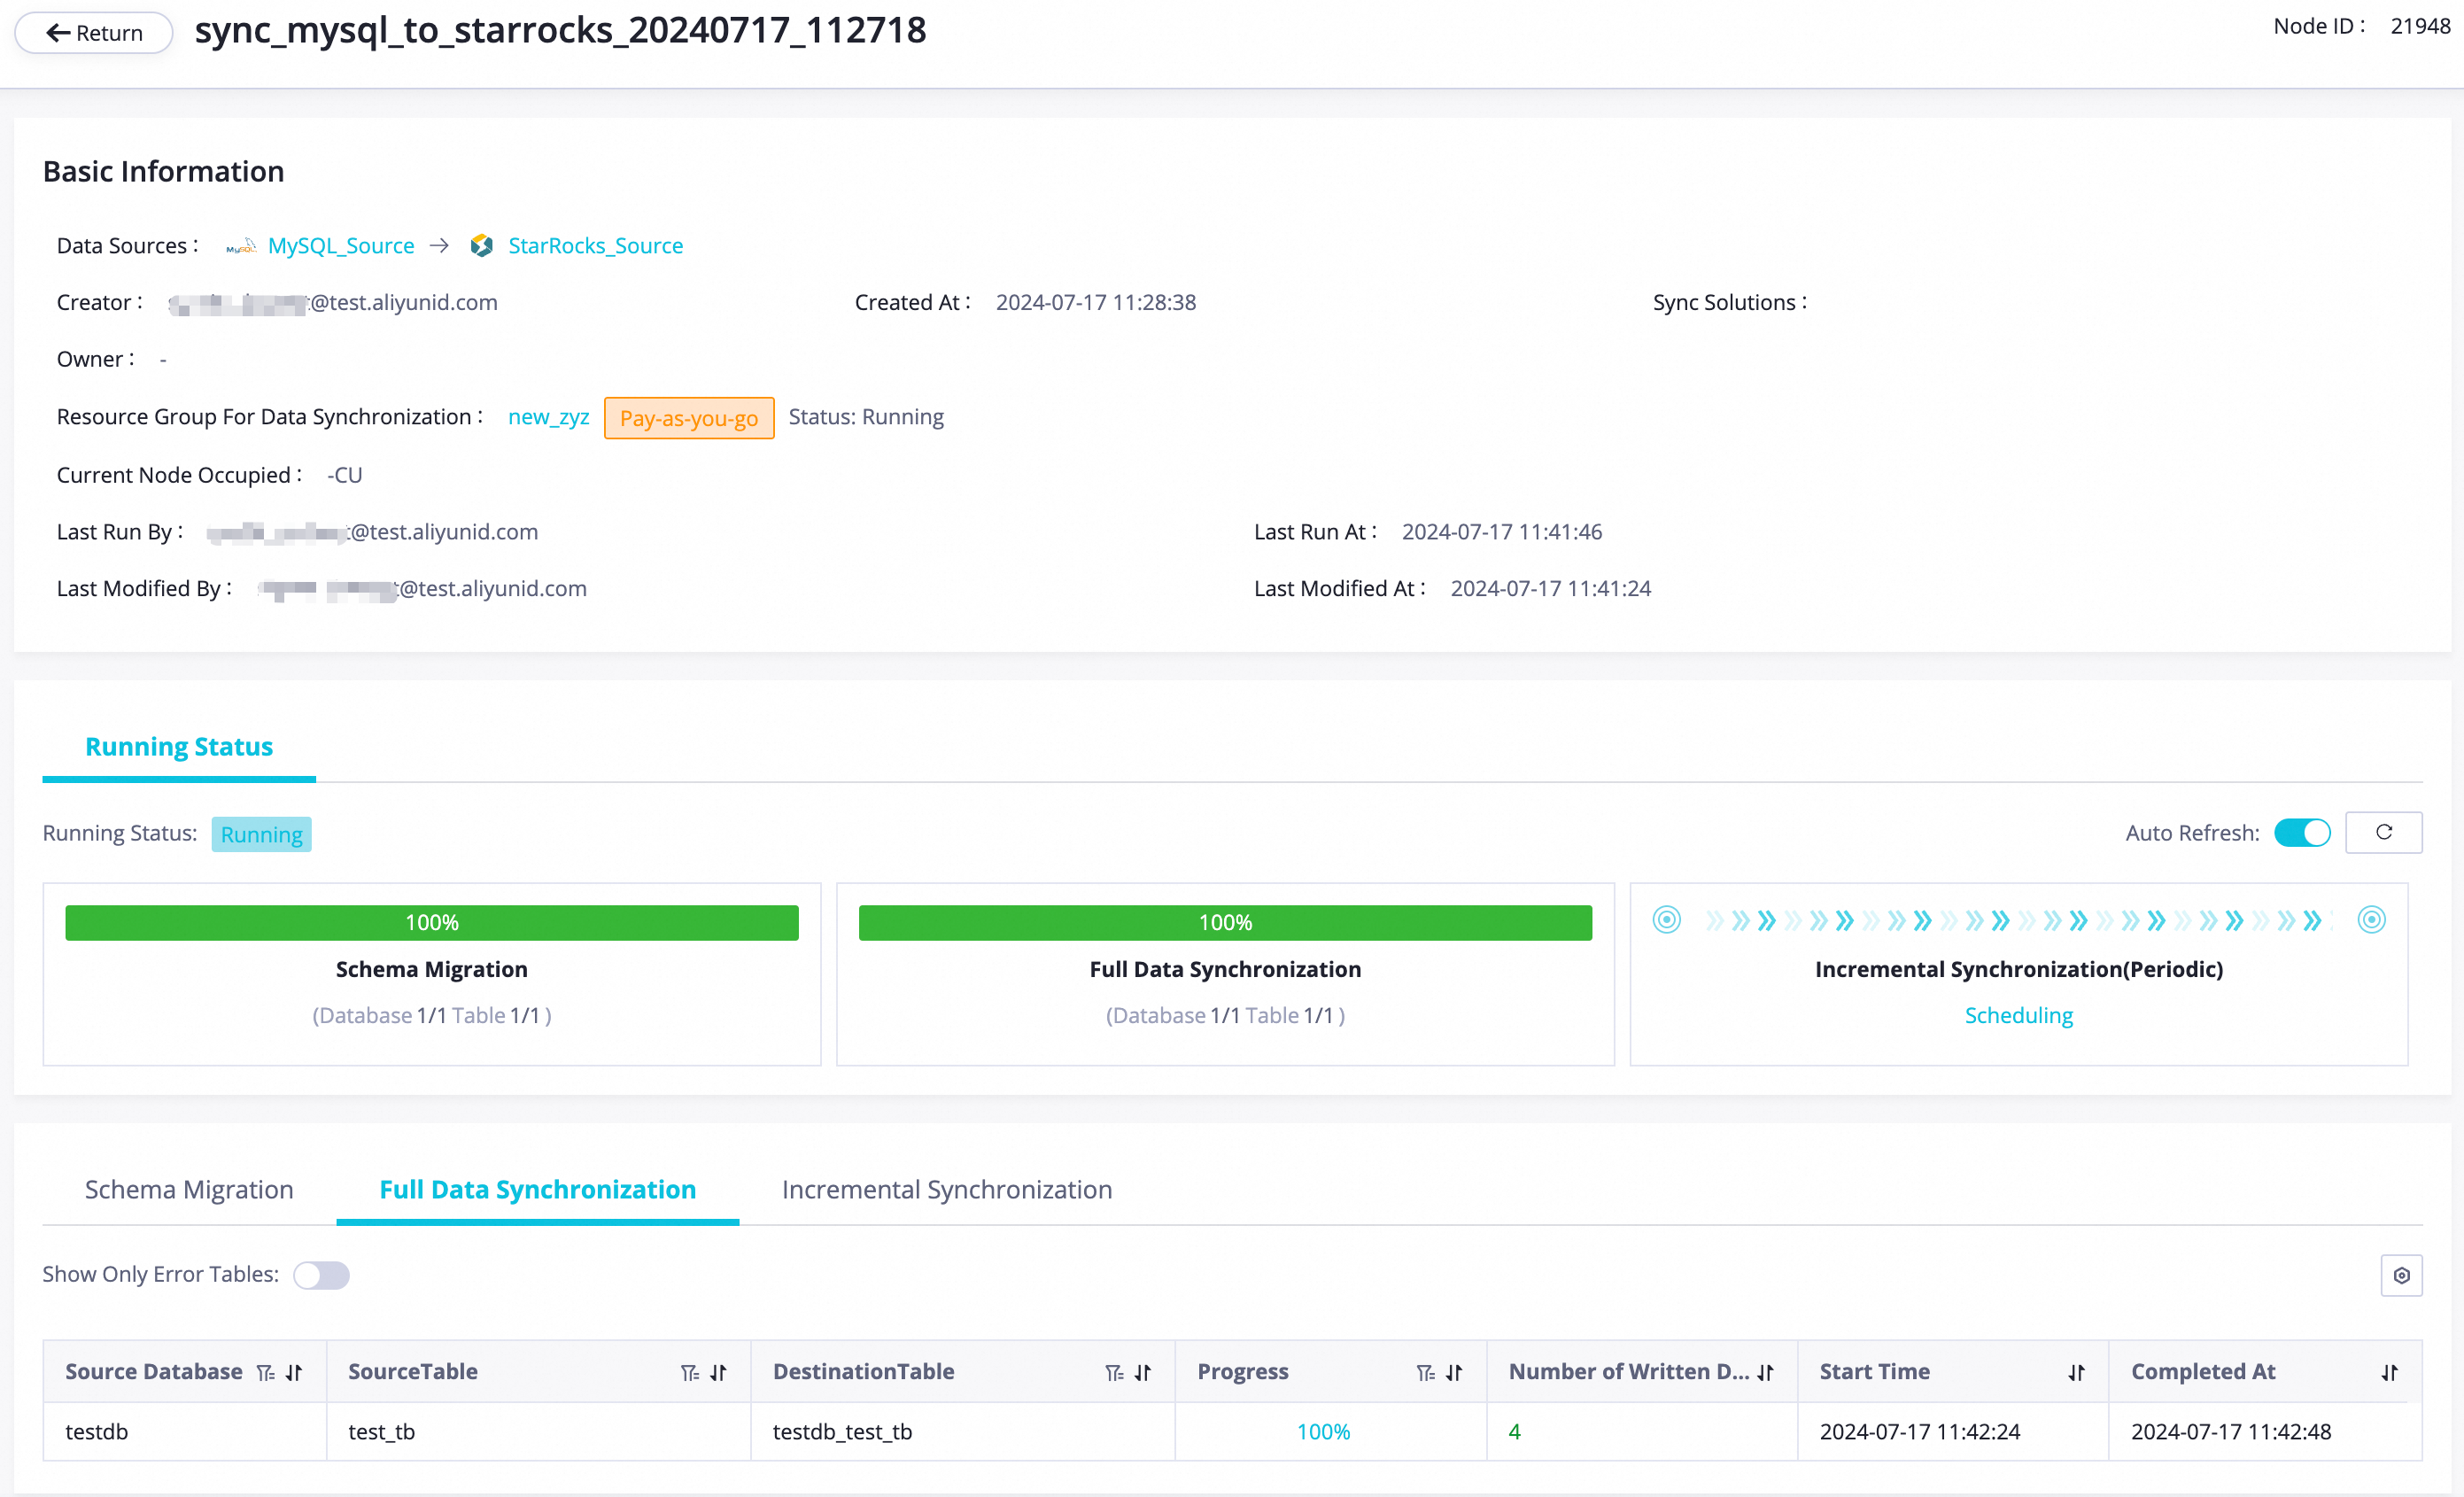
Click the name or ID of the synchronization task in the Nodes section and view the detailed running process of the synchronization task.
Perform O&M operations on the synchronization task
View the status of the synchronization task
After the synchronization task is created, you can go to the Synchronization Task page to view all synchronization tasks that are created in the workspace and the basic information of each synchronization task.
You can click Start or Stop in the Actions column to start or stop the synchronization task. You can click More in the Actions column and select Edit or View to modify the synchronization task or view information about the synchronization task.
You can click Running Details in the Actions column to view the running details of a synchronization task. You can also click different sections on the running details page of the synchronization task to view the related information.

Rerun the synchronization task
In some special cases, if you add tables to or remove tables from the source, or change the name of a destination table, you can click More in the Actions column of the synchronization task and then click Rerun to rerun the task after the change. During the rerun process, the synchronization task synchronizes data only from the newly added tables to the destination or only from the mapped source table to the destination table whose name is changed.
