The component package management feature allows you to upload developed components
to the component package for management, and authorize specific personnel to share
components.
Prerequisites
Custom widgets are supported in the
Enterprise edition or higher. You must upgrade your DataV instance as required.
Create a Widget Group
- Log on to the DataV console.
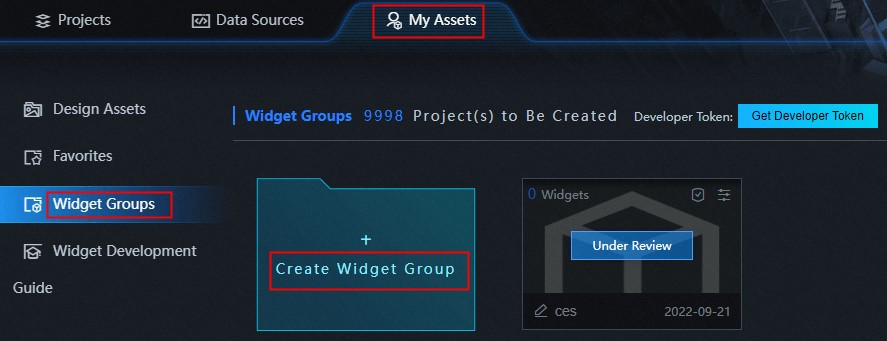
- On the My Assets page, click Widget Groups in the left-side navigation pane.
- On the Widget Groups page, click Create Widget Group.
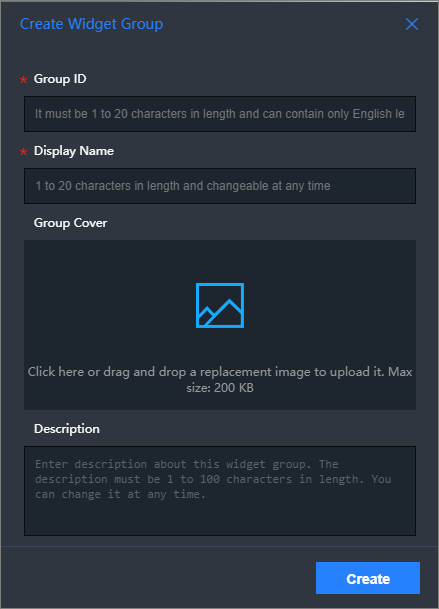
- In the Create Widget Group dialog box, enter the required information and click Create.
| Parameter |
Description |
| Group ID |
The ID of the widget group. The name must be less than 20 characters in length and
can contain only English, numbers, decimal points, and hyphens. It must not contain
spaces or start with numbers. The name must be in the xxx.xxx or xxx-xxx format. We recommend that you use the company name. The name of the component package or company name-component package name. You cannot modify the name after you create the component package. Example: alibaba-interaction.
|
| Display Name |
The display name of the widget group. The display name must be 1 to 20 characters
in length and can be modified after you create the widget group.
|
| Group Cover |
Click the Project Cover section to change the image, or drag the image to the Project Cover section to change the image. The image size must be within 200KB.
|
| Description |
The description of the widget group. The description cannot be more than 100 characters
in length and can be modified after you create the widget group.
|
- Wait for the created widget group to be reviewed. The review is complete within one
or two days.
Note If you want your widget group to be quickly reviewed, join the DingTalk group provided
in the announcement on the top of the DataV console and contact DataV technical support
engineers.
- If the review is successful, choose to view the reviewed widget group and upload widgets to the group.
Notice After you create a widget group, DataV generates a
developer token for you. It is the credential to log on to the DataV developer console. For more
information, see
Develop DataV widgets.
- If the review fails, check whether the widget group information contains the following
errors:
- The group ID contains characters that are not allowed or reserved keywords.
- The display name contains reserved keywords.
- The group cover image is invalid.
After you check for the errors, click the
Refresh icon. In the
Edit dialog box, modify the invalid information and click Edit to submit the widget group
for review again. You can also click the
Delete icon to delete the failed widget group and create a new group for review.
Note If you fix the preceding errors but the review fails again, contact DataV technical
engineers.
Upload a widget
After a widget group is created, you can upload widgets to the group.
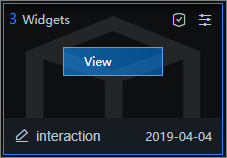
- On the Widget Groups page, move the pointer over the reviewed widget group and click View.
- On the My Assets page, click Upload.
- In the Upload dialog box, click the Upload Widget box or drag and drop the widget package to the box to upload a widget.
Notice The widget package cannot exceed 20 MB in size and must be a .tar.gz file.
- After the widget package is uploaded, click Save to save the widget to the DataV widget group.
Notice Users of the Enterprise edition can upload up to three custom components in the component
package. Users of the Professional edition can upload custom components in the component
package.
Authorize a widget group to another user
You can authorize your widget group to another user. This allows you to share the
widgets in the group.
Notice If you want to authorize your widget group to another user, you must upgrade you DataV
instance to the Professional edition. xxx
- Log on to the DataV console.
- On the My Assets page, click Widget Groups in the left-side navigation pane.
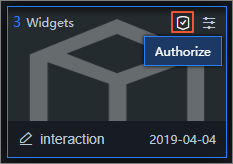
- On the Widget Groups page, click the
 icon on the upper-right corner of the widget group.
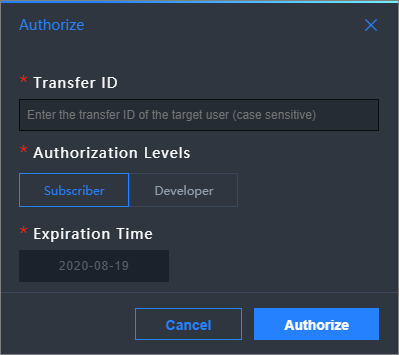
- In the Authorize dialog box, specify the required information.
| Parameter |
Description |
| Transfer ID |
Enter the transfer ID of the user whom you want to authorize. You can move the pointer
over the username in the upper-right corner of the DataV console to obtain the transfer
ID.
Notice Transfer IDs are case-sensitive.
|
| Authorization Levels |
Specify an authorization level. Valid values: Subscriber and Developer.
- Subscriber: The authorized user can only view widgets that are brought online on the My Assets page.
- Developer: The authorized user can develop and upload widgets, and view widgets that are under
review and that are brought online on the My Assets page.
|
| End Time |
Click the time picker to select the expiration time of the authorization. |
- Click the
 icon on the upper-right corner of the widget group to authorize more users and view
Authorized Records.
Search for an authorized user and revoke the authorization
In the Authorization Records section, search for an authorized user or revoke the authorization.
- In the upper-right corner of the Authorization Records section, enter the transfer ID of a user in the Search Box to search for the authorized user.
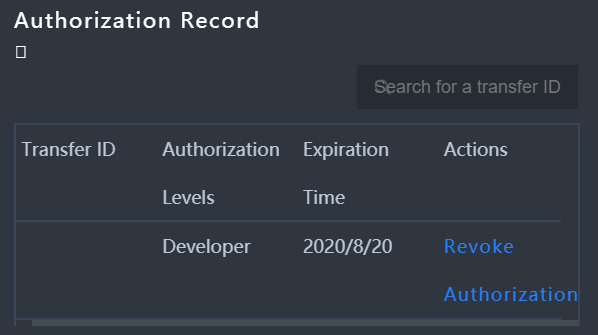
- Find an authorized user and click Revoke Authorization in the Actions column to revoke the authorization.
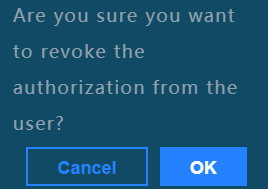
Notice The authorization cannot be restored after it is revoked. Proceed with caution.
Edit a widget group
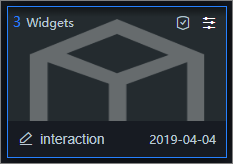
In the upper-right corner of a widget group, click the

icon to modify
Display Name,
Group Cover, and
Description. You cannot modify
Group ID.

 Notice The authorization cannot be restored after it is revoked. Proceed with caution.
 icon to modify Display Name, Group Cover, and Description. You cannot modify Group ID.

