This topic describes how to access an on-premises file gateway from a Windows client.
Prerequisites
A Server Message Block (SMB) share is created for the gateway. For more information, see Create an SMB share.
Background information
To access an on-premises file gateway from a client that runs Windows, you must mount the share as a network drive to establish a mapping between the share and the on-premises directory. You can access the share in the same way you access an on-premises directory.
An on-premises file gateway can have up to 8 shares. The maximum number of shares supported by different gateway editions varies due to differences in CPU and memory specifications. For more information, see Specifications.
After a share is mounted, its capacity corresponds to the storage capacity of the associated Object Storage Service (OSS) bucket. The capacity of a bucket is not limited. A file system requires a defined storage capacity, which is expressed as a numeric value. As a result, the bucket capacity displayed on a file system is fixed at a numeric value. However, the displayed capacity does not affect the actual storage capacity of the bucket.
Starting from V1.0.35, if no user is configured for an SMB share, a client accesses the SMB share as a public user by default. If you have added users, they can access the SMB share only if they are granted read/write permissions or read-only permissions.
Each time you change SMB user permissions, you must clear user information stored on the client to ensure normal access. You can run the
net use /delete < share path >command to clear client-side information without the need to restart the client.
Procedure
Log on to the Windows client.
Open This PC. On the Computer tab, select Map network drive.
In the Drive list, select a drive letter. In the Folder field, enter the mount target.
The mount target consists of the IP address of the gateway and the name of the share. You can check the mount targets of a gateway on the Shares page of the gateway in the CSG console.
Click Finish and enter the user name and password of the Common Internet File System (CIFS) user.
If you have joined an Active Directory (AD) domain, prefix the user name with the domain in the <domain><username> format.
After you mount the share, check the result.
If the following information appears, the share is mounted on the on-premises directory.
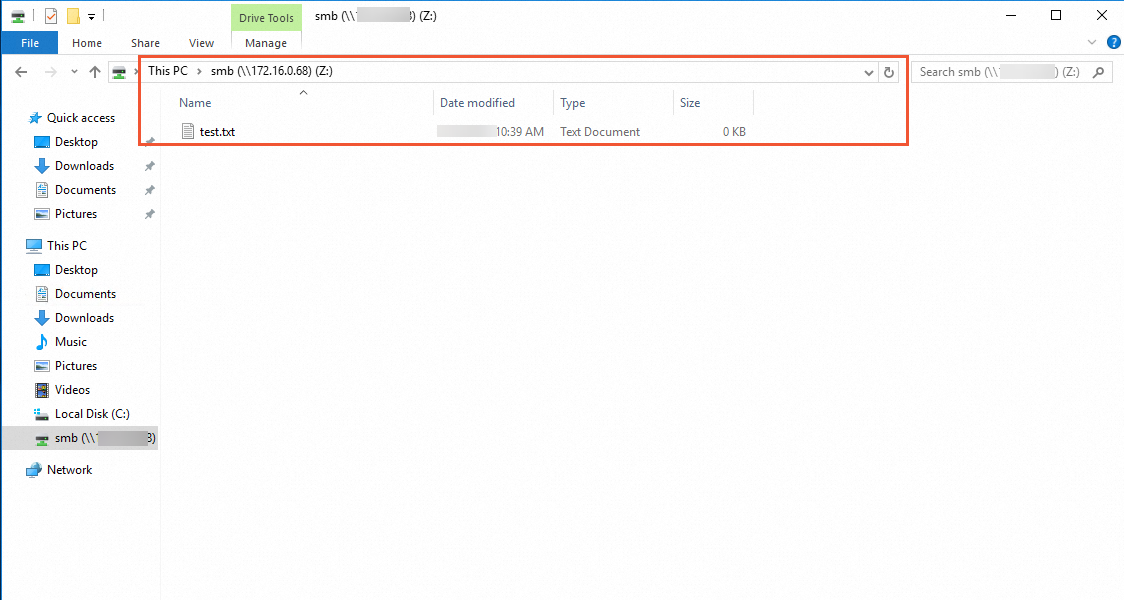
Access the share.
After the share is mounted, you can access the share in the same way that you access a local directory. If you have write permissions on the share, you can write data to the share. If you have read-only permissions on the share, you can only read data from the share.
NoteA share is synchronized with its associated OSS bucket. If you perform operations on a share, changes are also made to the objects in the associated bucket.