Use Cloud Enterprise Network (CEN) to connect virtual private clouds (VPCs) that belong to different Alibaba Cloud accounts.
Prerequisites
Non-overlapping CIDR blocks: Ensure that the CIDR blocks of the VPCs do not overlap.
Zone availability: To ensure zone-level disaster recovery, create vSwitches in at least two different zones in regions where Enterprise Edition transit routers support multiple zones.
Security group rules: Ensure that the security groups associated with your ECS instances allow the necessary traffic. For example, to ping test the connectivity, you must add an inbound rule allowing ICMP traffic.
Sample
Suppose you have two Alibaba Cloud accounts:
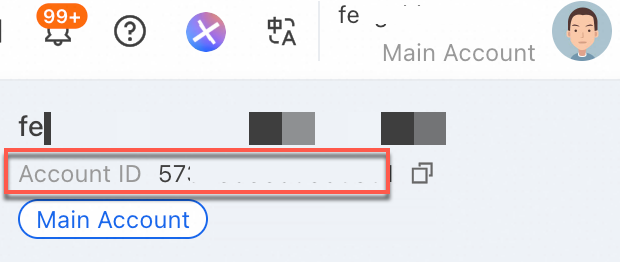
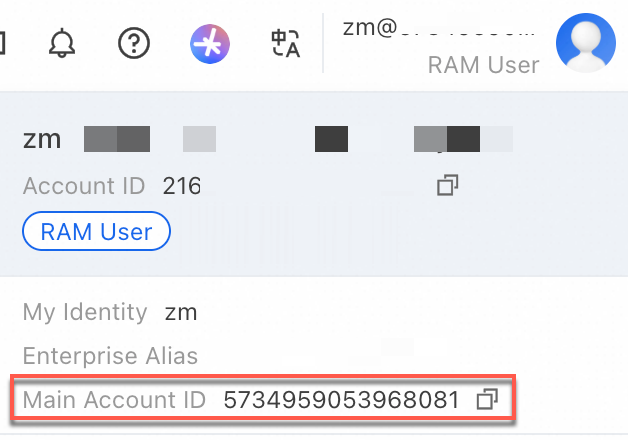
Account A: Owns two VPCs (
VPC1andVPC2) and one CEN instance (CEN1).Account B: Owns one VPC (
VPC3).
Initial state: VPC1 and VPC2 are already connected through CEN1. VPC3 is isolated in Account B.
Goal: Add VPC3 to CEN1 so that resources in all three VPCs can communicate.

Parameter | VPC1 | VPC2 | VPC3 |
Account | Account A | Account A | Account B |
Region | Singapore | Singapore | Singapore |
IPv4 CIDR block | 10.0.0.0/16 | 172.16.0.0/16 | 192.168.0.0/16 |
vSwitch 1 (Zone A) | 10.0.0.0/24 | 172.16.0.0/24 | 192.168.0.0/24 |
vSwitch 2 (Zone B) | 10.0.1.0/24 | 172.16.1.0/24 | 192.168.1.0/24 |
ECS IP address | ECS1: 10.0.0.1 | ECS2: 172.16.0.1 | ECS3: 192.168.0.1 |
Procedure
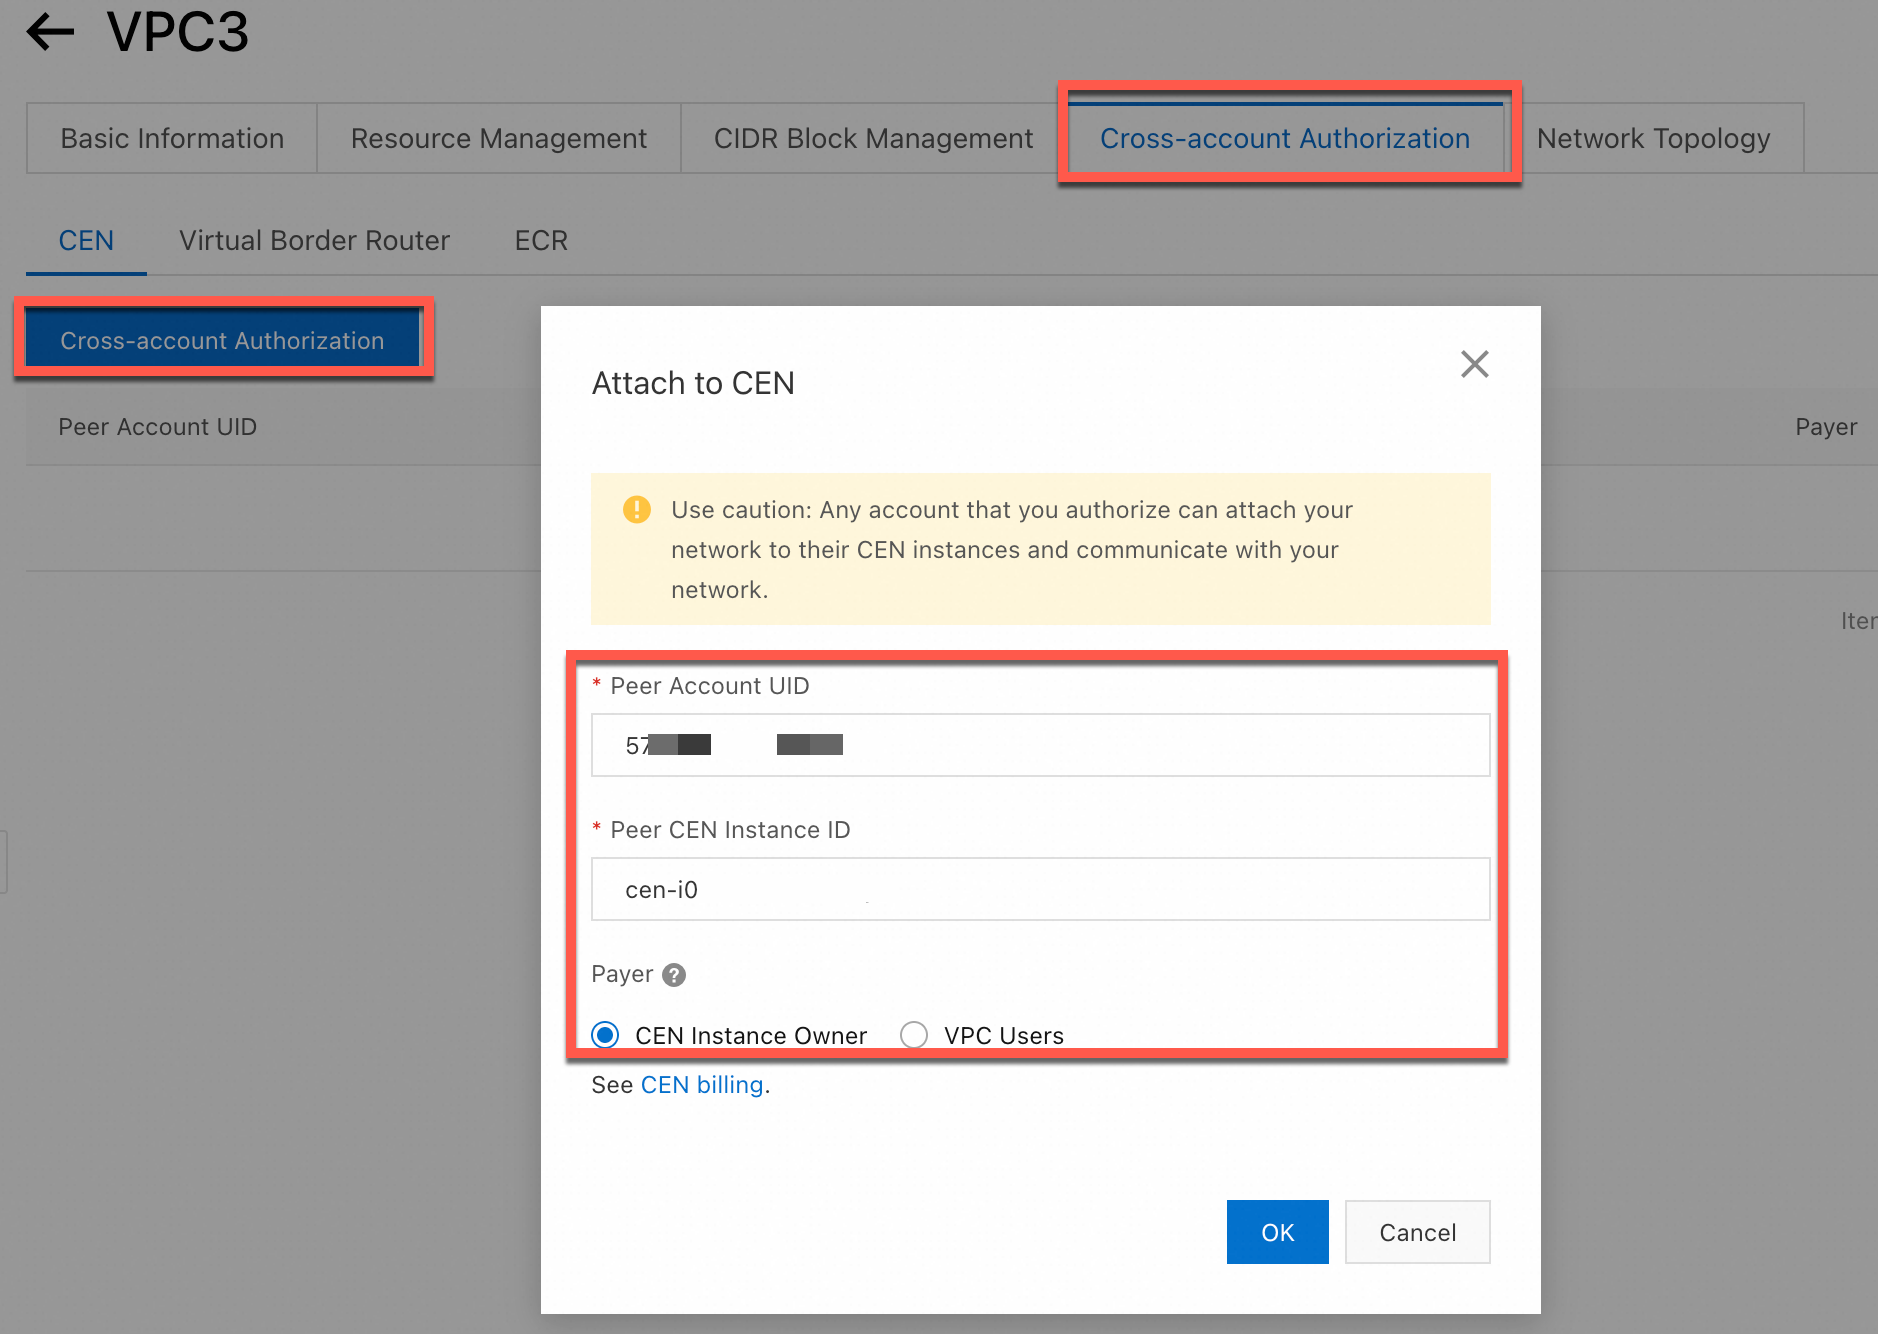
Step 1: Account B grants authorization to Account A
|
|
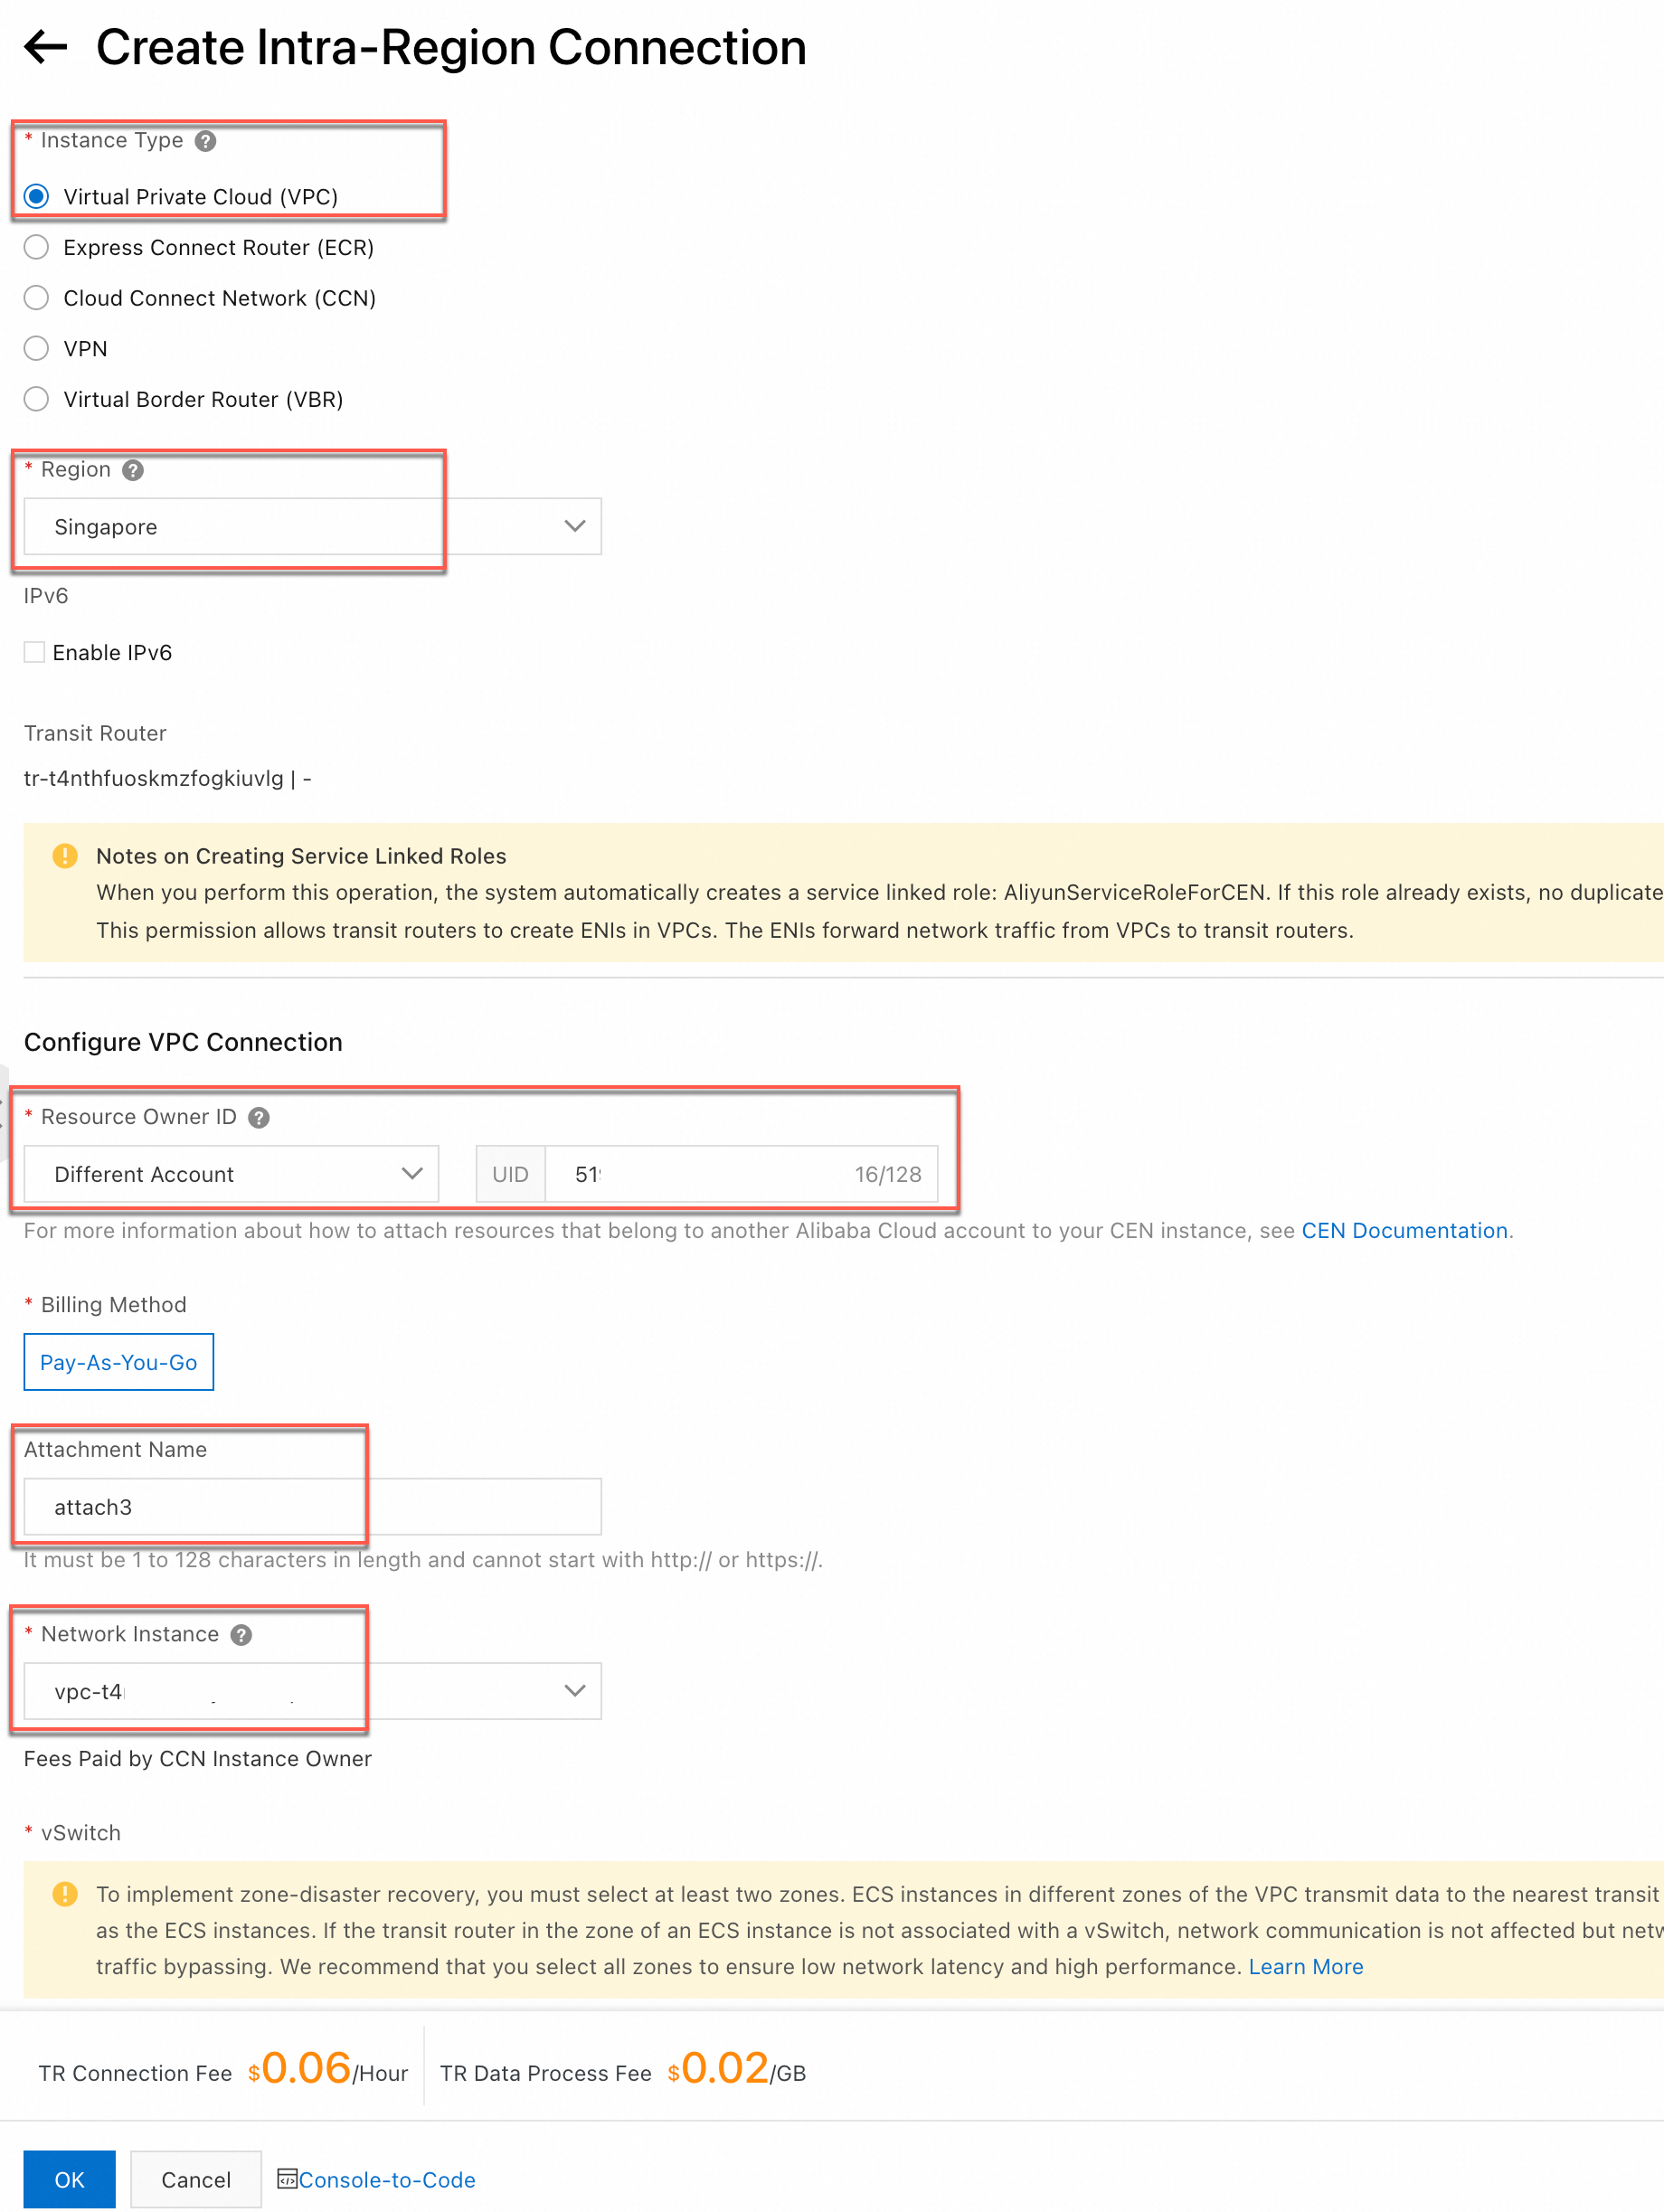
Step 2: Account A adds VPC3 to CEN1
|
|
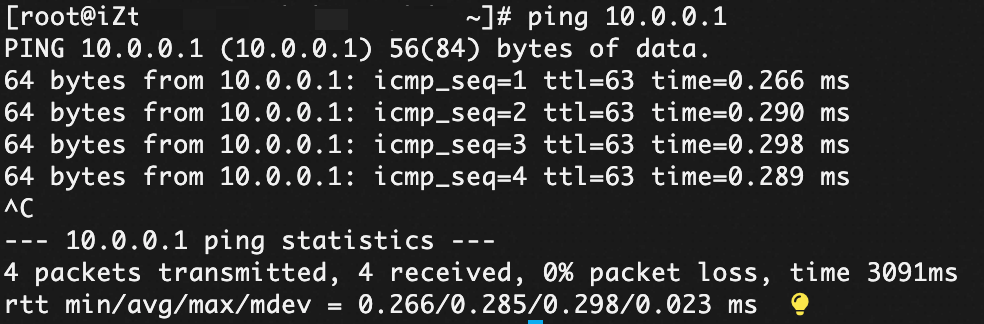
Step 3: Verify connectivity
Before proceeding, ensure that the security group rules of both ECS instances permit ICMP protocol access.
Log on to ECS3 and run ping 10.0.0.1 to access ECS1:
Route description
When you create the VPC connection, CEN automatically configures routes based on these advanced features that are selected by default:
Associate with Default Route Table of Transit Router
When enabled, the VPC connection is automatically associated with the default route table of the transit router. The transit router forwards traffic based on the default route table.
Propagate System Routes to Default Route Table of Transit Router
After this feature is enabled, the system routes of the VPC are advertised to the default route table of the transit router. The VPC can then communicate with other network instances that are connected to the transit router.
Automatically Create Route That Points to Transit Router and Add to All Route Tables of Current VPC
After this feature is enabled, the system automatically adds the following three routes to all route tables of the VPC: 10.0.0.0/8, 172.16.0.0/12, and 192.168.0.0/16. The next hops of the routes point to the VPC. The routes are used to forward IPv4 traffic from the VPC to the transit router. By default, transit routers do not advertise routes to VPCs.
ImportantIf the VPC instance requires IPv6 communication, after creating the VPC connection, you must enable the route synchronization feature for the VPC connection or manually add IPv6 route entries pointing to the VPC connection in the VPC. Only then can the IPv6 traffic enter the transit router.
After configuration, the route tables of the transit router and VPCs are as follows:
TR (Singapore)
Destination CIDR Block | Next Hop | Route Type |
10.0.0.0/24 |
| Propagated Routes |
10.0.1.0/24 |
| Propagated Routes |
172.16.0.0/24 |
| Propagated Routes |
172.16.1.0/24 |
| Propagated Routes |
192.168.0.0/24 |
| Propagated Routes |
192.168.1.0/24 |
| Propagated Routes |
VPC1
Destination CIDR Block | Next Hop | Route Type |
10.0.0.0/24 | Local | System |
10.0.1.0/24 | Local | System |
10.0.0.0/8 |
| Custom |
172.16.0.0/12 |
| Custom |
192.168.0.0/16 |
| Custom |
VPC2
Destination CIDR Block | Next Hop | Route Type |
172.16.0.0/24 | Local | System |
172.16.1.0/24 | Local | System |
10.0.0.0/8 |
| Custom |
172.16.0.0/12 |
| Custom |
192.168.0.0/16 |
| Custom |
VPC3
Destination CIDR Block | Next Hop | Route Type |
192.168.0.0/24 | Local | System |
192.168.1.0/24 | Local | System |
10.0.0.0/8 |
| Custom |
172.16.0.0/12 |
| Custom |
192.168.0.0/16 |
| Custom |
FAQ
Q: Can I connect VPCs in different regions and different accounts?
A: Yes. Combine cross-account authorization with cross-region connections.
Authorize the CEN instance to attach the VPCs in other accounts.
Create a transit router in each region.
Create an inter-region connection between the transit routers.
Attach each VPC to its local transit router.
Q: How can I isolate VPCs while allowing shared access?
A: You can use multiple route tables on the Transit Router to control traffic flow. For example, to isolate VPC1 and VPC2 from each other while allowing both to access VPC3 (shared service):
Create separate route tables on the Transit Router.
Associate VPC1 and VPC2 with a route table that has no route to each other.
Configure route propagation to allow traffic only between the spoke VPCs (VPC1 and VPC2) and the hub VPC3.
See Allow isolated VPCs to access a shared service for details.