You can invoke smart contracts through the REST API, to write or query information in the ledger. You can also query block and transaction information, and subscribe to blockchain events. The blockchain REST-API uses the Bearer Token authentication method. When calling the API, you need to specify an additional HTTP header “Authorization: Bearer <Your Access Token>” to provide your access token.
Generate Access Token
You can follow the steps below to generate Access Token and Refresh Token, which can be used to access the REST-API and update the Access Token.
Enter the organization’s REST-API display page. If you have not installed the Cloud Service Integration module, you need to follow the instructions to complete the installation. For more information, please refer to Install Cloud Service Integration.

Click “Generate Token” in the upper right corner of the page, and the following sidebar will pop up. According to the actual usage of token, select the appropriate validity period of the Access Token and Refresh Token, and check the permissions that the Token needs.
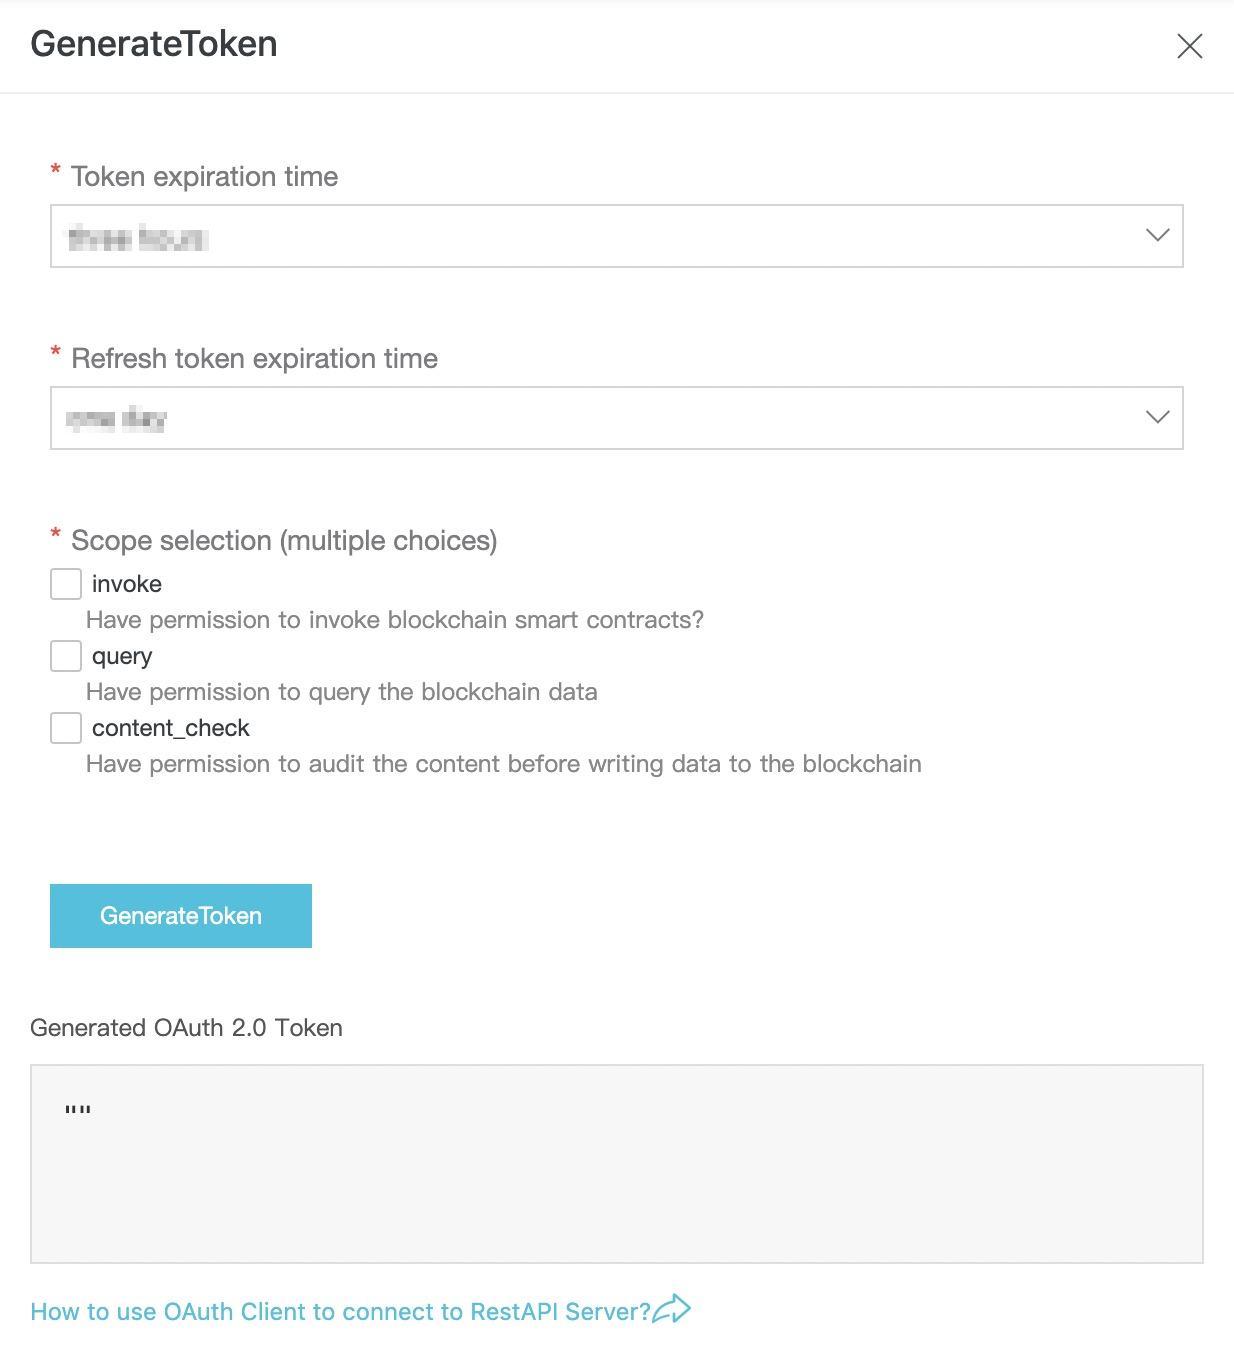
Click “Generate Token” in the sidebar, and the generated token information will be displayed in the textbox.
Use Swagger UI for Debugging
Before using Swagger UI in the the REST-API display page, you need to Generate Access Token.
Configure Access Token
If the generated Access Token has expired, or you want to test a specific Access Token used by your app, you can modify the Access Token used by the Swagger UI by following these steps.
Click the “Authorize” button on the page, you will see a dialog about the authentication information.

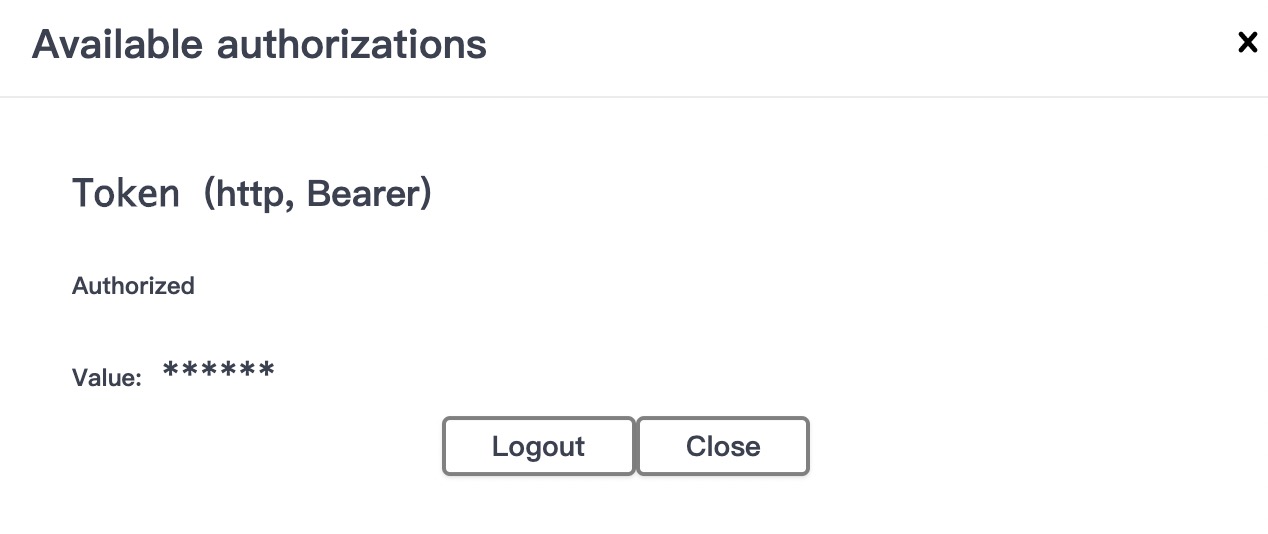
If an Access Token has been configured, first click “Logout” to delete the old authentication information.
Enter the new Access Token in “Value” and click “Authorize”.
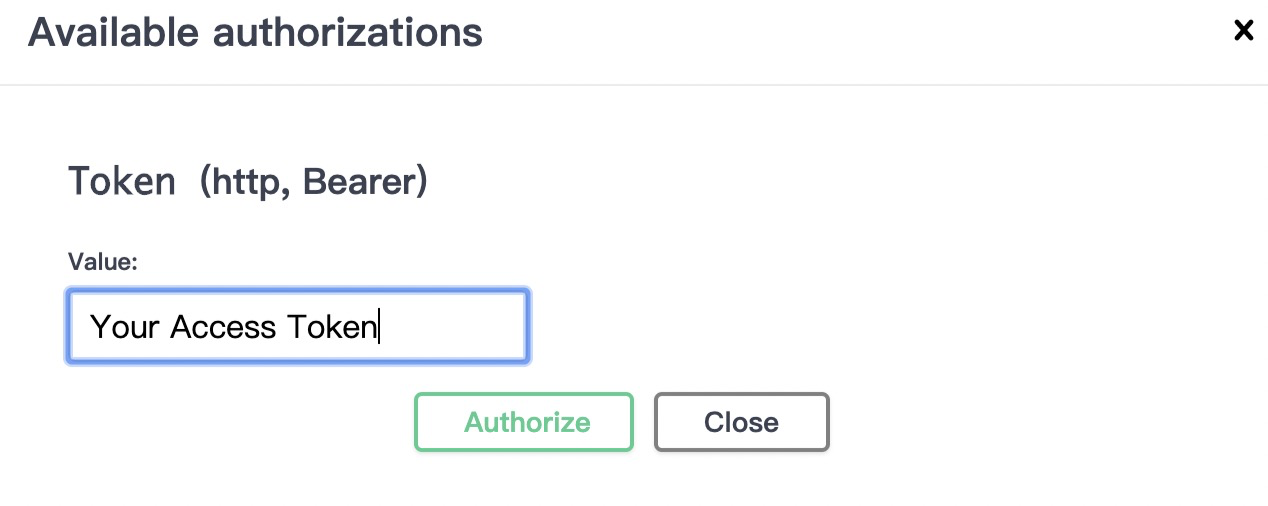
Click “Close” to close the dialog box. We can see that the small lock on the right side of the API is already locked, which means that we have successfully entered the authentication information.

Send Request
Select the REST API you want to debug (take “invoke” as an example here), click on the API title to expand the detailed description.

Click “Try it out” on the right side of the description, and adjust the parameters of the API according to the debugging requirements.
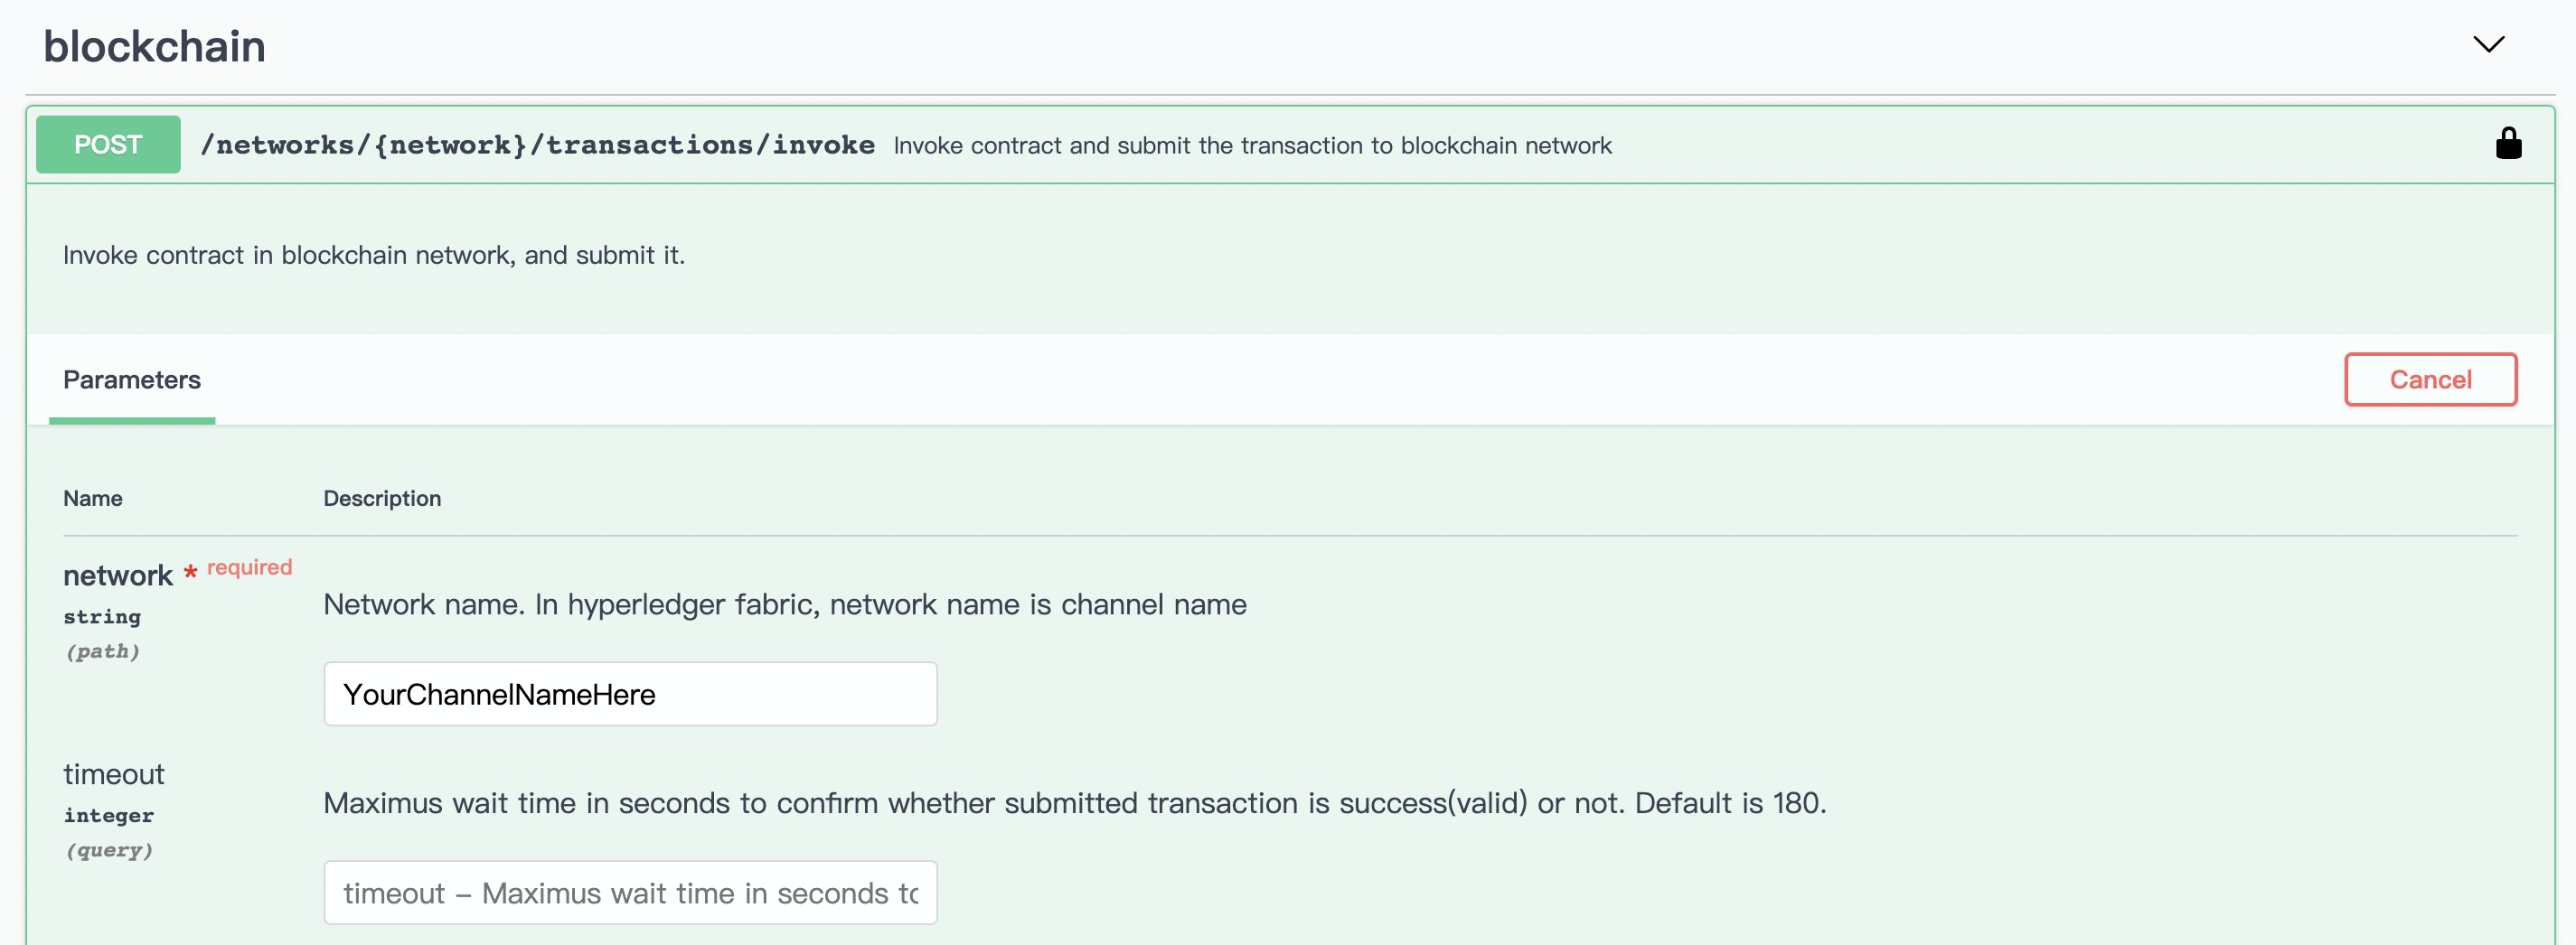
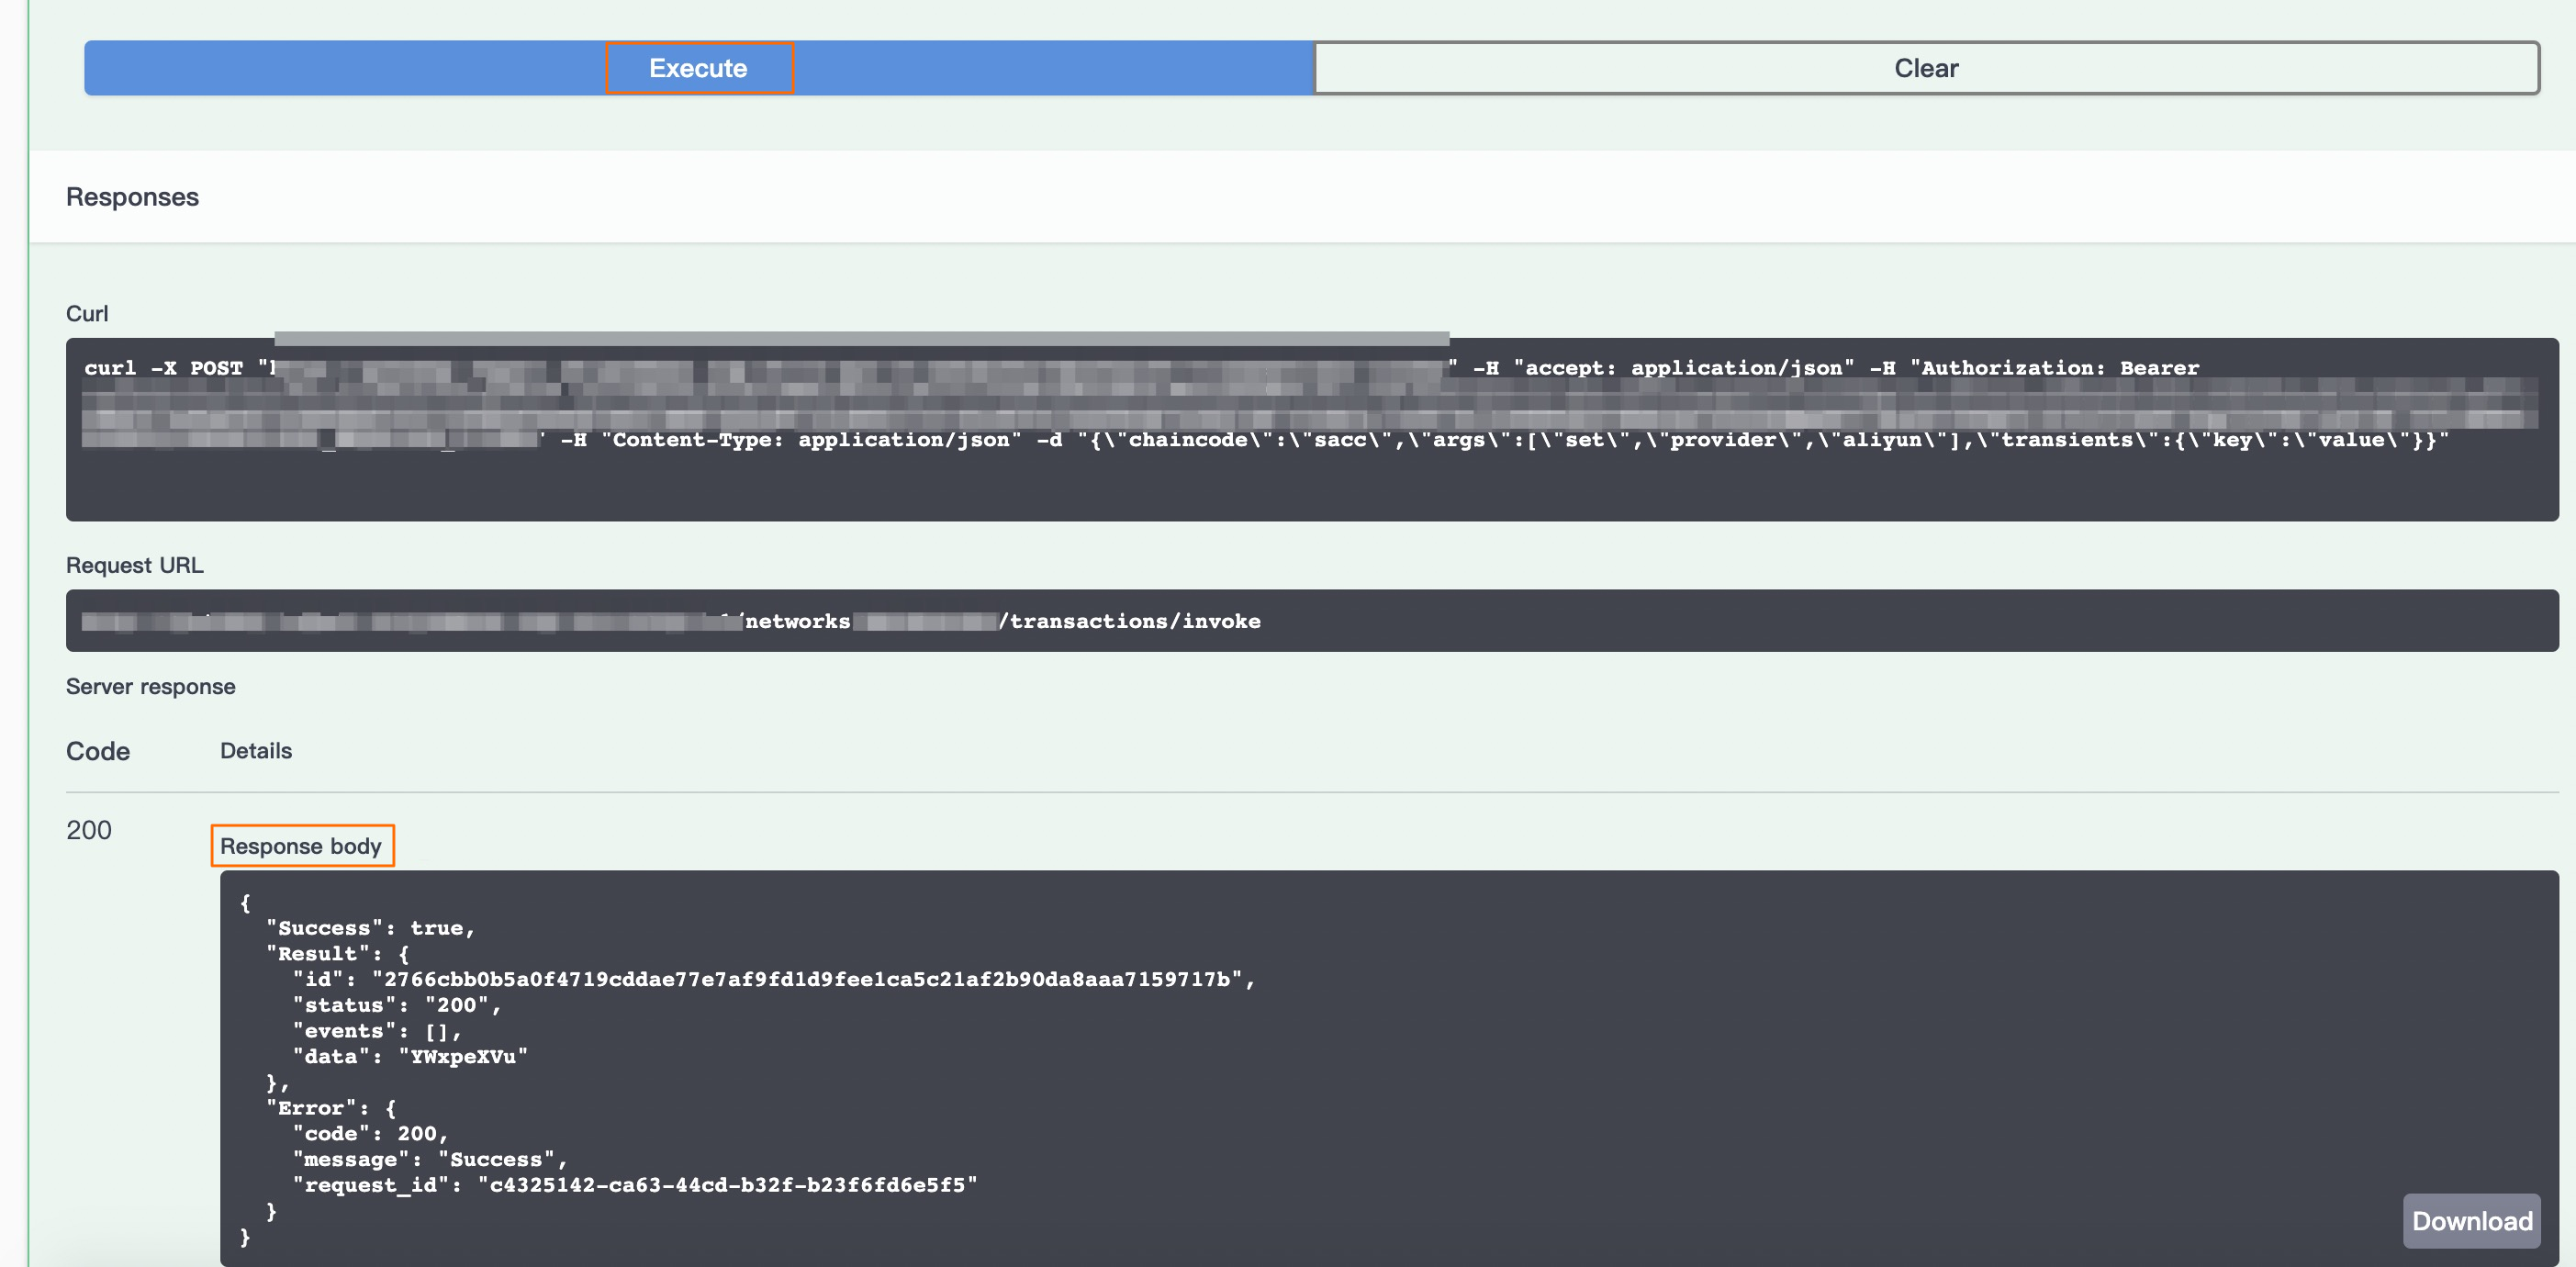
Click “Execute” to initiate the request. After the request returns, you can see the result of the request returned below.
The interface “/networks/{network}/events/subscribe” cannot be debugged through the Swagger UI. For the test method, please refer to the document Subscribe to Events.
Refresh Access Token
Access Token is a short-lived Token. When the Token is about to expire, you need to use Refresh Token to obtain a new Access Token. REST-API provides an OAuth 2.0-compliant refresh interface “/api/v1/token”. We recommend that you use the standard OAuth SDK to automatically refresh the Token and access the REST-API. You can find the OAuth Client implementation for each language in [OAuth Library] (https://oauth.net/code/), or you can directly use the Client SDK samples of several common languages here:
The SDK samples will call notary contract by default. You can download the sample smart contract notary.
Java SDK Sample
Get Java SDK Example. The java version > = 1.8.
Modify the file
java-oauth-client/src/main/resources/application.propertiesaccording to your instance, fill the REST-API address, the token information, the channel and smart contract information.Enter the directory
java-oauth-clientand executemvn spring-boot: runto run the sample program.
Example of normal results
> mvn spring-boot:run
  .   ____          _            __ _ _
 /\\ / ___'_ __ _ _(_)_ __  __ _ \ \ \ \
( ( )\___ | '_ | '_| | '_ \/ _` | \ \ \ \
 \\/  ___)| |_)| | | | | || (_| |  ) ) ) )
  '  |____| .__|_| |_|_| |_\__, | / / / /
 =========|_|==============|___/=/_/_/_/
 :: Spring Boot ::        (v2.0.6.RELEASE)

2020-02-17 18:00:09.056  INFO 79141 --- [           main] com.aliyun.baas.MainApplication          : Starting MainApplication on Bright.local with PID 79141 (java-oauth-client/target/classes started by bright in java-oauth-client)
2020-02-17 18:00:09.059  INFO 79141 --- [           main] com.aliyun.baas.MainApplication          : No active profile set, falling back to default profiles: default
2020-02-17 18:00:09.092  INFO 79141 --- [           main] s.c.a.AnnotationConfigApplicationContext : Refreshing org.springframework.context.annotation.AnnotationConfigApplicationContext@5bf85360: startup date [Mon Feb 17 18:00:09 CST 2020]; root of context hierarchy
2020-02-17 18:00:09.775  INFO 79141 --- [           main] o.s.j.e.a.AnnotationMBeanExporter        : Registering beans for JMX exposure on startup
2020-02-17 18:00:09.792  INFO 79141 --- [           main] com.aliyun.baas.MainApplication          : Started MainApplication in 0.958 seconds (JVM running for 3.321)
<200,class InlineResponse2002 {
    success: true
    result: class Block {
        number: 1
        hash: 1c397c4eb3e0e330c01ec430170f844e46159f16930aa347486b8153b6586548
        previousHash: 88ef0ad6ba2df7ba7e53de78575d2d14cee2253fe6897305e50b57ceeecebc78
        createTime: 1579056958
        transactions: []
        data: {data={data=[{payload={data={config={channel_group= ... }}}}]}}
    }
    error: class Error {
        code: 200
        message: Success
        requestId: edf8fe52-7cef-447f-a04a-7b8c1db56487
    }
},{Server=[nginx], Date=[Mon, 17 Feb 2020 10:00:10 GMT], Content-Type=[application/json; charset=UTF-8], Transfer-Encoding=[chunked], Connection=[keep-alive]}>
<200,class InlineResponse200 {
    success: true
    result: class Response {
        id: a5f5503f12b92a4c59e079e1baf49b517785e2d9988f90dfb234f6c3954a2389
        status: 200
        event: null
        data: MTU4MTkzMzYxMDEzNg==
    }
    error: class Error {
        code: 200
        message: Success
        requestId: 71a9f95f-ea5b-4dea-b4a1-a608ae429fb4
    }
},{Server=[nginx], Date=[Mon, 17 Feb 2020 10:00:11 GMT], Content-Type=[application/json; charset=UTF-8], Content-Length=[249], Connection=[keep-alive]}>
<200,class InlineResponse200 {
    success: true
    result: class Response {
        id: ba50180c9fe38c9be115f20775b78e80b7a1205c34ef34b66fab635efedc3b49
        status: 200
        event: null
        data: MTU4MTkzMzYxMDEzNg==
    }
    error: class Error {
        code: 200
        message: Success
        requestId: c703a36b-3589-4a8b-87a0-5e5bf56b2396
    }
},{Server=[nginx], Date=[Mon, 17 Feb 2020 10:00:11 GMT], Content-Type=[application/json; charset=UTF-8], Content-Length=[249], Connection=[keep-alive]}>
[INFO] ------------------------------------------------------------------------
[INFO] BUILD SUCCESS
[INFO] ------------------------------------------------------------------------
[INFO] Total time:  4.217 s
[INFO] Finished at: 2020-02-17T18:00:11+08:00
[INFO] ------------------------------------------------------------------------
2020-02-17 18:00:11.573  INFO 79141 --- [       Thread-3] s.c.a.AnnotationConfigApplicationContext : Closing org.springframework.context.annotation.AnnotationConfigApplicationContext@5bf85360: startup date [Mon Feb 17 18:00:09 CST 2020]; root of context hierarchy
2020-02-17 18:00:11.574  INFO 79141 --- [       Thread-3] o.s.j.e.a.AnnotationMBeanExporter        : Unregistering JMX-exposed beans on shutdown
Go SDK Sample
Get Go SDK Sample. The golang version is 1.13.x.
Modify the config in the file
go-oauth-client/src/go-oauth-client/main.goaccording to your instance, fill the REST-API address, the token information, the channel and smart contract information.Go to the directory
go-oauth-client/src/go-oauth-clientand executego run main.goto run the sample program.
Example of normal results
> go run main.go
Block response body: {"Success":true,"Result":{"number":1,"hash":"1c397c4eb3e0e330c01ec430170f844e46159f16930aa347486b8153b6586548","create_time":1579056958,"previous_hash":"88ef0ad6ba2df7ba7e53de78575d2d14cee2253fe6897305e50b57ceeecebc78","transactions":[],"data":{"data":{"data":[{"payload":{"data":{"config":{"channel_group": ...}}}}]}}}
Invoke response body: {"Success":true,"Result":{"id":"e0a11c3b953fa1759ef715214bb8bd24c0a7e762b739eb5f645ead921314fef4","status":"200","events":[],"data":"MTU4MTkzNDAwOA=="},"Error":{"code":200,"message":"Success","request_id":"c3c92ad0-a0ef-4a82-b596-4ac50a893ef6"}}
Invoke contract response: "MTU4MTkzNDAwOA=="
Query response body: {"Success":true,"Result":{"id":"c3d4c2928dfa7129641863b18dfeee4b18c7227929c841ff7d8bd25148f6c5f6","status":"200","events":[],"data":"MTU4MTkzNDAwOA=="},"Error":{"code":200,"message":"Success","request_id":"f1bf52b2-8c60-491e-9a40-8fecb96667ea"}}
Query contract response: "MTU4MTkzNDAwOA=="
Node SDK Sample
Get Node SDK Example, The node version> = 8.17
Modify the config in the file
node-oauth-client/main.jsaccording to your instance, fill the REST-API address, the token information, the channel and smart contract information.Go to the directory
node-oauth-clientand executenpm installto install the dependencies, and then executenode main.jsto run the sample program.
Example of normal results
> node main.js
{ number: 1,
  hash: '1c397c4eb3e0e330c01ec430170f844e46159f16930aa347486b8153b6586548',
  create_time: 1579056958,
  previous_hash: '88ef0ad6ba2df7ba7e53de78575d2d14cee2253fe6897305e50b57ceeecebc78',
  transactions: [],
  data:
   { data: { data: [Array] },
     header:
      { data_hash: 'HDl8TrPg4zDAHsQwFw+ETkYVnxaTCqNHSGuBU7ZYZUg=',
        number: '1',
        previous_hash: 'iO8K1rot97p+U954V10tFM7iJT/miXMF5QtXzu7OvHg=' },
     metadata: { metadata: [Array] } } }
Data 1581931486180 pushed to blockchain with transaction f19217c0db571dc715af8ad99025422f03e5561910371841fe5e69a356d0cb23
{ id: '8fd06f6087c5128b7dbe309658b170366b37e0733994e5e959d30be201c28827',
  status: '200',
  events: [],
  data: 'MTU4MTkzMTQ4NjE4MA==' }