This topic describes how to create a user for a Lindorm instance, and the permissions required for the user when the Lindorm instance serves as the source.
Background
When you create a Lindorm instance, the root and columnar_internal_user users are created by default. They have all permissions, including read, write, admin, trash, and system. When you use the data transmission service to migrate data from a Lindorm instance to OBKV, you can create a user and grant required permissions to the user as needed.
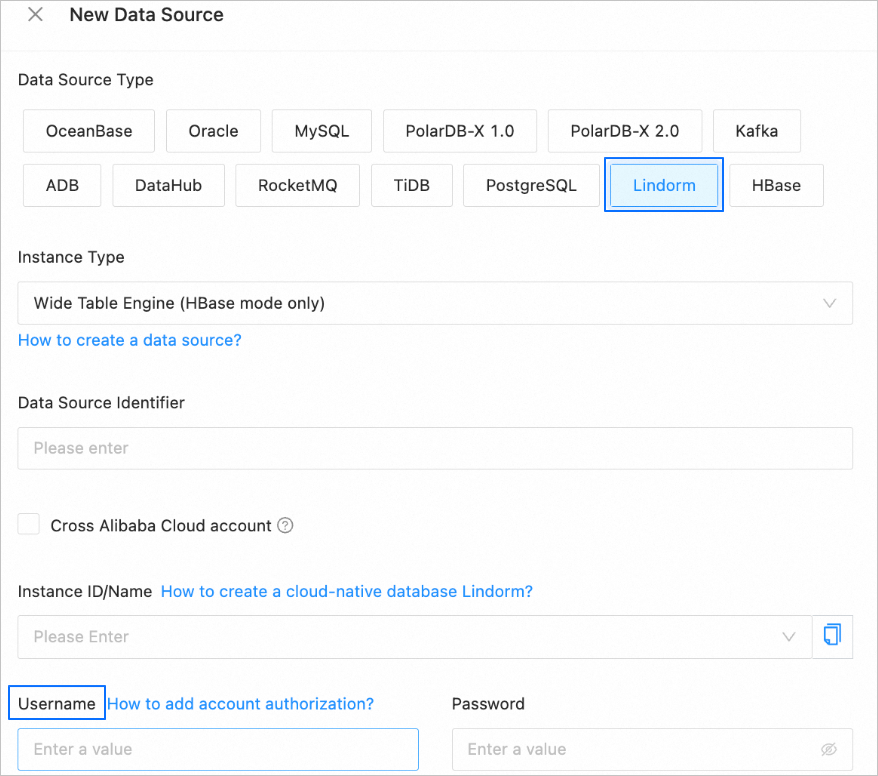
You need to enter the username in the Username field when you create a Lindorm data source.

Create a user for a Lindorm instance
Log on to the Lindorm console.
On the Instances page, click the ID of the target instance.

On the Instance Details page, click Access Control in the left-side navigation pane to add your client IP address to the allowlist.
Run the
ifconfigcommand to obtain the client IP address.On the Whitelists tab of the Access Control page, click Modify Group in the Actions column of the target allowlist.

To add an allowlist, click Create Whitelist and complete related settings. For more information, see Configure an allowlist.
Click OK.
Log on to the Lindorm Insight page.
On the Instance Details page, click Wide Table Engine in the left-side navigation pane.
On the right side of the Wide Table Engine page, click ClusterManagerInternet in the Cluster Management section.
ImportantIf you log on to the Lindorm Insight page for the first time, click Reset Ul Access Password in the Cluster Management section on the right side of the Wide Table Engine page, change the logon password, and then click ClusterManagerInternet.

After you confirm that the client IP address has been added to the allowlist and the logon password has been changed upon initial logon, click OK in the dialog box that appears.
In the Log On dialog box, specify Username and Password.
Click Log On.
Create a user.
On the Lindorm Insight page, choose Data Manager > User Manager in the left-side navigation pane.
On the User Manager page, click Add user in the upper-right corner.

In the Add User dialog box, specify Username and Password.
Click OK.
You can view this user on the User Manager page.

Grant permissions to a user of a source Lindorm instance
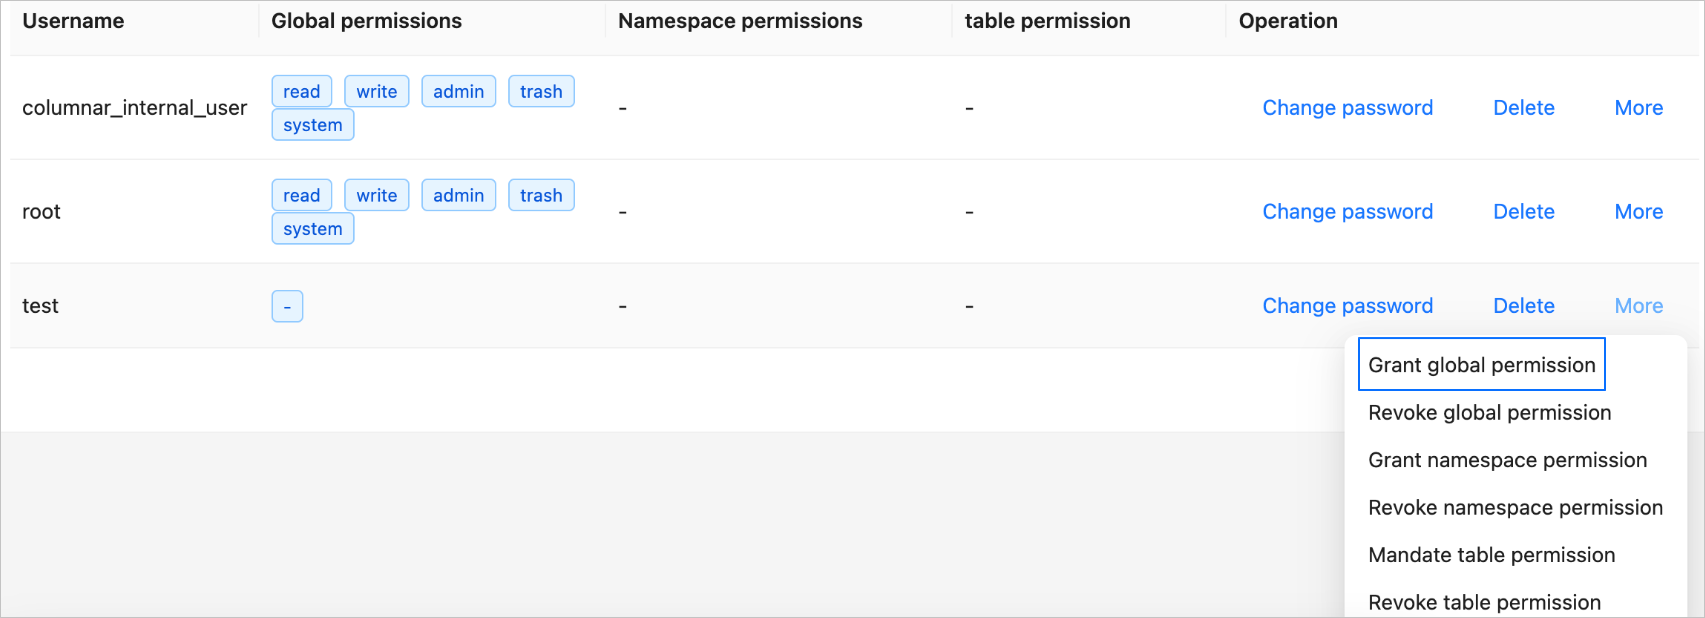
On the User Manager page, click More in the row of the target user and select Grant global permission.

You can also grant permissions on
namespacesortablesto the user. For more information, see Manage users.In the Grant global permission dialog box, select READ and WRITE.
When the Lindorm instance serves as the source, the user created for the Lindorm instance must have the READ permission for schema migration, full data migration, and full verification, and the WRITE permission for reverse incremental migration. Default permissions are sufficient for the user to perform incremental synchronization.

Click OK.