This topic describes how to use an AnalyticDB for PostgreSQL vector database to build an image-based search system.
Background information
Image-based search is commonly used in our life. If you want a beautiful dress or a pair of favorite sneakers shown on TV, you can take an image and then upload the image to Taobao to quickly find the product. If you want to know the name of a movie, you can paste a screenshot of the movie in the image search box of a search engine. Image-based search allows you to quickly find images of a person from a large number of human images. In addition to the image-based search feature that is provided by search engines, you can use the vector retrieval feature that is provided by AnalyticDB for PostgreSQL vector databases to build an image-based search system based on SQL syntax.
Overview of image-based search
Image-based search is also called reverse image search. It is a content-based image retrieval technique. The image-based search system can return records that are the closest in content to the image to be queried from large numbers of images. For example, if you provide an image that contains a product, the image-based search system returns images that contain a major object the same to or similar to the product. If you provide an image that contains a human face, the image-based search system returns images that share similar facial features with the human face.
Image-based search relies on two core modules:
Feature extraction module: extracts visual features from the source image to obtain a high-dimensional feature vector. The closer the feature vector of an image is to the feature vector of the source image, the more similar the image is to the source image.
Vector retrieval module: finds and returns the k records that are the closest to the query vector from large numbers of feature vectors.
Image feature extraction
Popular feature extraction algorithms use deep learning models such as Visual Geometry Group (VGG), ResNet, and Transformer as the backbone network and then use different methods to generate features. Three methods are commonly used to generate features:
Method 1: Use the previous layer of the classification layer in a classification model such as VGG as the output features. This is the simplest method and does not produce a high recall rate in image-based search scenarios.
Method 2: Perform special pooling operations such as Regional Maximum Activation of Convolutions (RMAC) and GeM on the features in the intermediate layer of a model, and then decrease dimensions of the features.
Method 3: Use a specific loss function to train a pre-trained model on a dataset to extract features. For example, a product feature extraction model needs to be trained on a dataset of similar products to extract visual features of different products in a more accurate way.
You can select a method that is suitable to your business scenario to extract image features and generate feature vectors.
Vector retrieval
Vector retrieval is also called nearest neighbor search (NNS). It finds and returns the k records that are the closest to the query vector from large numbers of feature vectors. You can calculate the distances between the query vector and all vectors in the database and then sort the distance results. However, this method is time-consuming and cannot meet requirements for large amounts of data.
In actual application scenarios, approximate nearest neighbor (ANN) search is commonly used to return data that is probably nearest to the query vector in a fast but less accurate manner.
You can use one of the following methods to perform ANN search:
Based on locality-sensitive hashing (LSH)
Based on product quantization
Based on images
Use an AnalyticDB for PostgreSQL vector database to search by image
Step 1: Extract feature vectors
In this example, the following tools are used:
Programming language: Python 3.8.
Deep learning framework: Pytorch.
Dataset: CIFAR100. The dataset consists of 100 categories, each containing 600 images.
Network: pre-trained SqueezeNet. SqueezeNet is lightweight and produces feature vectors of 1,000 dimensions.
We recommend that you use Jupyter Notebook to run the following code.
Create a Python environment.
# We recommend that you use Anaconda to create a Python environment.
conda create -n adbpg_env python=3.8
conda activate adbpg_env

pip install torchvision
pip install matplotlib
pip install psycopg2cffi
Download and preprocess the CIFAR100 dataset.
import torch
import torchvision

from torchvision.transforms import (
    Compose,
    Resize,
    CenterCrop,
    ToTensor,
    Normalize
)

preprocess = Compose([
    Resize(256),
    CenterCrop(224),
    ToTensor(),
    Normalize(mean=[0.485, 0.456, 0.406], std=[0.229, 0.224, 0.225]),
])

DATA_DIRECTORY = "/Users/XXX/Desktop/vector/CIFAR"
datasets = {
    "CIFAR100": torchvision.datasets.CIFAR100(DATA_DIRECTORY, transform=preprocess, download=True)
}
(Optional) Query the downloaded dataset.
import numpy as np
import matplotlib.pyplot as plt
from mpl_toolkits.axes_grid1 import ImageGrid

def show_images_from_full_dataset(dset, num_rows, num_cols, indices):
    im_arrays = np.take(dset.data, indices, axis=0)
    labels = map(dset.classes.__getitem__, np.take(dset.targets, indices))

    fig = plt.figure(figsize=(10, 10))
    grid = ImageGrid(
        fig,
        111,
        nrows_ncols=(num_rows, num_cols),
        axes_pad=0.3)
    for ax, im_array, label in zip(grid, im_arrays, labels):
        ax.imshow(im_array)
        ax.set_title(label)
        ax.axis("off")

dataset = datasets["CIFAR100"]
show_images_from_full_dataset(dataset, 4, 8, [i for i in range(0, 32)])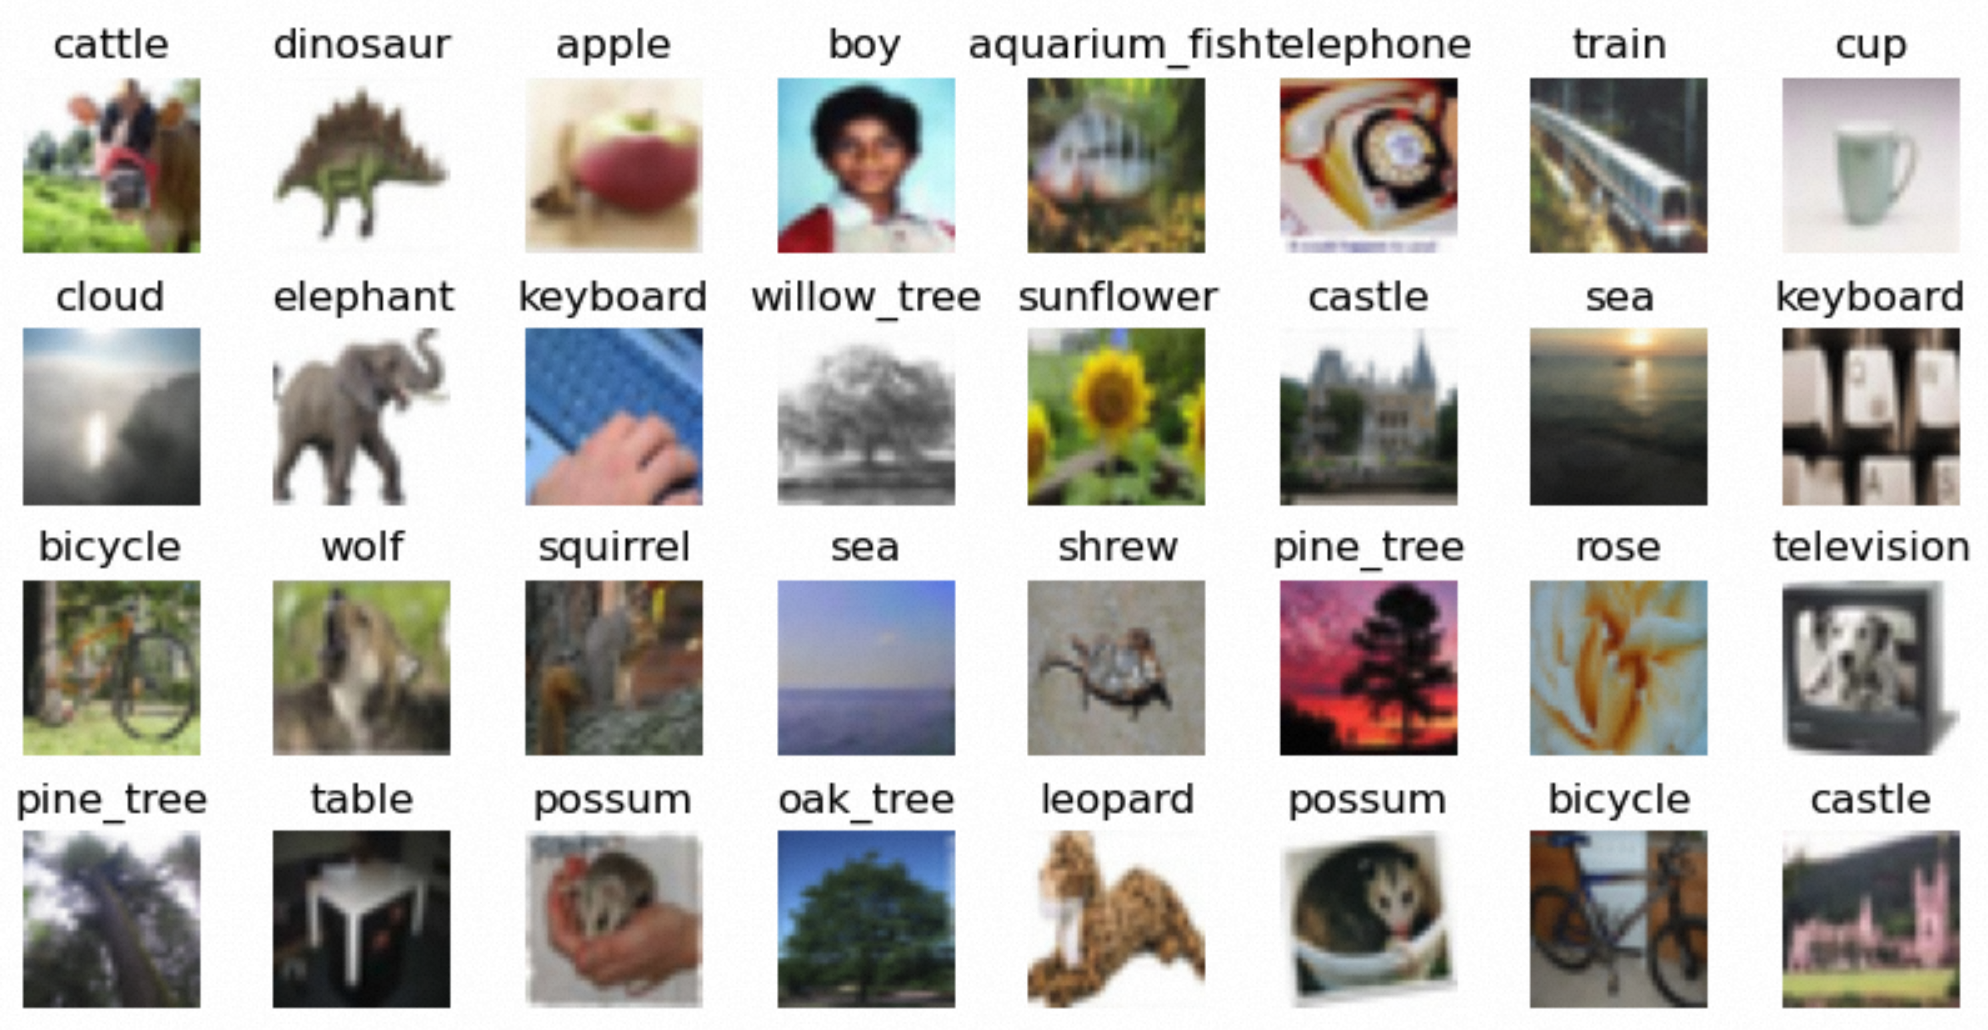
Use the Squeezenet1_1 model to generate feature vectors of all images in batches and store them in a feature vector file. In this example,
/Users/XXX/Desktop/vector/features/CIFAR100/featuresis the path of the feature vector file.# Prepare data. BATCH_SIZE = 100 dataloader = torch.utils.data.DataLoader(dataset, batch_size=BATCH_SIZE) # Download the model. model = torchvision.models.squeezenet1_1(pretrained=True).eval() # Extract the feature vectors and write them to the features_file_path file. features_file_path = "/Users/XXX/Desktop/vector/features/CIFAR100/features" feature_file = open(features_file_path, 'w') img_id = 0 for batch_number, batch in enumerate(dataloader): with torch.no_grad(): batch_imgs = batch[0] # 0: images batch_labels = batch[1] # 1: labels vector_values = model(batch_imgs).tolist() for i in range(len(vector_values)): img_label = dataset.classes[batch_labels[i].item()] # print(img_label) feature_file.write(str(img_id) + "|" + img_label + "|") vector_value = vector_values[i] assert len(vector_value) == 1000 for j in range(len(vector_value)): if j == 0: feature_file.write("{") feature_file.write(str(vector_value[j]) + ",") elif j == len(vector_value) - 1: feature_file.write(str(vector_value[j])) feature_file.write("}") else: feature_file.write(str(vector_value[j]) + ",") feature_file.write("\n") img_id = img_id + 1 print("finished extract feature vector for batch: ", batch_number) feature_file.close()The feature vectors of an image are displayed in the following format:
[2.67548513424756,2.186723470687866,2.376999616622925,2.3993351459503174,2.833254337310791,
4.141584873199463,1.0177937746047974,2.0199387073516846,2.436871512298584,1.465838789939880,
4,10.196249008178711,3.3932418823242188,6.087968826293945,7.661309242248535,7.66005373001098,
6,5.481011390686035,7.513026237487795,5.552321434020996,4.685927867889404,5.635070323944092,...]
Step 2: Import data to an AnalyticDB for PostgreSQL vector database and query the data
Create a table and then create a vector index in the table. In this example, the psycopg2cffi library of Python is used to connect to the vector database.
import os
import psycopg2cffi

# Configure the temporary environment variables.
# os.environ["PGHOST"] = "XX.XXX.XX.XXX"
# os.environ["PGPORT"] = "XXXXX"
# os.environ["PGDATABASE"] = "adbpg_test"
# os.environ["PGUSER"] = "adbpg_test"
# os.environ["PGPASSWORD"] = "adbpg_test"

connection = psycopg2cffi.connect(
    host=os.environ.get("PGHOST", "XX.XXX.XX.XXX"),
    port=os.environ.get("PGPORT", "XXXXX"),
    database=os.environ.get("PGDATABASE", "adbpg_test"),
    user=os.environ.get("PGUSER", "adbpg_test"),
    password=os.environ.get("PGPASSWORD", "adbpg_test")
)

cursor = connection.cursor()

# Specify an SQL statement to create a table.
create_table_sql = """
CREATE TABLE IF NOT EXISTS public.image_search (
    id INTEGER NOT NULL,
    class TEXT,
    image_vector REAL[],
    PRIMARY KEY(id)
) DISTRIBUTED BY(id);
"""

# Specify an SQL statement to change the storage format of the vector column to PLAIN.
alter_vector_storage_sql = """
ALTER TABLE public.image_search ALTER COLUMN image_vector SET STORAGE PLAIN;
"""

# Specify an SQL statement to create a vector index.
create_indexes_sql = """
CREATE INDEX ON public.image_search USING ann (image_vector) WITH (dim = '1000', hnsw_m = '100', pq_enable='0');
"""

# Execute the preceding SQL statements.
cursor.execute(create_table_sql)
cursor.execute(alter_vector_storage_sql)
cursor.execute(create_indexes_sql)
connection.commit()
Import the feature vectors of the images that are contained in the dataset to the table.
import io

# Define a generator function to process the data in the file line by line.
def process_file(file_path):
    with open(file_path, 'r') as file:
        for line in file:
            yield line

# Specify a COPY statement to import data.
copy_command = """
COPY public.image_search (id, class, image_vector)
FROM STDIN WITH (DELIMITER '|');
"""

# Prepare the feature vector file.
features_file_path = "/Users/XXX/Desktop/vector/features/CIFAR100/features"

# Execute the COPY statement.
modified_lines = io.StringIO(''.join(list(process_file(features_file_path))))
cursor.copy_expert(copy_command, modified_lines)
connection.commit()
Search for images based on the feature vector of an image contained in the feature vector file. In this example, the image whose ID is 4999 is used.
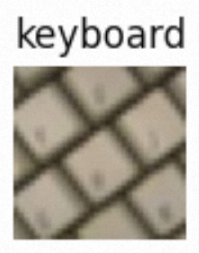
def query_analyticdb(collection_name, vector_name, query_embedding, top_k=20):
    # Specify an SQL statement to return images whose feature vectors are the closest to the query vector and calculate the similarity to the query vector.
    query_sql = f"""
    SELECT id, class, l2_distance({vector_name},Array{query_embedding}::real[]) AS similarity
    FROM {collection_name}
    ORDER BY {vector_name} <-> Array{query_embedding}::real[]
    LIMIT {top_k};
    """

    # Execute the preceding SQL statement.
    connection = psycopg2cffi.connect(
        host=os.environ.get("PGHOST", "XX.XXX.XX.XXX"),
        port=os.environ.get("PGPORT", "XXXXX"),
        database=os.environ.get("PGDATABASE", "adbpg_test"),
        user=os.environ.get("PGUSER", "adbpg_test"),
        password=os.environ.get("PGPASSWORD", "adbpg_test")
    )

    cursor = connection.cursor()
    cursor.execute(query_sql)
    results = cursor.fetchall()

    return results

  # Select a piece of data as the query vector.
def select_feature(file_path, expect_id):
    with open(file_path, 'r') as file:
        for line in file:
            datas = line.split('|')
            if datas[0] == str(expect_id):
                vec = '[' + datas[2][1:-2] + ']'
                return vec
    raise ValueError(f"no id = {expect_id}")

file_path = "/Users/lizhenjing/Desktop/vector/features/CIFAR100/features"

# Select an image whose ID is 4999.
query_vector = select_feature(file_path, 4999)
# Display this image.
# show_images_from_full_dataset(dataset, 1, 1, [4999], figsize=(1, 1))
# print(query_vector)

# Execute the query to display the query results.
results = query_analyticdb("image_search", "image_vector", query_vector)
The following figure shows the image whose ID is 4999.
Display the images corresponding to the query results.
NoteAnalyticDB for PostgreSQL vector databases provide the ANN search feature to accelerate the query.
# Obtain the image IDs from the query results in the previous step.
indices = []
for item in results:
    indices.append(item[0])
print(indices)

# Display the images.
show_images_from_full_dataset(dataset, 4, 5, indices)
The following figures show the returned images.
