Create and maintain organizational shared contacts, members are able to view and use these contacts information.
Create and Maintain Shared Contact Group
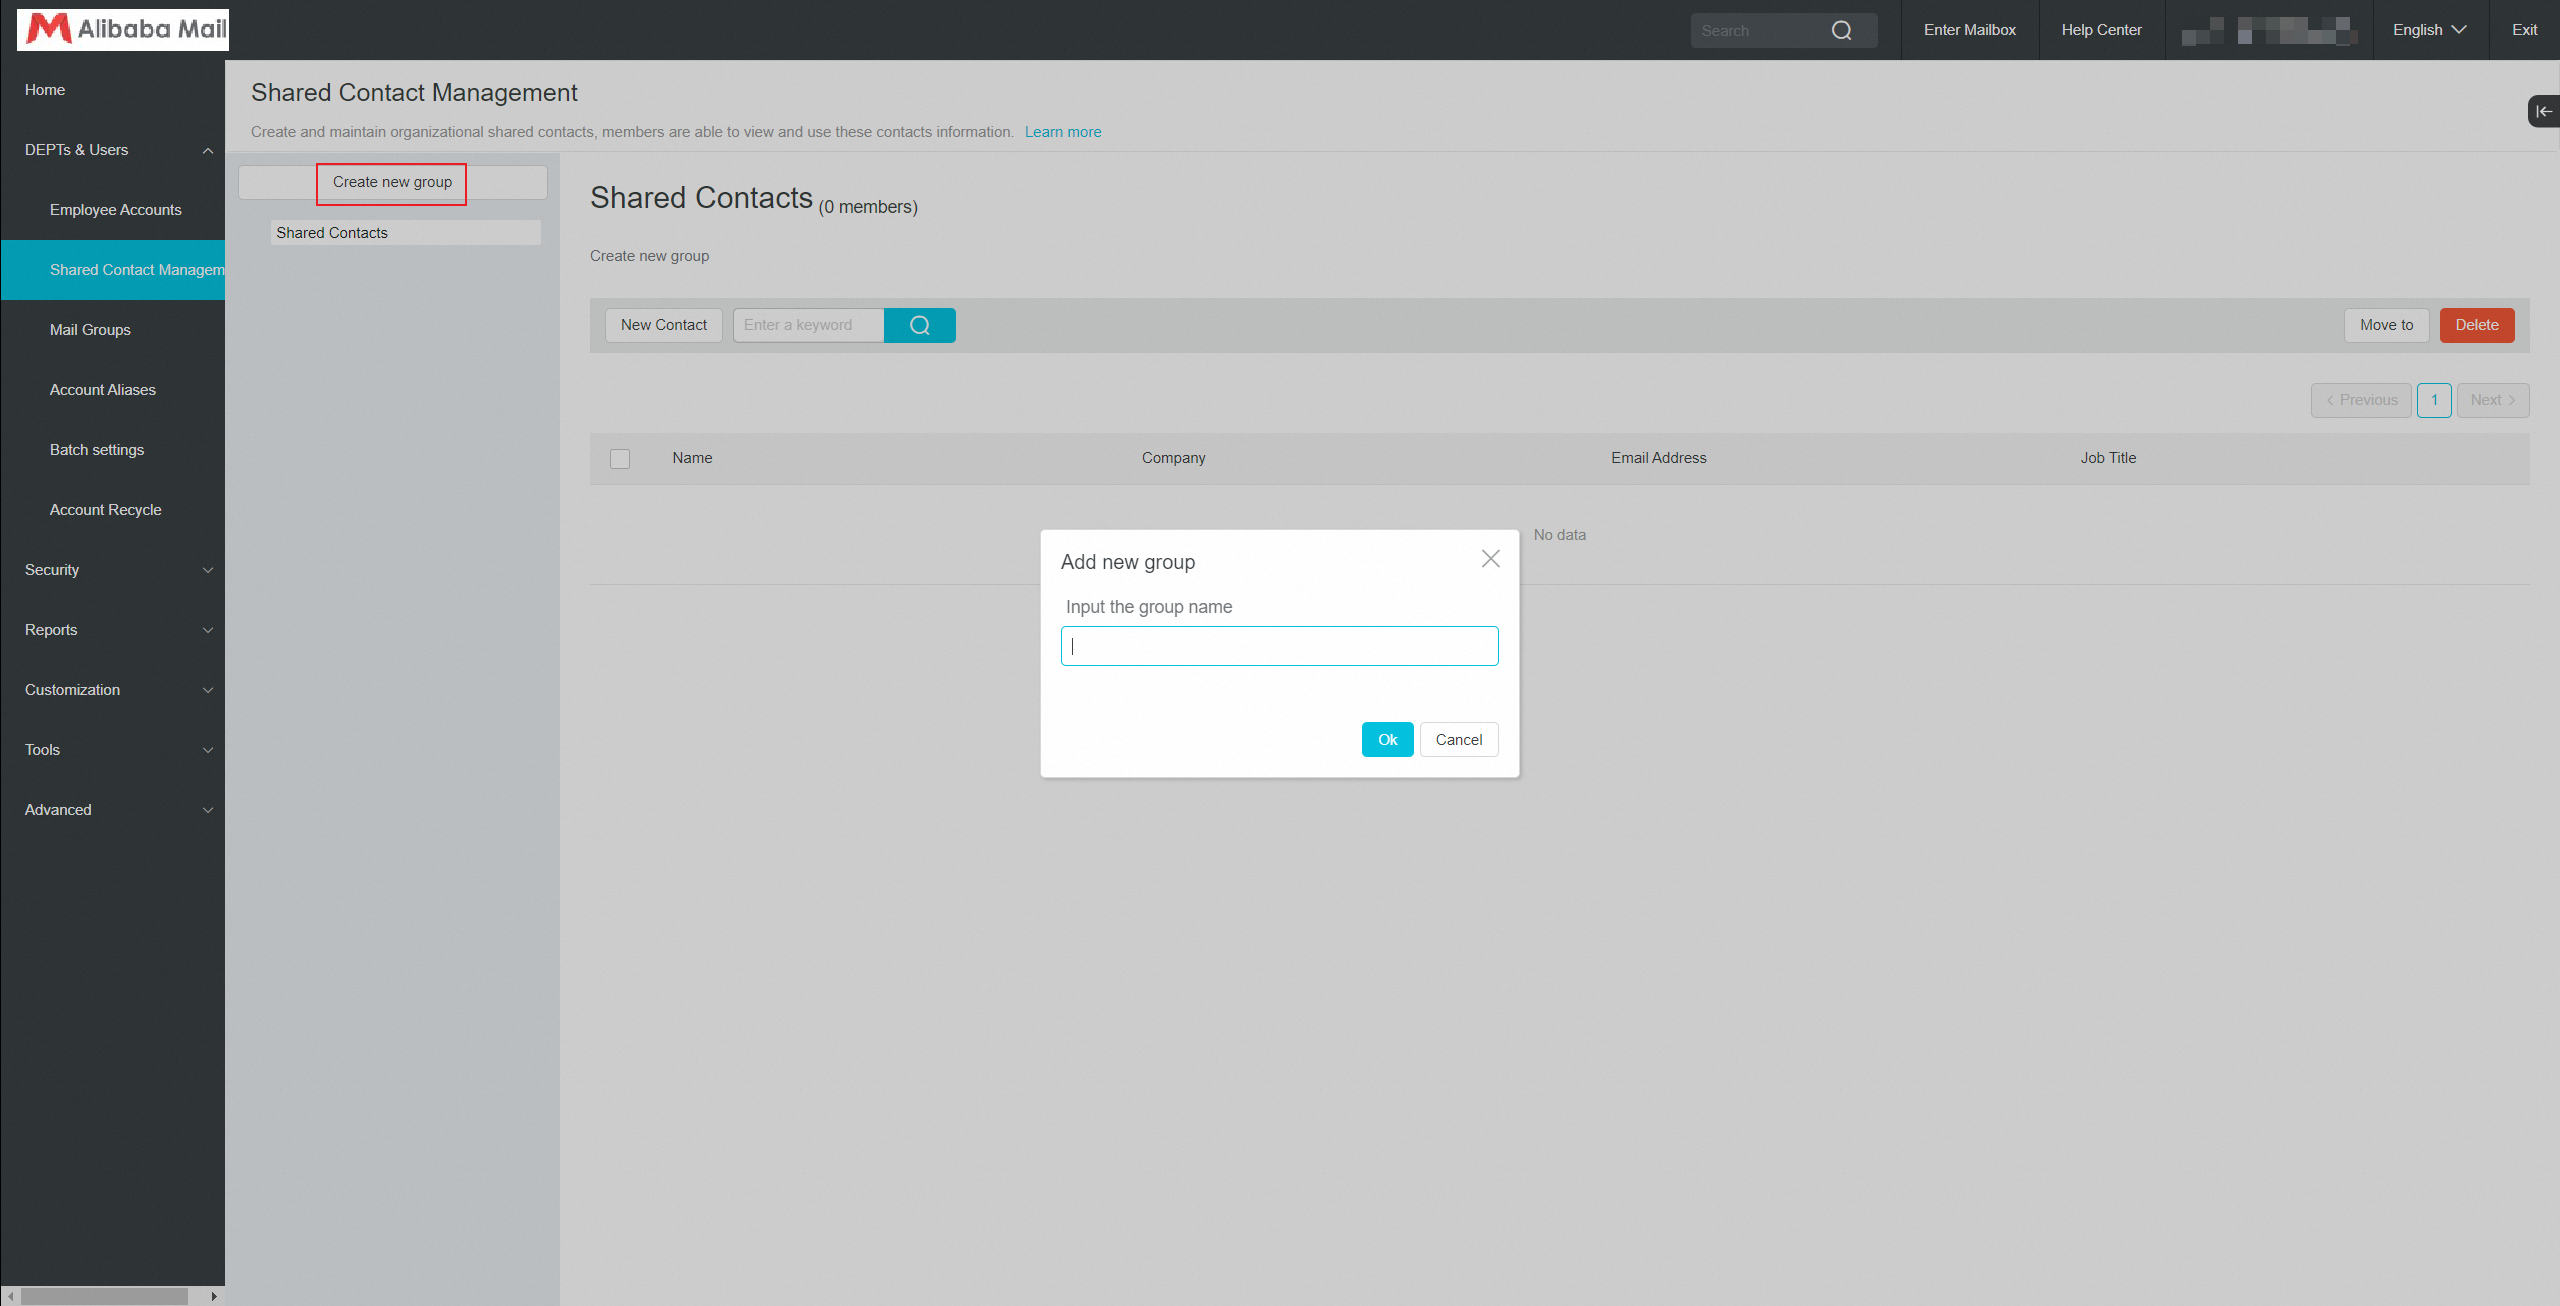
Create New Group
Log in to the postmaster account>> DEPTs & Users>> Shared Contact Management>> Create new group>> Enter a group name and click Ok.
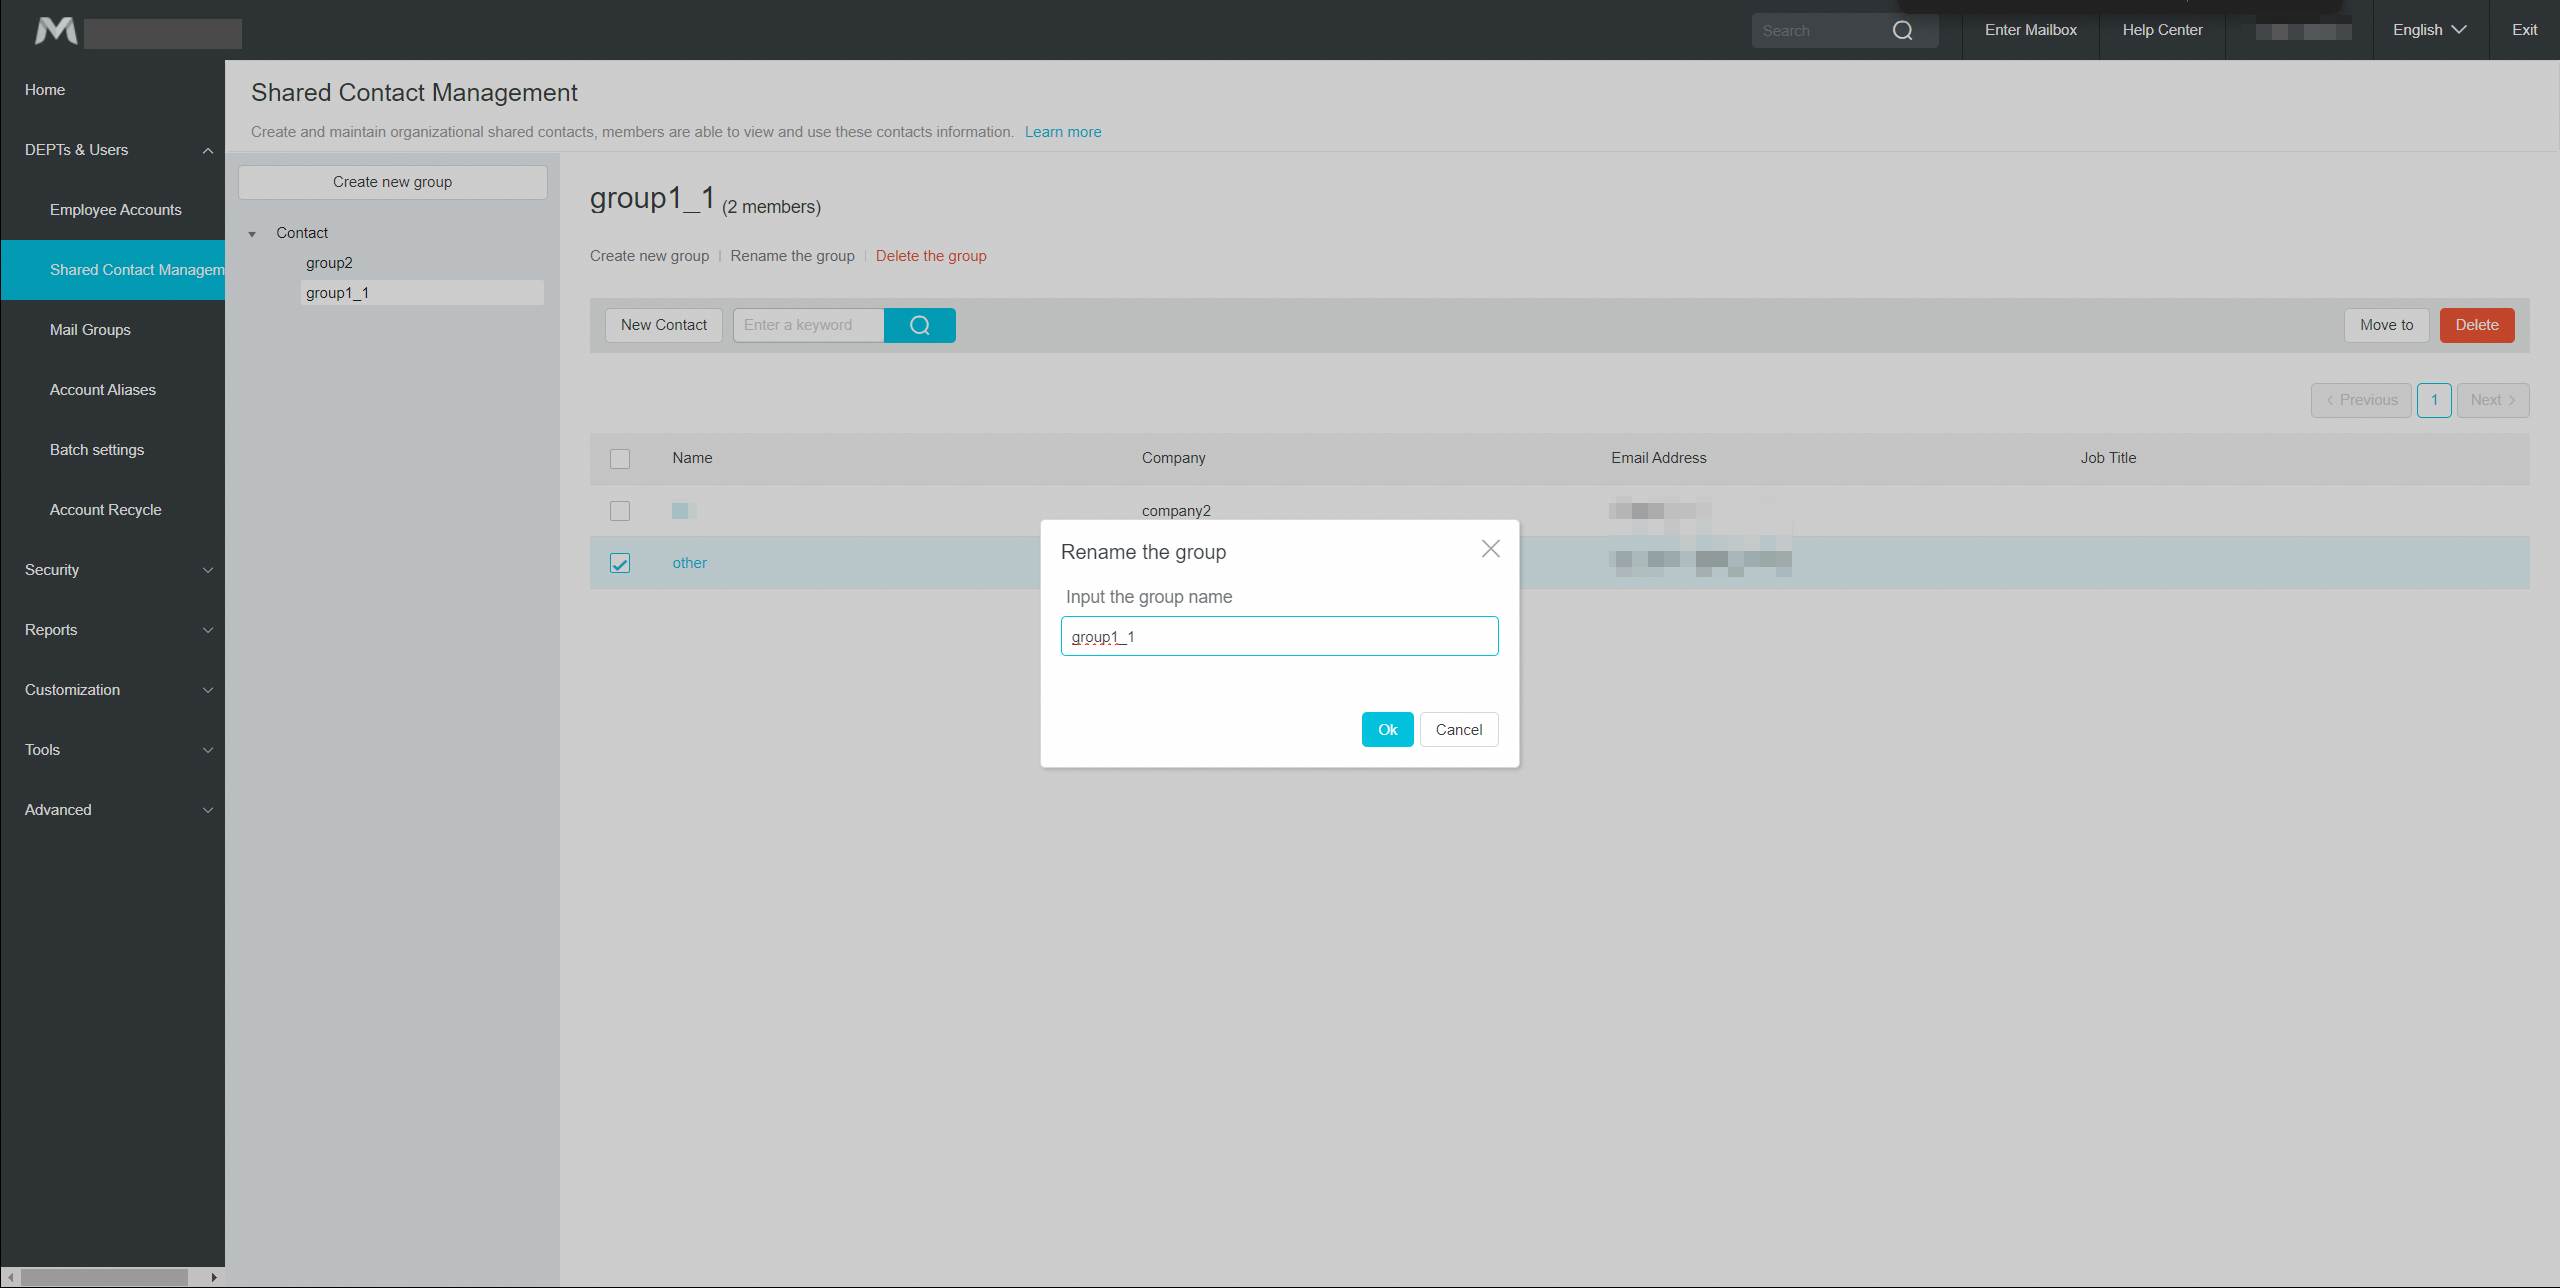
Rename The Group
Log in to the postmaster account>> DEPTs & Users>> Shared Contact Management>> Rename the group>>fill in the new group name and click Ok.
Delete The Group
Log in to the postmaster account>> DEPTs & Users>> Shared Contact Management>>
Select the group that needs to be deleted, click Delete the group.

Create and Maintain Shared Contact
Create by New Contact
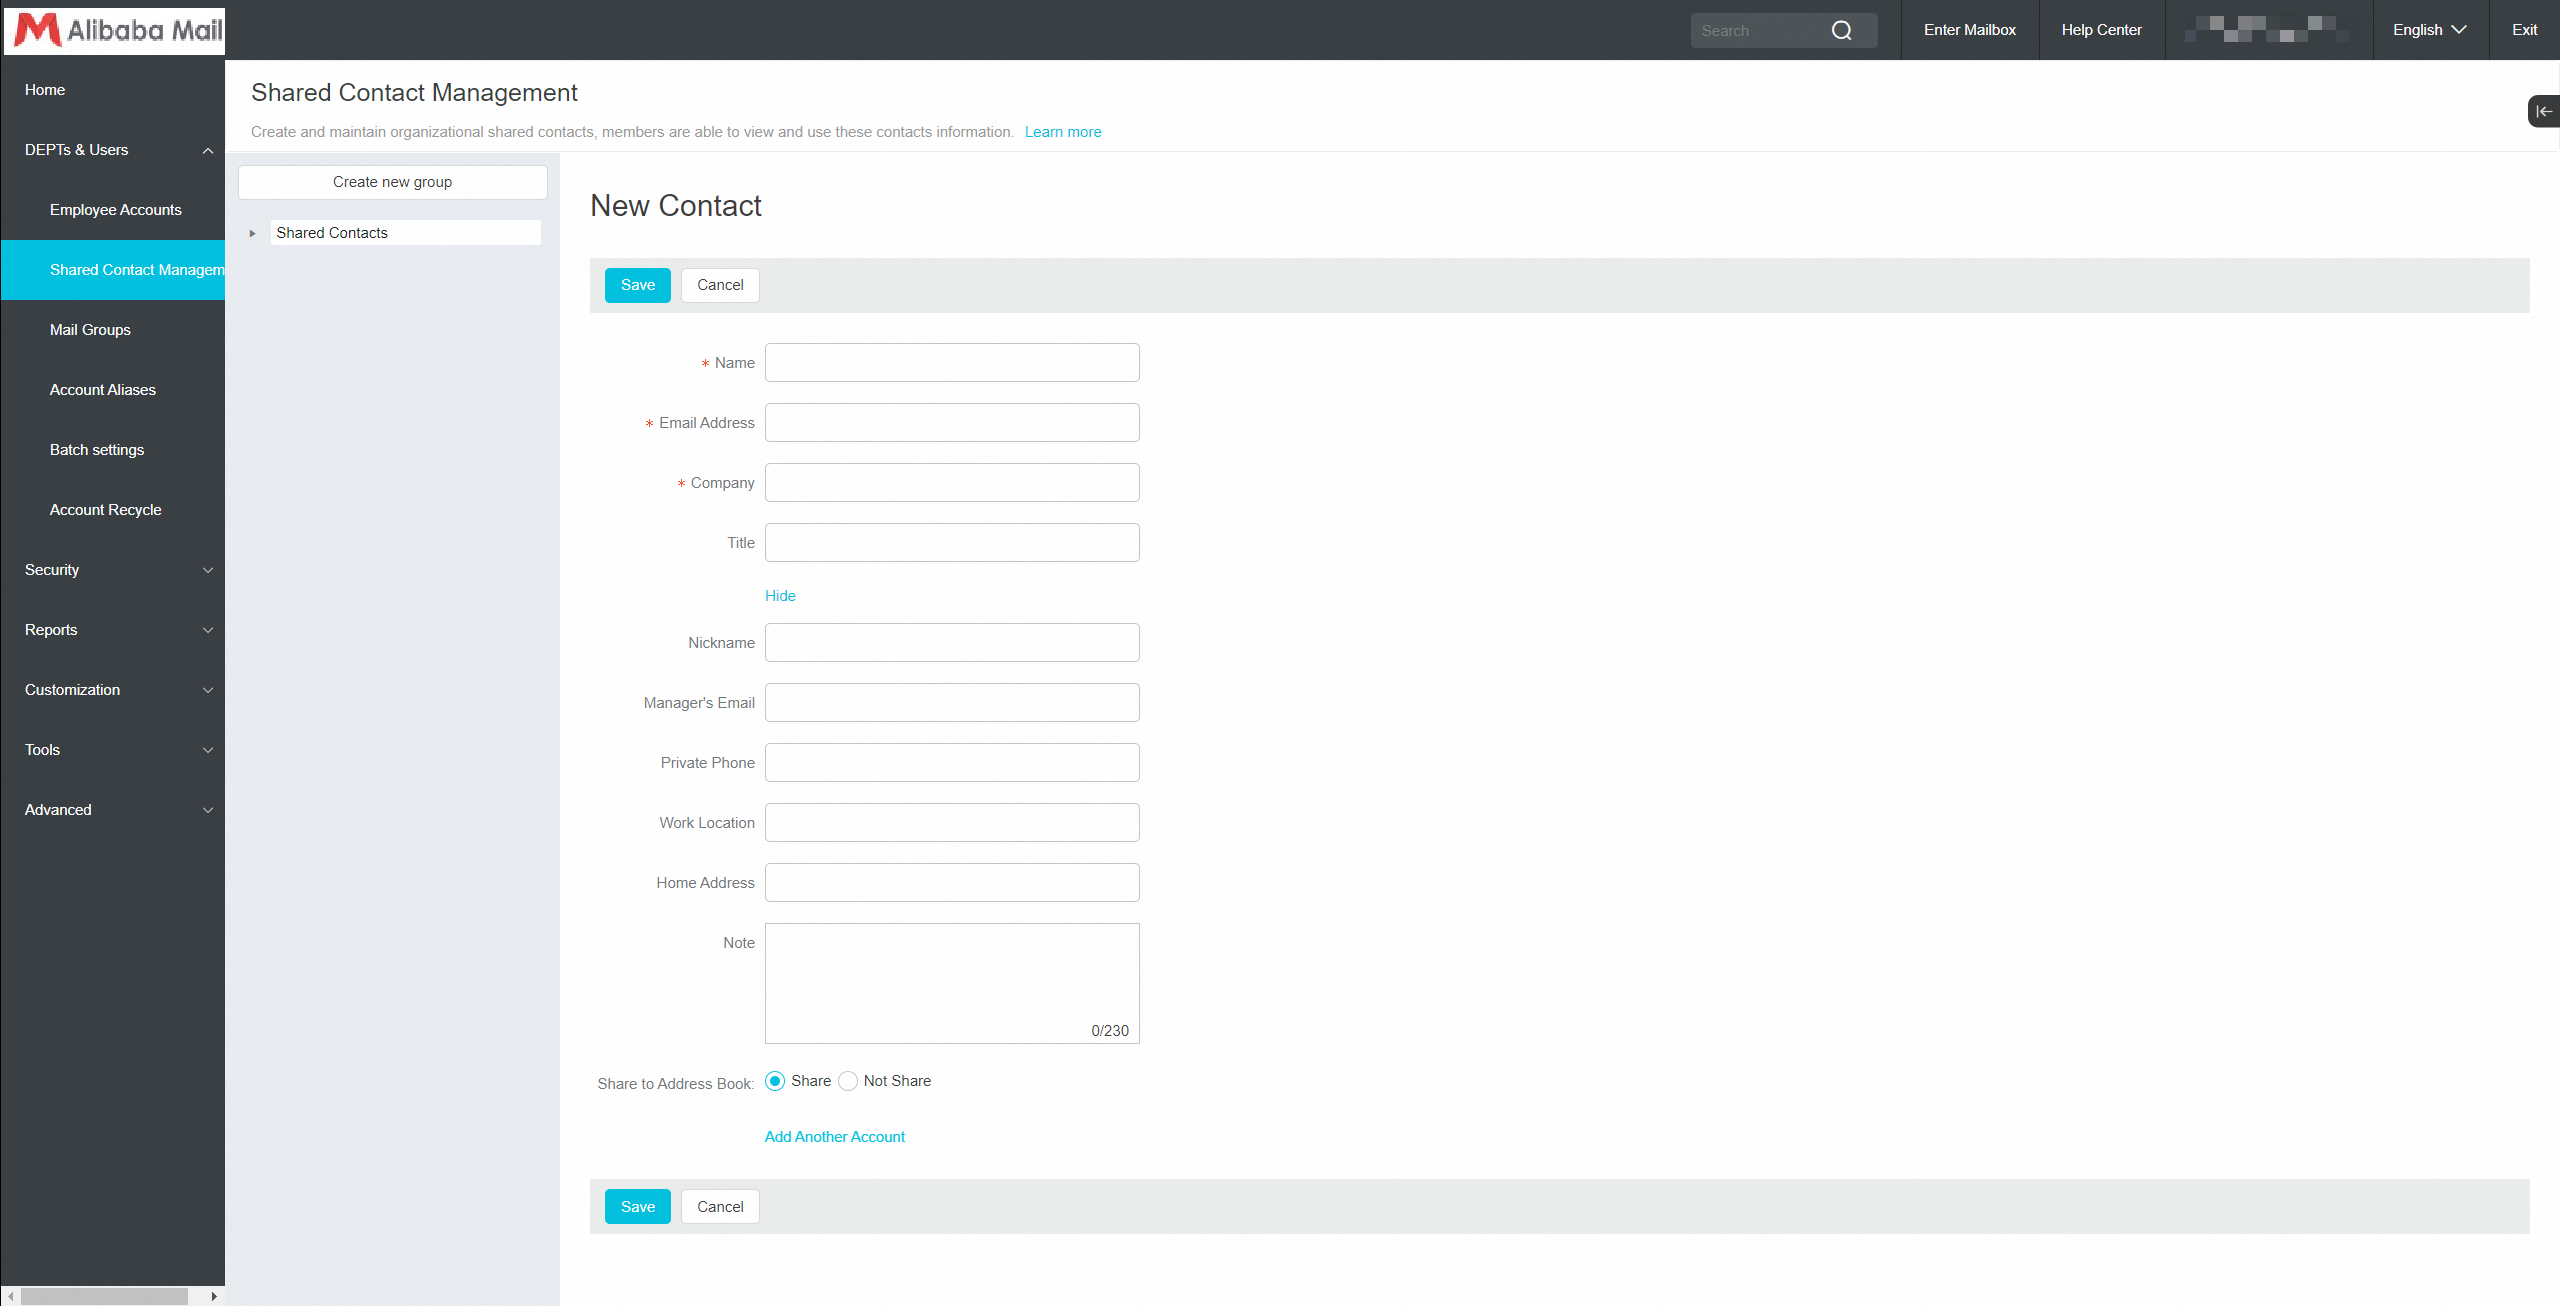
Log in to the postmaster account>> DEPTs & Users>> Shared Contact Management>> select a shared contact group>> click New Contact>> enter the corresponding content.

Click on Show;
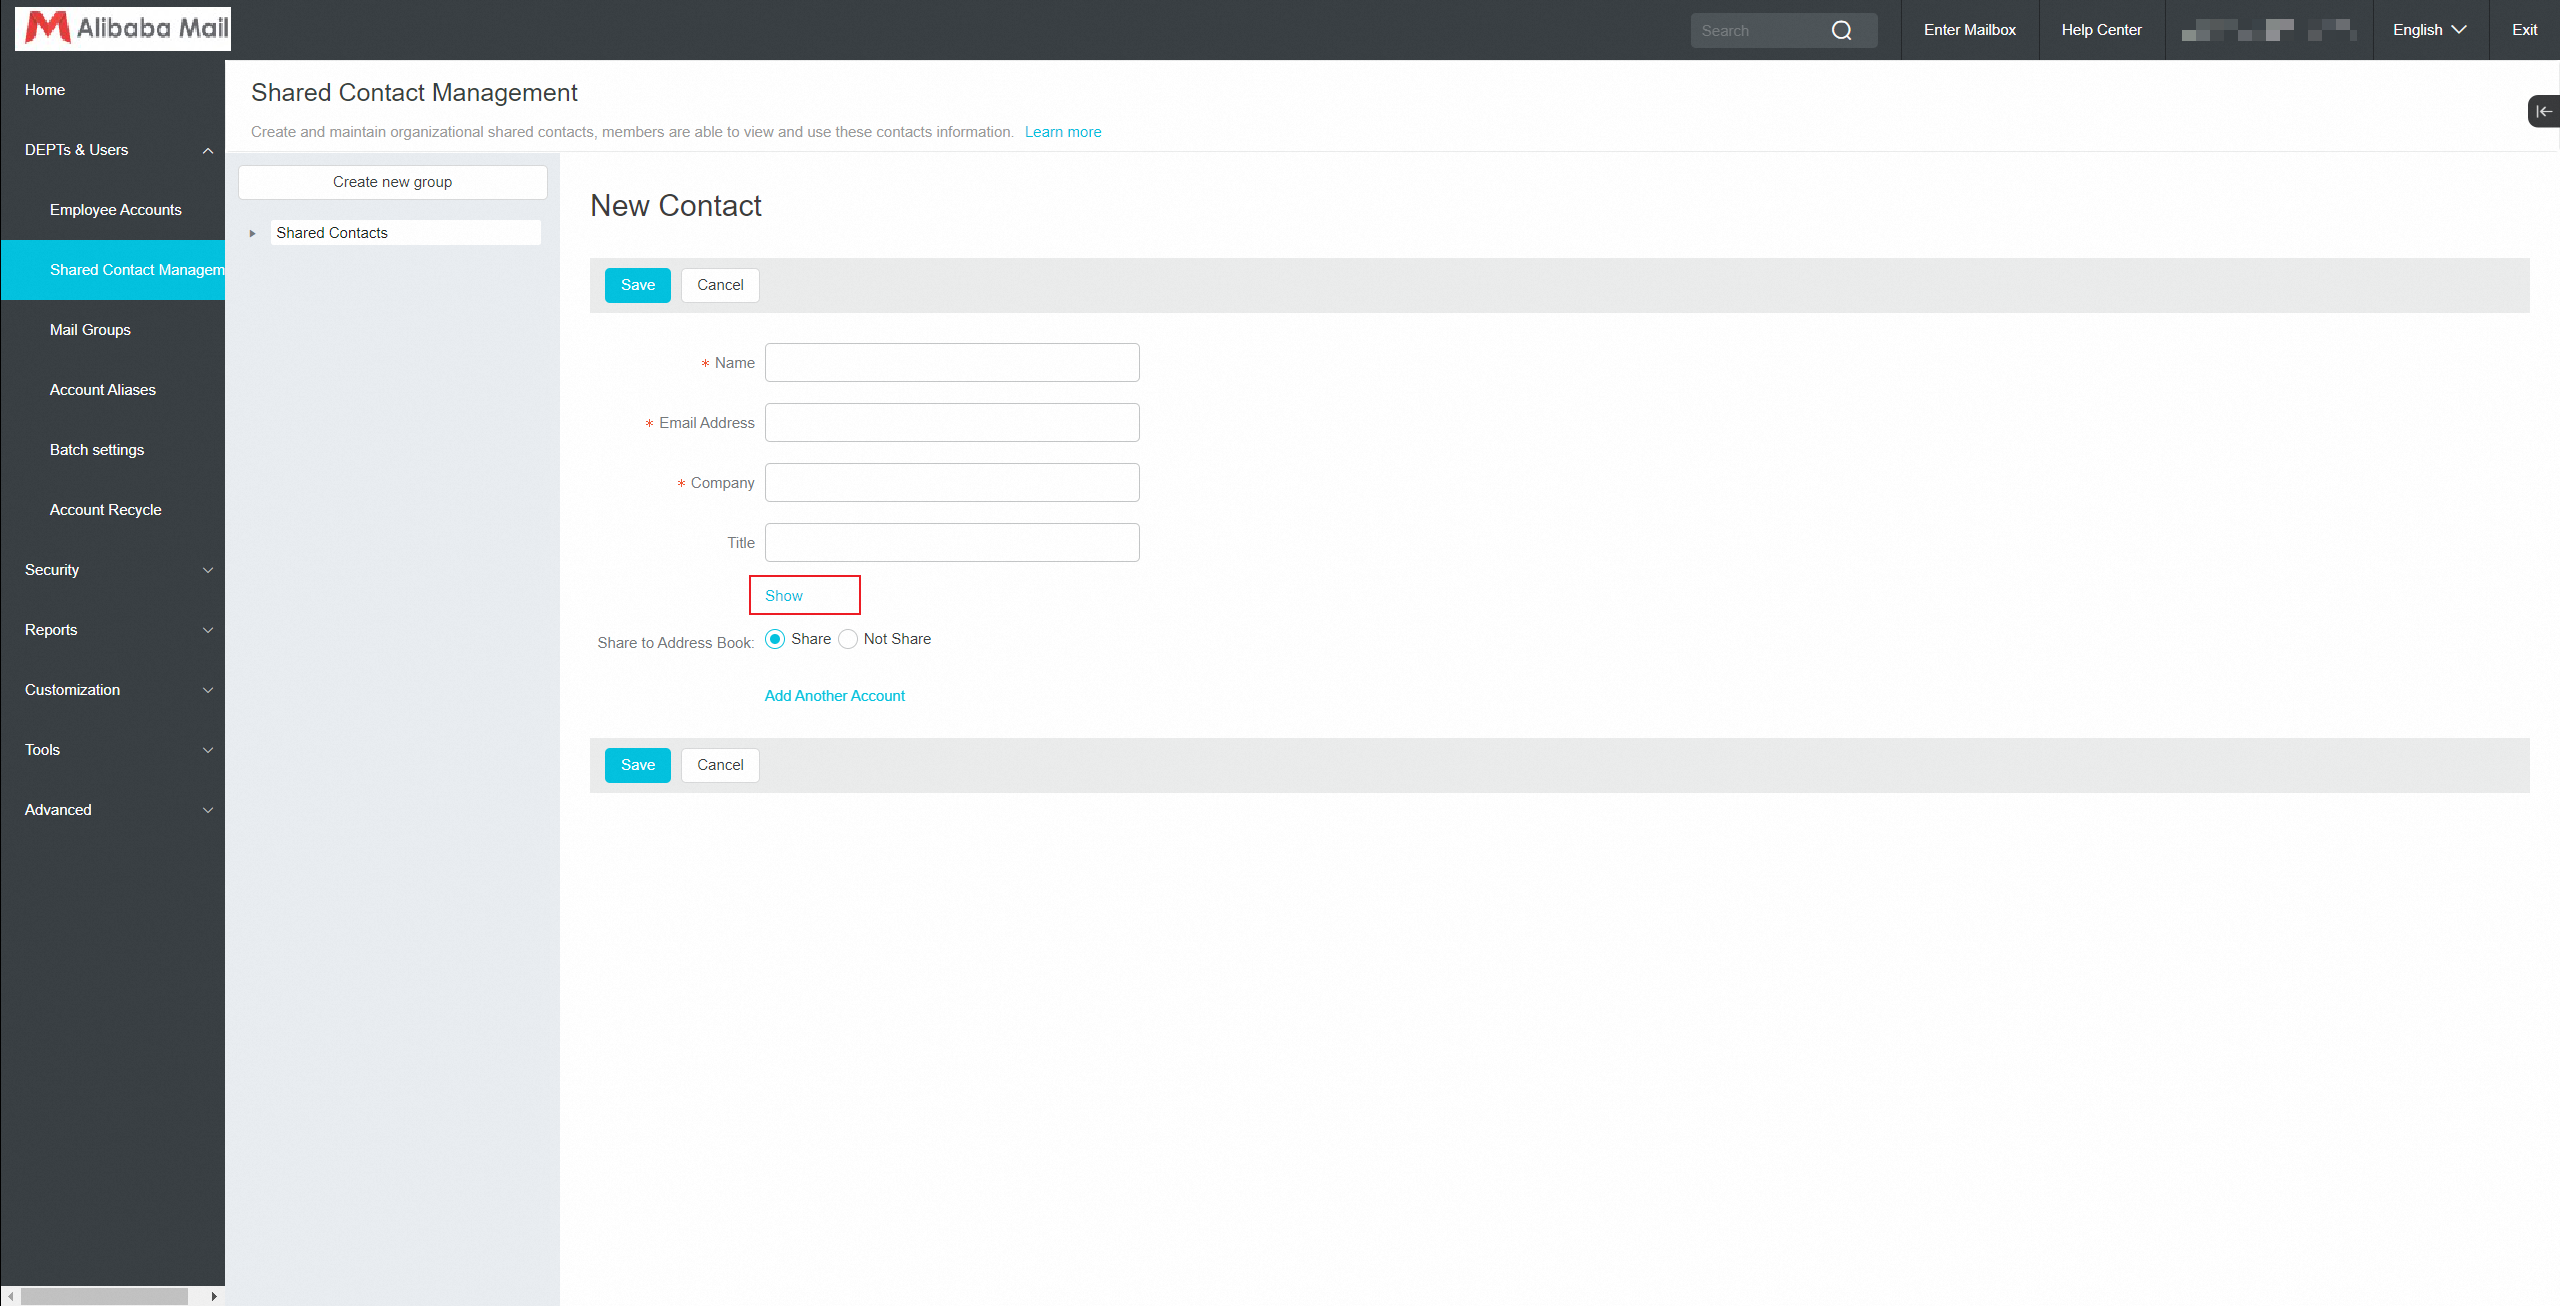
Enter the basic contact information and select whether to share the contact information with company members in the email address book.
To add multiple accounts, click Add another account.
Click Save.
Edit Contact
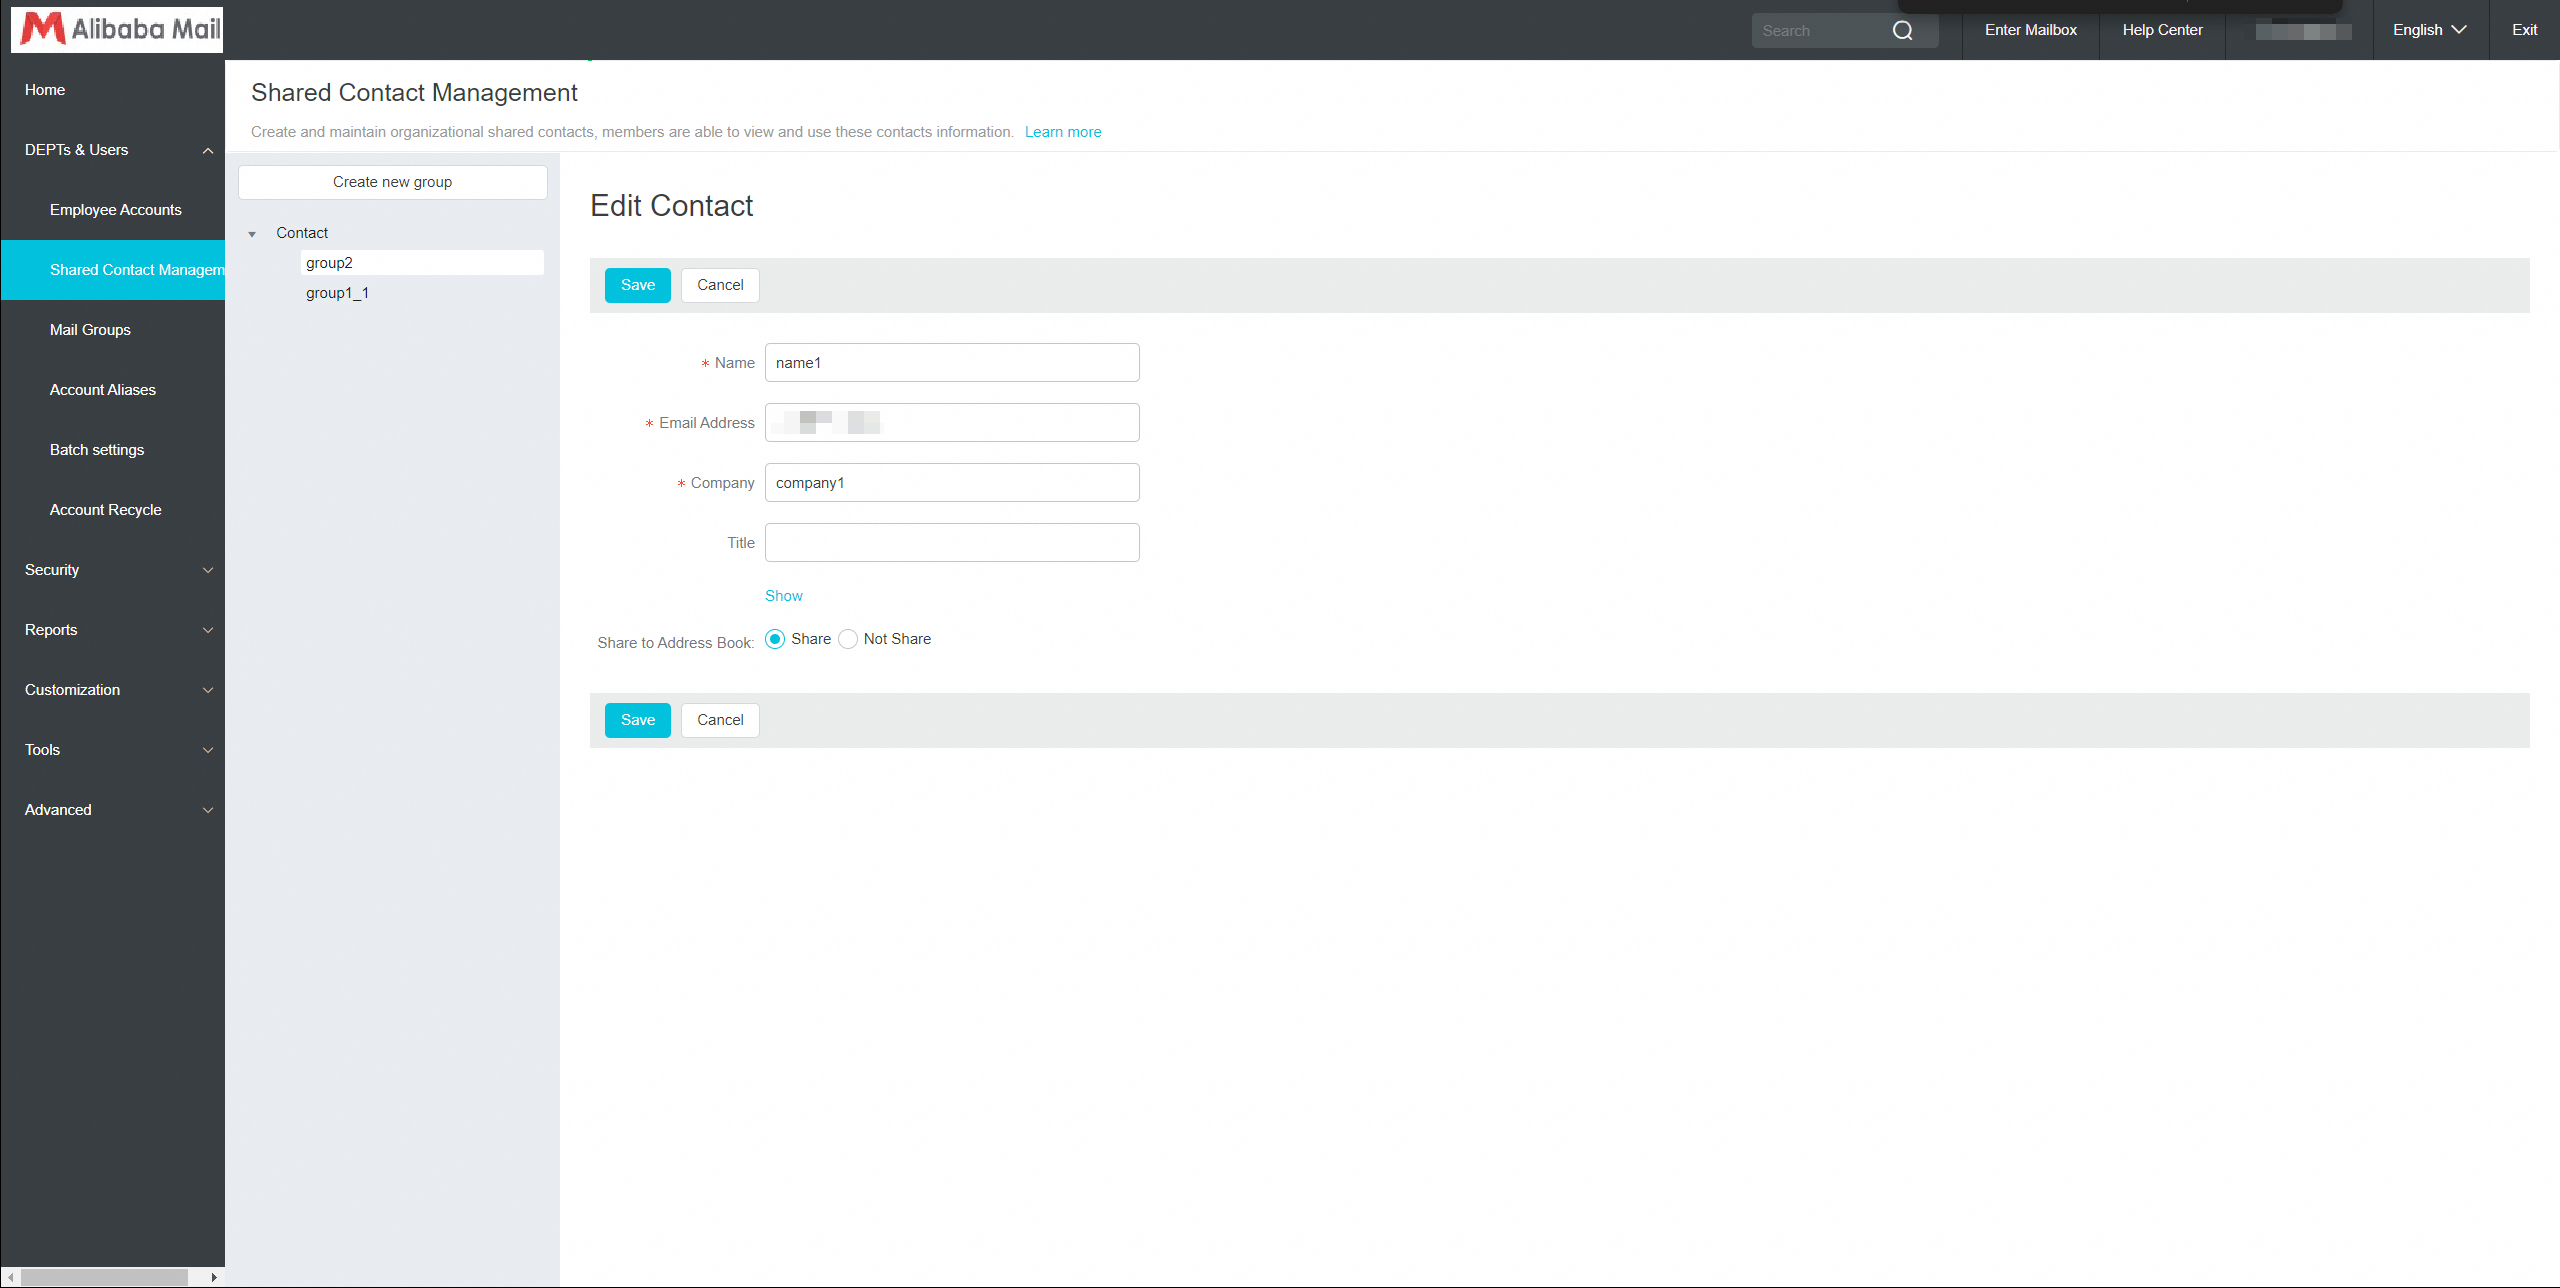
Log in to the postmaster account>> Click DEPTs & Users>> Click Shared Contact Management>> Click on the record that needs to be modified.
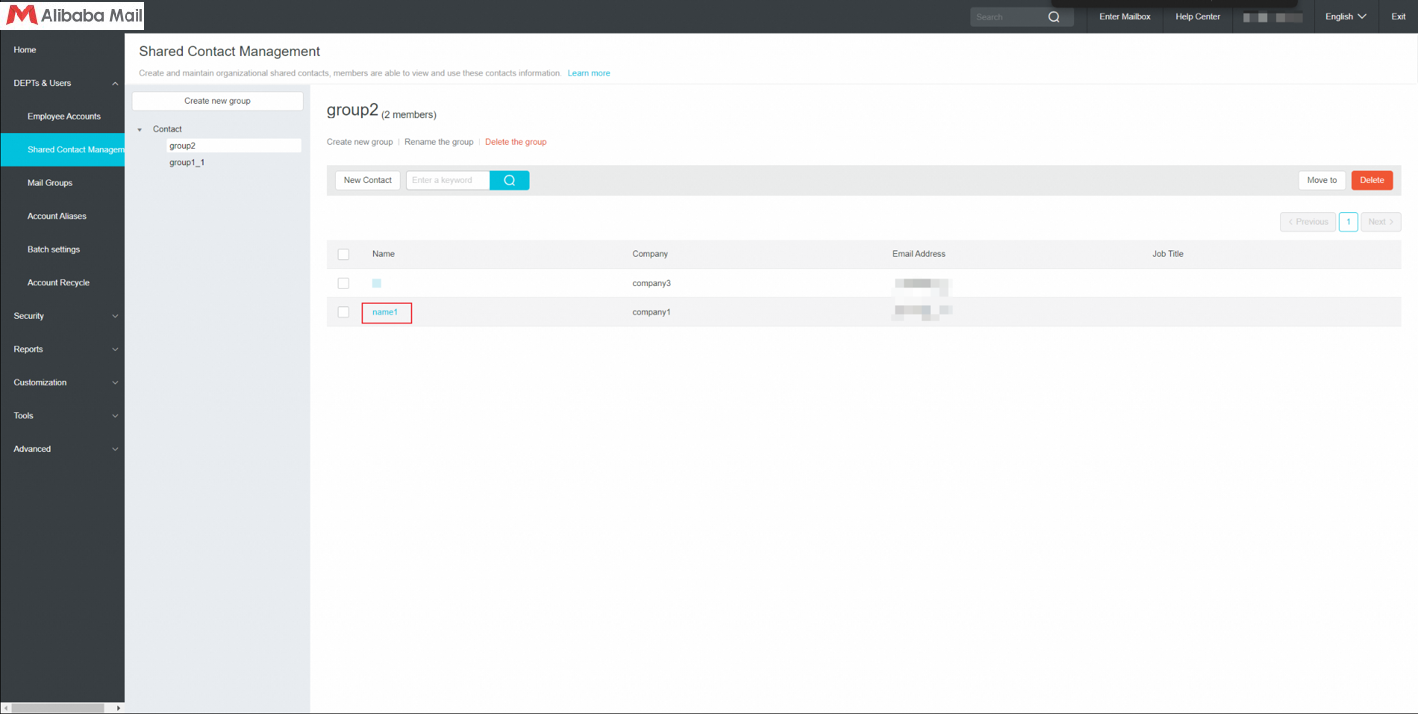
After modifying the information, click save.
Create by Import/ Export
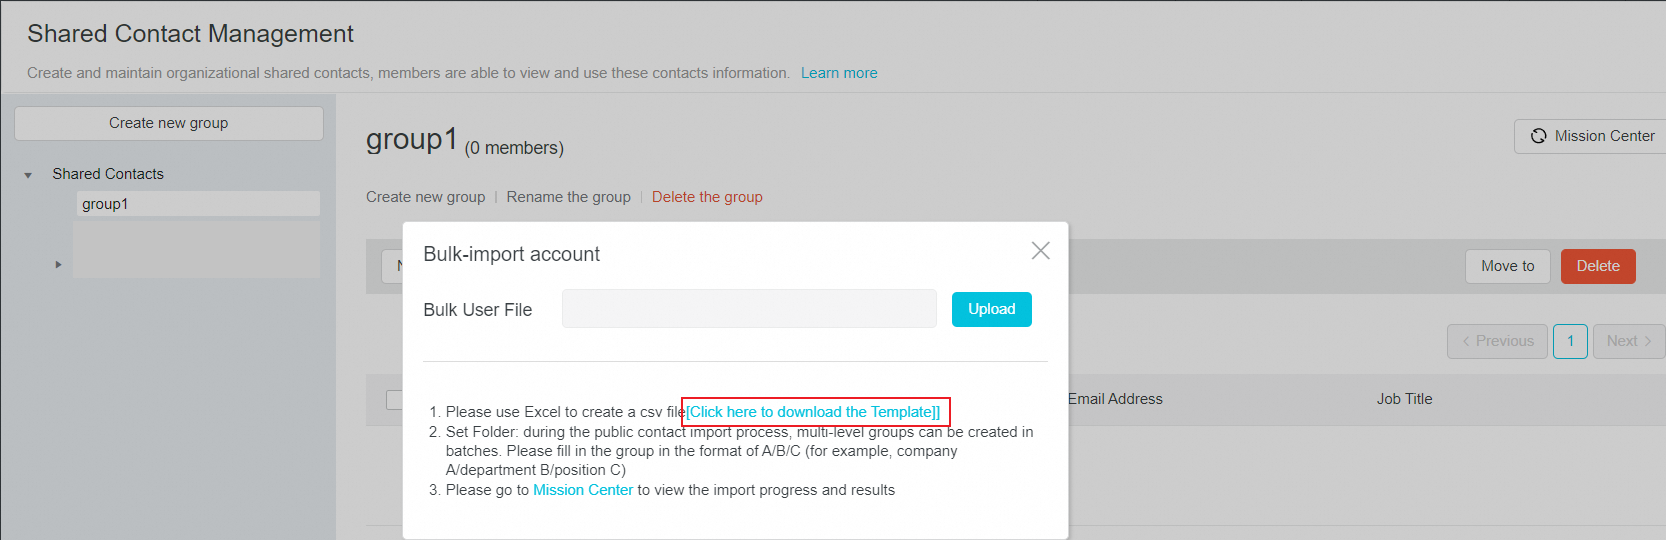
Log in to the postmaster account>> DEPTs & Users>> Shared Contact Management>> select a shared contact group>> Import/ Export>> Import.
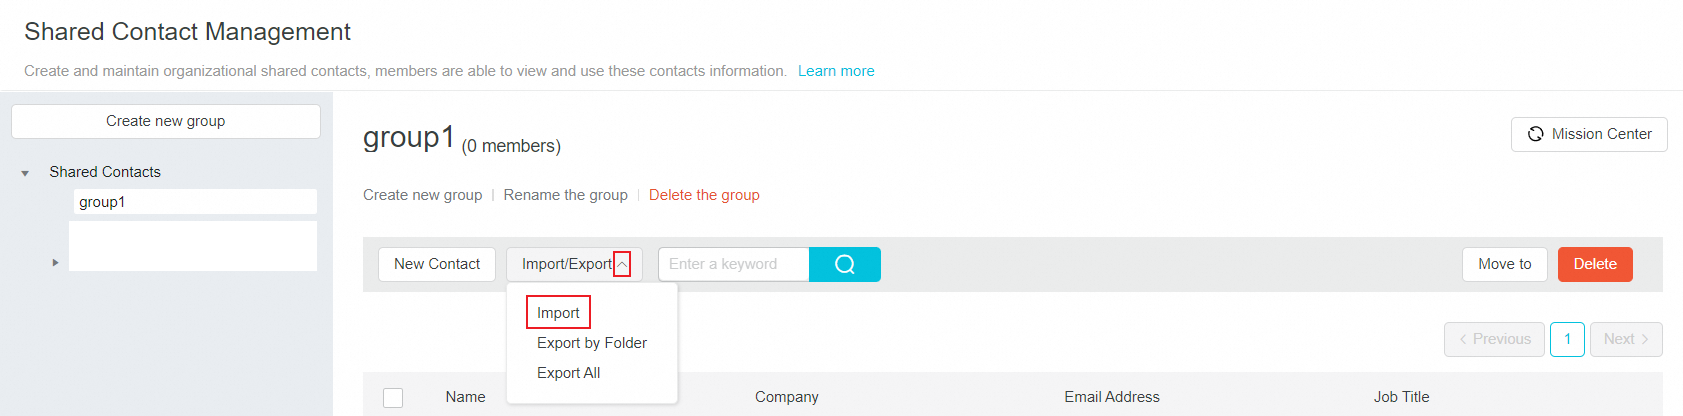
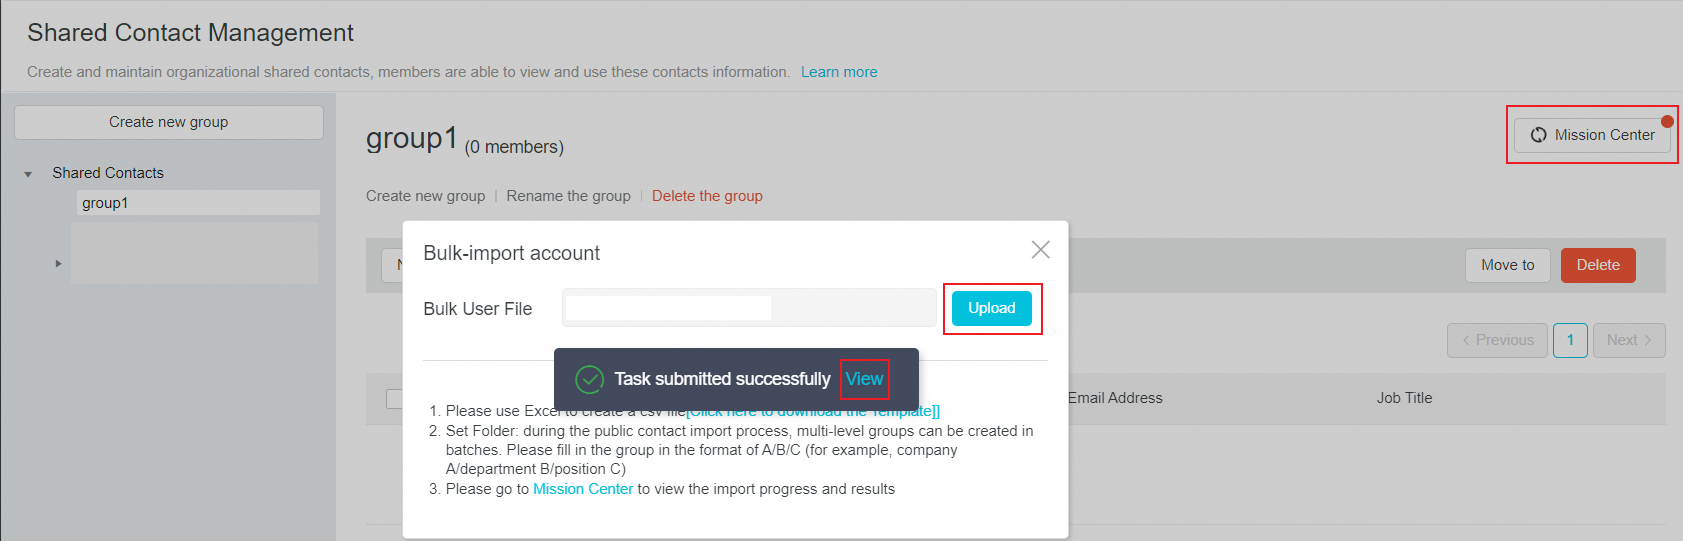
Download and filled the template.
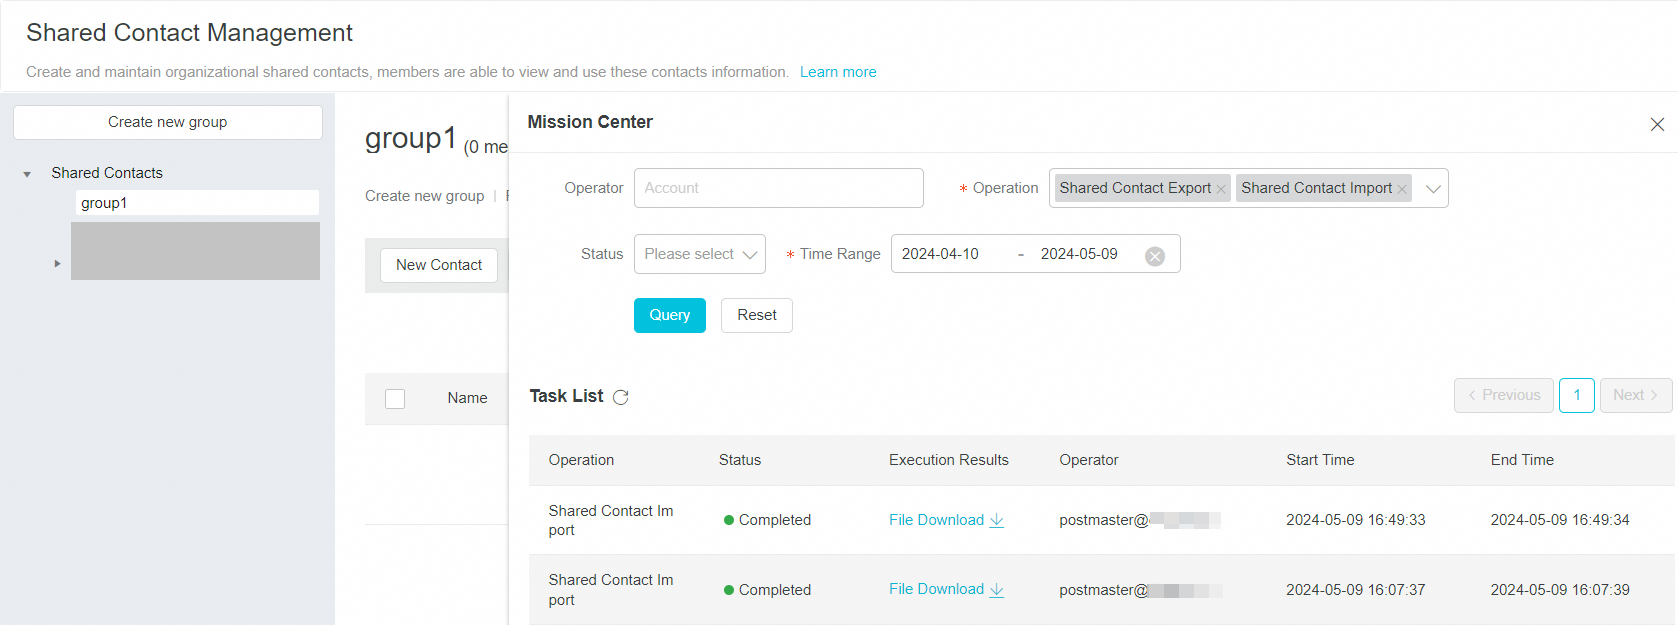
You can view the status and result in Mission Center after uploading the template.
Delete The Contact
Log in to the postmaster account>> Click DEPTs & Users>> Click Shared Contact Management>>Select the records that need to be deleted, and then click the Delete button.
Deleting a shared contact cannot be restored. Please be cautious and record the contact information in advance. After deletion, it can be recreated.
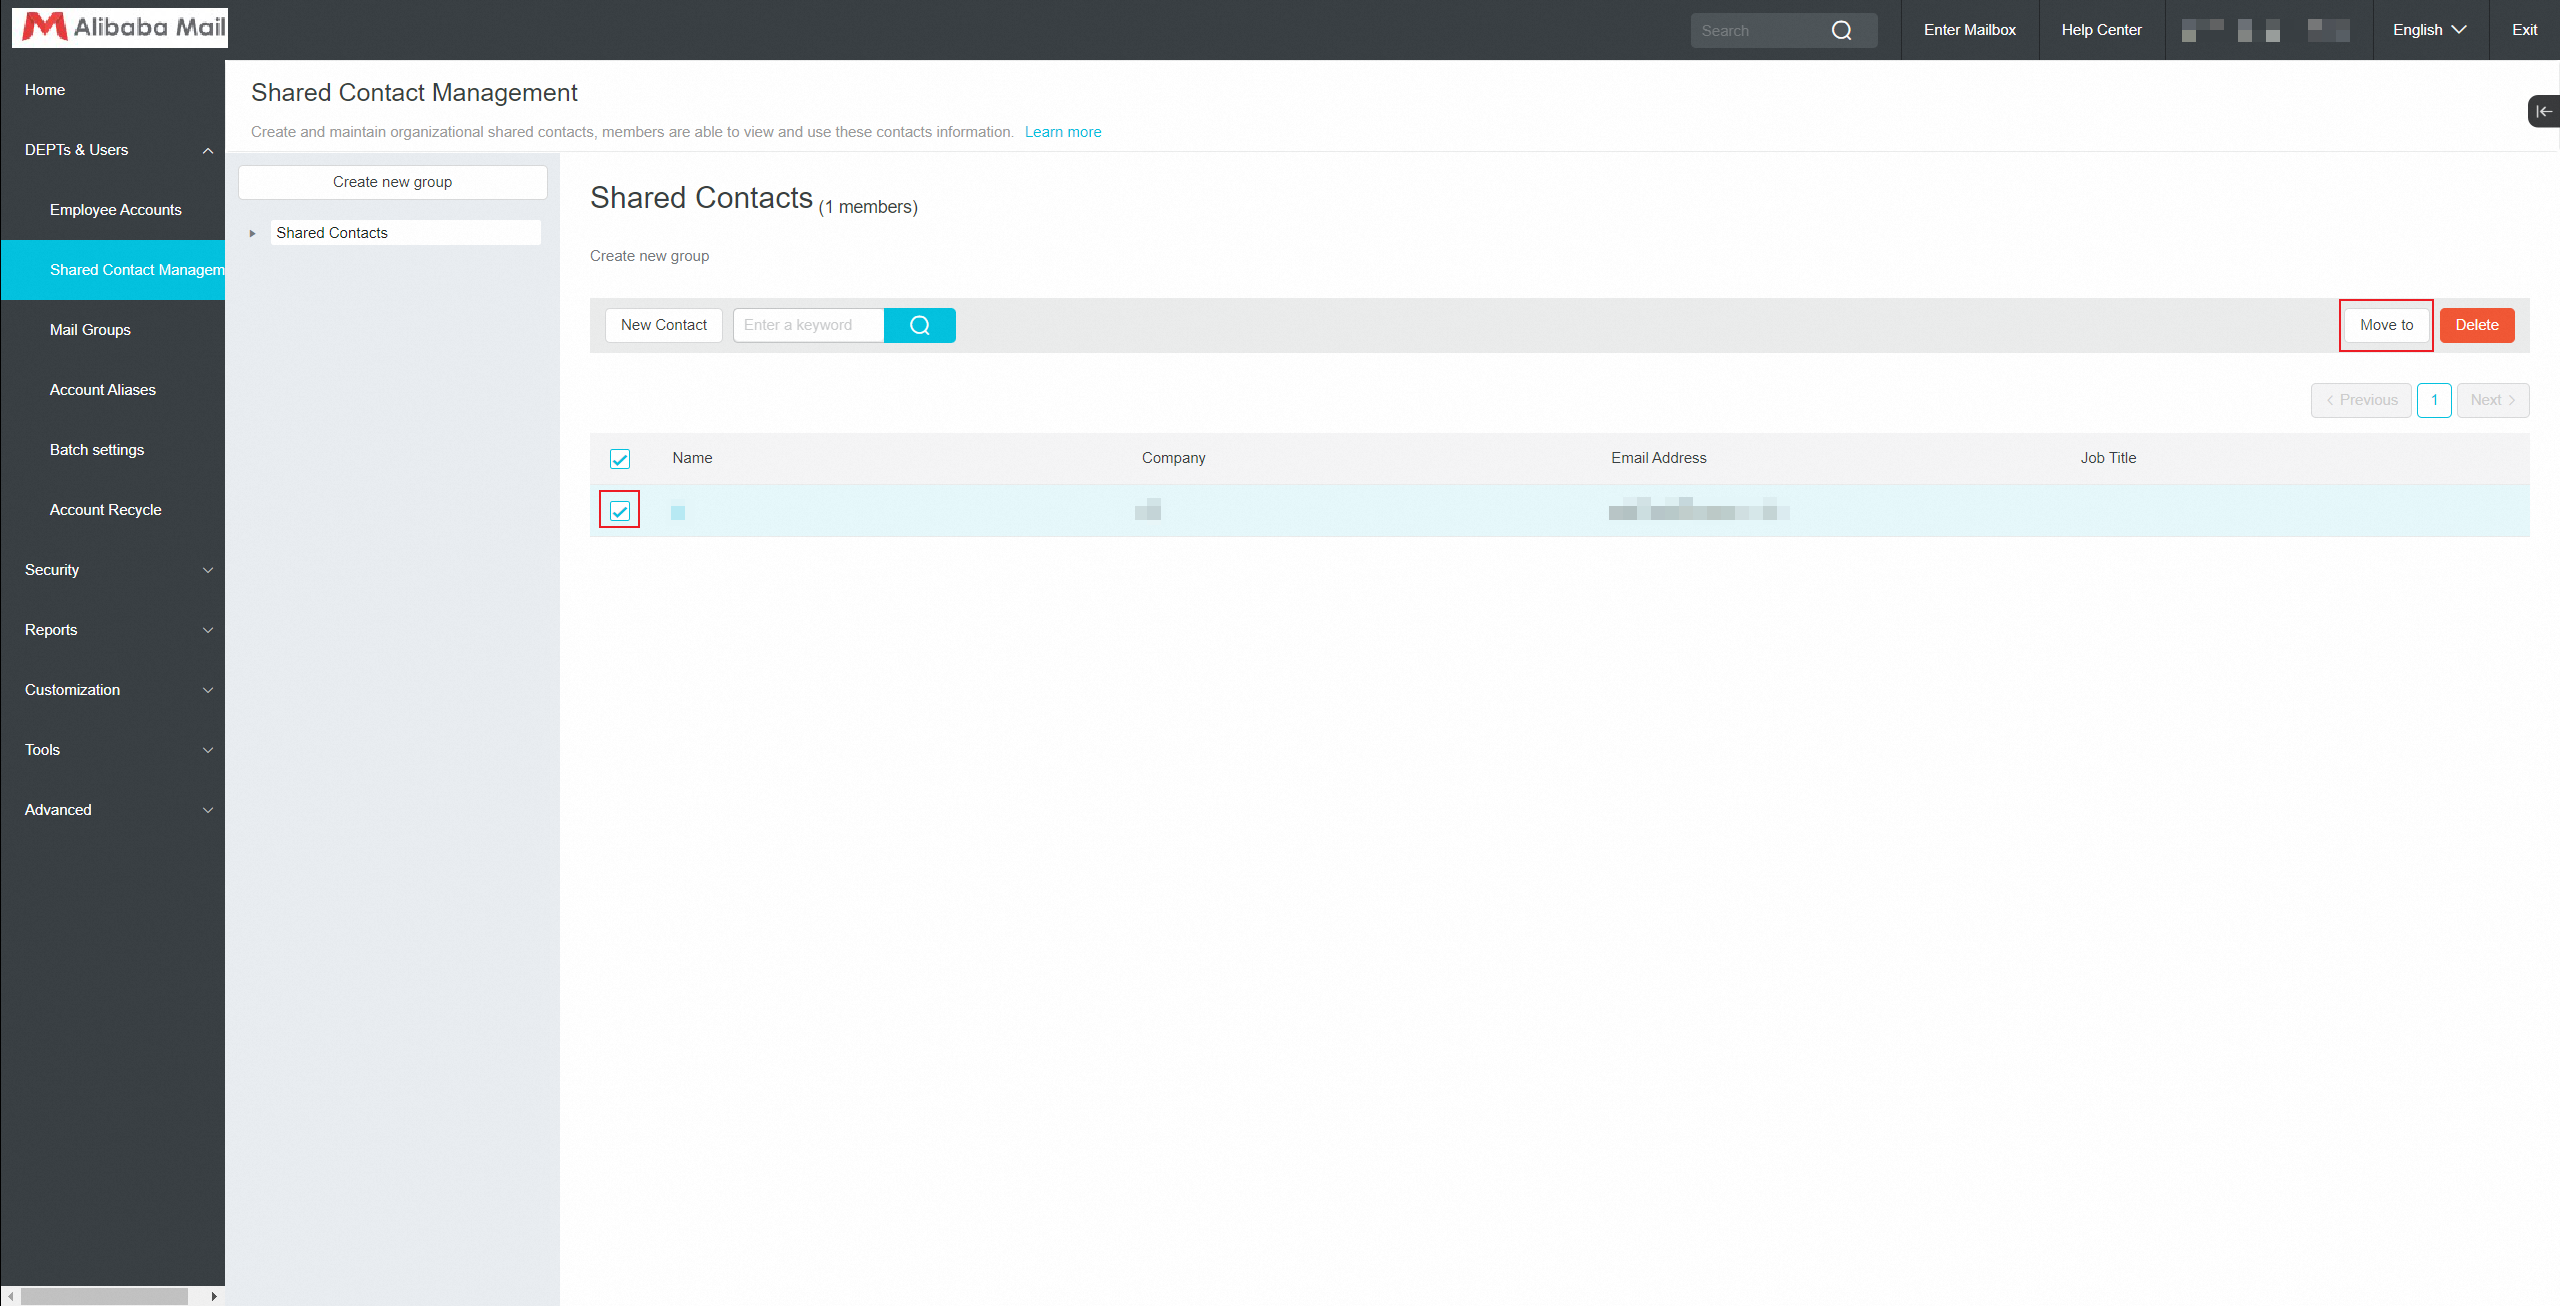
Transfer The Shared Contact
Log in to the postmaster account>> Click DEPTs & Users>> Click Shared Contact Management>> click shared contact management>> select the records to be transferred and click the Move to button.

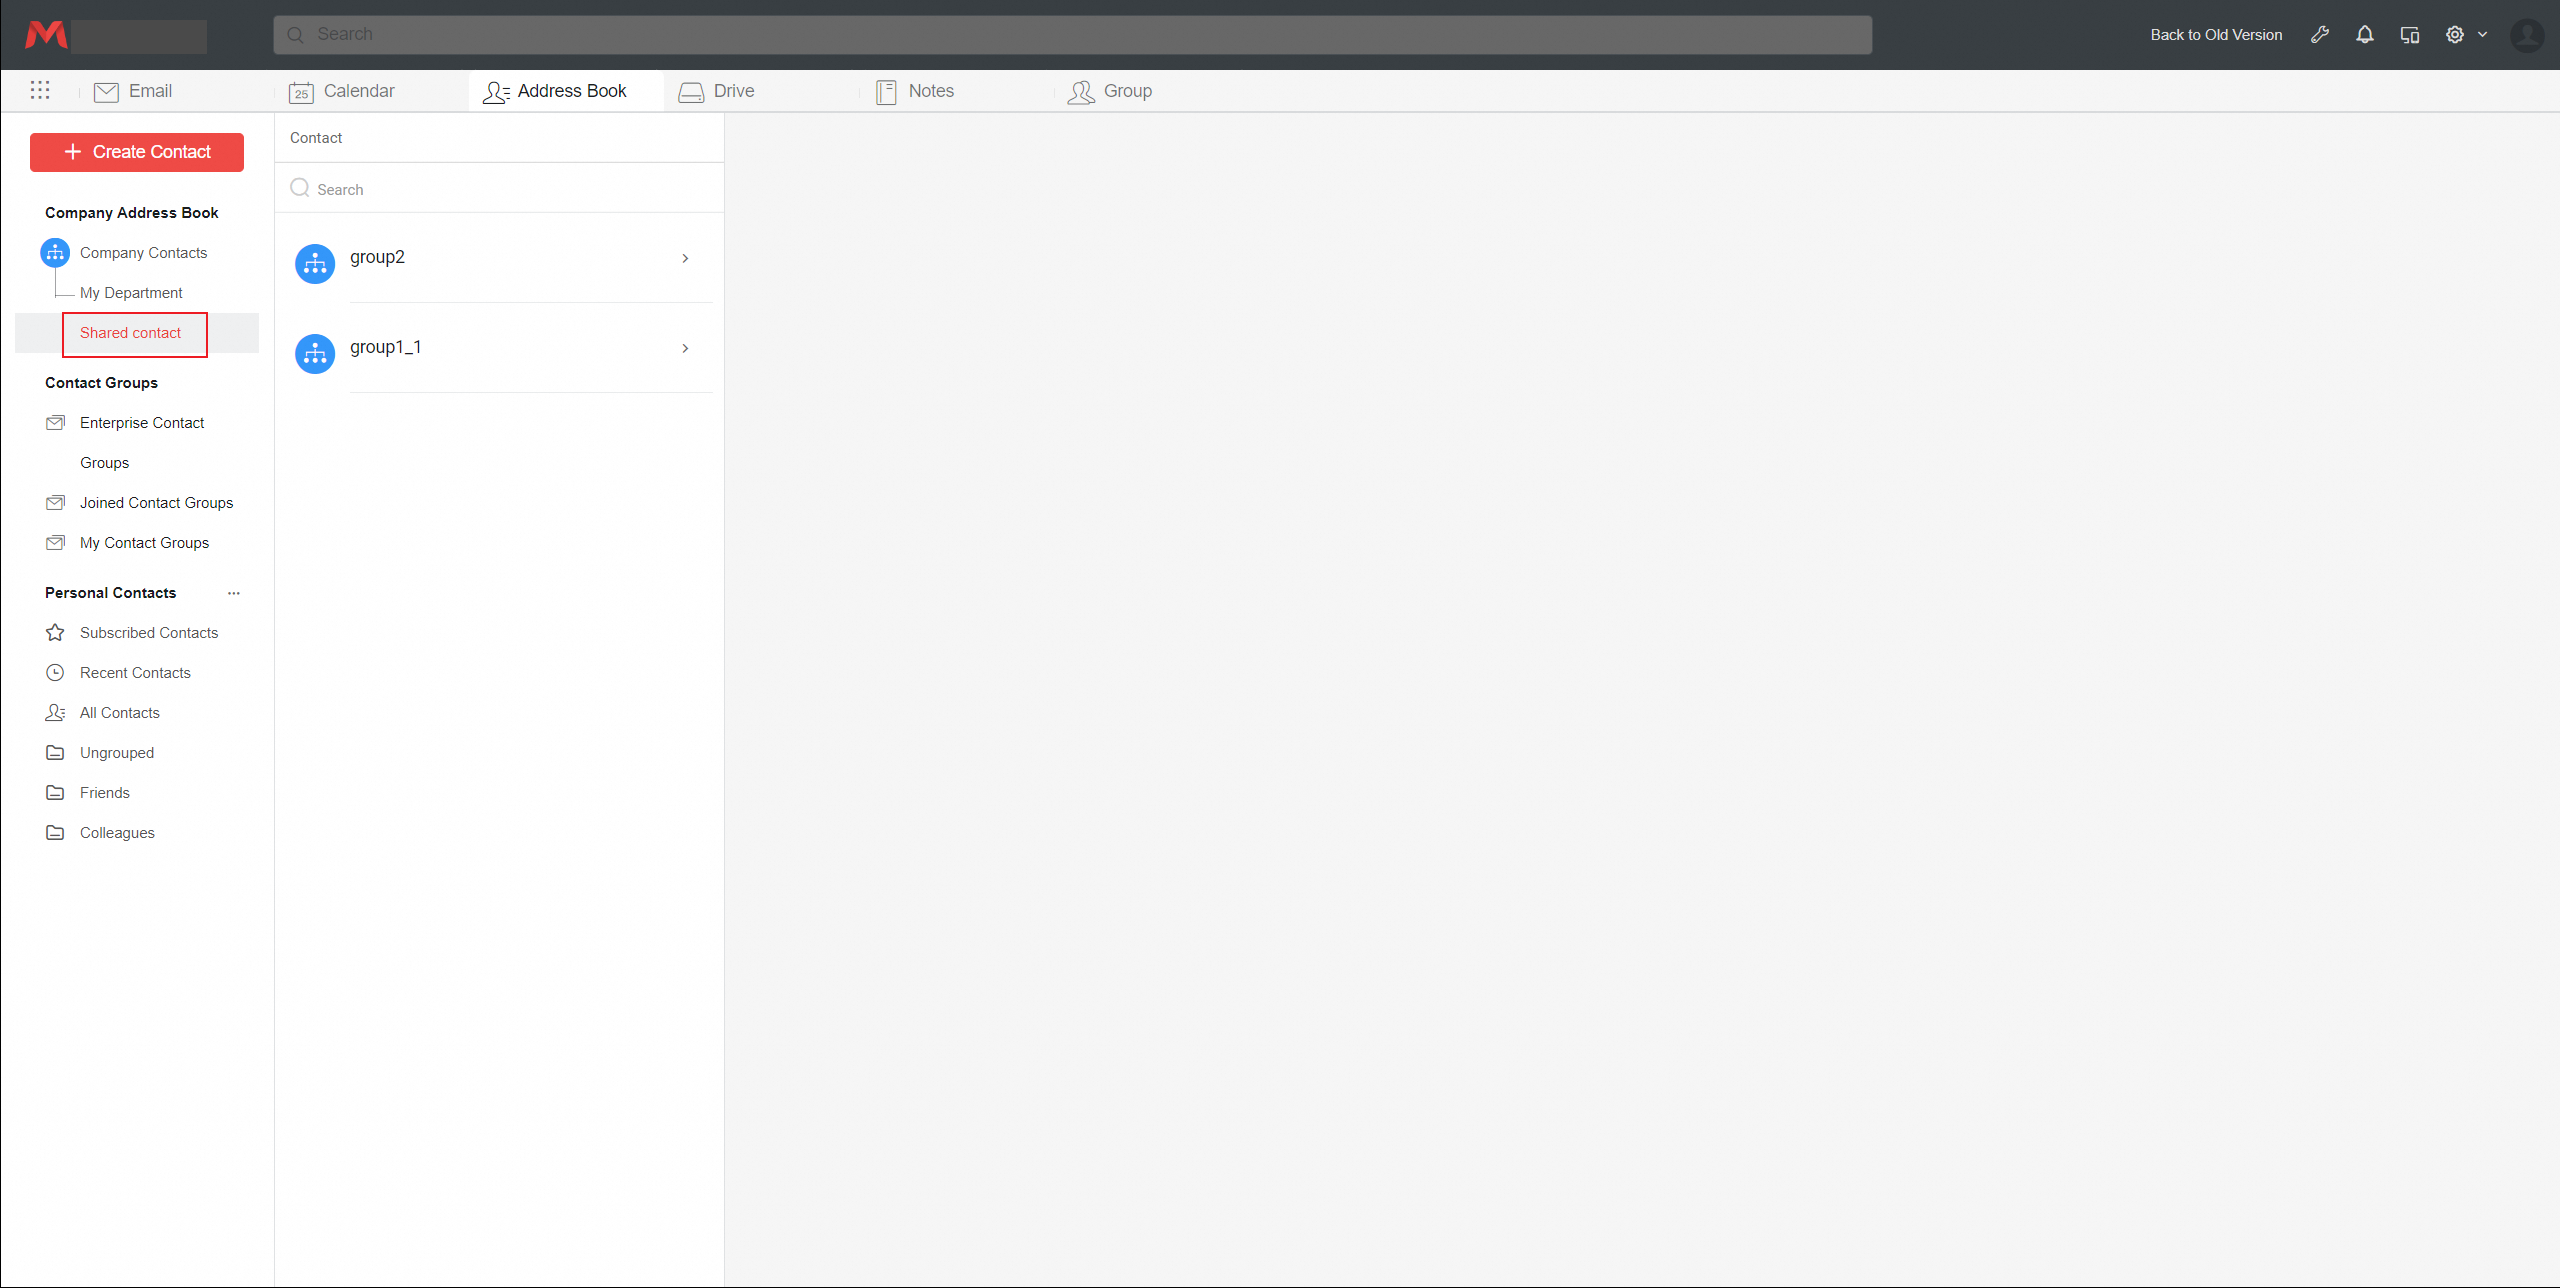
Use of Shared Contact
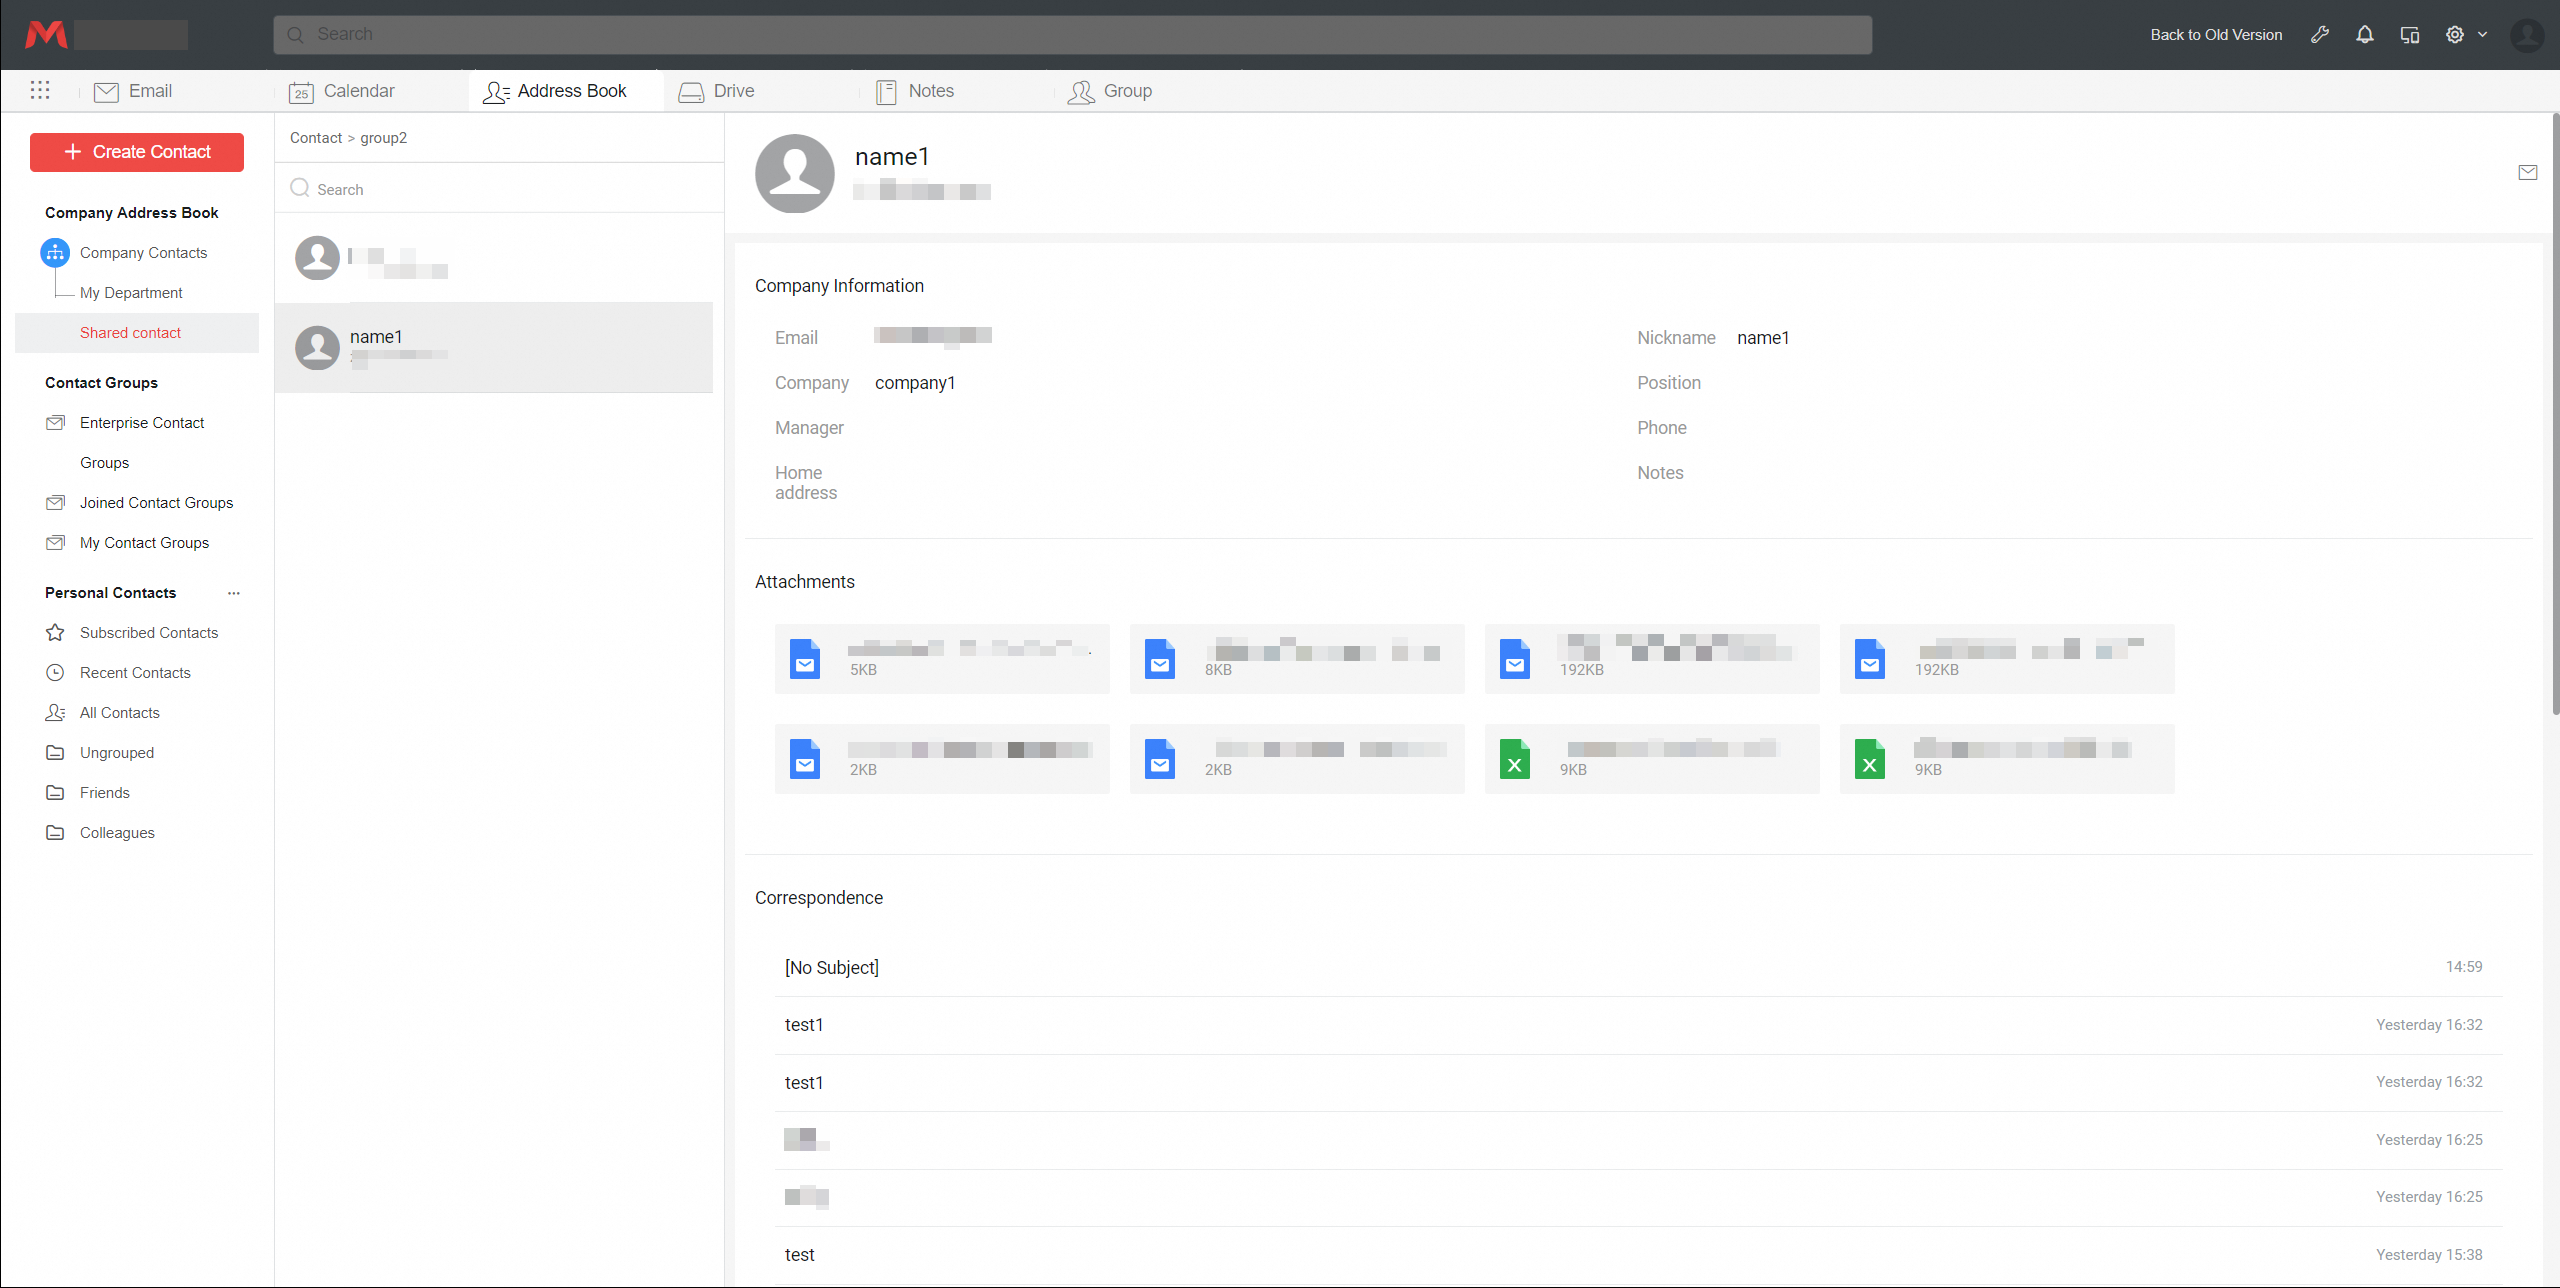
Organizational members will be able to view and use contact information in their email address book.
The shared contact information will display company information, as well as some correspondence attachments and email topics.
Check the contact person and click on the email icon in the bottom left corner.
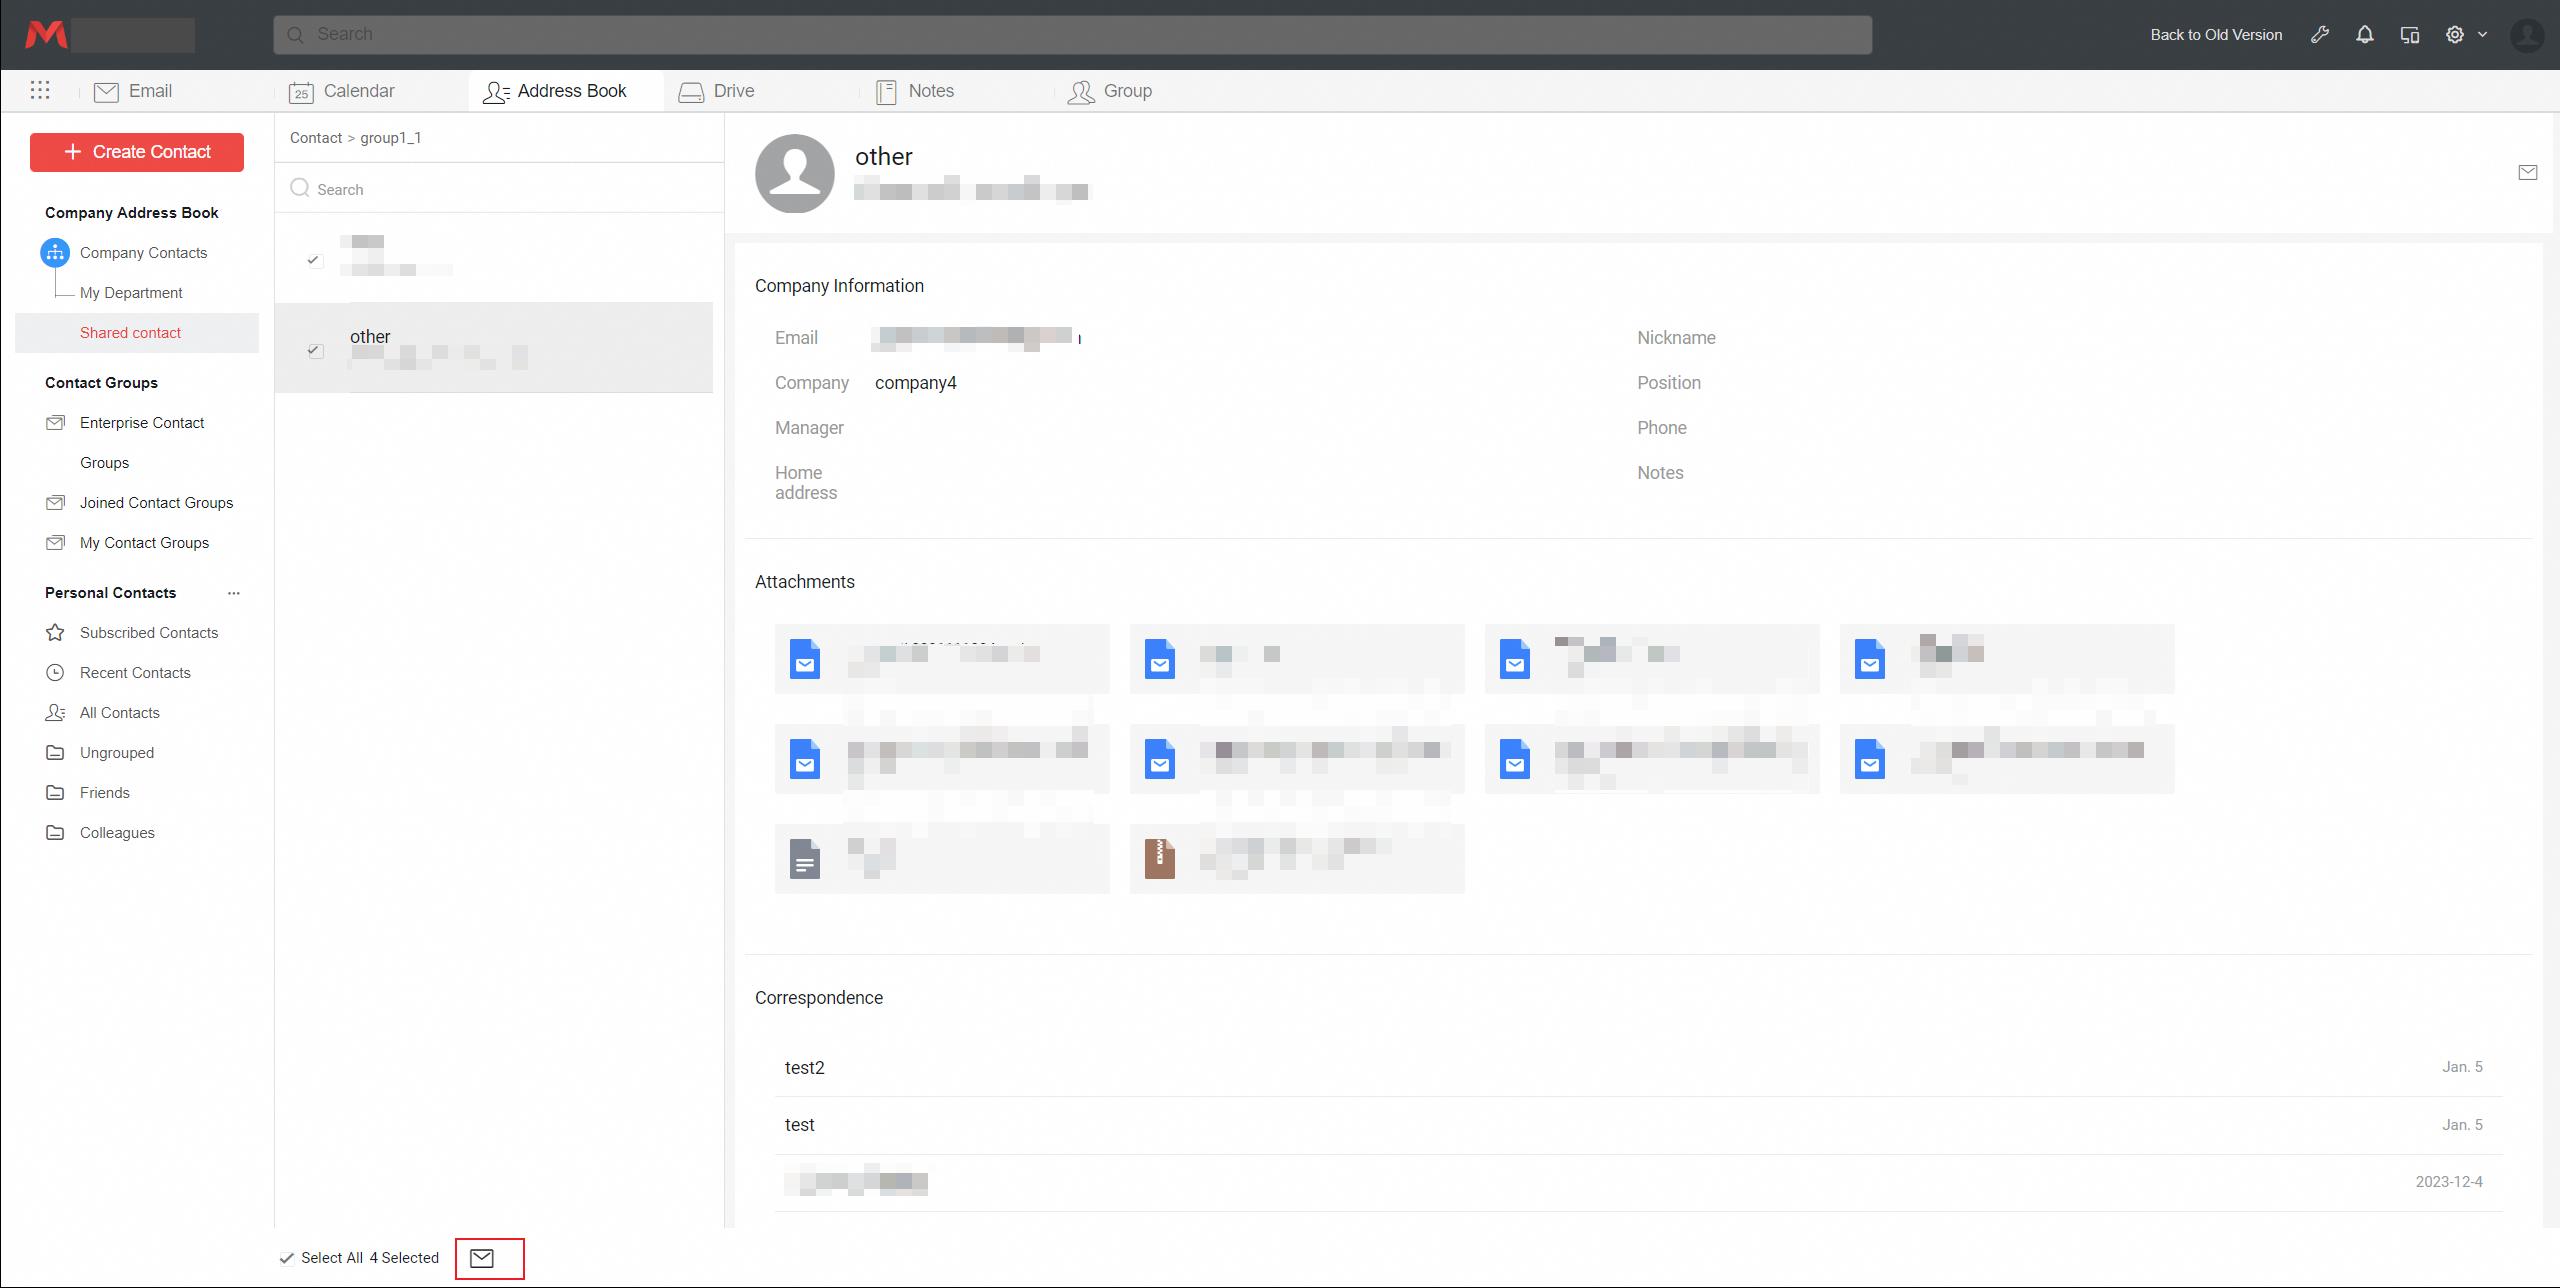
Enter the letter writing page and support selecting multiple shared contacts.

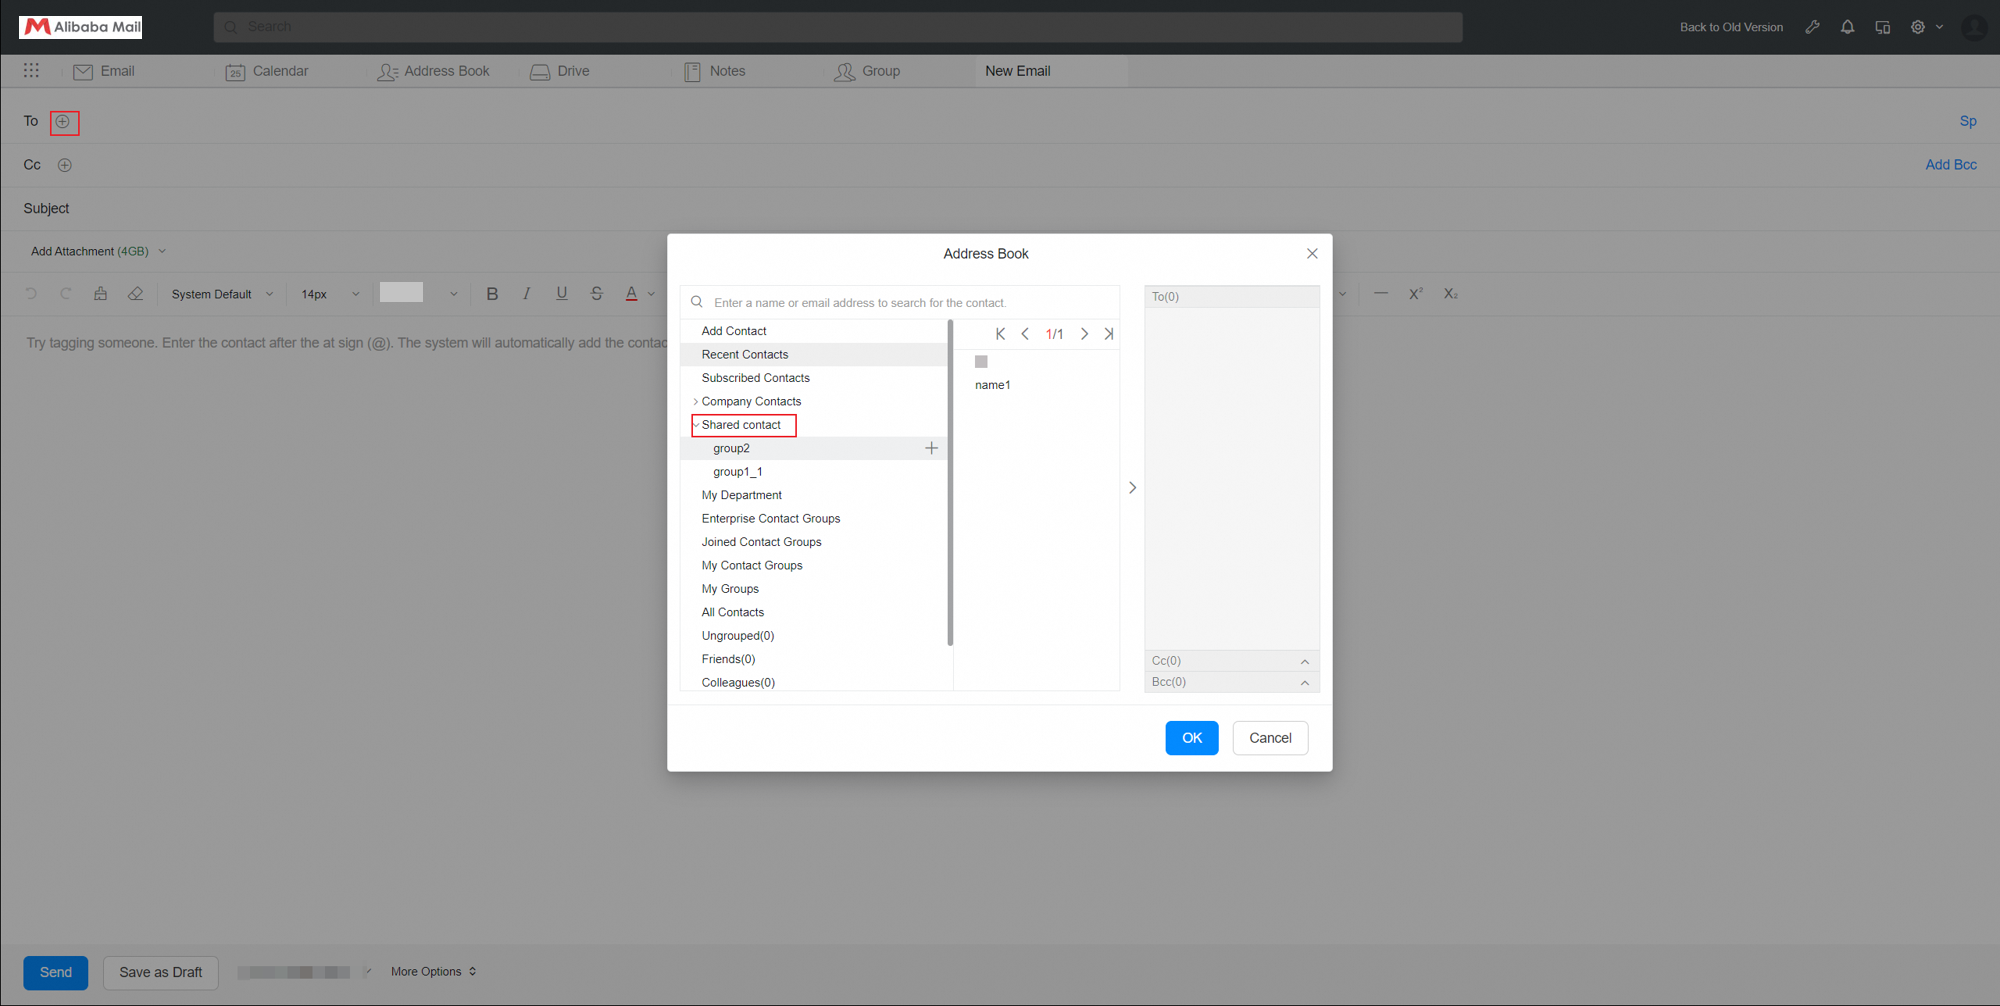
If you enter the letter writing page first, you can click on the plus icon in the To column and select shared contact in the pop-up address book.