Data scientists can use the cloud-native AI suite to create Jupyter and Visual Studio (VS) Code notebooks to develop and debug machine learning algorithms, and submit these algorithms to Container Service for Kubernetes (ACK) clusters for model training. The cloud-native AI suite allows you to set up an AI development environment by deploying open source JupyterLab, custom Juypter notebook images, or custom VS Code notebook images in your ACK cluster, and integrate the configurations of the cloud-native AI suite with the permission management system of ACK. This topic describes how to create and use a notebook by using the cloud-native AI suite.
Prerequisites
An ACK Pro cluster is created and the Kubernetes version of the cluster is 1.18 or later.
The AI Developer Console and scheduling component are installed in the ACK Pro cluster and the version of the ack-ai-dev-console component is the latest.
A Resource Access Management (RAM) user is created by the cluster administrator. Required quota groups are added and associated with the RAM user. For more information, see Create a RAM user and Step 1: Create a quota group for the RAM user.
Prepare the training data. For more information, see Configure datasets and source code repositories for a training job.
Create a persistent volume claim (PVC). For more information, see Mount a statically provisioned NAS volume in the console and Use the console to mount a statically provisioned OSS volume.
NoteIn most cases, data used to train models is stored in Object Storage Service (OSS) volumes or File Storage NAS (NAS) volumes.
Introduction to notebooks
Provide a machine learning experiment environment that can be integrated into a cloud platform. This environment allows you to develop machine learning models on your on-premises machine.
Provide a tool to copy and process datasets. This allows you to submit processed data to persistent storage. You can also process datasets by using big data tools.
Provide an environment for machine learning processes, such as model testing and data preprocessing. In the environment, you can write and debug the code of machine learning jobs, package the code into
Docker images, and push the images to your cluster or remote Container Registry repositories.
Step 1: Create a notebook
Log on to AI Developer Console. For more information, see Log on to AI Developer Console.
In the left-side navigation pane of AI Developer Console, click Notebook.
On the Notebook page, click Create notebook.
In the Notebook message, Notebook configure, and Advanced Configuration sections, set the parameters and click Create notebook.
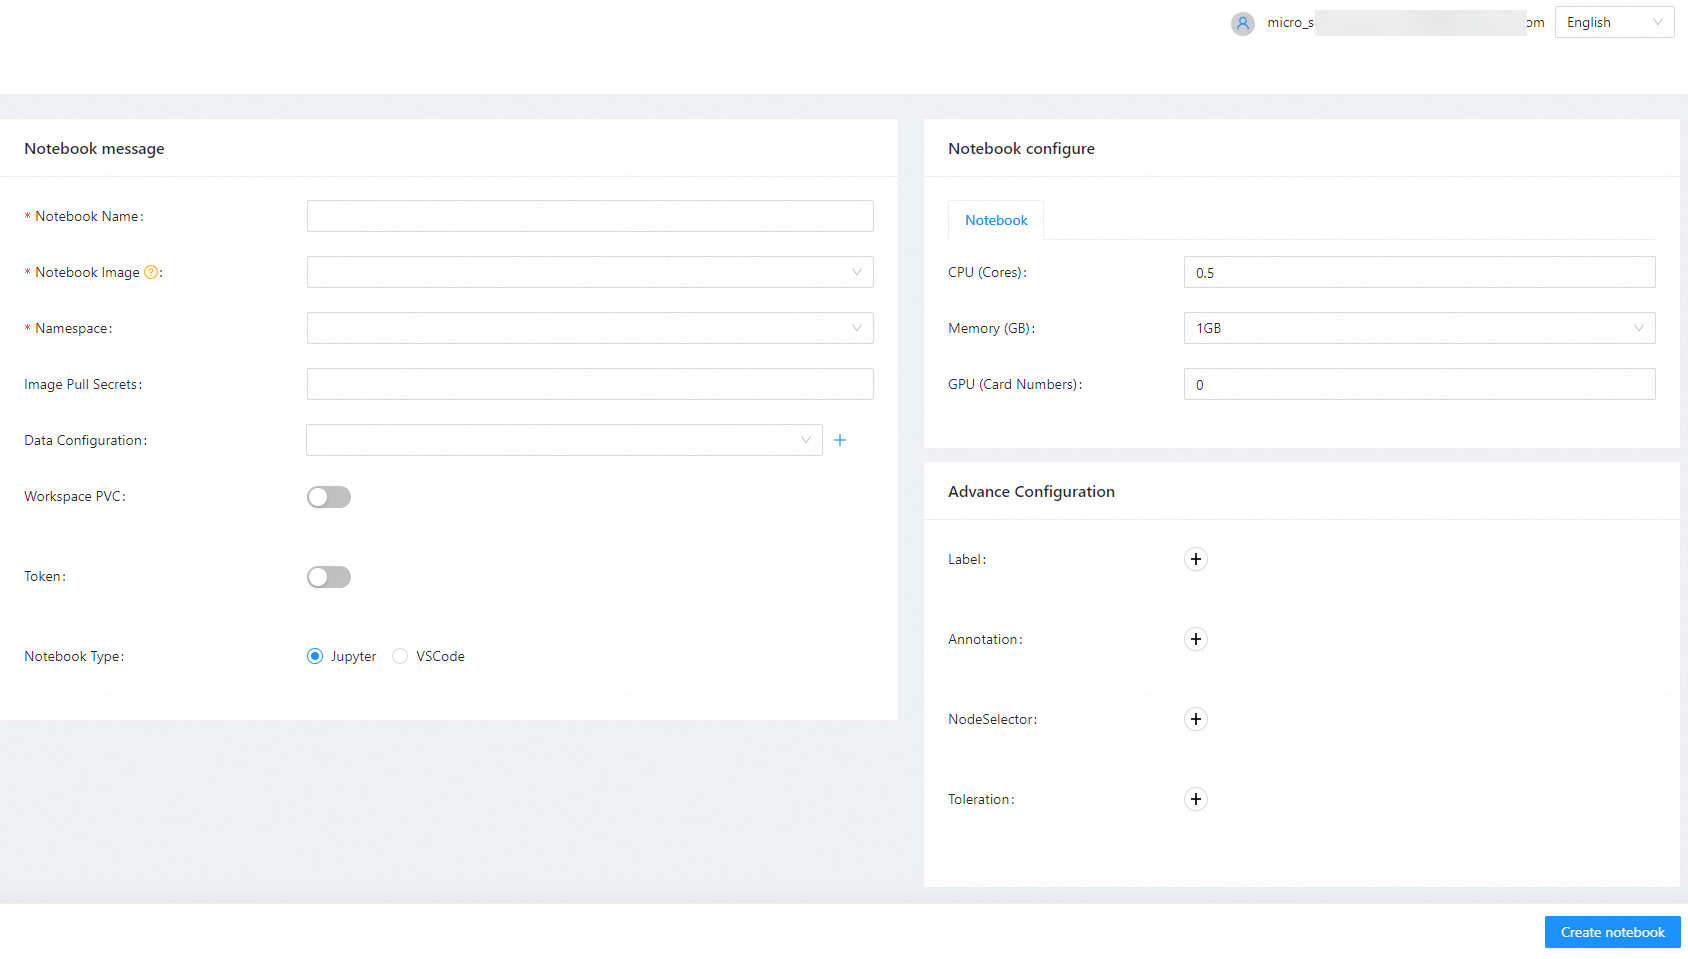
In the Notebook message section:
Set Notebook Name, Notebook Image, and Namespace. The selected namespace must be the one that the cluster administrator created for AI development. You can select the default notebook image or a custom notebook image. Configure other parameters based on your requirement.
NoteWhen you specify Notebook Image, select the notebook image that meets your requirement. You need to select Jupyter notebook images for Jupyter notebooks and select VS Code notebook images for VS Code notebooks. Otherwise, your notebooks cannot function as normal.
Custom notebook images are available only in the current cluster. You cannot share custom notebook images to other clusters or users.
Turn on Workspace PVC. Select the persistent volume claim (PVC) associated to the workspace from the Target PVC drop-down list.
Turn on the Token switch to inject a custom token into the notebook to enhance its security. Only Jupyter notebooks support this feature.
Specify Notebook Type to select an image launch method. Different types of notebooks require different environments. For example, if Notebook Type is set to Jupyter, a Jupyter notebook is created.
In the Notebook configure section, set CPU (Cores), Memory (GB), and GPU (Card Numbers).
In the Advance Configuration section, you can configure Label, Annotation, NodeSelector, and Toleration for your notebook.
After the notebook is created, go to the Notebook page and click the created notebook to view the detailed information.
Step 2: Use a Jupyter notebook
Create and use a Jupyter notebook
On the Notebook page, click the Jupyter notebook that is in the Running state.
On the page that appears, click Python 3 in the Notebook section.
NoteOn the create notebook page, the notebook images provided by ACK support only Python. If you want to use other languages, you can build custom notebook images from Docker files. For more information, see Create a custom notebook image.

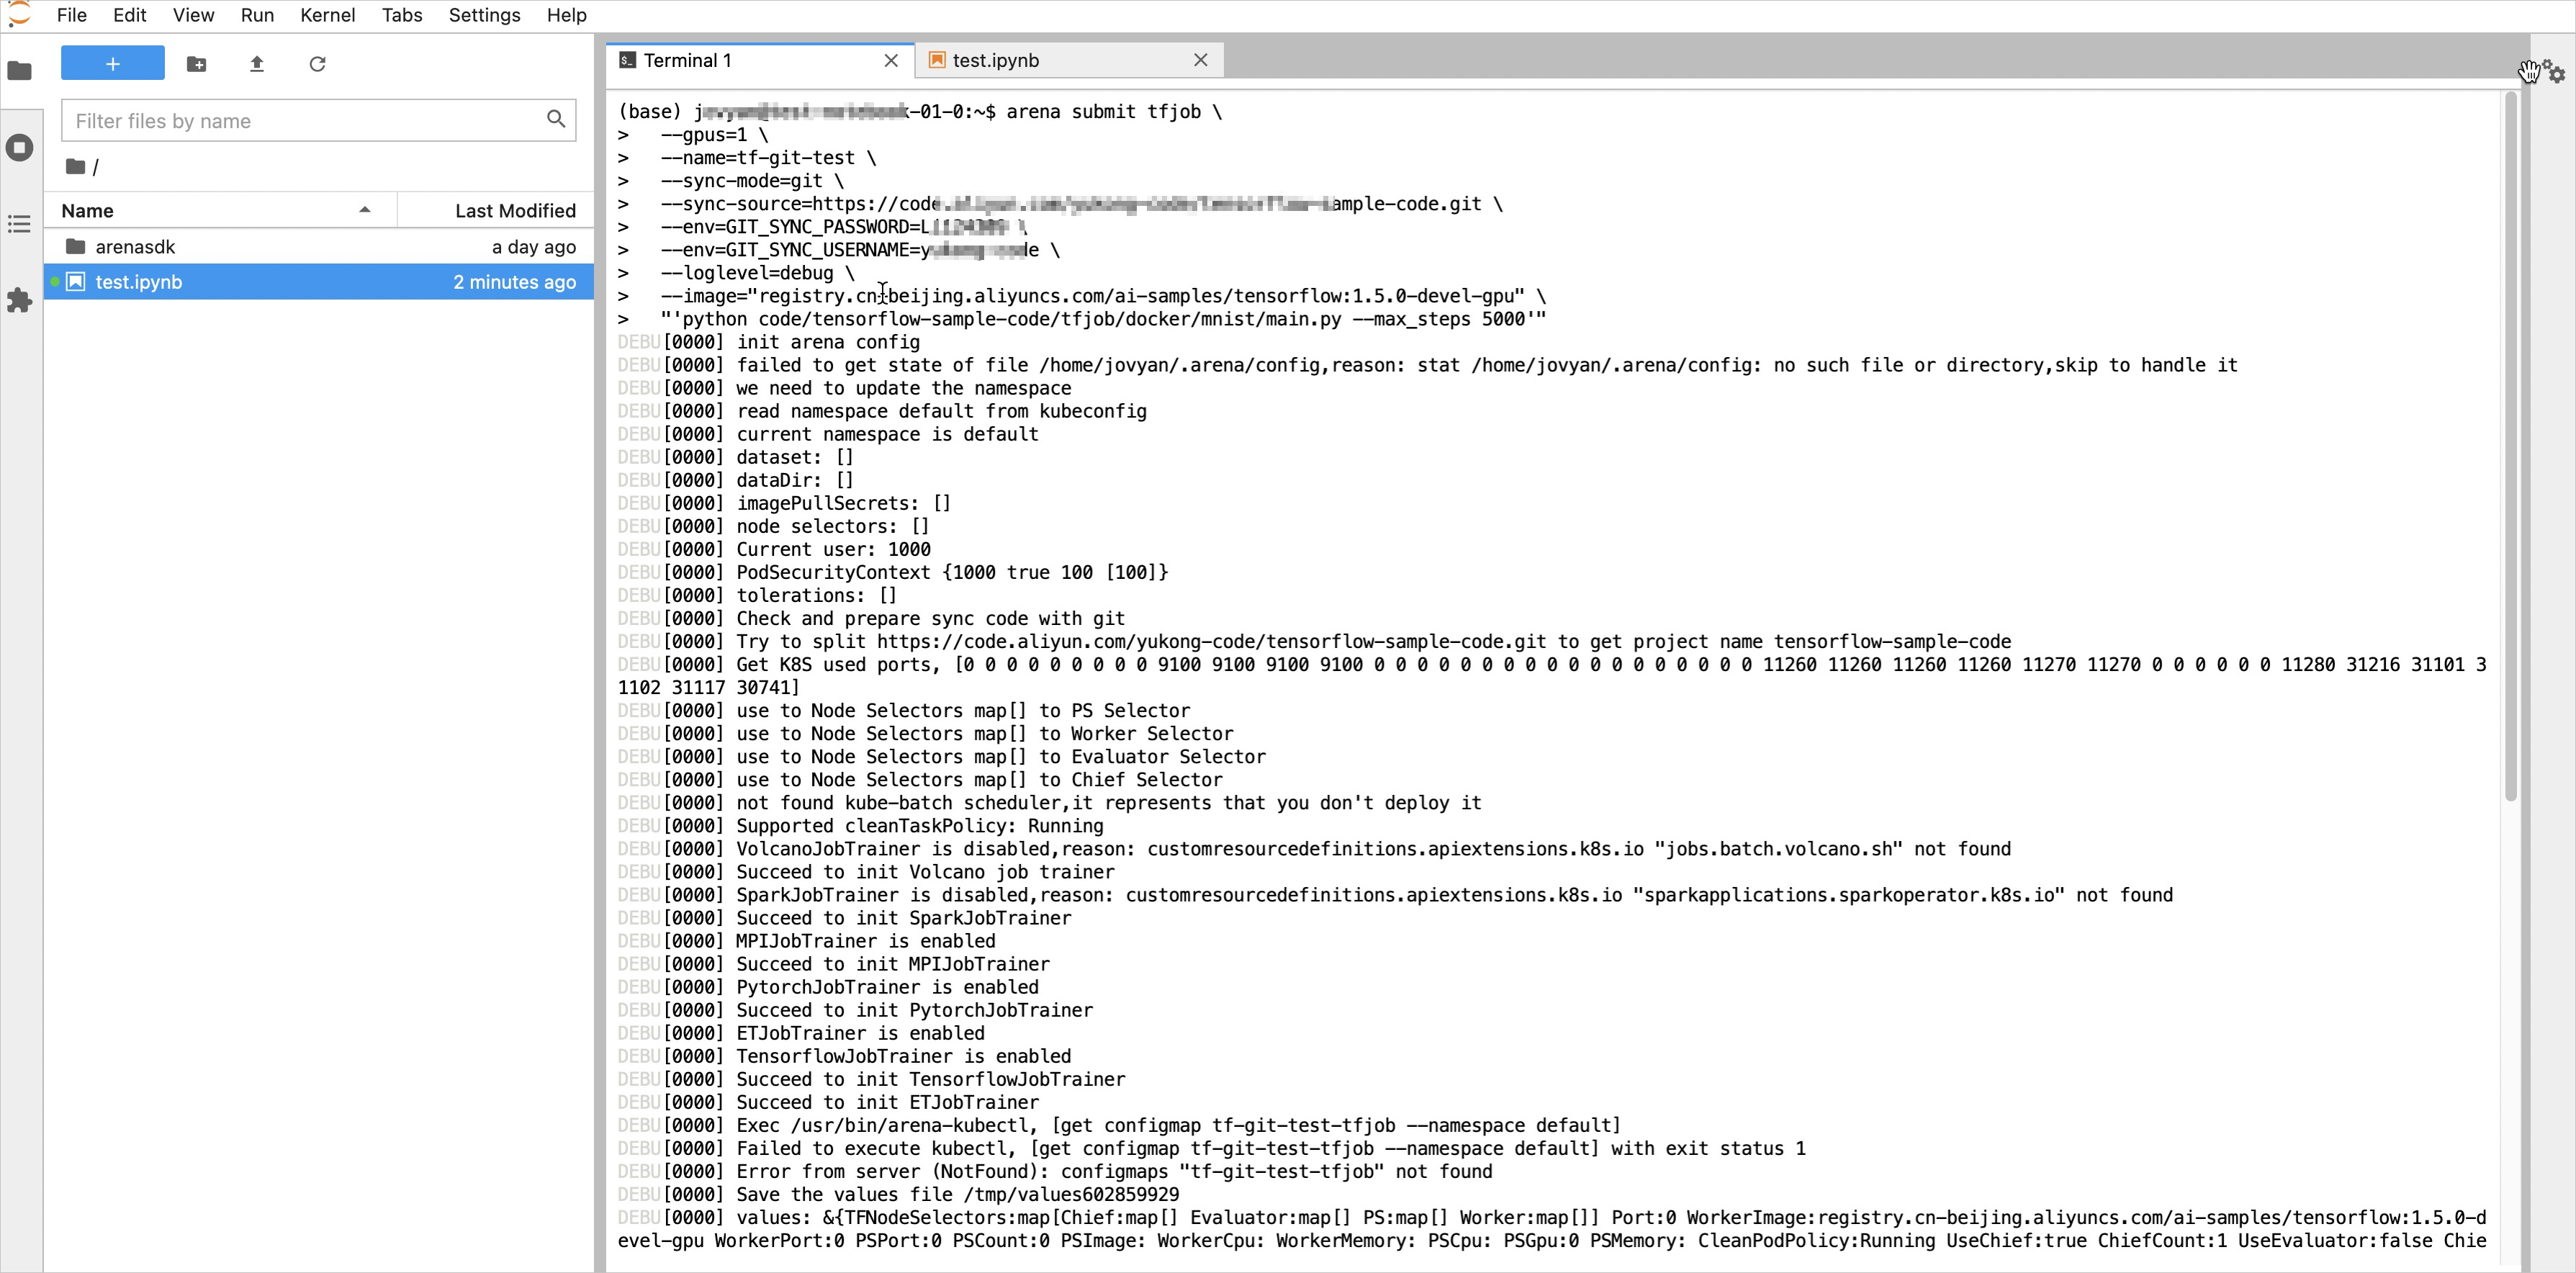
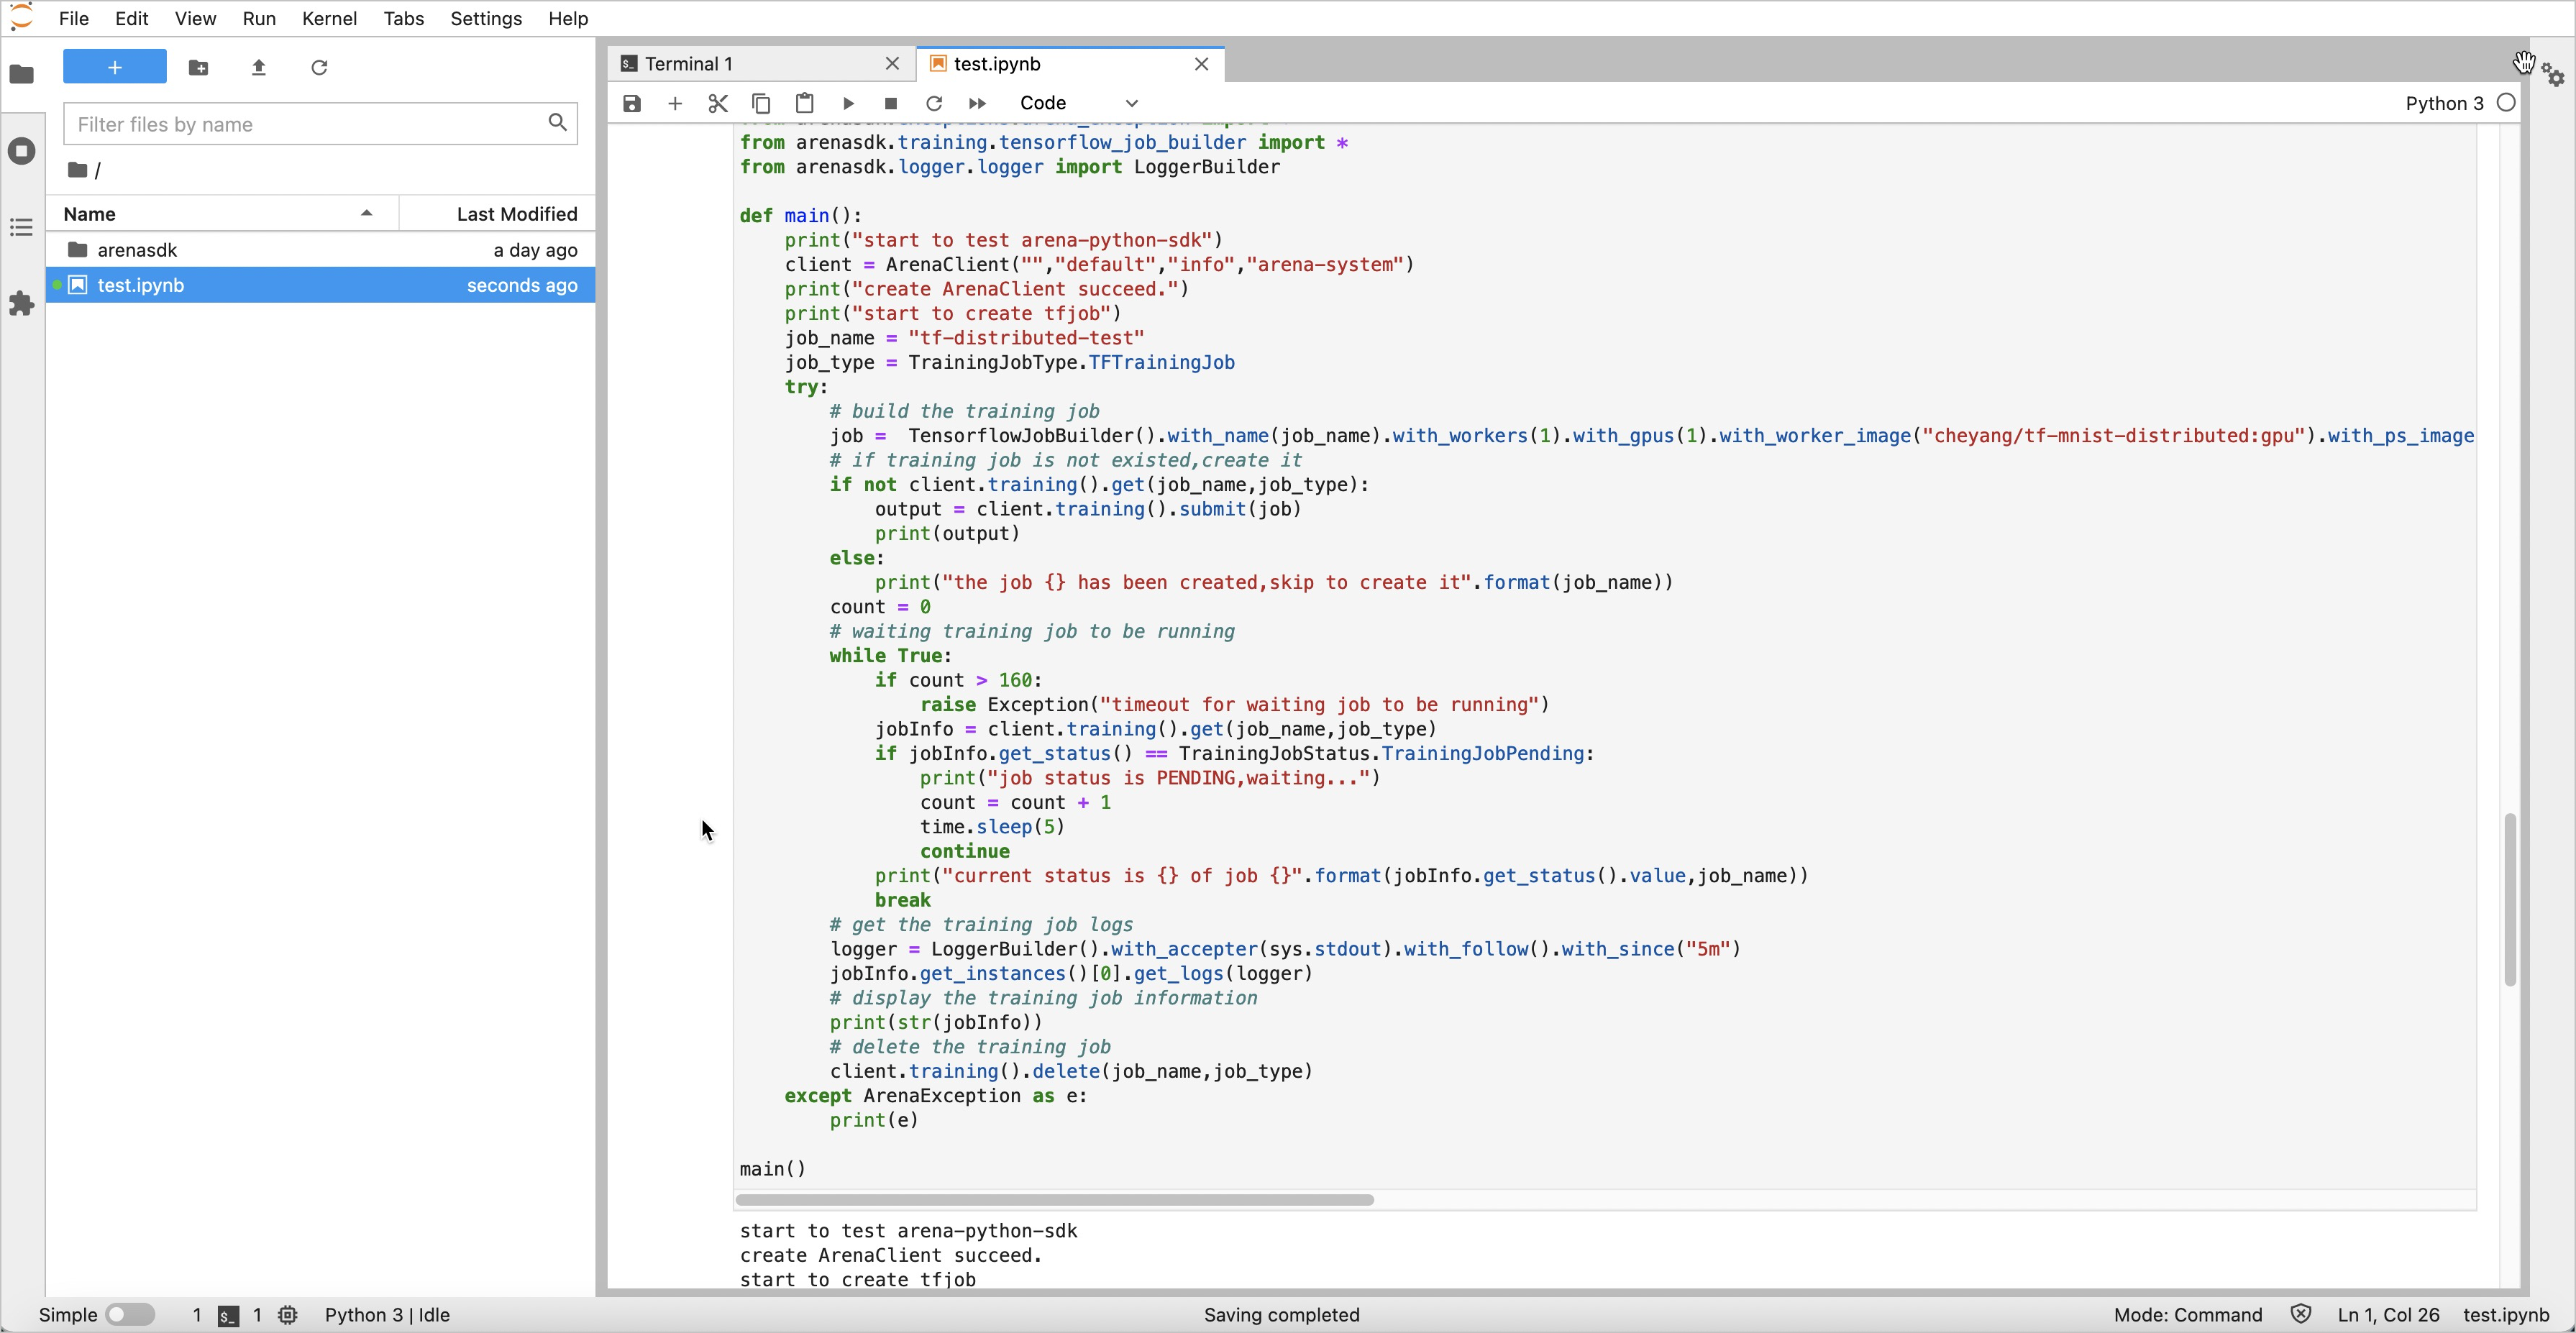
Use Arena to submit a job in the notebook.
Method 1: Use the Arena CLI to submit a job
Method 2: Use Arena SDK for Python to submit a job
Use a VS Code notebook
On the Notebook page, select a notebook in the Running state and click its name.
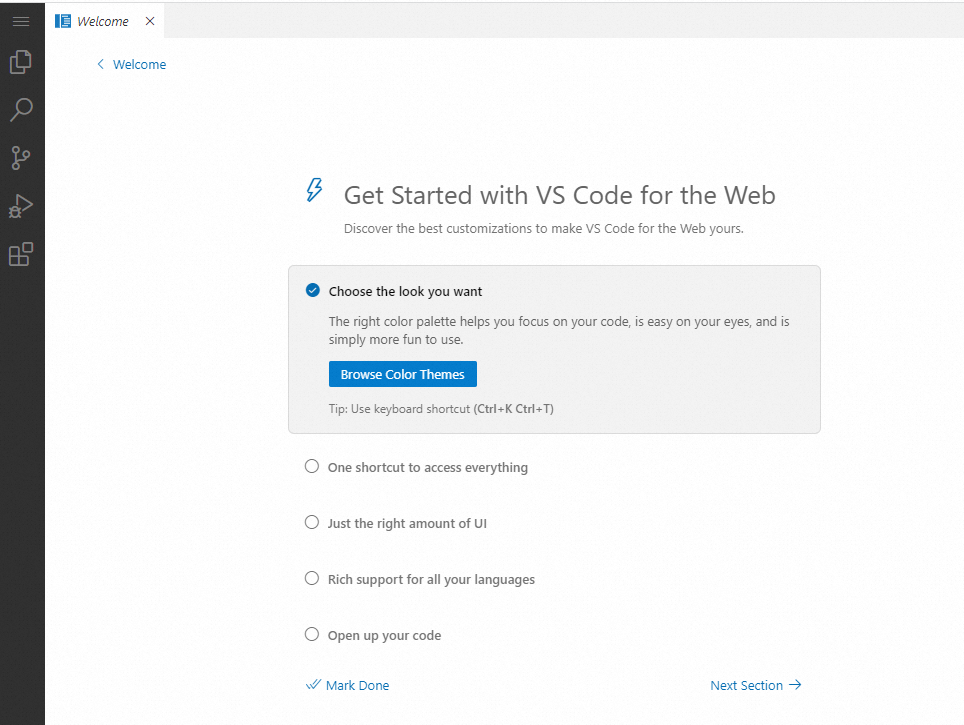
The VSCode page provides a VS Code-like development experience same as an on-premises environment. The kubeconfig file of your cluster is injected into the notebook and environment variables are available for customization.
Create a custom notebook image
Before you create a custom notebook image, you need to install the latest Arena component version in your Jupyter notebook or VS Code notebook. This allows you to run our demos in the notebook. For more information about how to install the Arena component, see Configure the Arena client.
Custom notebook images are available only in the current cluster. You cannot share custom notebook images to other clusters or users.
Create a custom Jupyter notebook image
To meet various requirements, you can create custom Jupyter notebook images on the Notebook page of Jupyter Notebook, as shown in the following figure.
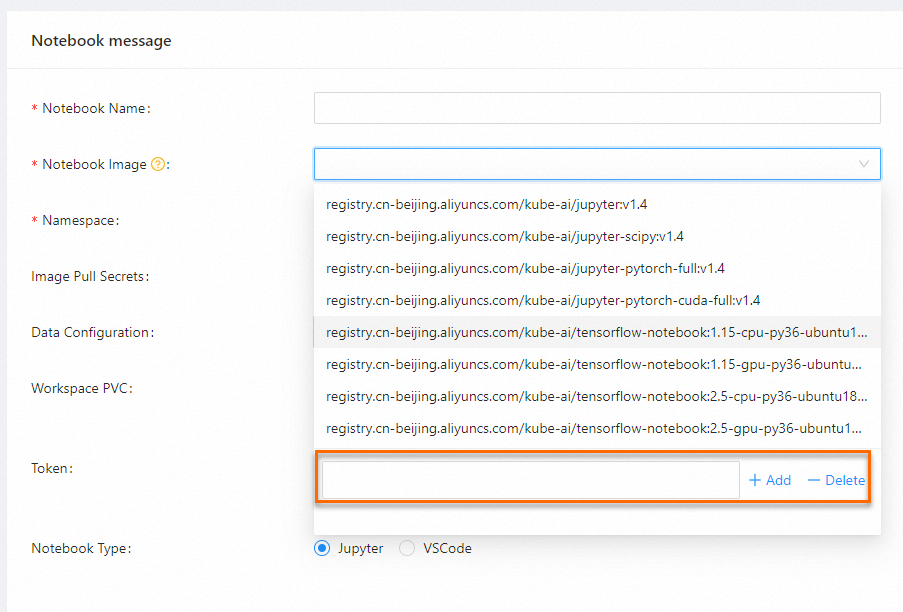
You can perform the following steps to create a Docker file and build an image:
The version of JupyterLab installed in the image must be 3.0.0 or later.
FROM tensorflow/tensorflow:1.15.5-gpu
USER root
RUN pip install jupyter && \
    pip install ipywidgets && \
    jupyter nbextension enable --py widgetsnbextension && \
    pip install jupyterlab && jupyter serverextension enable --py jupyterlab
# Download and install Arena SDK for Python.
RUN pip install arenasdk
# If you use other methods to install JupyterLab, you need to expose the Service through port 8888.
EXPOSE 8888
USER jovyan
Create a custom VS Code notebook image
To meet various requirements, you can create custom VS Code notebook images on the Notebook page of VS Code Notebook, as shown in the following figure.
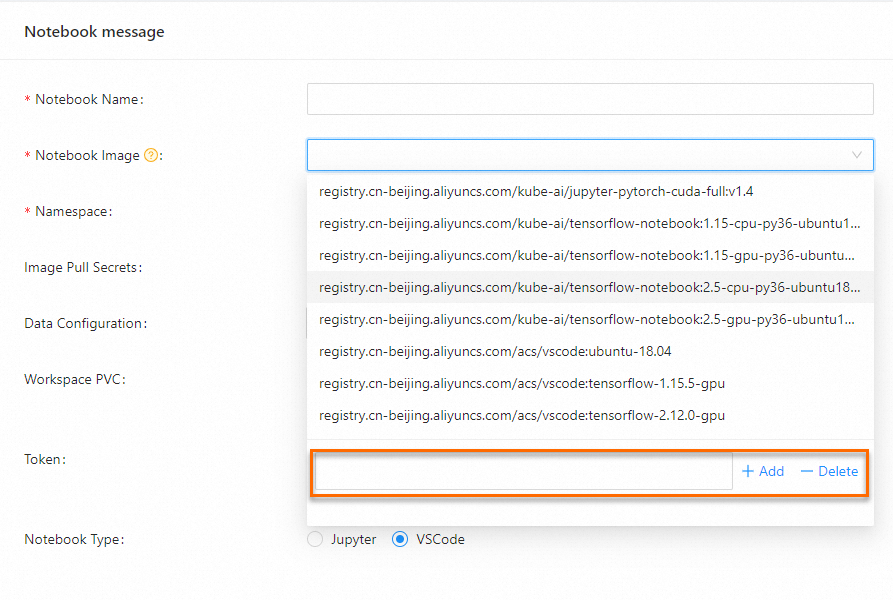
You can perform the following steps to create a custom Docker file and build an image:
FROM ubuntu:18.04
USER root

RUN apt update && \
  	apt install -y curl

RUN cd /opt && \
  	wget https://aliacs-k8s-cn-hongkong.oss-cn-hongkong.aliyuncs.com/arena/install.sh && \
    /opt/install.sh
You need to modify the content of the Docker file based on the base image that you select to ensure that the image can be built.
Save a notebook as an image
In the AI Developer Console of the cloud-native AI suite, the ack-ai-dev-console component in version 1.0.22 or later allows you to submit a notebook as an image and save it to the host. This allows you to save the development environment of the notebook.
This feature only supports notebook instances created by using the ack-ai-dev-console component of version 1.0.22 and later. You cannot perform this operation on existing notebook instances.
To save a notebook as an image, perform the following steps:
Download the client binary tool for the ack-commit-agent component in Notebook. Click here to download the tool.
Run the following command in Notebook to make the client globally executable:
chmod +x ack-commit-ctl
mv ack-commit-ctl /usr/bin/
Use this tool to submit and save a notebook as an image. The following example shows how to submit an image.
ack-commit-ctl commit image-commit-sample:v0.1.0-test
INFO[0000] container id: xxx
INFO[0002] Container save success, image: image-commit-sample:v0.1.0-test
If the preceding output appears after the notebook is submitted, the notebook is saved as an image.
Run the following command to specify the username and password of the image repository and push the image to the image repository:
ack-commit-ctl push image-commit-sample:v0.1.0-test --username=username --password=password
INFO[0000] Start pushing the image:  image-commit-sample:v0.1.0-test
INFO[0000] Waiting...
INFO[0003] Image pushed successfully: image-commit-sample:v0.1.0-test
If the preceding output appears, the image is pushed to the image repository.
Use a saved image
Make sure that the ack-ai-dev-console component is updated to 1.0.21 or later.
Log on to the ACK console. In the left-side navigation pane, click Clusters.
On the Clusters page, find the cluster that you want to manage and click its name. In the left-side pane, choose .
On the Pods page, find the pod of the notebook which is saved as an image, and click the name of the pod. On the pod details page, you can obtain the name of the node on which the pod is deployed.
Create a notebook on the Notebook page.
In the Image Pull Secrets section, select the created notebook image. In the Advance Configuration section on the right side, set the NodeSelector. Set the key of NodeSelector to
kubernetes.io/hostnameand the value to the pod name obtained in Step 4.Click Create notebook. If the notebook can be created, the saved image is used.